
F-14B/D Tomcat Exhaust Nozzles
When looking at our models we like to have something to look at both up front, and at the rear. Many aircraft kits are lacking in both of these areas, and Aires at least is taking care of both. This set deals with the rear area of the F-14B or D, which are both powered by the General Electric F110-GE engine. This is also the same engine found in many other aircraft, including various blocks of the F-16, F-2, and recently the F-15K. For the Tomcat, the F100 is the F100-GE-400 variant. With the introduction of this engine the F-14 experienced a substantial improvement in performance, reliability, and safety. Performance was increased enough that an F-14B or D does not need afterburner for a cat launch off a carrier.
In the Box
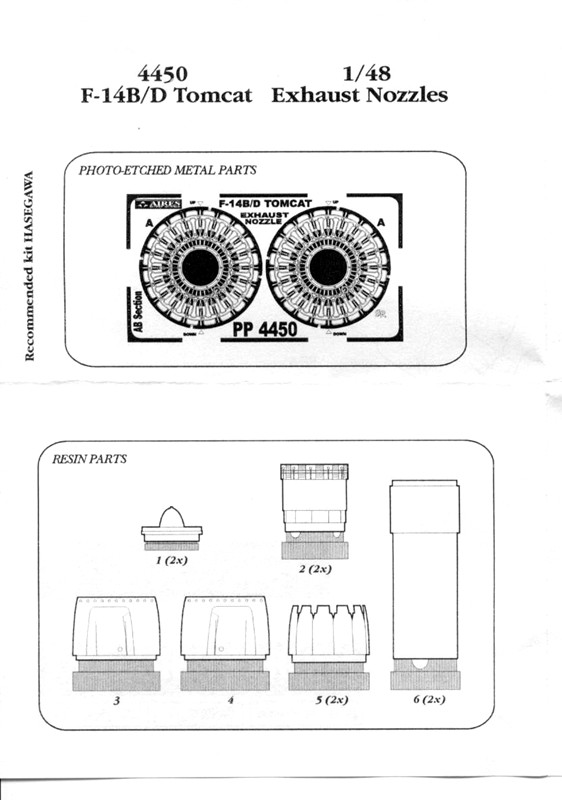
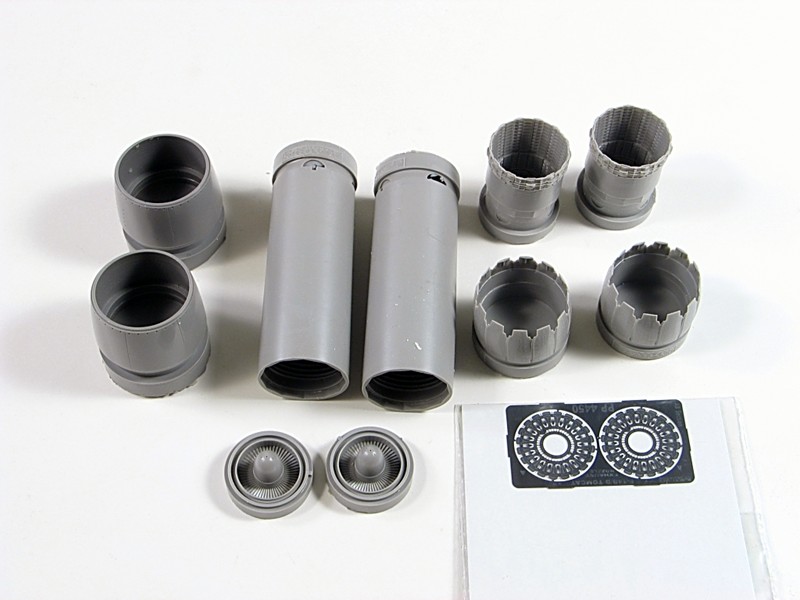
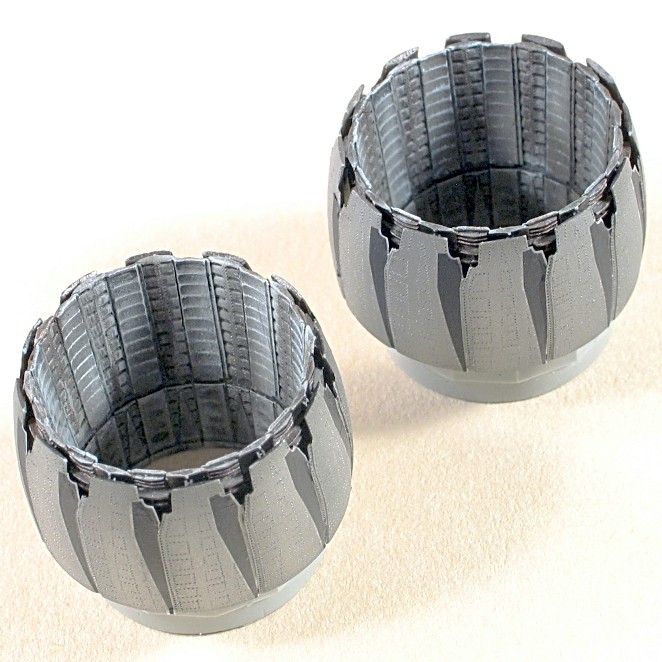
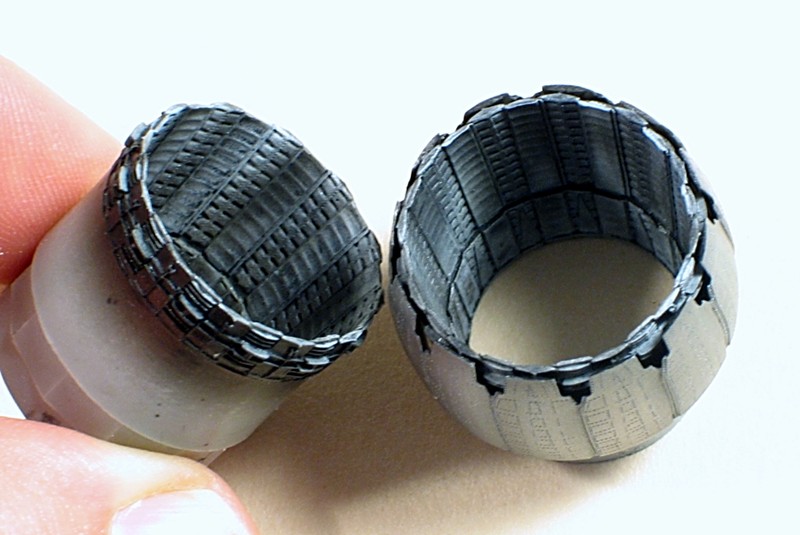
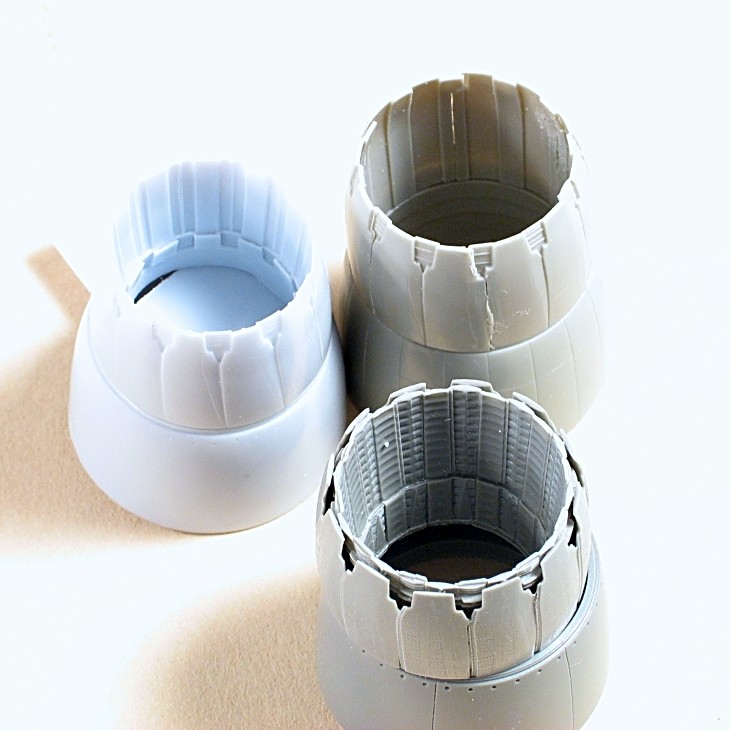
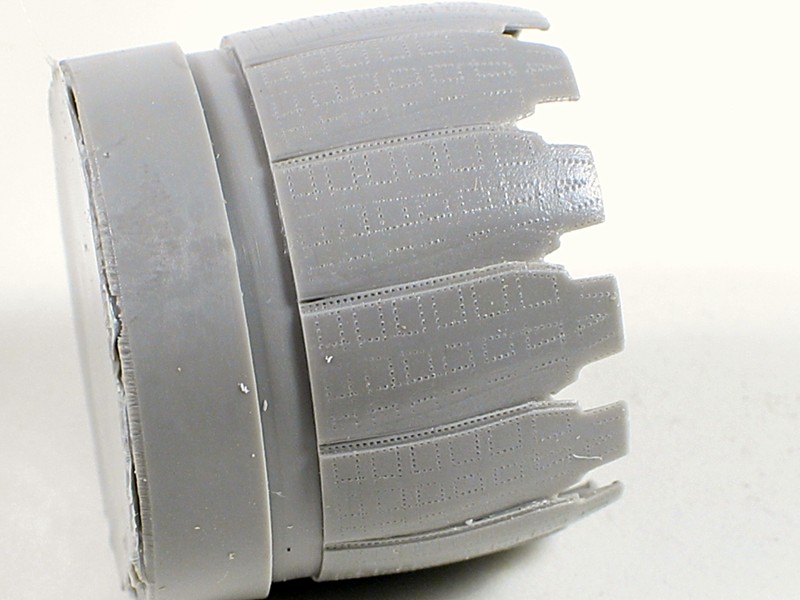
The Aires set consist of ten resin parts and two photo-etched pieces for the flame holders. Instructions are simple and contained on a single folded paper. As to be expected, the parts are flawless and cut free of the pour plug very easily. The detail is amazing. Inside the tube all the appropriate texture and detail is there, and the two-part nozzles are stunning. On the exterior of the petals themselves are faint textures found on the real thing.
The two parts also replicate the look of the nozzles perfectly, much better than any single cast part could.
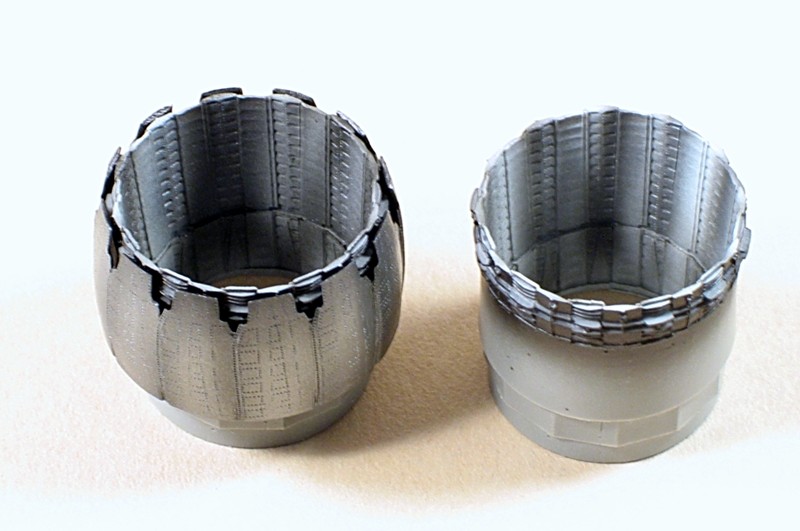
A quick comparison to the kit parts and the difference is stark. First, the tubes on the kit are holdovers from the old F-14A kits, so are incorrect for the F-14B and D, so the Aires parts correct this. Second, the shrouds are also corrected while offering higher detail. Of course the difference between the kit nozzle and Aires is so contrasting that you will not feel bad tossing the kit parts immediately. While I was at it, I pulled out another resin F-14D exhaust set from Wolfpack Models. Comparing all three, it is obvious that the Wolfpack set is a tad undersize. Nor does it add any additional detail beyond the kit parts. Again, Aires shines hands down.
Construction and Painting
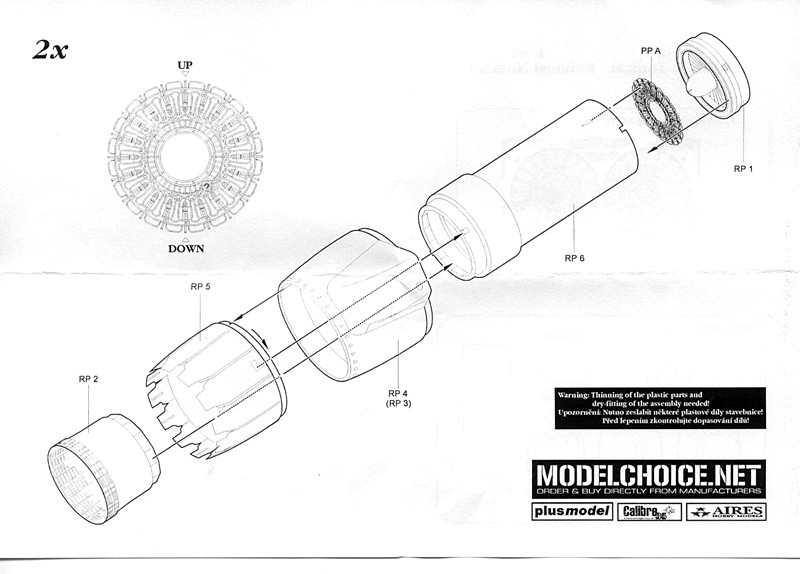
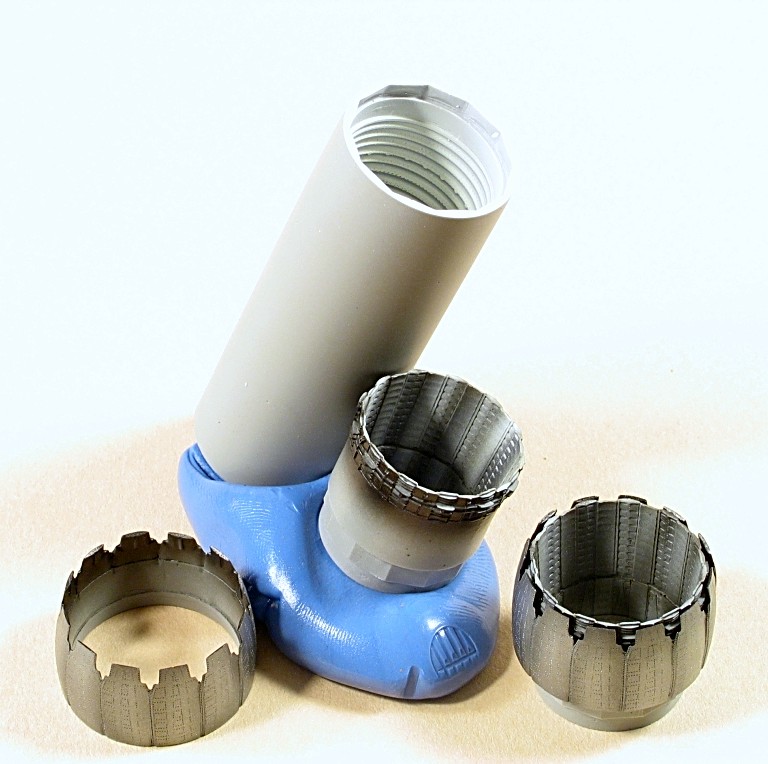
There really is not much to comment on construction, for once the parts are removed from the resin plugs they fit together with no hassle. I do suggest doing as much painting as possible before assembly as each area has its own colors and effects to add.
GE F100 engines have a unique exhaust color. Gone are the days of simple dark metallic shades. Add to that each aircraft tends to weather this area a bit differently, and depending on the condition, timeframe, and activity the aircraft is going through the exhaust will show a range of variation. The key here is having references handy. These exhaust will be finding their way on a model of a VF-2 F-14D during OIF combat operations, so a little bit darker heavy use look was in order. Here is step by step how I painted the exhaust. For this I’m going to refer to the parts as follows:
| Part | Description |
|---|---|
| RP-1 | Fan |
| RP-2 | Nozzle cone |
| RP-5 | Nozzle pedals |
| RP-6 | Tube |
Airbrush flat white into the tube and the inside of nozzle cone
Airbrush dark metallic (Alclad II “steel”) onto inside and outside of nozzle pedals, outside of nozzle cone, and fan.
With what was left over, I streaked the inside of the nozzle cone with some of the dark metallic. Skip this if you want to model a barely used engine. Airbrush a light metallic (Alclad II “Aluminum” to highlight the outside of the nozzle pedals. Center the airbrush on each pedal, painting lengthwise.
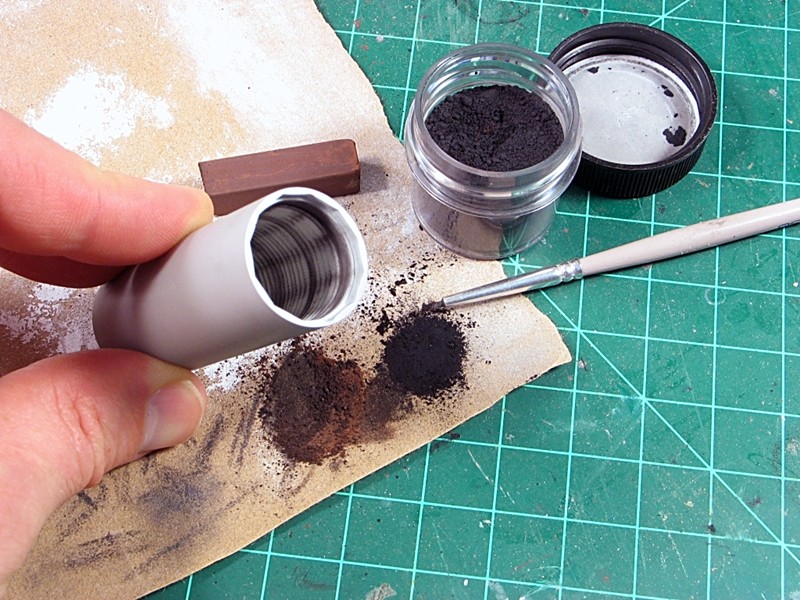
Using a mix of black and brown pigments, I used an old small brush to streak lines of pastel through the tube. Lighter streaking will be a lesser used engine, while full combat ops will produce more heavy streaks. I would err on the side of less, as this area will be pretty dark once assembled.
Apply a light wash of black oil paint to the inside and outside of the nozzle cone, making sure it’s thin enough to not obscure previous painting, but settle into the recesses.
If desired, do slight dry-brushing on the inside of nozzle cone with white. I also mixed a little Testors copper enamel with some black, slightly thinned it and selectively applied it to the outside of the nozzle cone to give this slightly different shade.
Either mask and paint the darker “rub” areas between the petals, or use decals from an F-16 Data sheet from Afterburner Decals. Their F-2 details sheet also comes with two sets of decals. After decaling, detail airbrush these with some clear flat to kill the decal shine, keeping your spray confined as much as possible to the decal.
Conclusions
This set is amazing. Until I saw the level of detail and what it added to the model, I had not planed on using any aftermarket exhaust. I would be very interested to learn how Aires did the masters for this set as it’s truly a work of art. My one gripe is the cost, as they are pricey, but it will surely give me an excuse to stare at the aft end of this model!
Thanks to IPMS and Aires for the review sample.

Comments
Add new comment
This site is protected by reCAPTCHA and the Google Privacy Policy and Terms of Service apply.
Similar Reviews