
F-104G Luftwaffe & Bundesmarine Scale: Q
Background
This is AFV Club’s third release of a “Q”-Scale F-104 kit, with the first two releases covering the ROC Air Force and JASDF F-104J aircraft. All three were released in 2019. AFV Club, based in the Republic of China (Taiwan) began releasing kits in 1990 and is owned by Hobby Fan. Distribution in the United States is through Apex Global Inc., doing business as Merit International Ltd.
The Kit
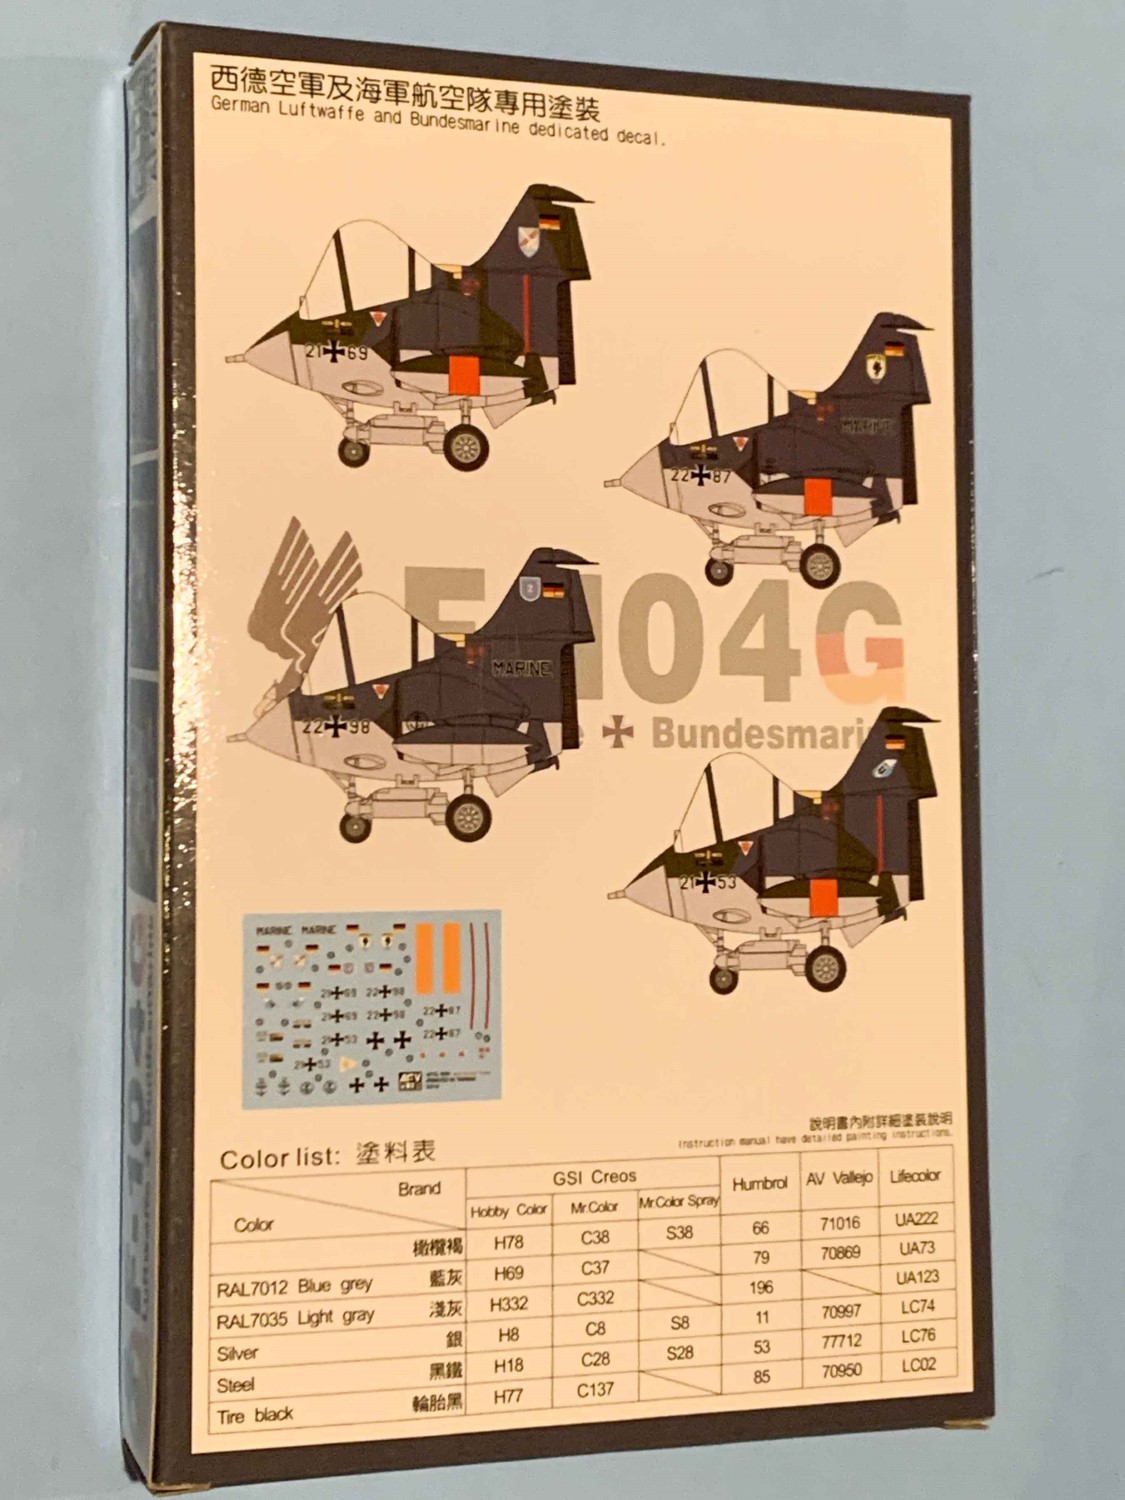
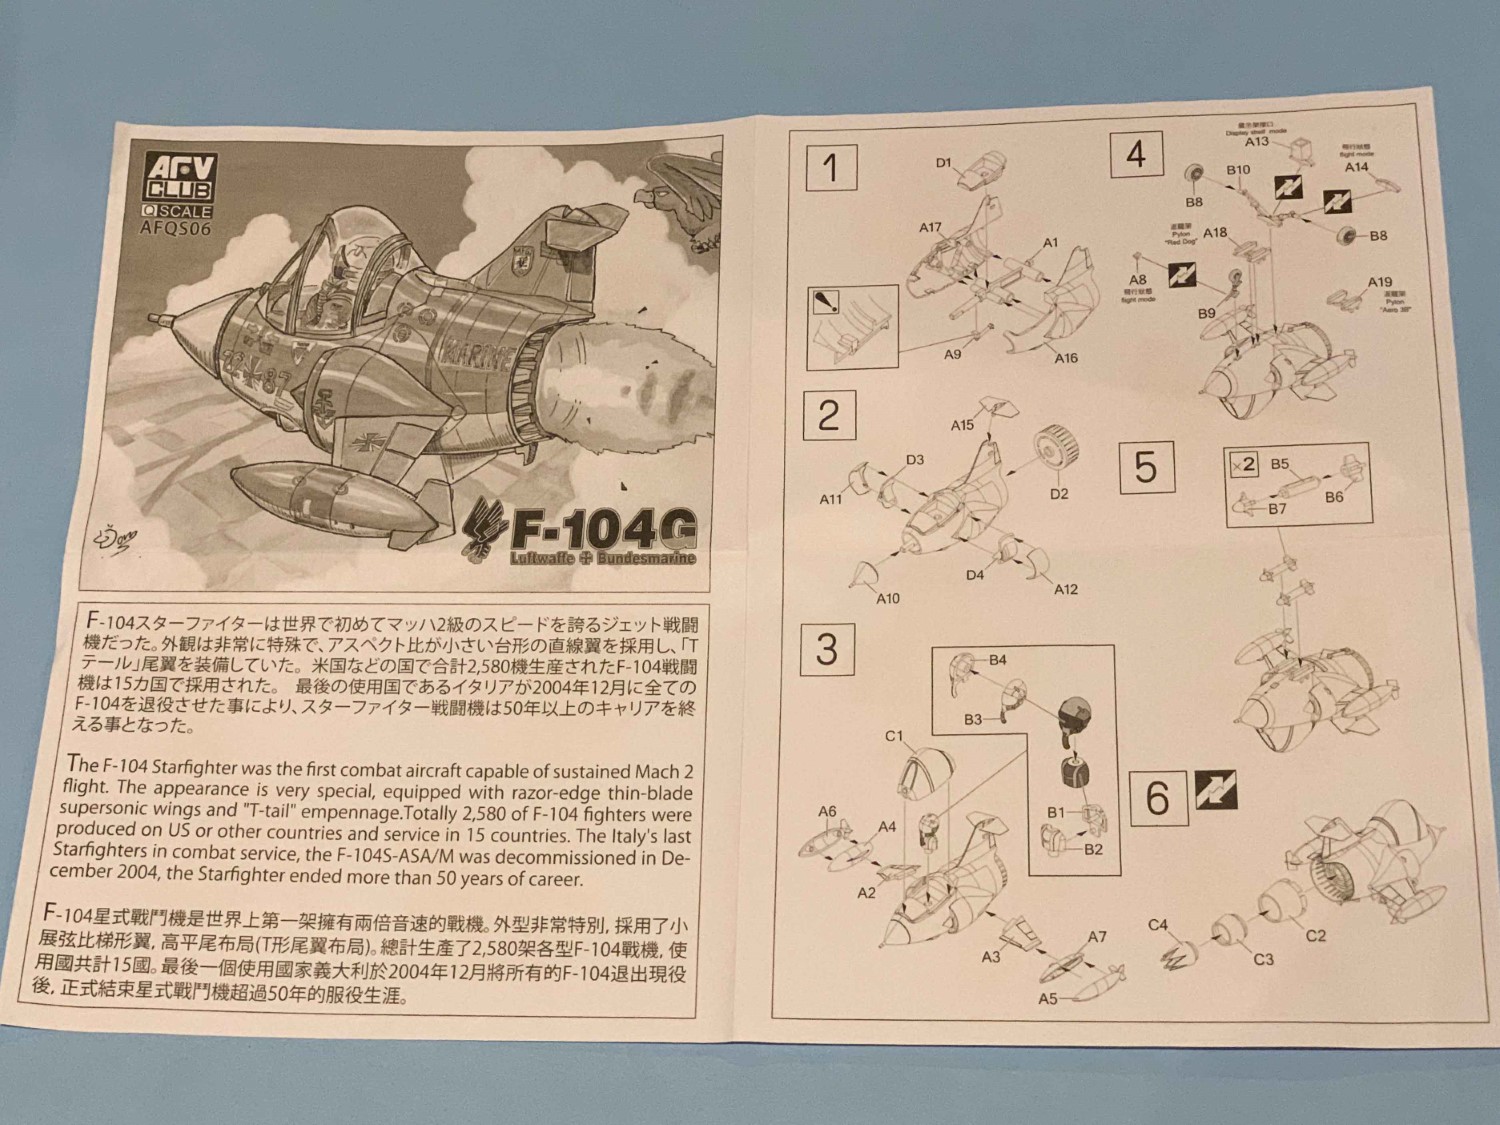
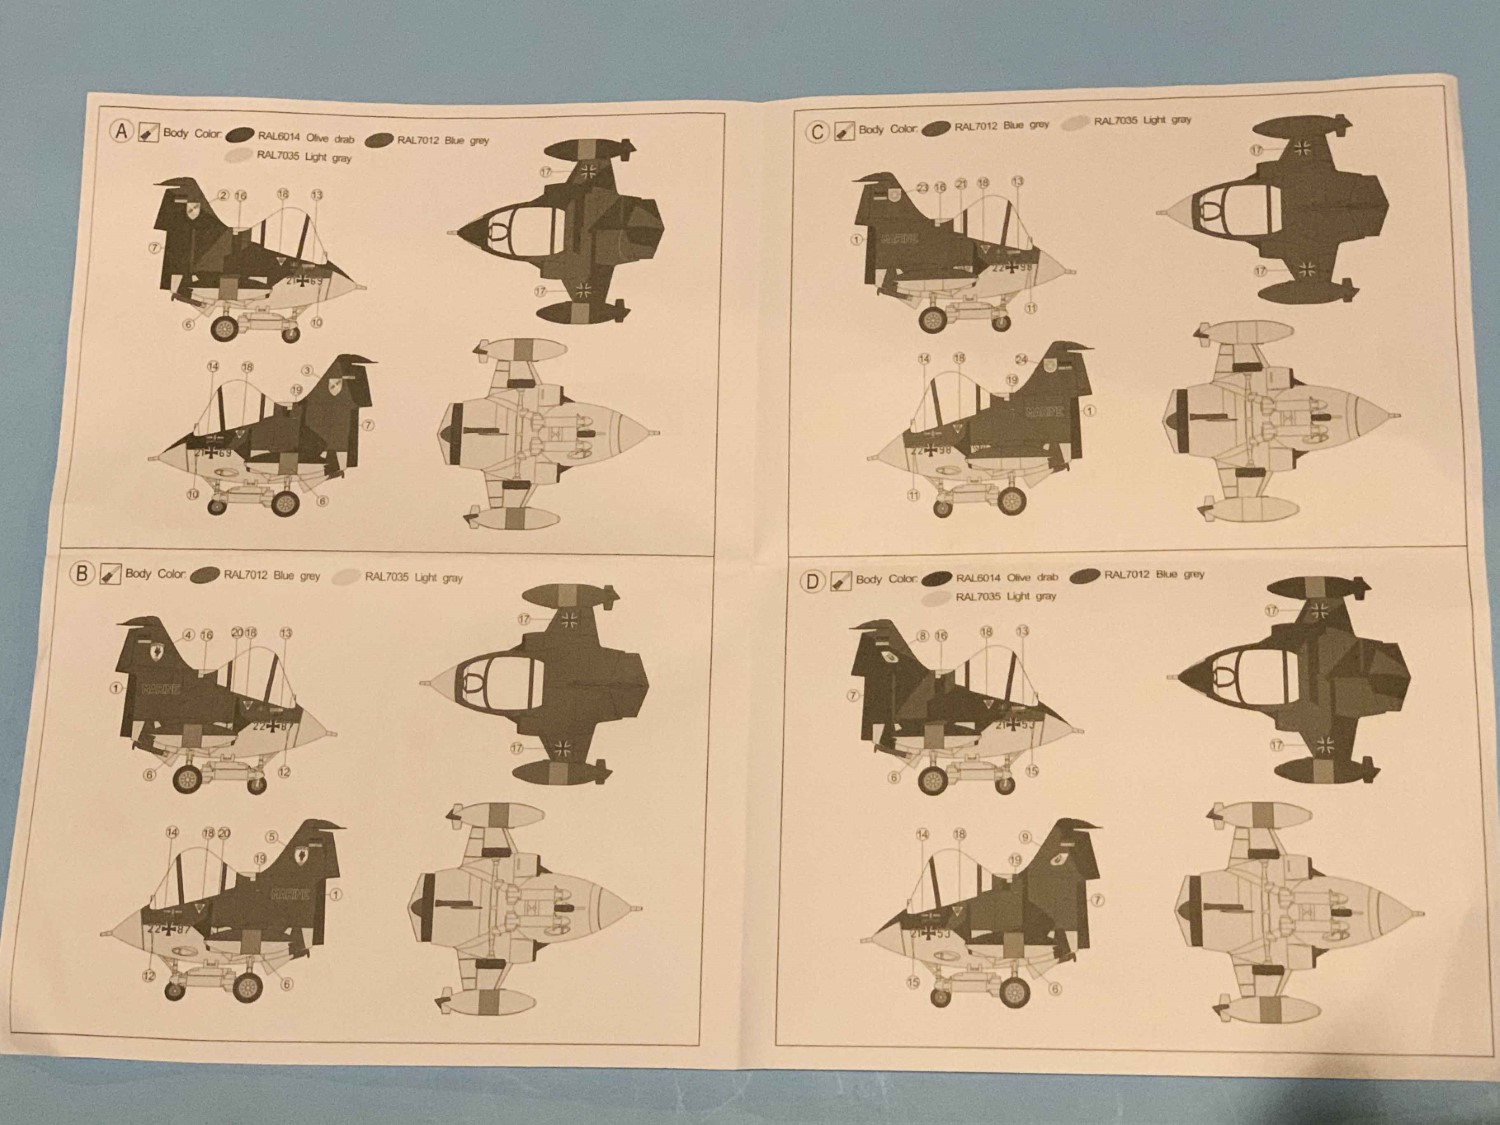
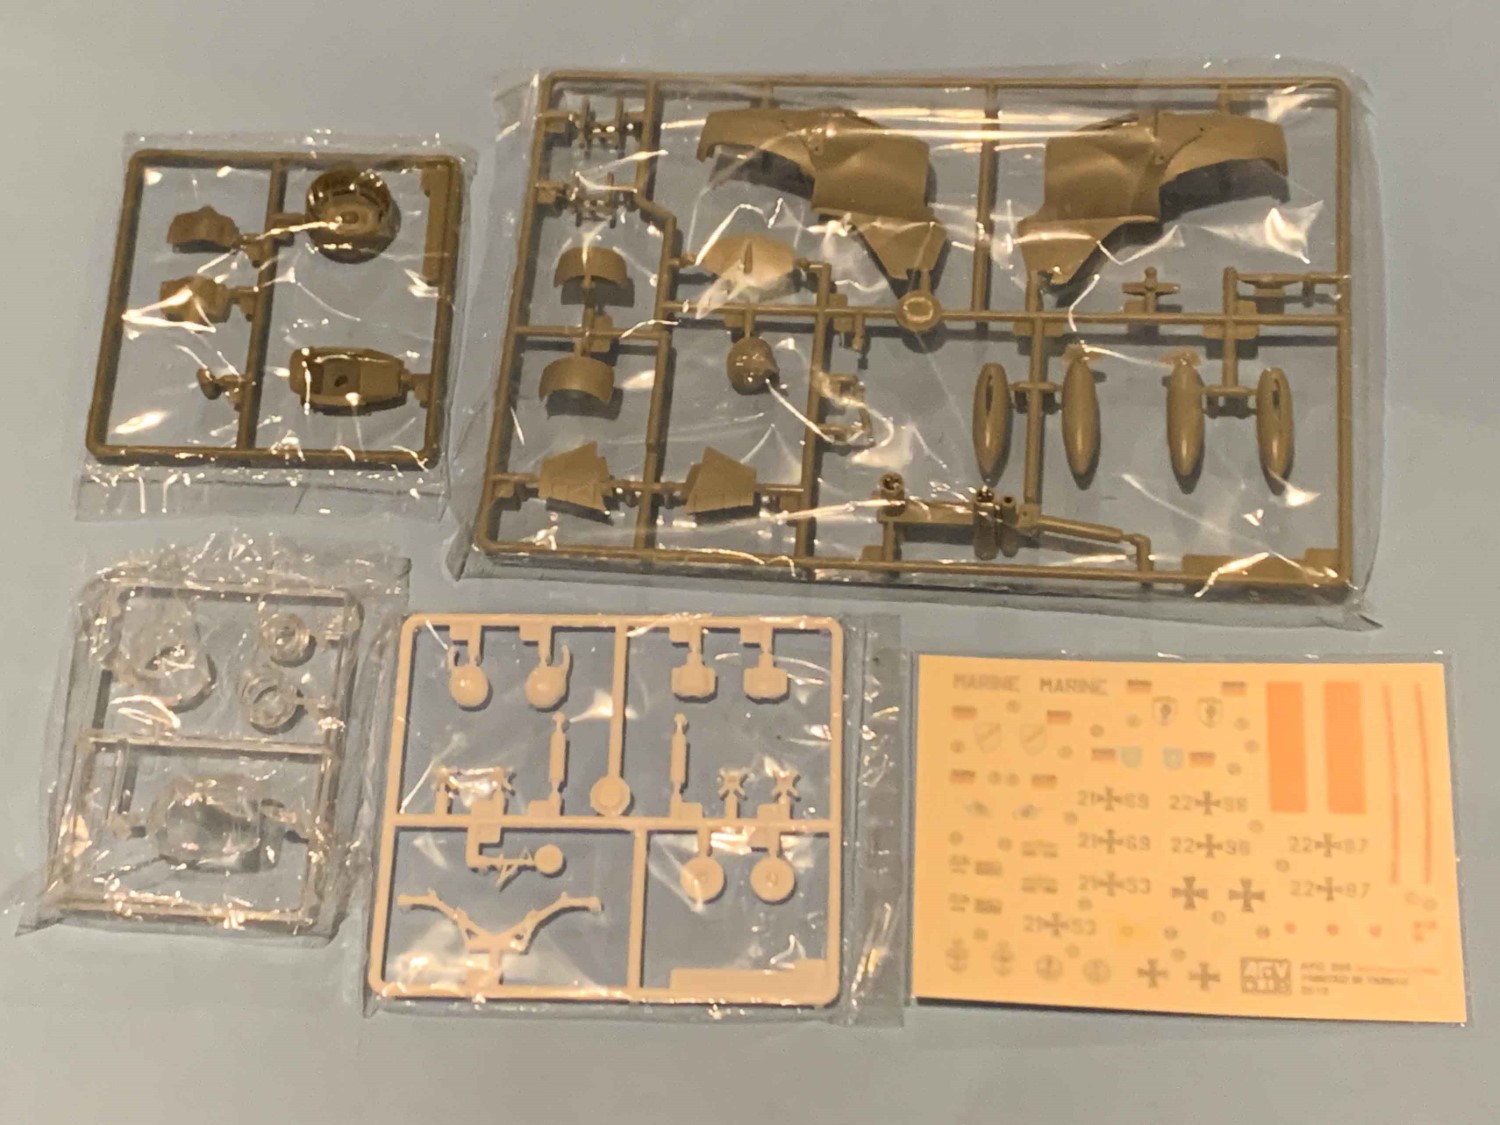
The kit is molded in bright grey, white and clear styrene on four trees. I counted 41 parts, although not all parts are used as there are several options. These options include two different missile mounts and three options for landing gear. One landing gear option is gear up, another gear down, and then the one I chose where a square stub from the closed main landing gear doors provides a stand. The decal sheet is quite thorough with four markings, two each for the Luftwaffe and the Bundesmarine. The one piece instruction sheet is folded into quarters and provides graphic depiction of the assembly and decal placement for the four options.
Construction
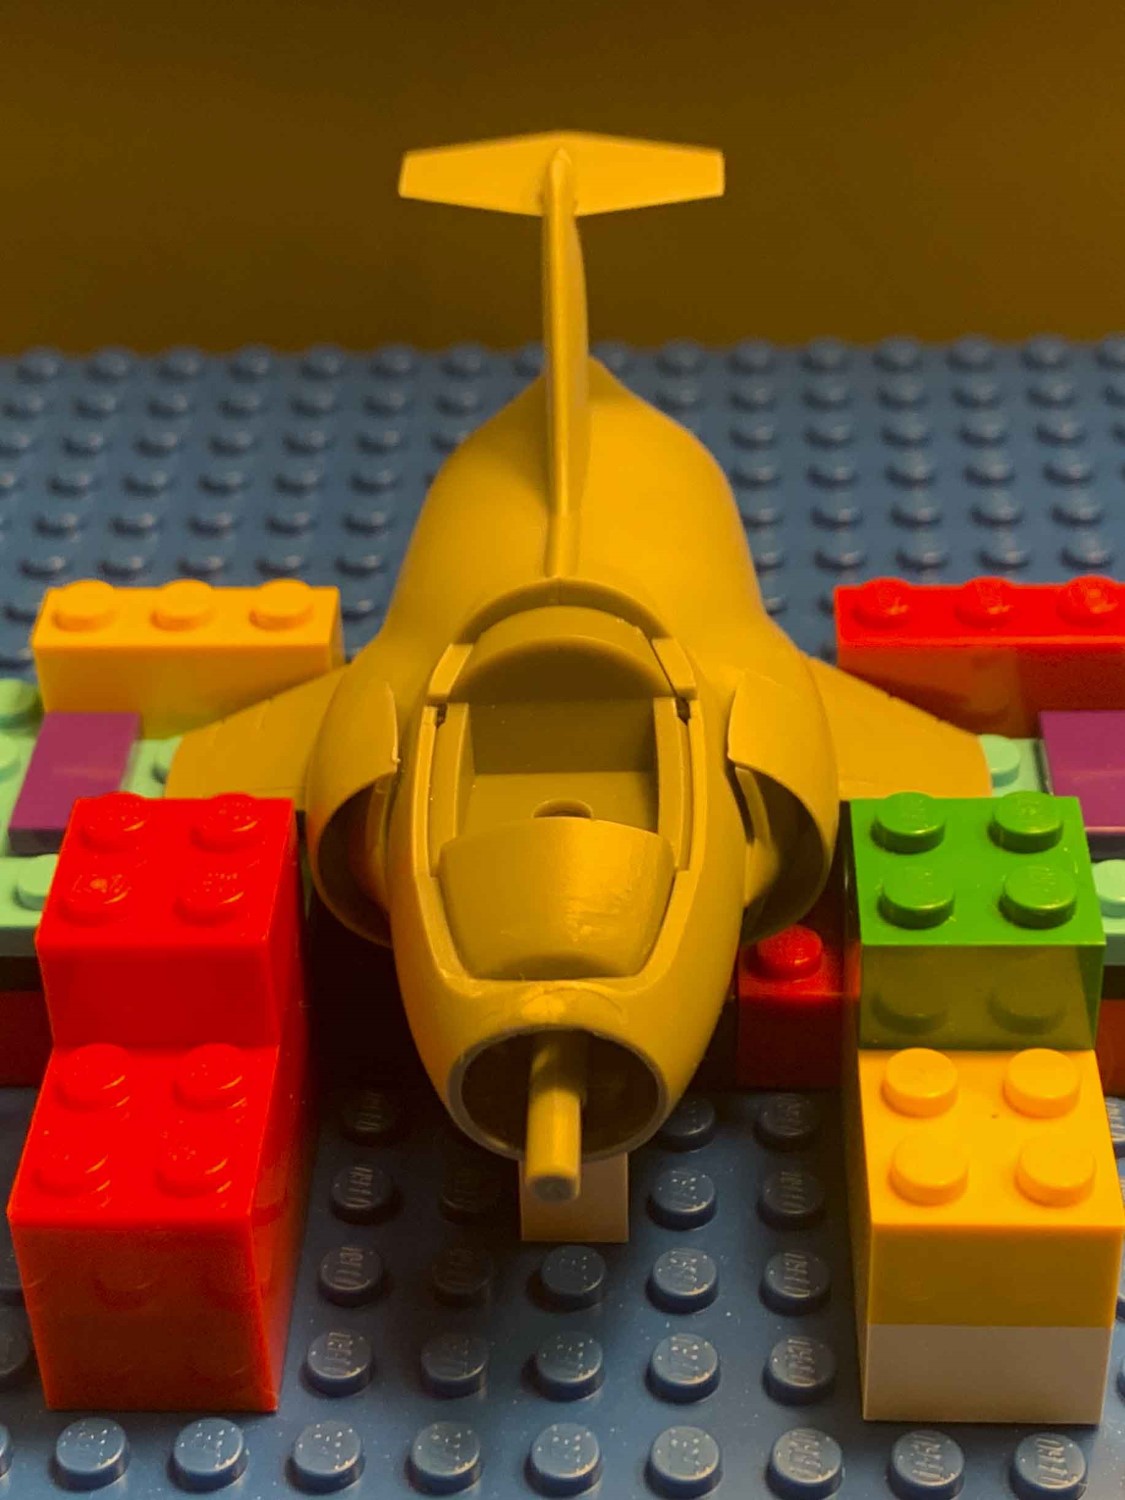
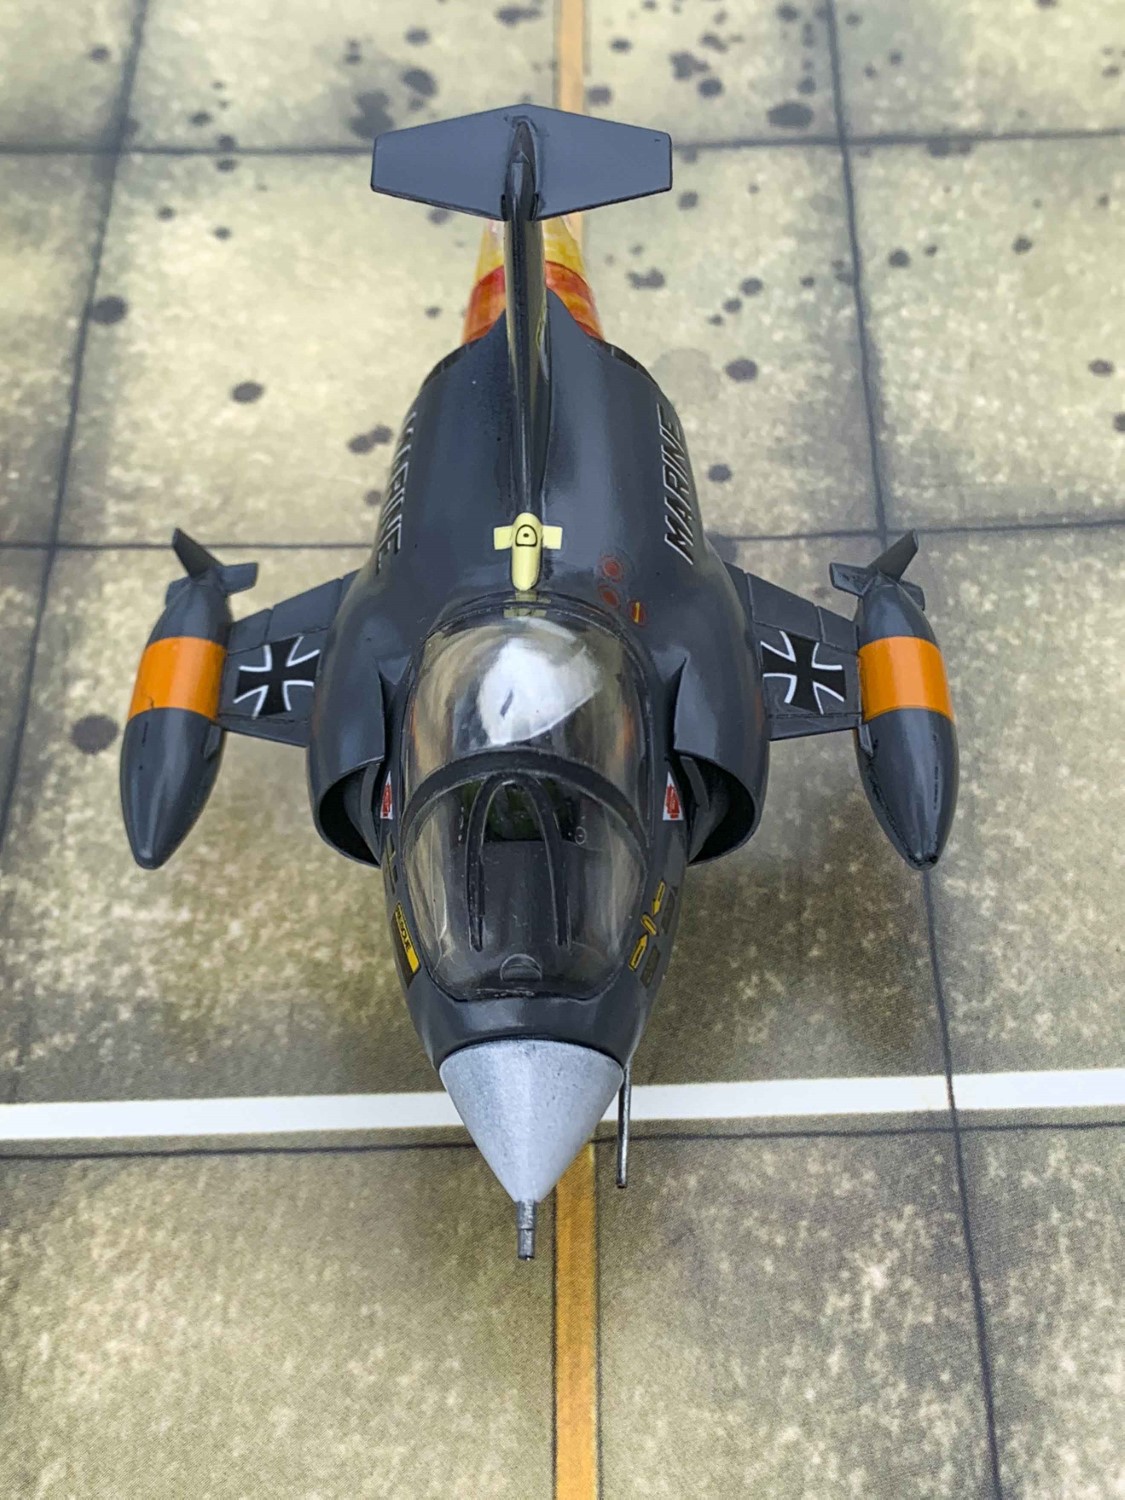
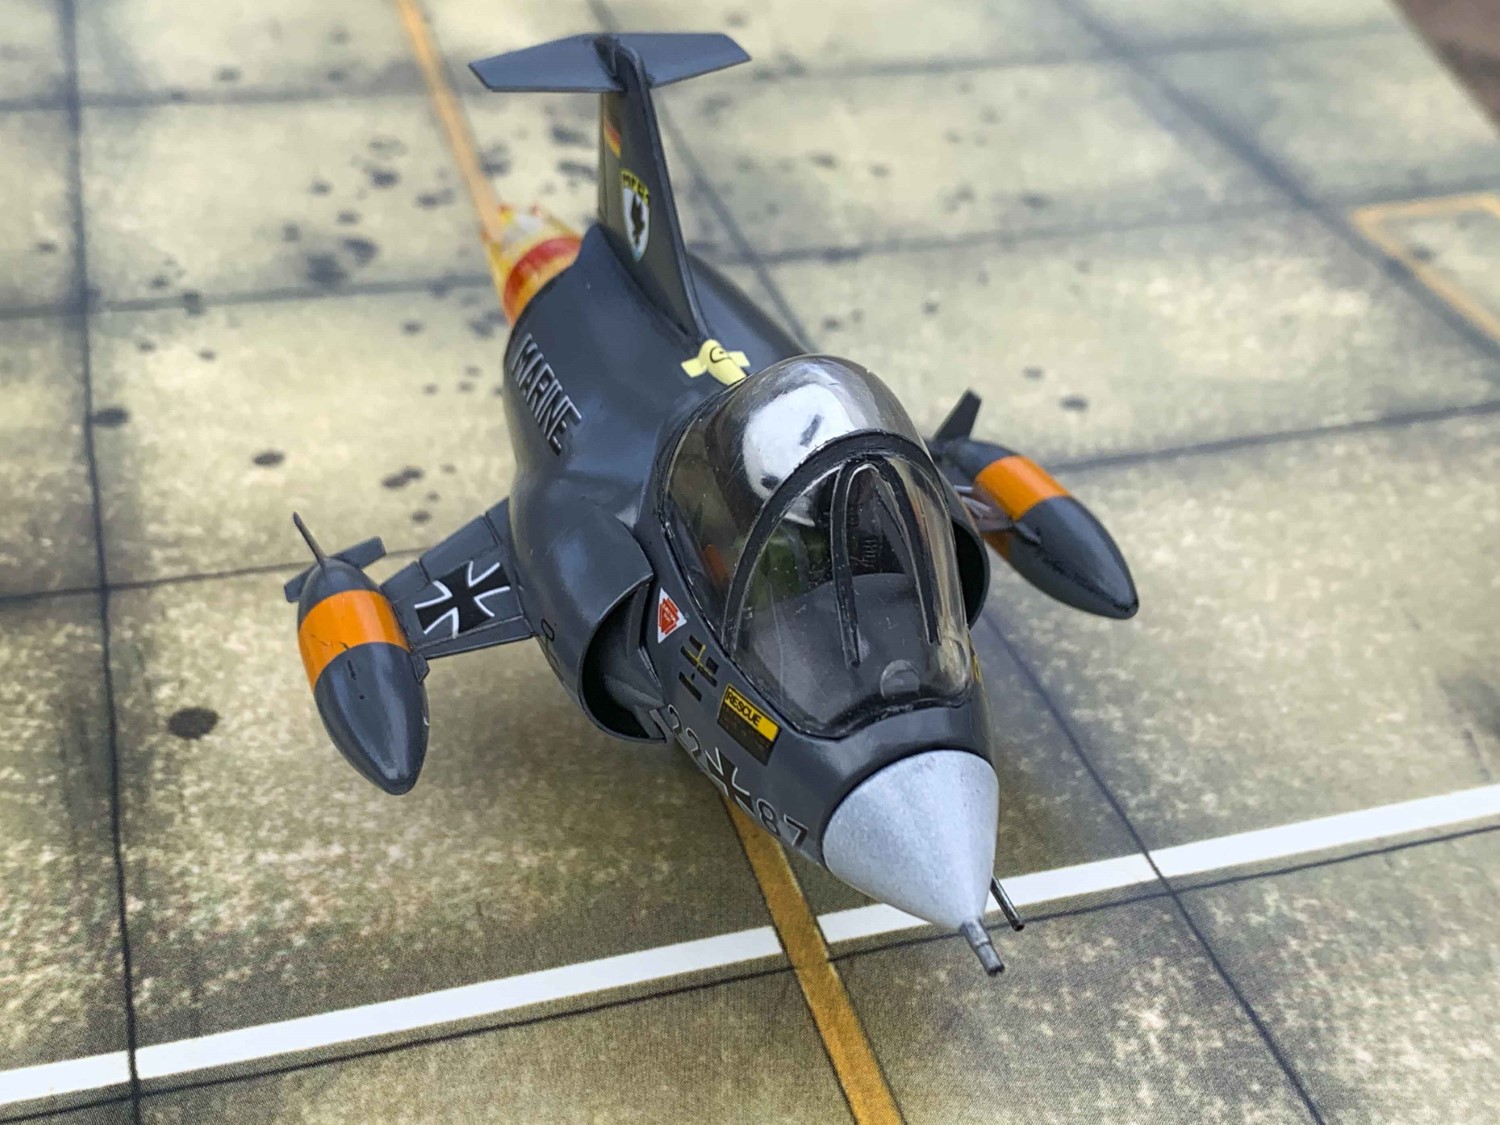
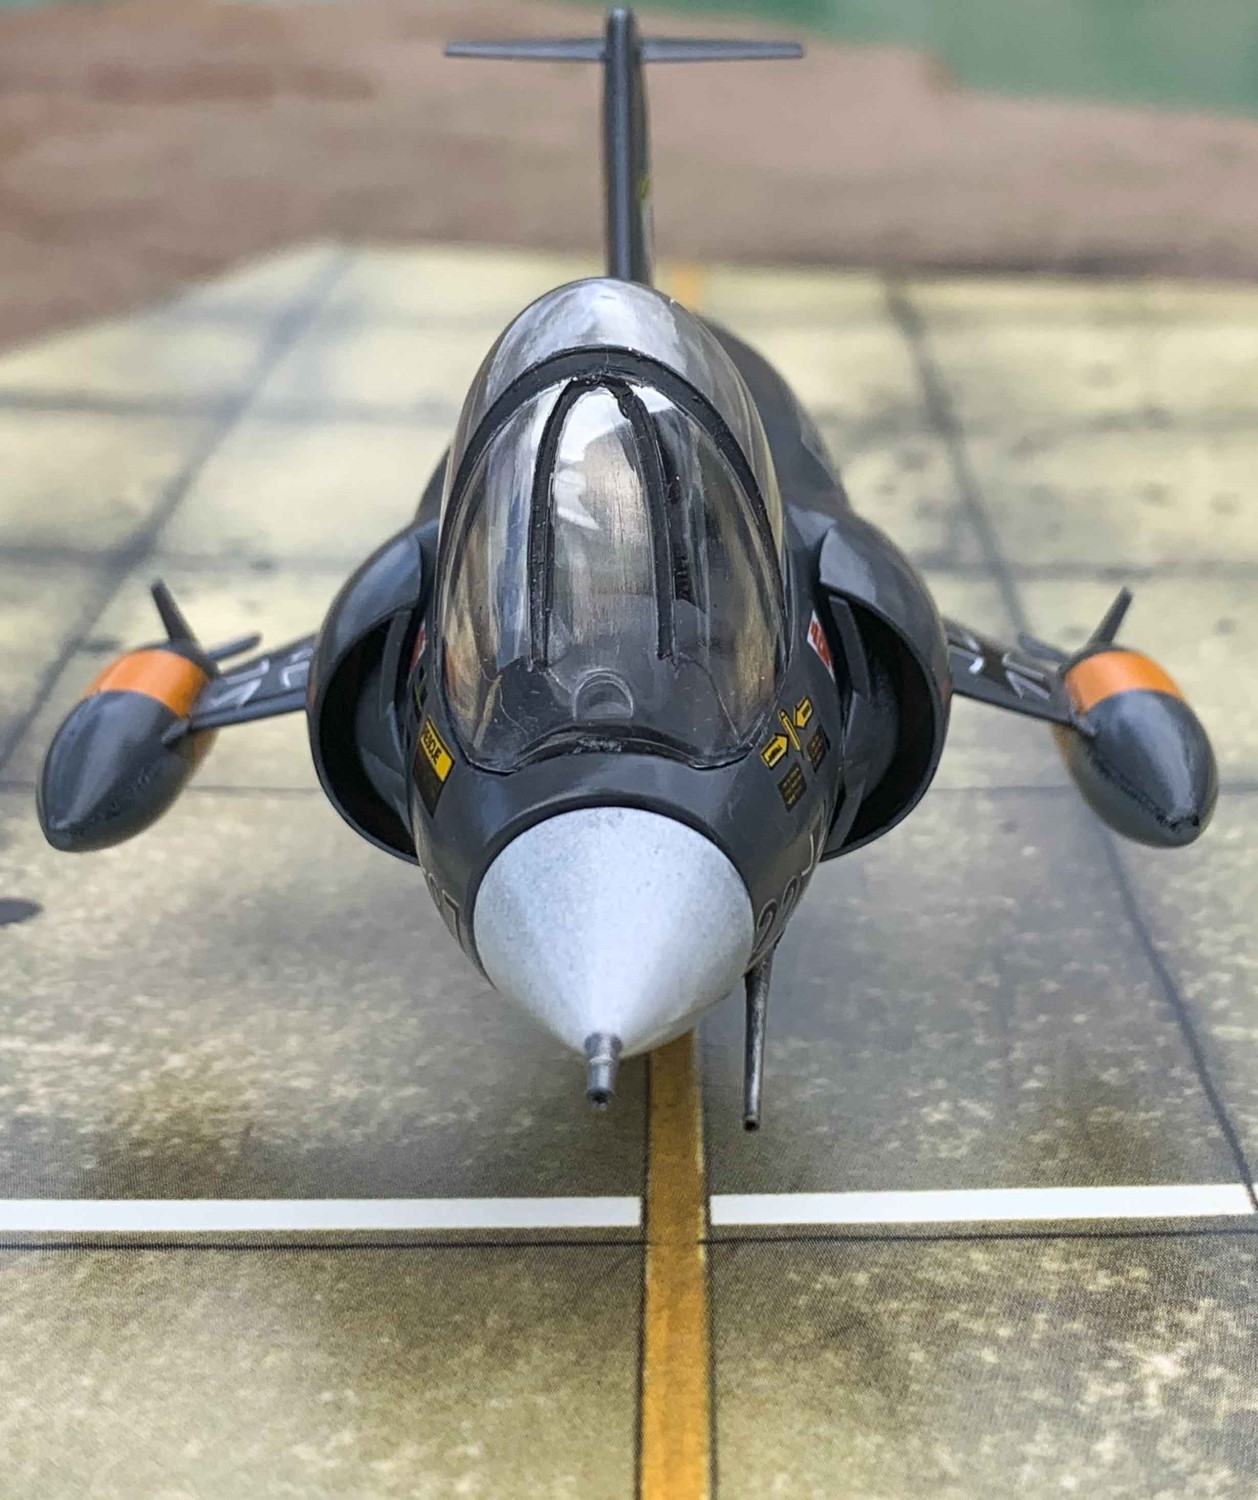
Although this may initially appear to be a kit that snaps together, you are going to need glue to hold this one together. The main fuselage halves, cockpit , nose radome, and exhaust are all mated to a central bracket for proper alignment. I added the intake halves next. To ensure proper alignment of the horizontal tail surfaces and the wings, I used my daughter’s Lego blocks to obtain the correct angles. I then assembled the pilot’s head and body. The next decision was what to do on the landing gear and missile launcher. One of my favorite F-104 photographs is a head on shot of the F-104 coming straight at the camera down the runway with what looks like a few feet of clearance. Looking at the gear options, I settled on the closed gear supported by a square peg. I closed up the nose gear door and also filled in the two missile launcher holes in the lower fuselage. I decided to branch out here and grabbed a IJN battleship turned brass barrel from Master to insert into the gun port. I drilled out the gun port iteratively with larger and larger carbide drill bits until I got the proper opening to insert the rear of the gun barrel.
There was a small bit of flash on the kit, but nothing that didn’t’ resolve easily. A couple of swipes with the sanding stick took care of this issue. I did use a small amount of filler on the tip tanks, wing roots, and main landing gear doors. Finally I used Tamiya’s Panel Line Accent Color for all the panel lines and the vertical tail and wing moving surfaces.
Painting & Decals
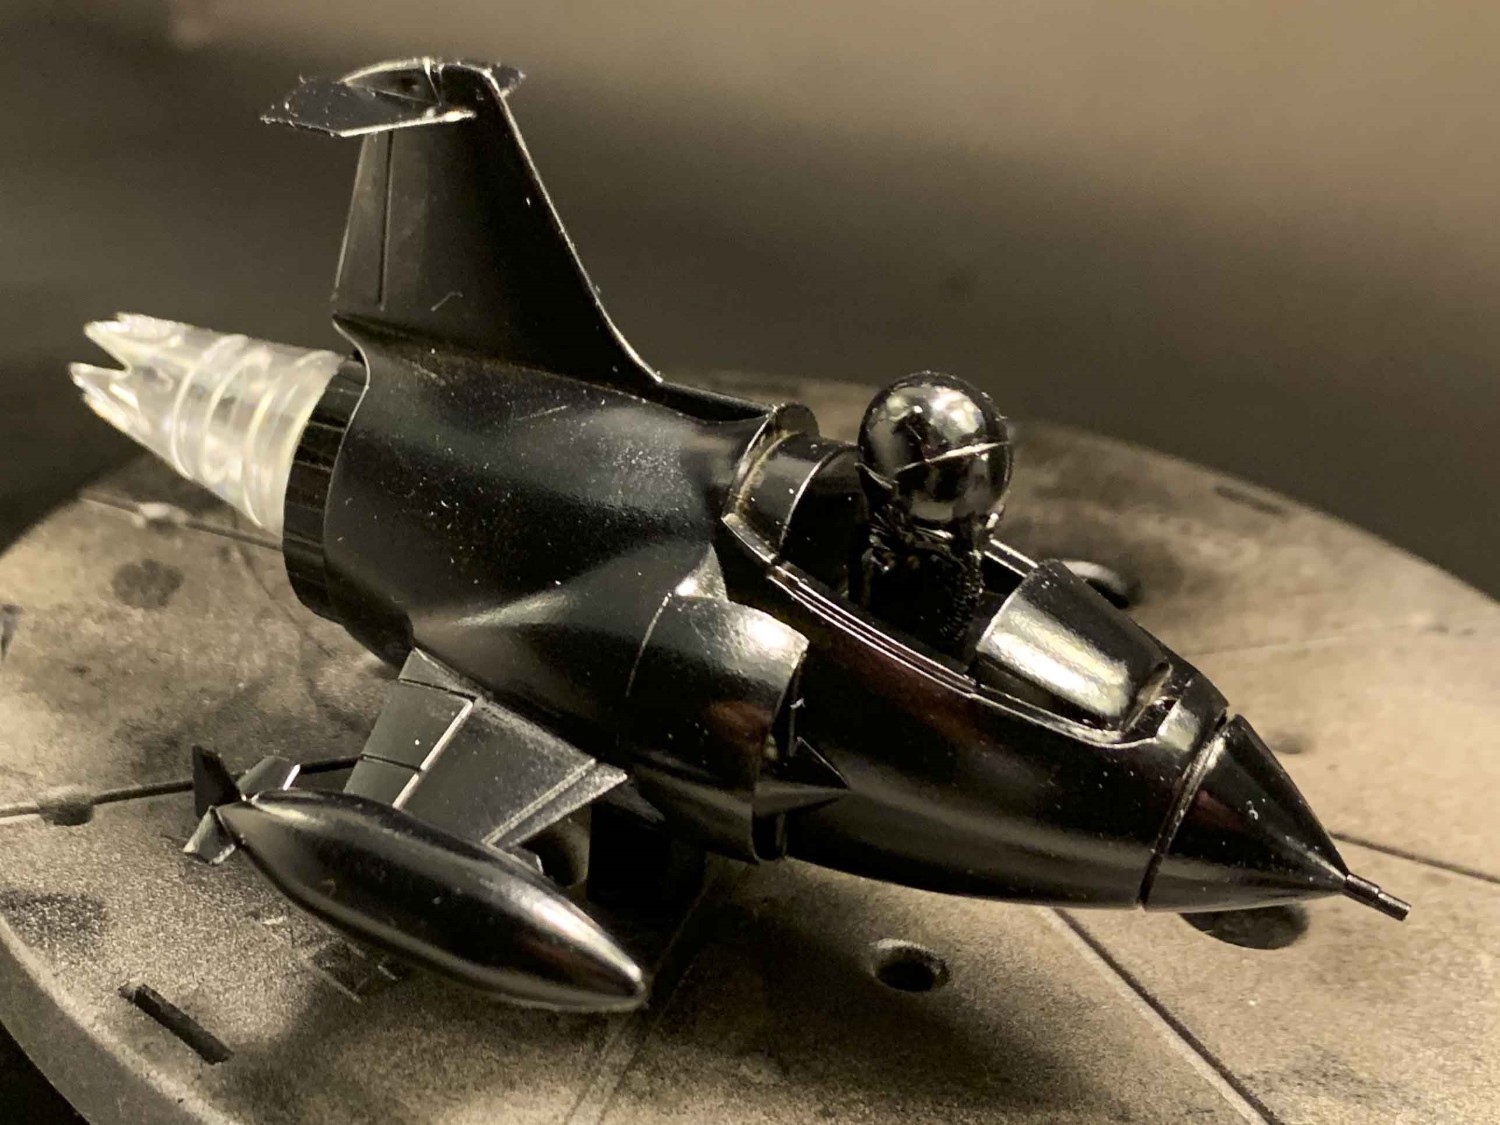
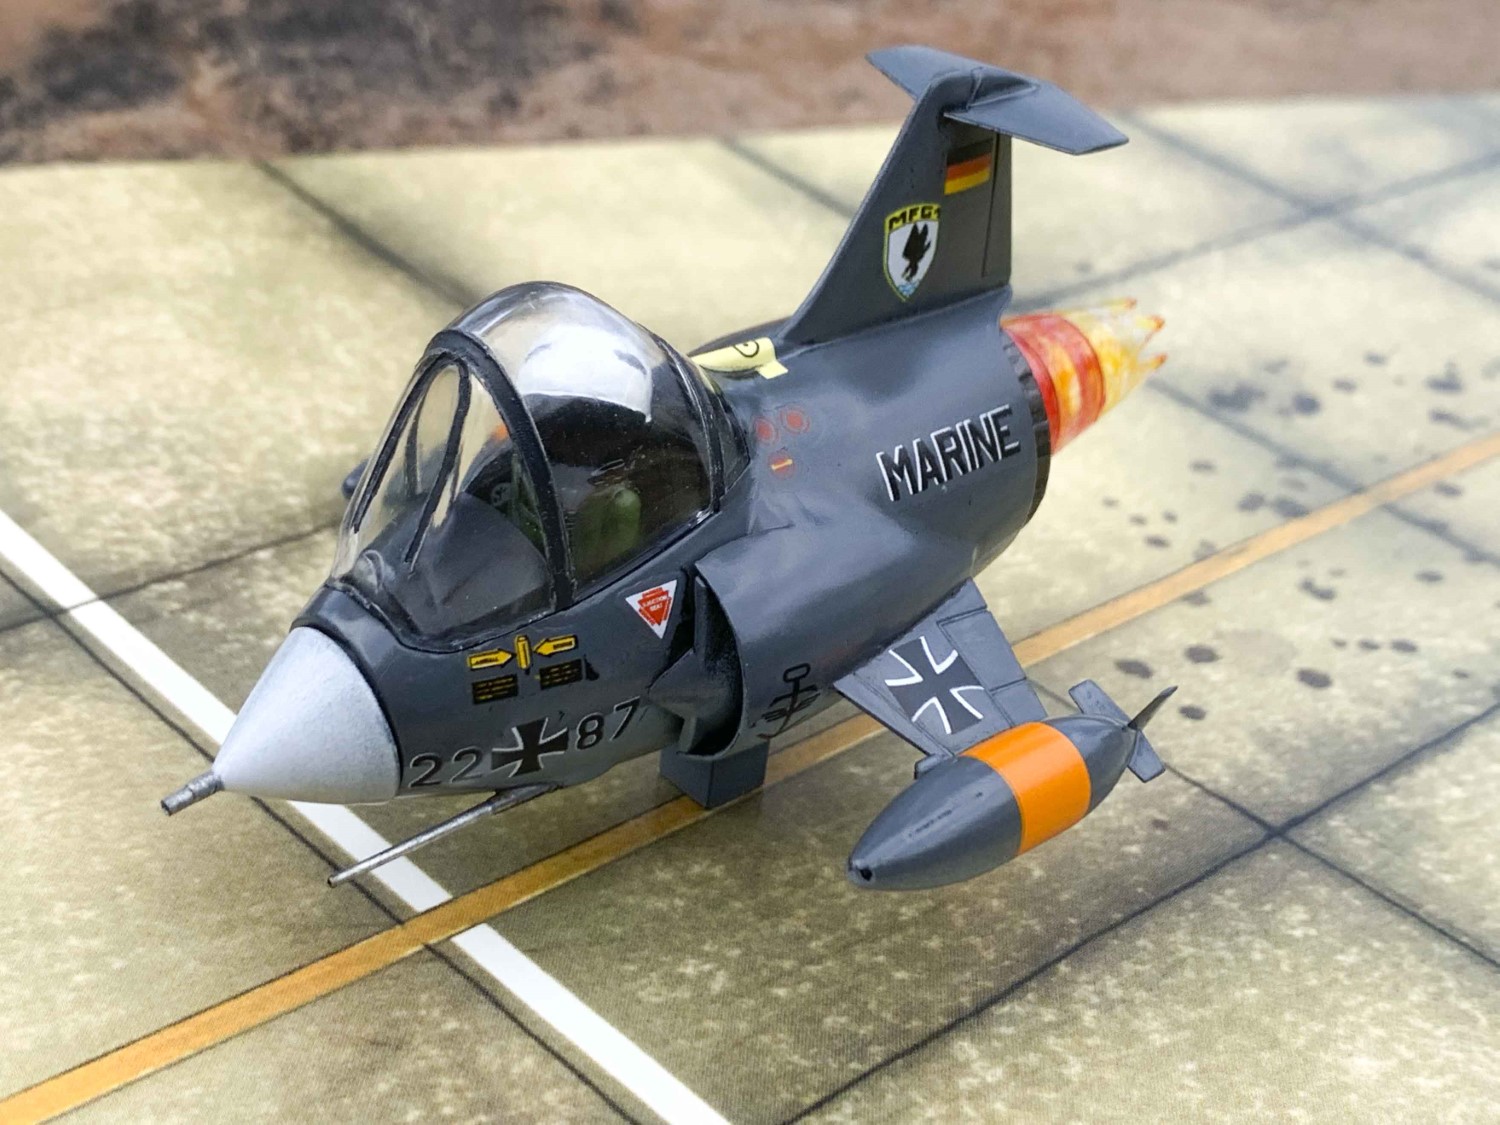
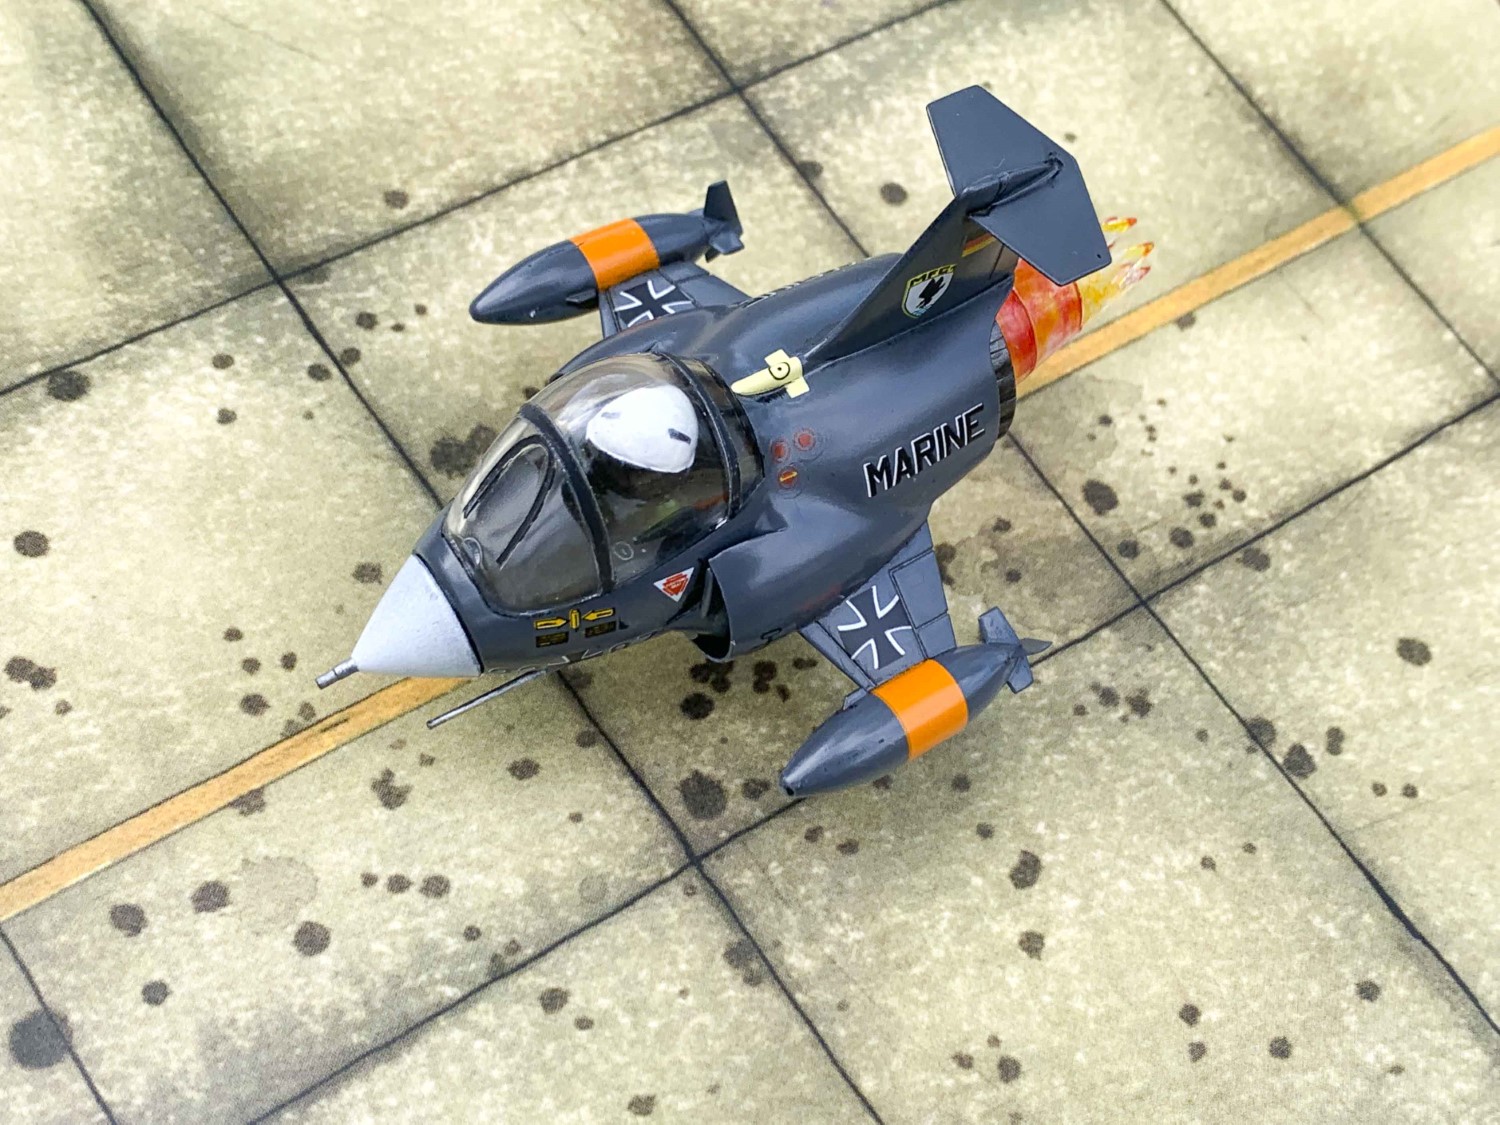
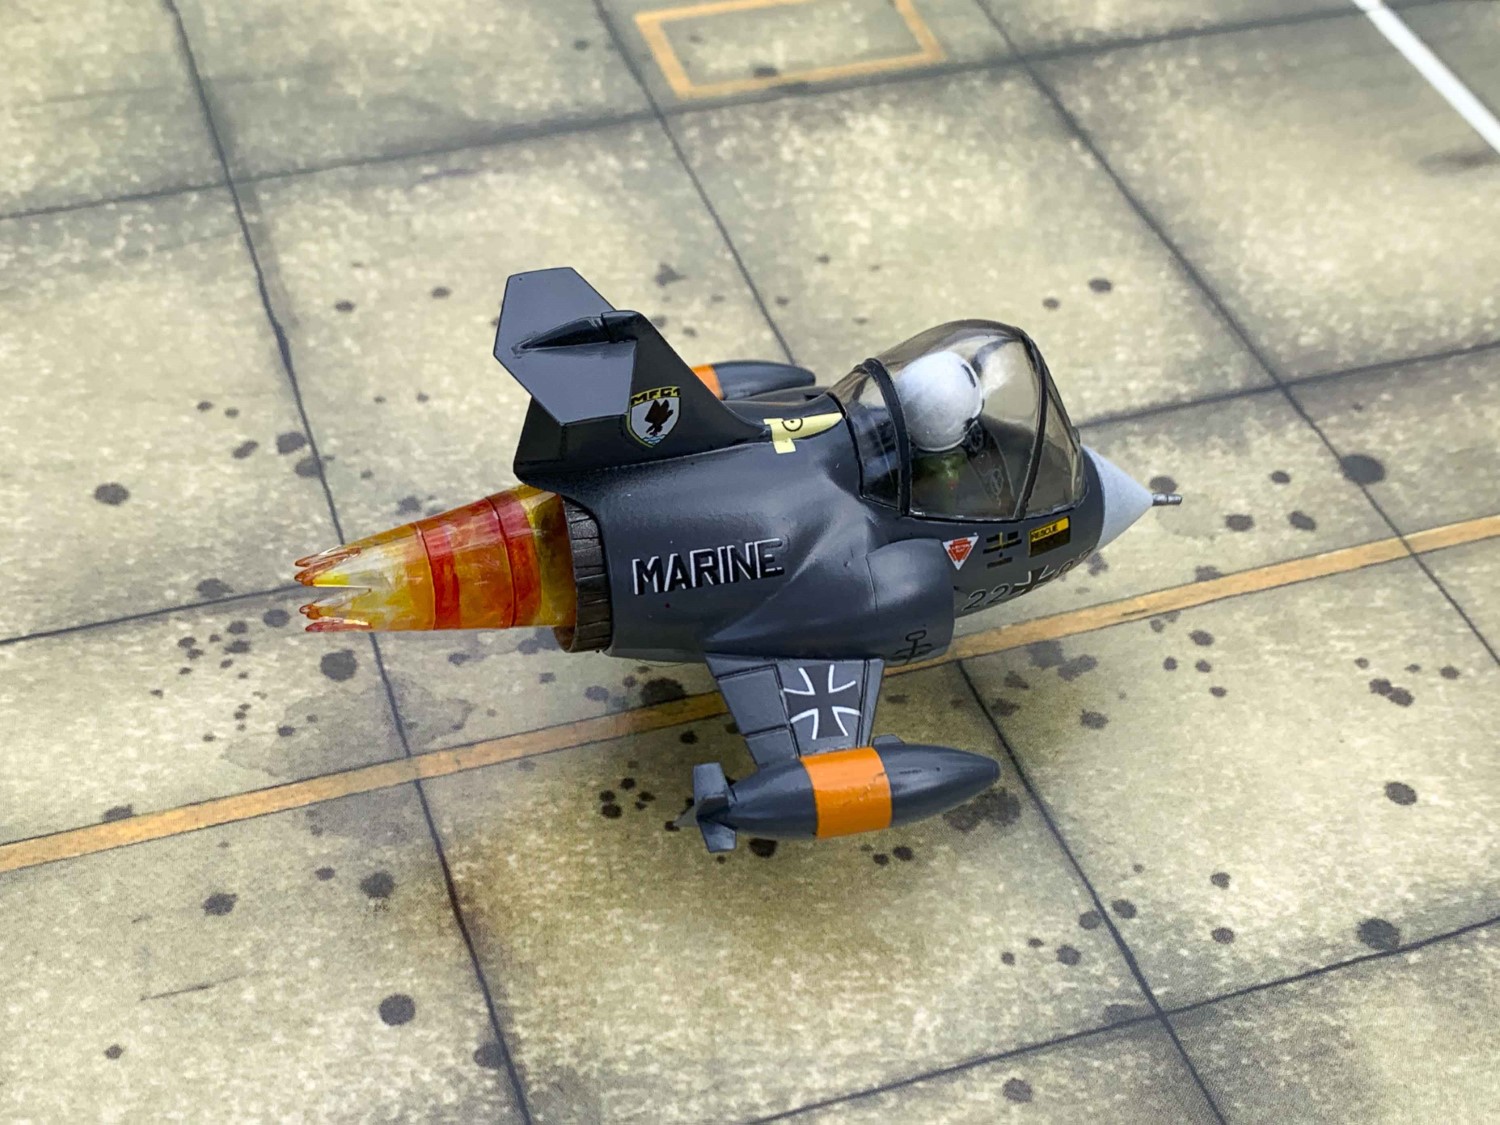
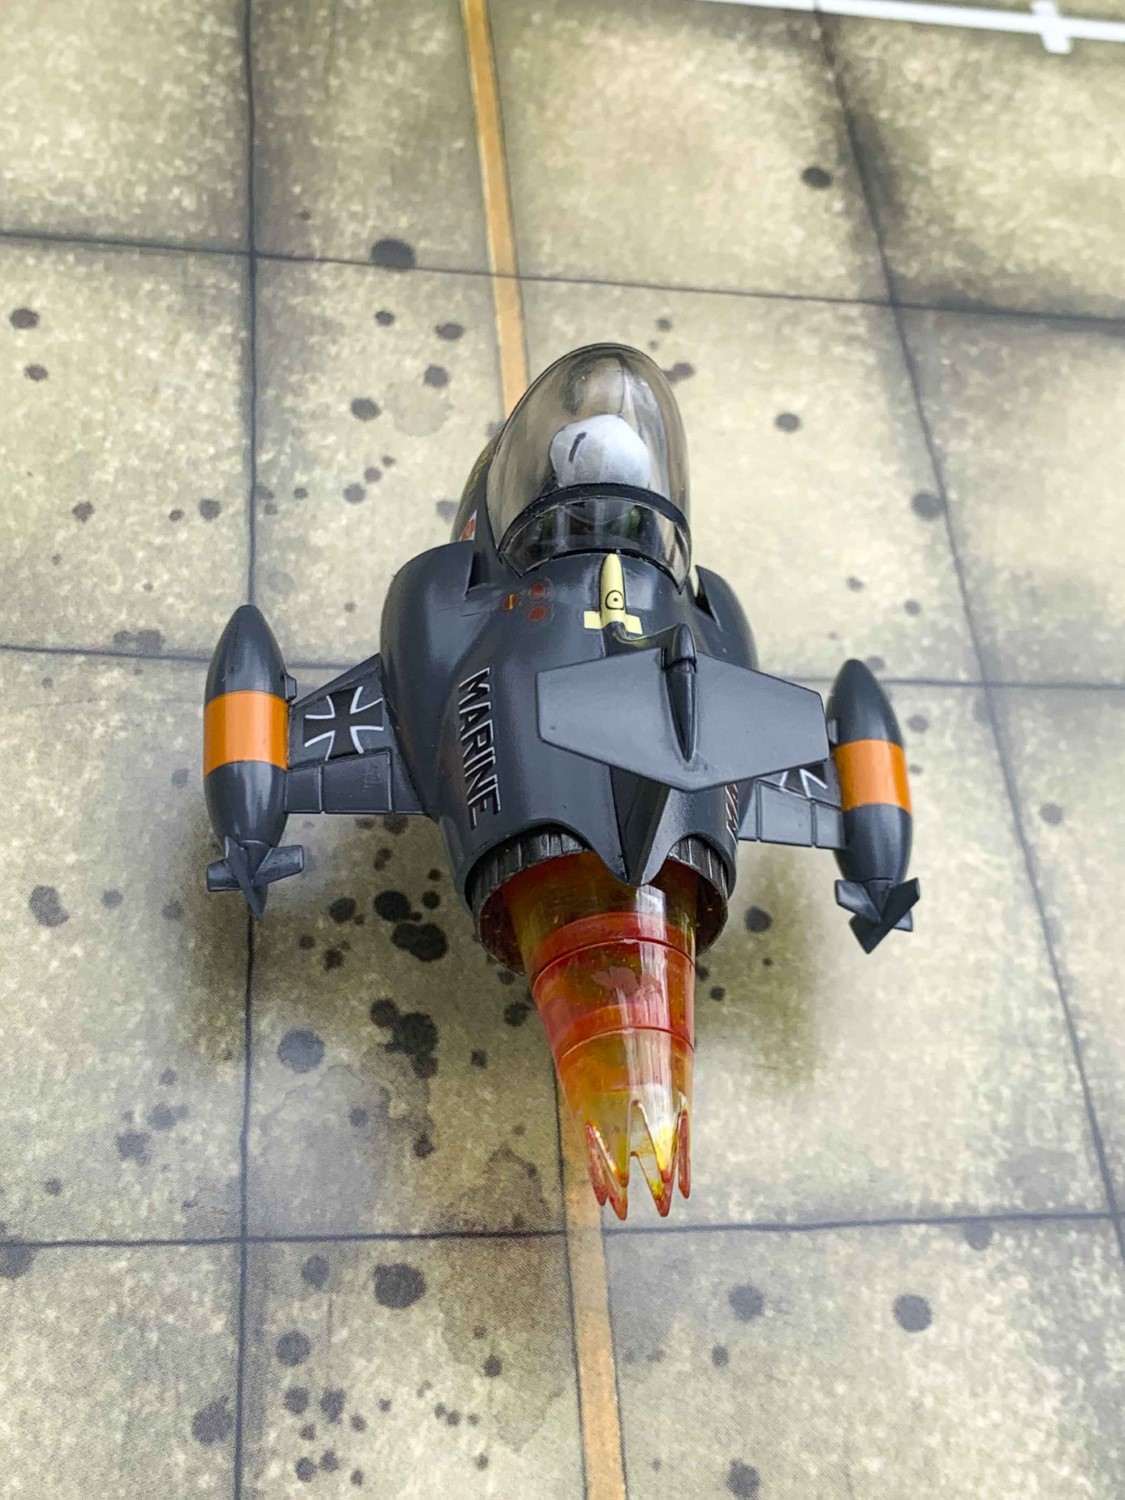
I primed the main airframe assembly with Tamiya Gloss Black. All four clear parts were painted with Future Acrylic Floor Shine inside and out. All remaining painting utilized Vallejo Model-Color, Model Air, and Metal Colors. I painted the Lower part of the aircraft with RAL7035 Light Grey. I masked off the bottom with Tamiya tape and sprayed RAL7012 Blue Grey for the top. The exhaust was painted Metal Color Jet Exhaust. The nose radome was painted Off-White, with the nose pitot tube painted Duraluminum. I painted the pilot’s helmet White and the Visor Black. The oxygen mask is Panzer Grey. The pilot’s body torso was painted Infantry Green, with Grey seat belts highlighted with Aluminum. The final painting was using transparent yellow, orange, and red on the clear exhaust stack. I’m still not happy with the effect yet, but the good news is that Windex can easily take off the transparent paints and I can start over.
Decaling was up next. I sprayed future on the painted airframe and let dry for two days. I had no major problems with the decals. All decals settled down with Solvaset with no problem, except for the tip tank orange bands. Part of this was self-inflicted, as I tried to move the decal a bit after placing it and managed to get a small tear. I still have a few ripples that so far have refused to lie down. Looking at the large canopy, I decided to add some instrument decals. Not having any F-104 decals easily available, I had an old Super Scale sheet of F6F Hellcat decals that offered six instrument decals (amongst other options). I grabbed one set and cut them so I had instrument dials and left and right cockpit panels. The airfield base is Squadron Products True Details 1/72 Airfield Tarmac Section.
Overall Evaluation
The AFV Club F-104G ‘Q’-Scale is a relatively simple kit with several interesting options and a great decal sheet. Fit was pretty good and only a minimum of filler was used. A child could easily assemble this model quickly without painting as the parts fit fairly well. Overall it was a fun diversion and my wife thought it was ‘cute’.
My thanks to AFV Club, Merit International Ltd., and IPMS/USA for the chance to review this great kit.
Highly Recommended !

Reviewer Bio
Frank Landrus

Frank retired from the Ophthalmic industry with over thirty-six years of Research and Development experience. Frank's first model kit was a 1959 Hawk 1/72 US Marines Vought AU-1 Corsair and has been building models for over sixty years. Frank's first encounter with IPMS was attending a North Central Texas ScaleFest show in 1984. Frank soon became more involved in Make-N-Take activities and became the IPMS Western Coordinator for Make-N-Takes [West of the Mississippi River]. Make-N-Takes quickly became a local model contest and airshow staple reaching a high of reaching over 1,300 children before the COVID shutdown. Frank has volunteered to assist in contest judging since 1985 and is currently the Nationals Head Figure Judge until he is dead or they find someone better.
Comments
Add new comment
This site is protected by reCAPTCHA and the Google Privacy Policy and Terms of Service apply.
Similar Reviews