
F-102 Cockpit and Landing Gear Wells
Continuing the build of F-102’s: Having just built the Encore F-102A, I had offered my services to build one of my stash Revell/Monogram F-102A kits around these Aires items. They are simple upgrades, with major appearance improvements. Aires continues to set an almost unbeatable standard for detail. Their fit has improved greatly over the years, and once complete, you have a work of art at reasonable cost.
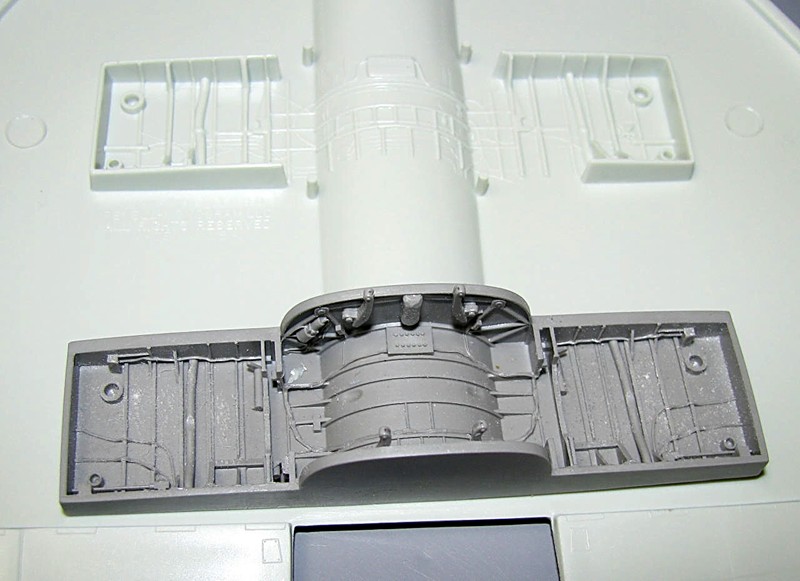
First, the wheel wells. The main gear well requires you to remove part of the existing interior hump from the upper wing surface, locating pins for the kit wheel well bulkheads, and sand down the back of the beautifully-done one-piece main wheel well supplied by Aires. This done, the well slipped into place and was glued down without problems. The wing halves were then glued together. An excellent fit on all accounts.
What I have not shown is the sprue of actuators: In this build, I thought it was more important to show how the parts fit in place than final pictures.
Next, the nose gear well was prepared for installation.
You literally have to thin down the top of the Aires well so it is translucent (Shine a light behind it), and it will glue nicely in place.
Again, the detail is stunning, and far better than the molded kit item.
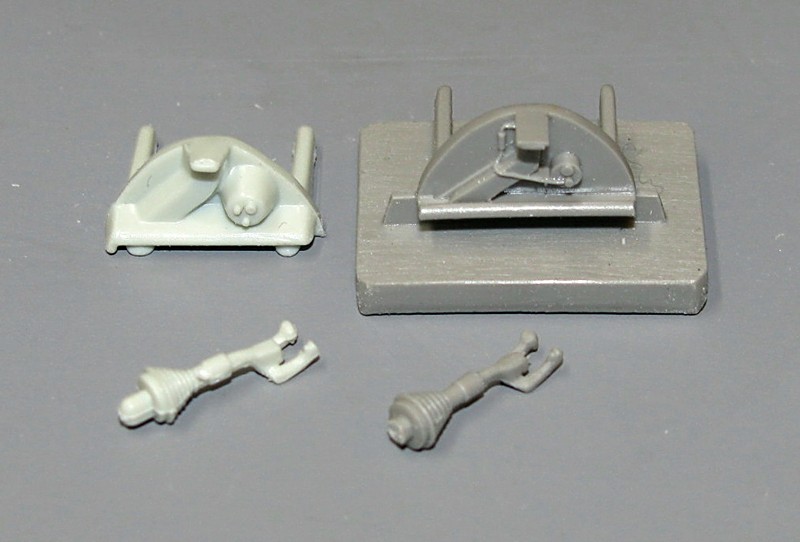
In this image, I have placed the kit control sticks and canopy actuator items next to the Aires items.
As you can see, there is finess that injection molding cannot duplicate. The back of the headrest, for example, has lightening holes in it.
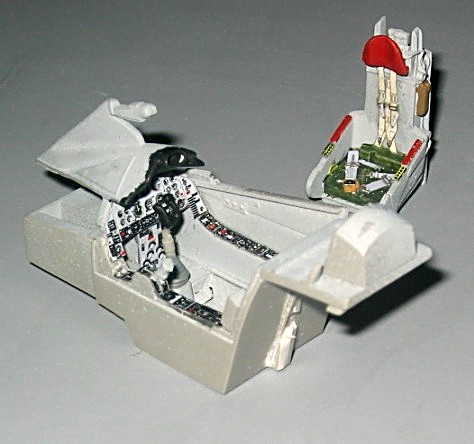
Last, the cockpit. Consisting of a PE set for the instrument panel, rudder pedals, and seat harness, an instrument film which can be painted white and installed (Or lighted from behind for those so inclined); a main cockpit tub; sidewalls; seat; control column; instrument coaming with splitter and scope cast in place, and the aft canopy mounting frame. It took a bit of work but it finally slid in where it was supposed to be. My first picture is that of the cockpit tub with the molded in detail on it; painted and drybrushed.
The second is that of the final build. As I like to do these days, I removed the molded on detail on the panels, not because I really wanted to, but I prefer to install the Eduard PE interior set for the insrtrument pane and sides. I have to face reality; I can’t paint instrument details like this, and although the Aires parts have perfect relief detail, the Eduard sets are better for me personally.
The seat received the same treatment and the Aires belts are great, but the Eduard belts are prepainted. All this came together nicely.
I cemented the fuselage halves together, and installed the cockpit from behind. It was a bit tight; I had thinned down the interior of the model, but still had “Modeller” issues. In the end, after a bit more thinning of the interior of the fuselage, everything closed up quite nicely and the cockpit looked like it belonged there.
In the end, I’ll have a much better looking Deuce than out of the box. Aires continues to produce the best out there in my opinion; Keep them coming! Overall rating: 9 of 10 for fit, with 10 of 10 for detail
Thanks to Aeres and IPMS for my review samples.

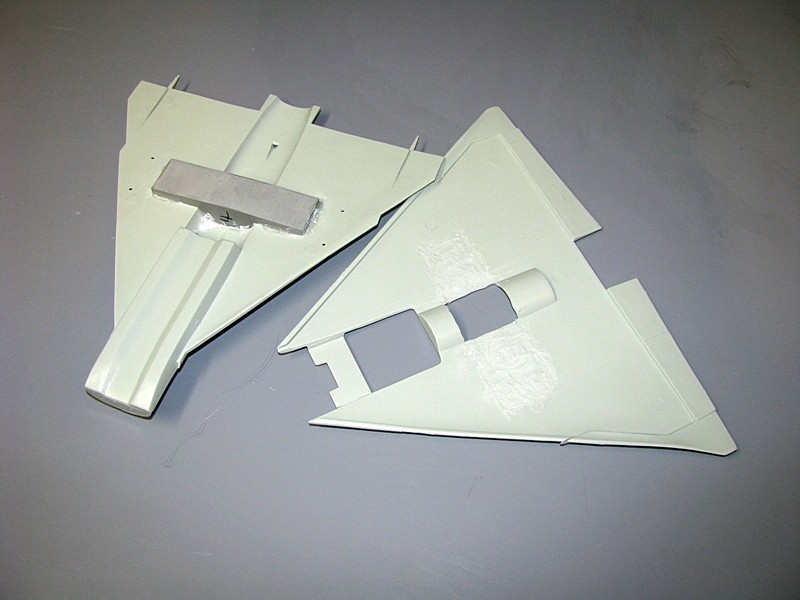
Upper and lower kit wing
One-piece main wheel well

Thinned down wheel well
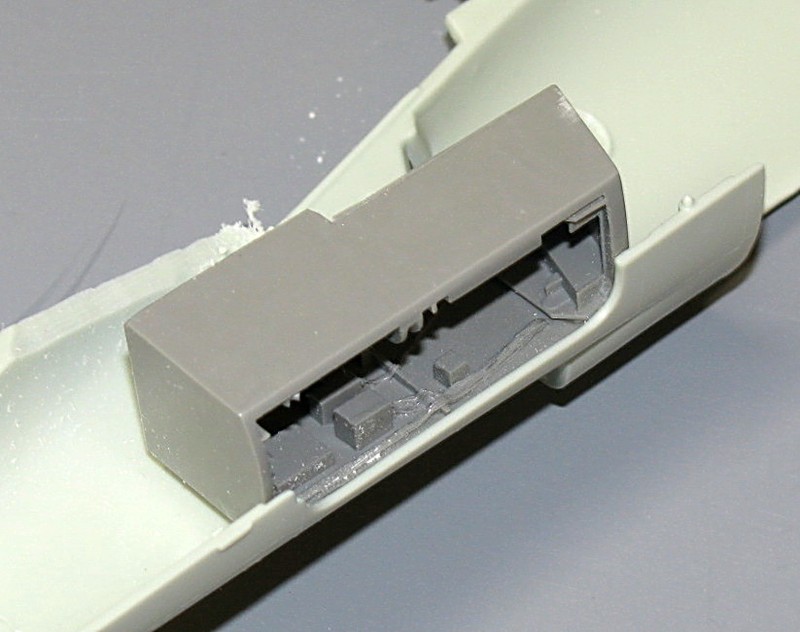
Nose gear well installation
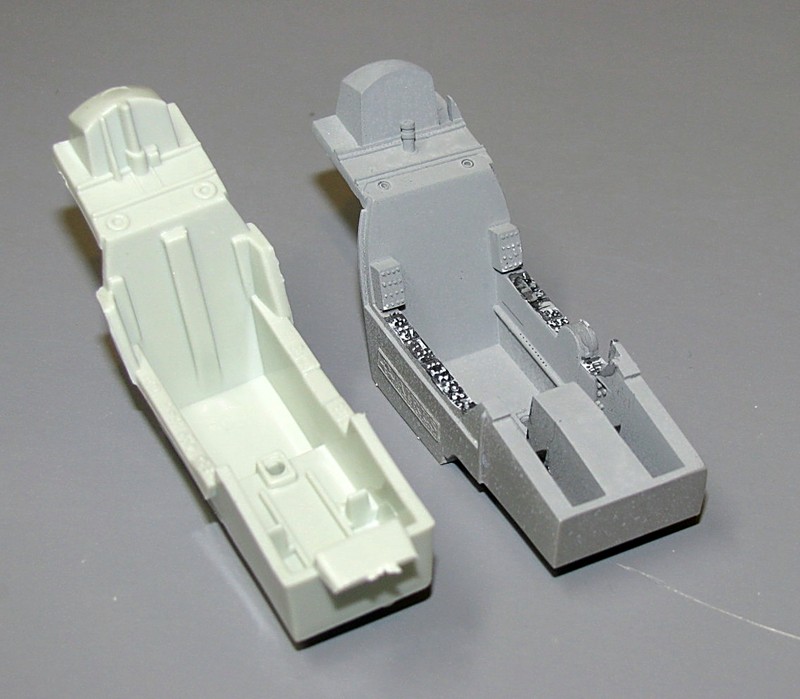
Aires vs. kit comparison of cockpit tub
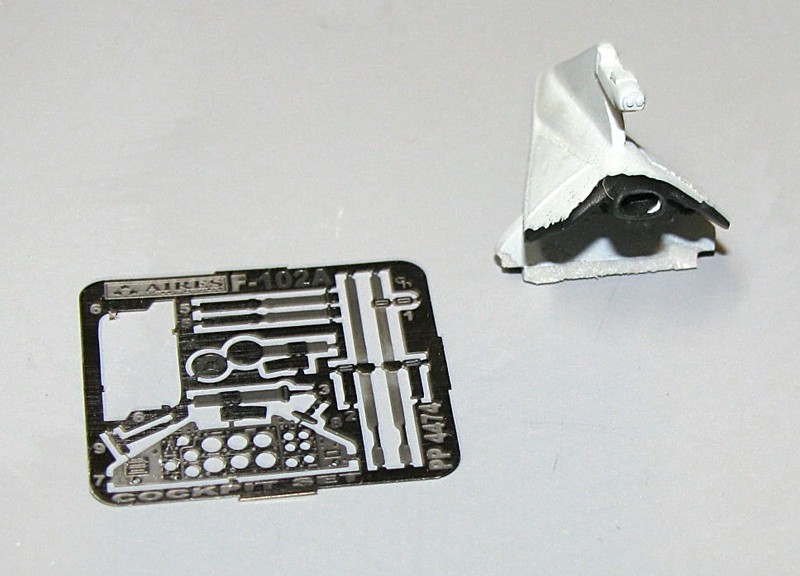
Cockpit set photoetch and instrument panel

Cockpit tub with the molded in detail on it; painted and drybrushed
Finished cockpit assemblies

Finished cockpit assemblies
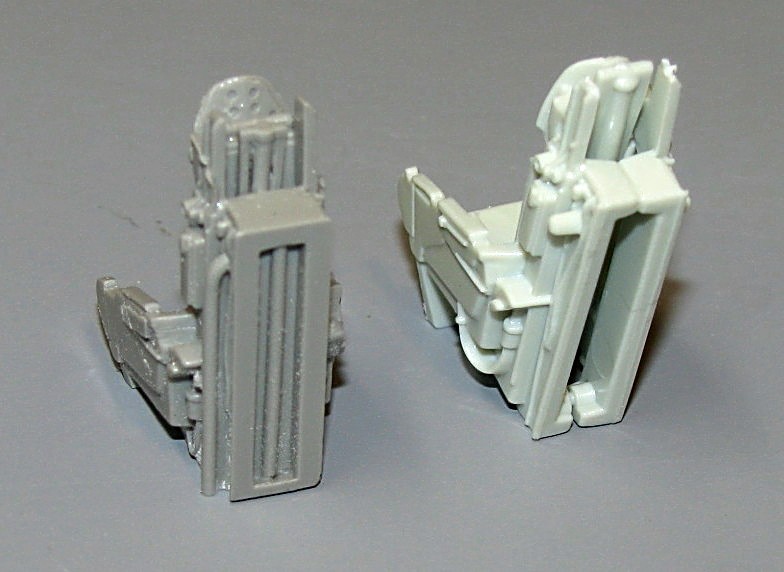
Back of seat headrest showing lightening holes
Comments
Add new comment
This site is protected by reCAPTCHA and the Google Privacy Policy and Terms of Service apply.
Similar Reviews