
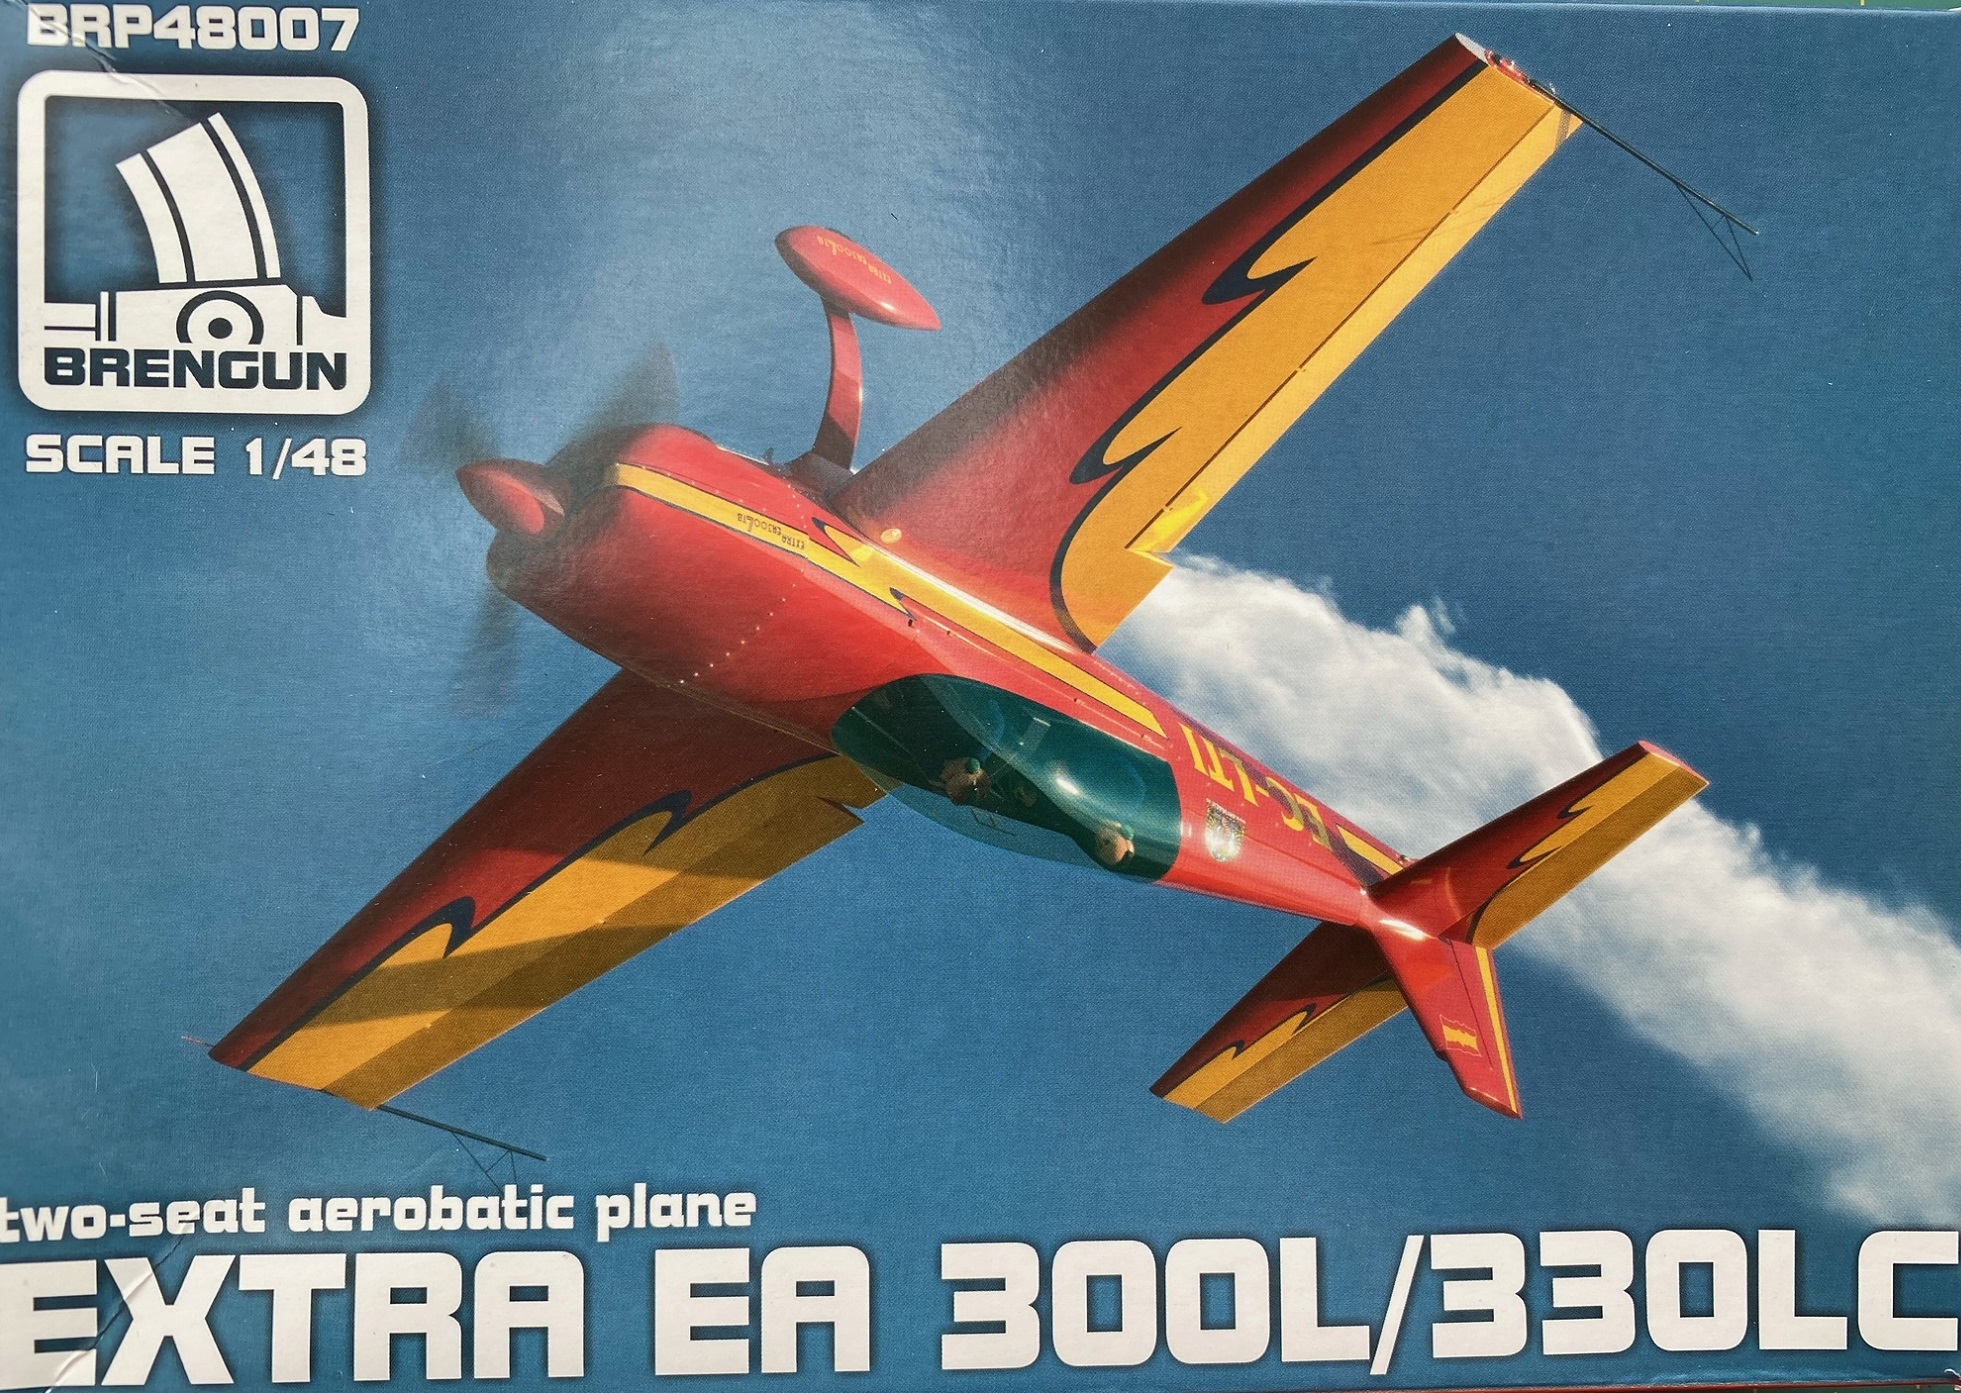
Extra EA 300L/330LC
Designed by German aerobatic pilot Walter Extra in 1988, the Extra 300 started life as an unlimited aerobatic platform with a shoulder mounted wing that made landing interesting because the runway wasn’t visible during touch down. In 1995 the Extra 300L was introduced and has become the most numerous of the Extras manufactured to date. Learning lessons from previous versions the L (for low wing), mounted the wing lower on the fuselage to improve the view for both pilot and student. This is a purpose-built machine that is capable of exceeding the average pilot’s physical abilities. Designed to withstand the stress of 10 positive and 10 negative Gs and roll up to 400 degrees per second, the Extra is right at home in the worlds of unlimited aerobatics. They can be seen in airshows, aerobatic competitions and air racing like the now defunct Red Bull air races. They are also common in the fleets of aerobatic schools that teach aerobatics and upset training for those of us who don’t normally toss airplanes around the sky.
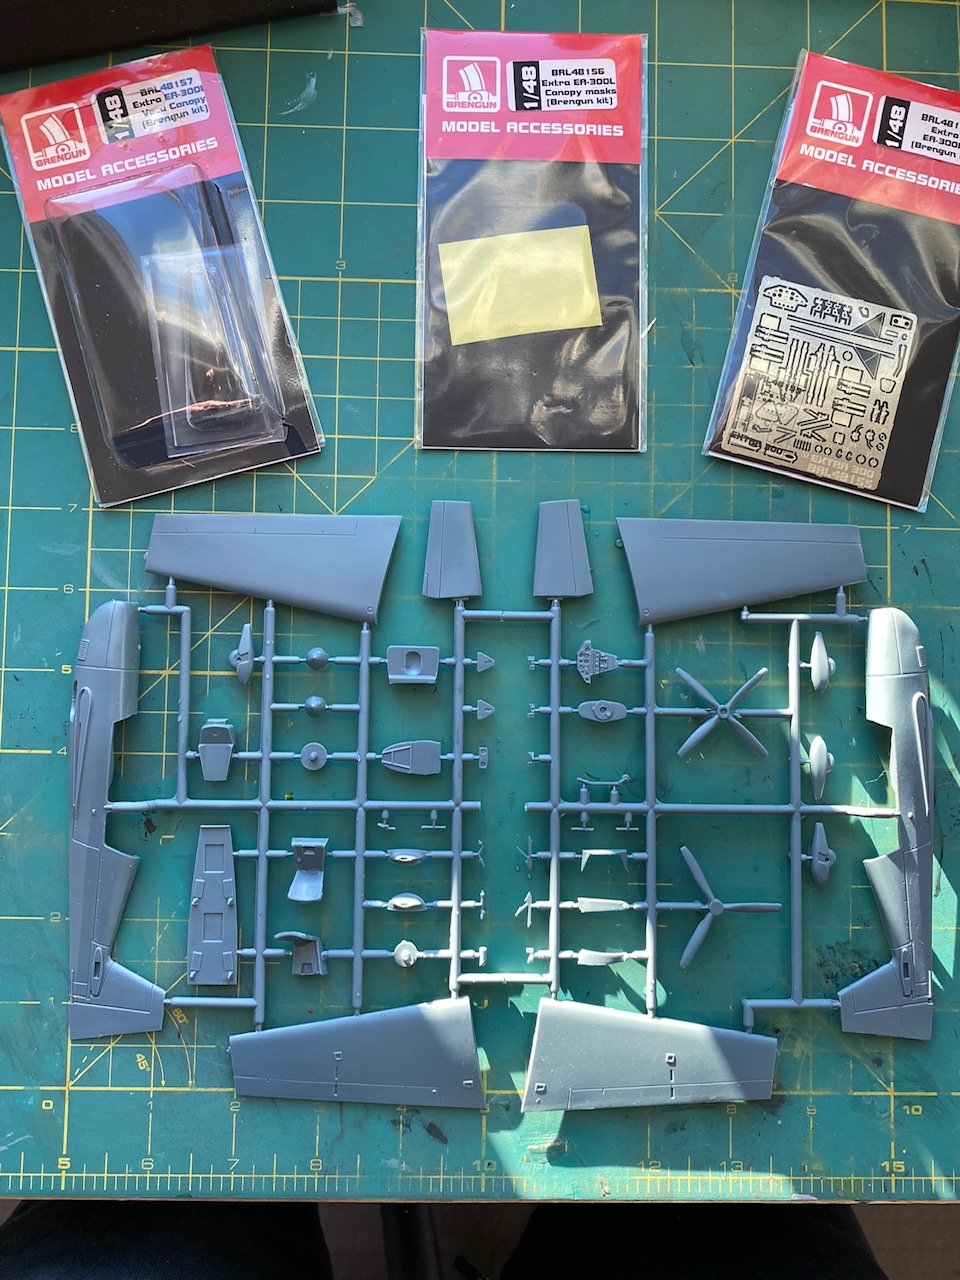
In keeping with their record of producing interesting civilian aircraft models Brengun has brought us an injection molded kit of the Extra. This boxing says it includes both the 300L and the 330LC but the marking options in this boxing are for the 300L only. This is limited run injection mold so there are no location pins and the flying surfaces are all butt joints. The real aircraft is composed of a fabric wrapped steel tube fuselage with the balance of the structure made from carbon fiber. As a result, there are very few panel lines or protrusions on the airframe. The canopy is injected and a nice decal sheet round out the package. I should point out that Brengun also provided a PE detail set, vacuform canopy and canopy mask set for this review. Those items are reviewed separately.
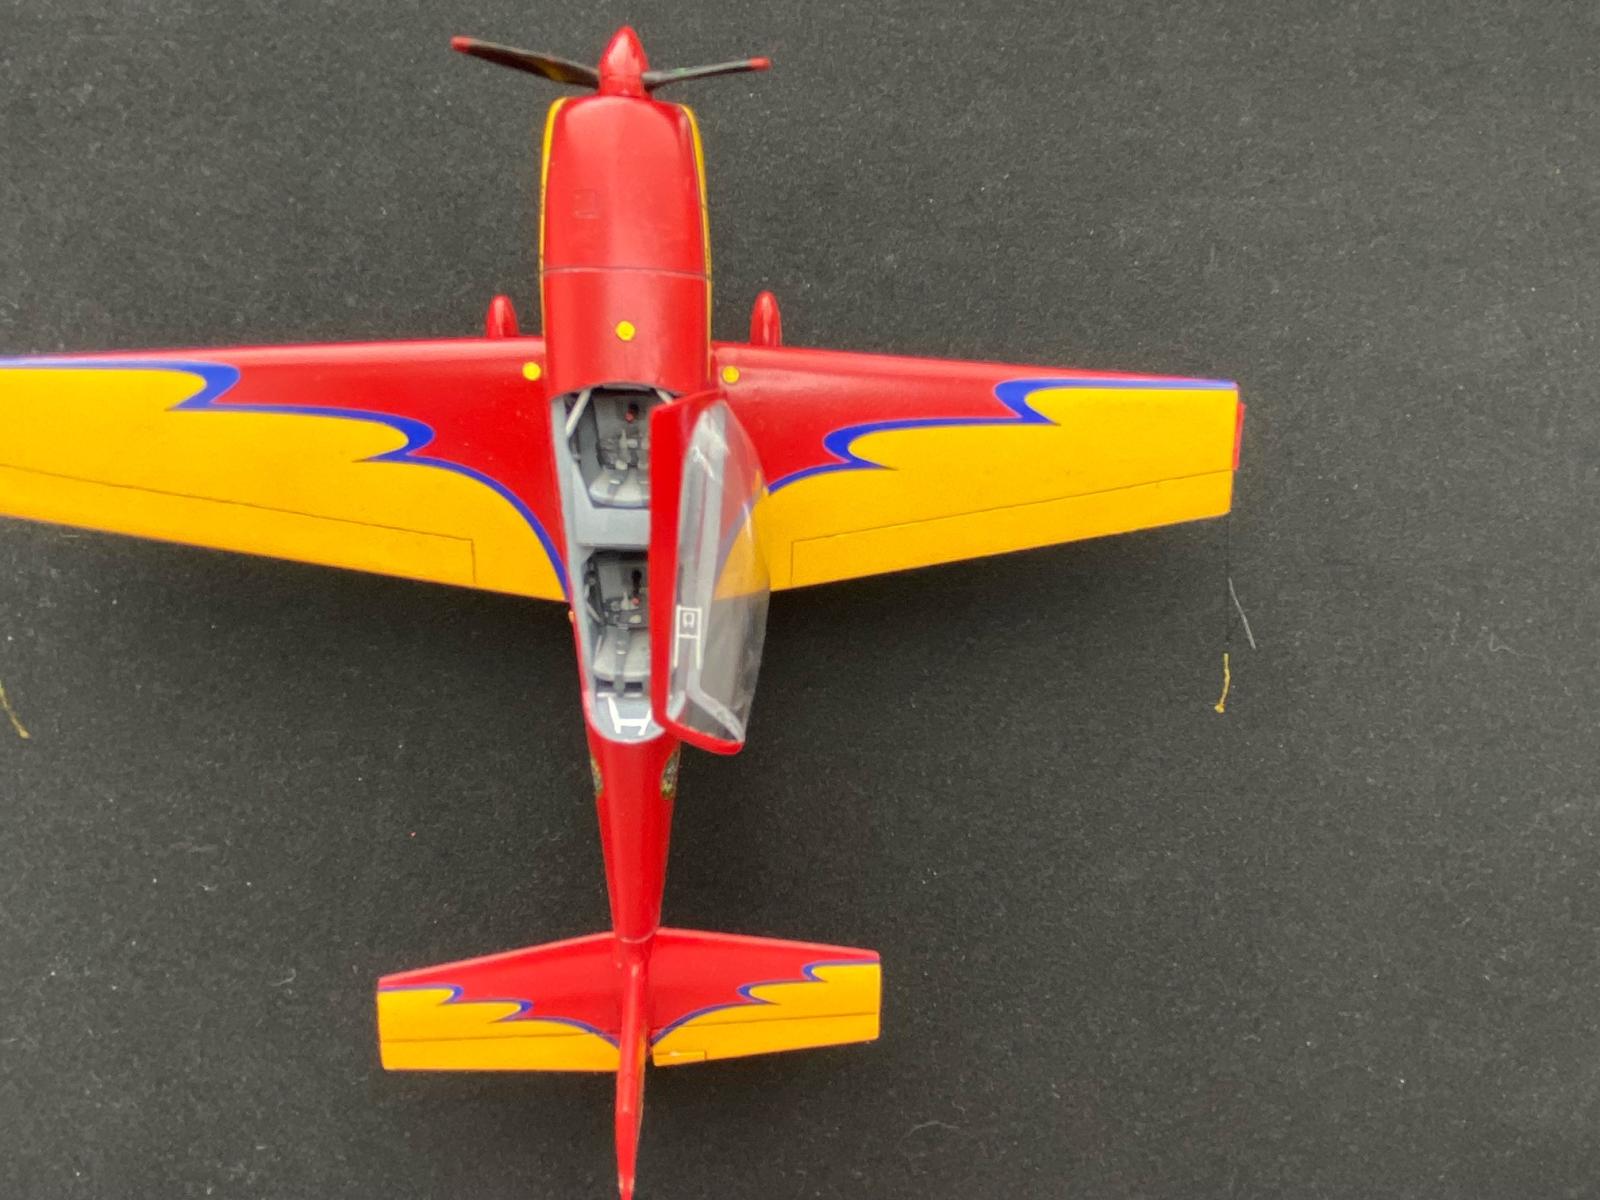
The built starts with the cockpit that includes seats, rudder pedals, instrument panels and front and back bulkheads. An insert under the cowling and behind the air intakes is all that’s left to close up the fuselage. There are no seatbelts provided in the base kit or instrument decals for the panels. The wings butt join into slight recesses on the fuselage and the horizontal stabs have small tabs. This aircraft has no dihedral on the wings so align them accordingly. The landing gear legs also butt join the fuselage. On the real aircraft this is a one-piece unit made from carbon fiber. I carefully drilled each end and used brass wire to strengthen the joint. The other issue I found with this kit is the canopy does not fit in the closed position. It's too narrow and tall at the back to allow flush fit when closed.
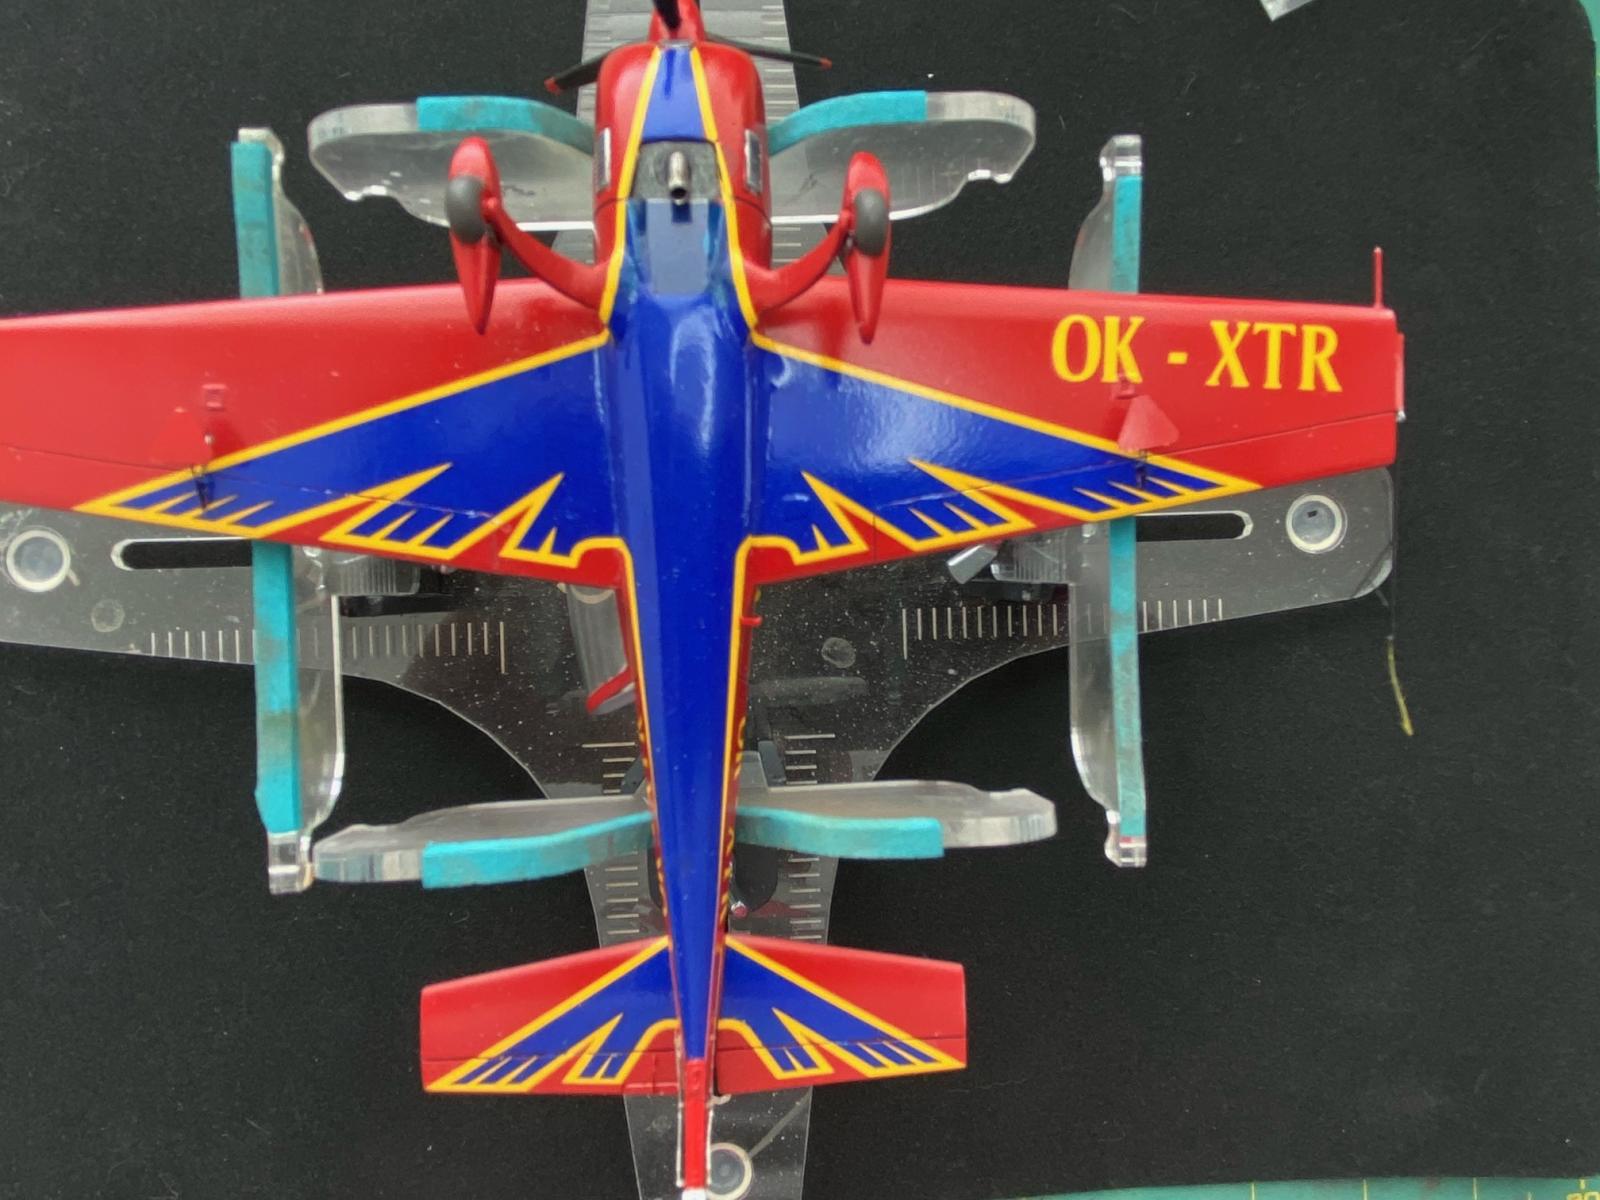
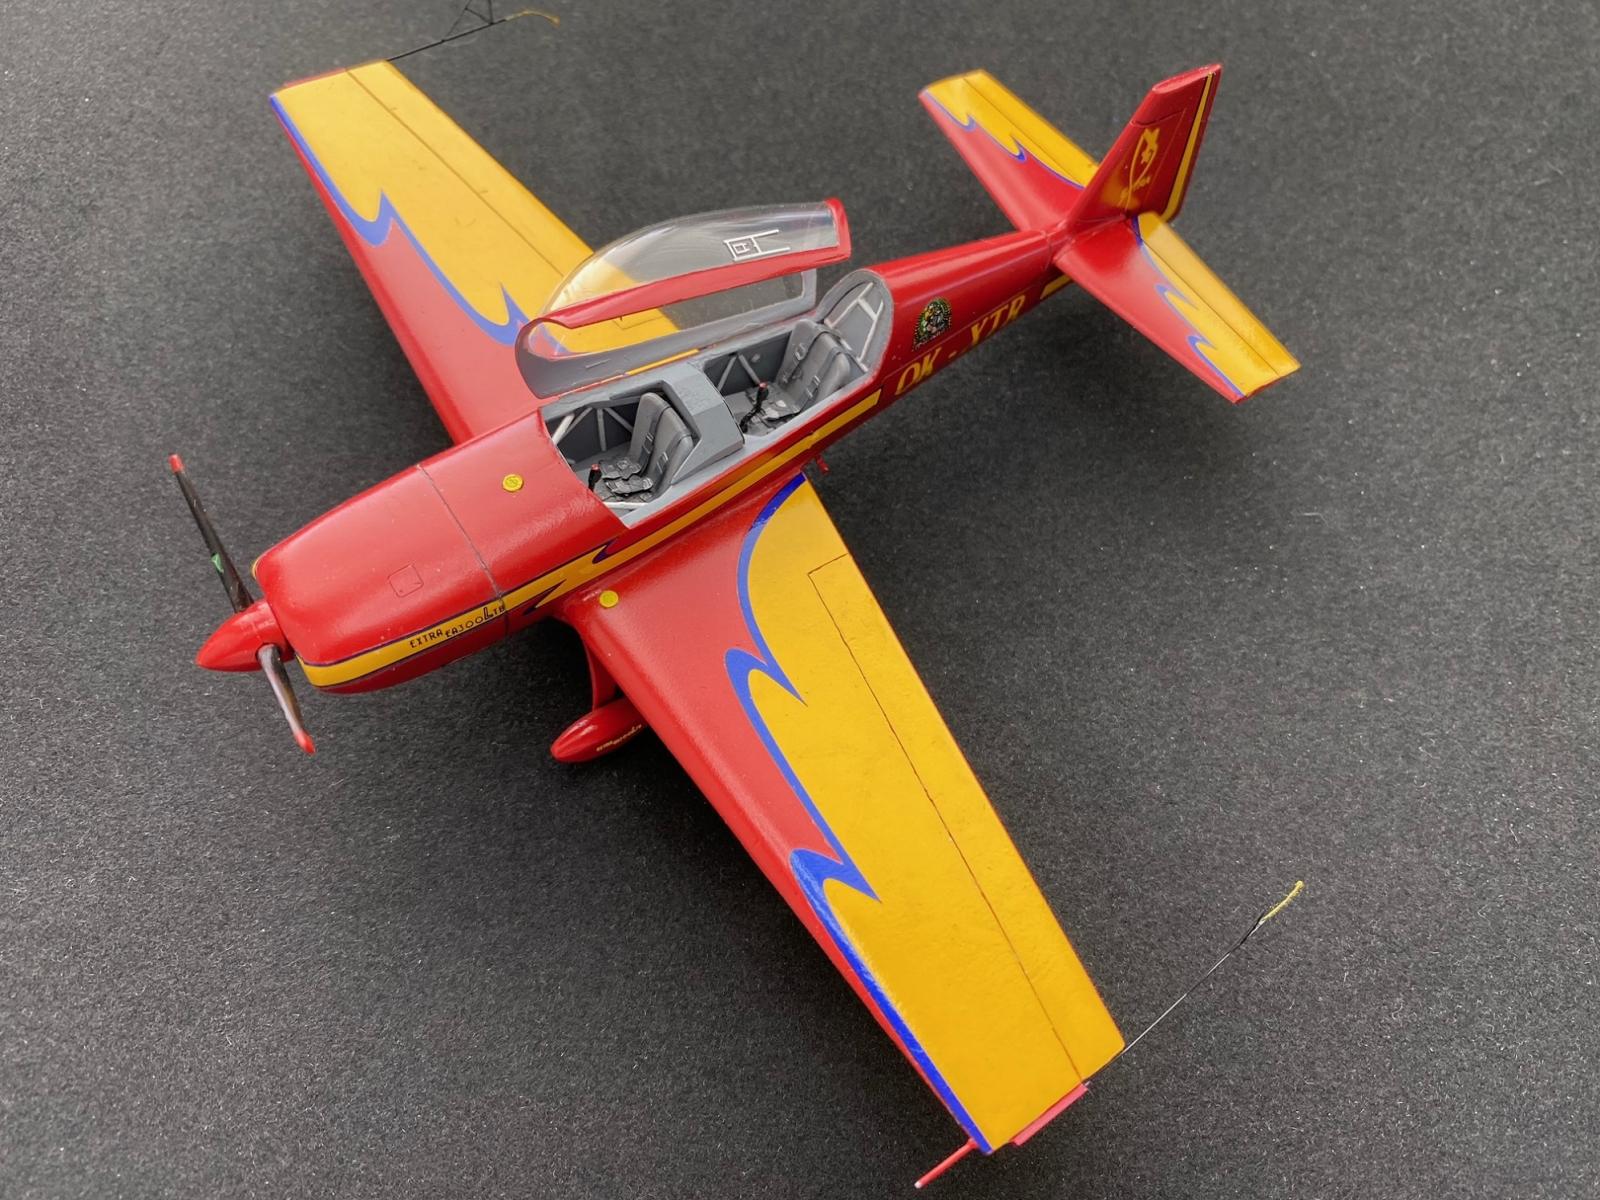
Two marking options are provided on the decal sheet. One is a black and yellow scheme that requires masking on the upper wing surface with cheat lines provided as decals. The instruction includes a scale three view to make masking easier. The only issue I see is the cheat lines appear to be white in pictures I found online. The kit decals are silver. The other version requires an overall red base color with decals to create the graphics. I’ve been using Mr. Color lacquer paints lately and have been getting good results from them. The color used on this build was Red Madder.
The decals presented some issues. Getting them to lay down and conform to the surface took multiple treatments of Micro Set/Sol and Solvaset. Even then, I couldn’t get them to conform into panel lines and control surface joints. Once dry, they proved brittle so I had to be very careful working around them to finish the model. The remaining details are easy to work with. The base kit is overall a relatively easy build, the decals and masking for the two finish options move the difficulty up a notch. If I had it to do over, I would have picked the other to paint option to avoid the decal frustration. Oh and spoiler alert, get the PE set for this kit as it provides essential items to finish this model the way it should be. Thank you Brengun for yet another unique subject we wouldn’t have otherwise and to IPMS for continuing to keep me busy at the bench.


Comments
Add new comment
This site is protected by reCAPTCHA and the Google Privacy Policy and Terms of Service apply.
Similar Reviews