
European Tram - Part 2
Part 2: Painting the Interior
This build has not completely stalled, despite the long hiatus since the last update.
I have been working on the painting of the interior and undercarriage and I have done some research as to what colors to use. The passenger cabin was left in natural wood color (mahogany maybe) with some varnish to protect the wood. The driver position was most likely painted wood, in different versions of tan and sand color, but perhaps it was natural wood color in some examples.
As the model features a full interior (which is very exposed due to the large windows), you will have to remove and prepare all the parts, ensuring proper dry fitting of them before you can paint and glue them.
Given that there are handrails in the inside of the windows, I decided that I will do as much painting as I can without the windows and handrails. I plan to add the windows and handrails as late as I can in the whole building process. In order to do that, I plan to have the overall roof to be a subassembly that will “sit” on top of the Tram body.
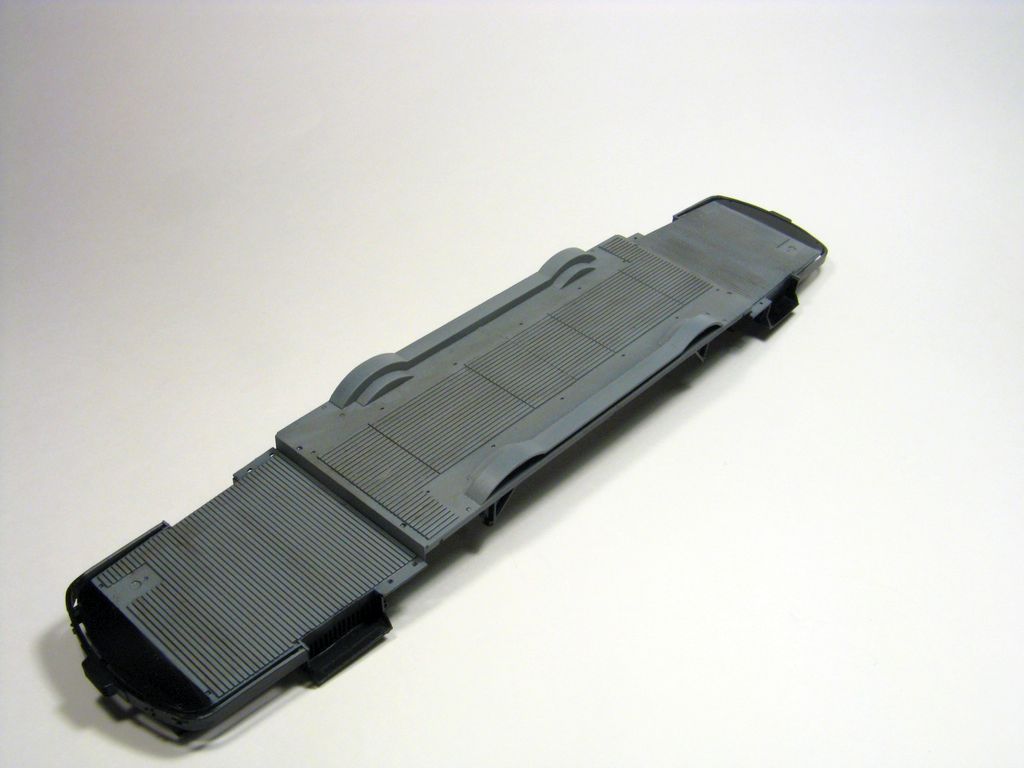
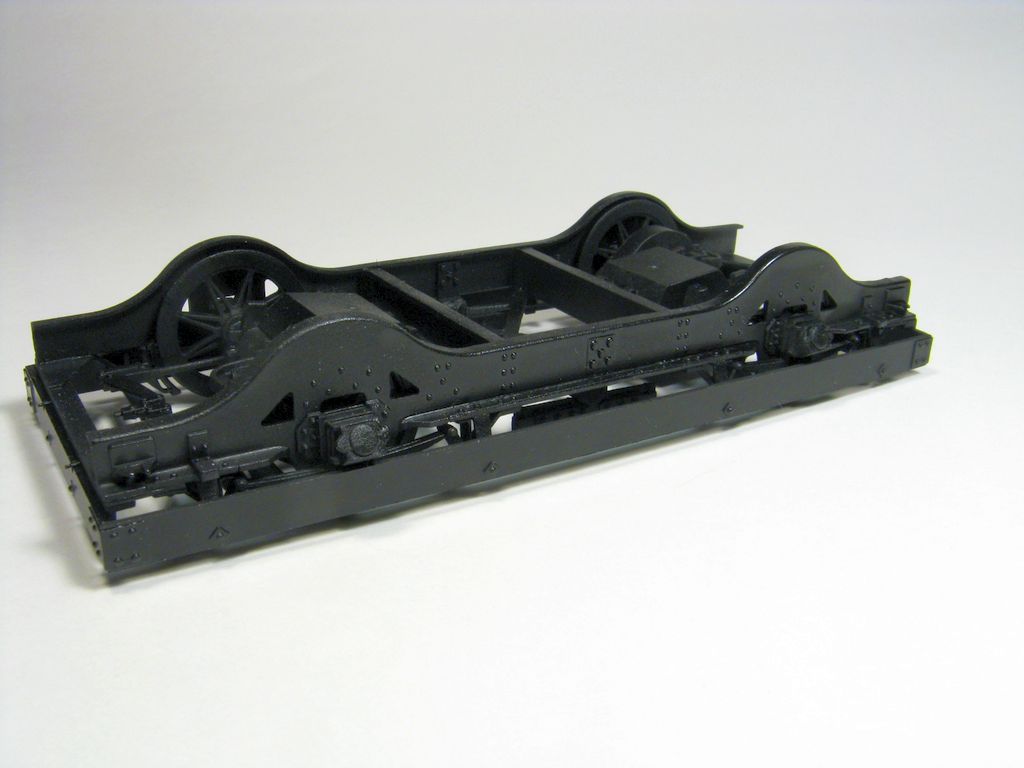
As painting goes, the overall running gear and undercarriages was painted black. Weathering will make it look greasy and dusty, as you would expect of street cars that are used daily and rarely washed.
The floor was painted in neutral gray and after a coat of Future, I’ve applied a black enamel wash to bring up detail in the flooring. Then I’ve applied a dot filter (gray, yellow and sepia) to the floor, to simulate wear and smudges from the passenger’s shoes.
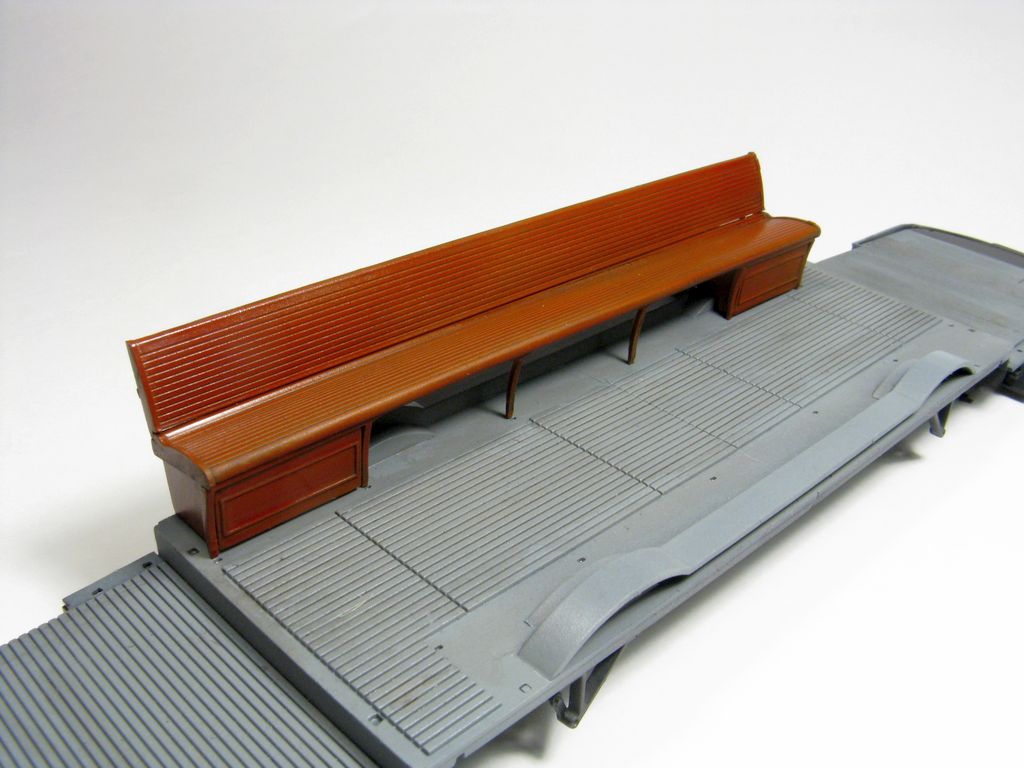
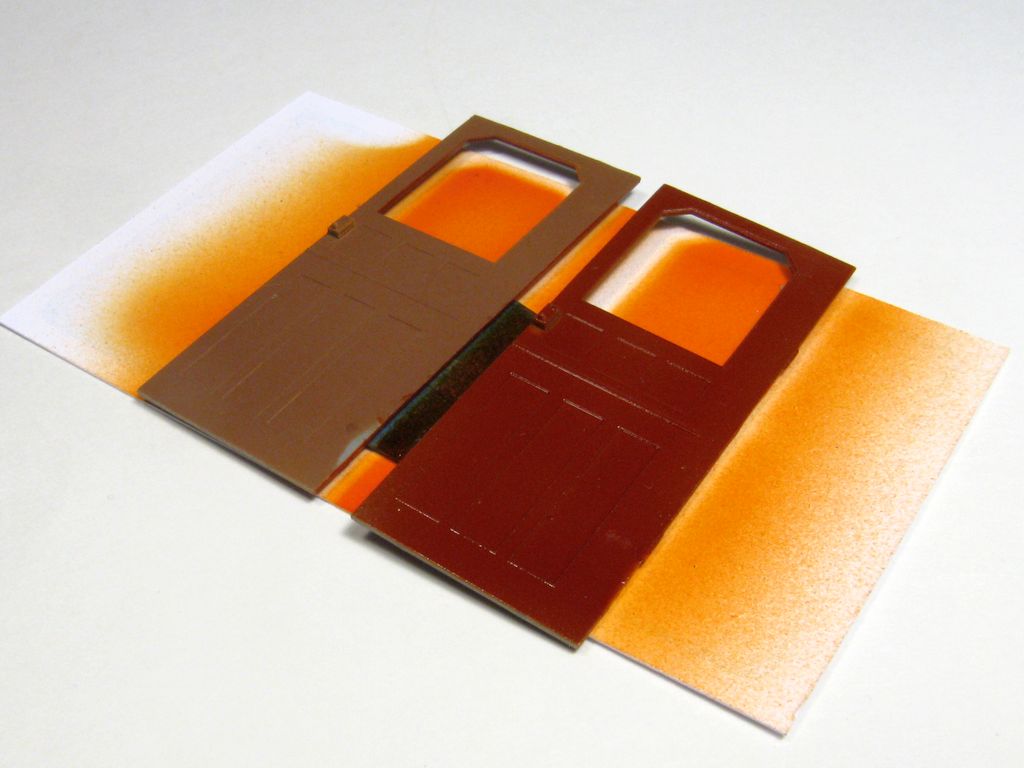
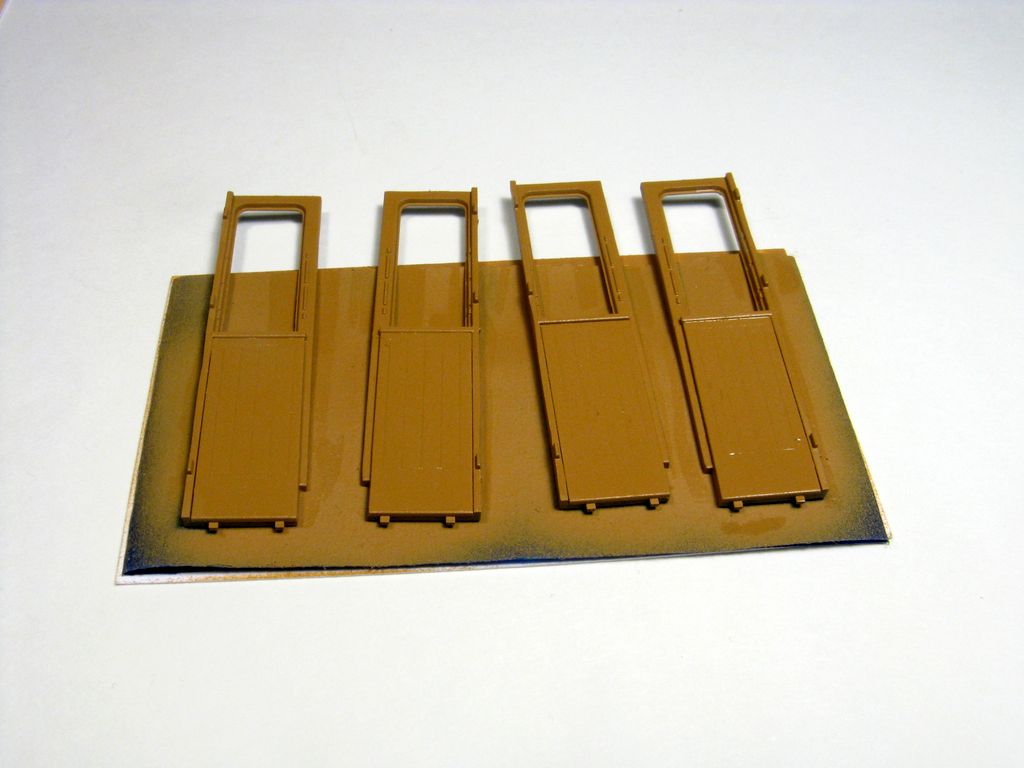
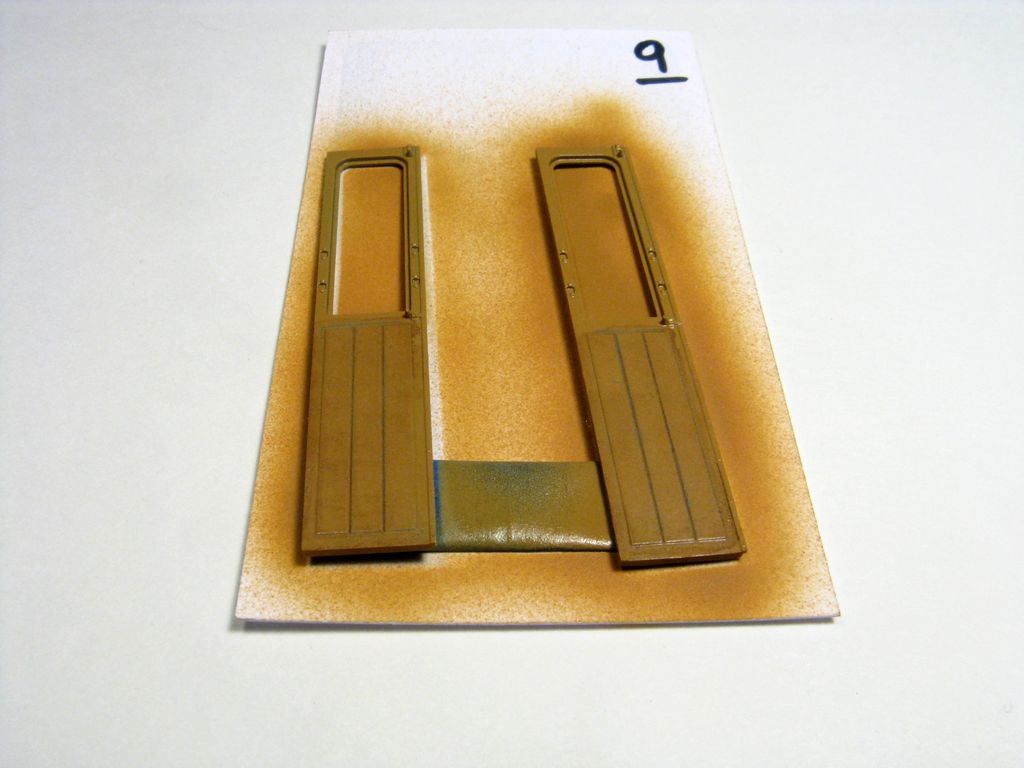
The passenger benches and main cabin doors are painted to simulate mahogany wood. After a few failed attempts (part of why I took this long to provide an update) I decided to use Military Brown enamel and after it was fully dried I’ve coated it with Tamiya Clear Orange. A brown enamel wash was used to bring up detail. Be aware that the detail is raised, matching the real thing.
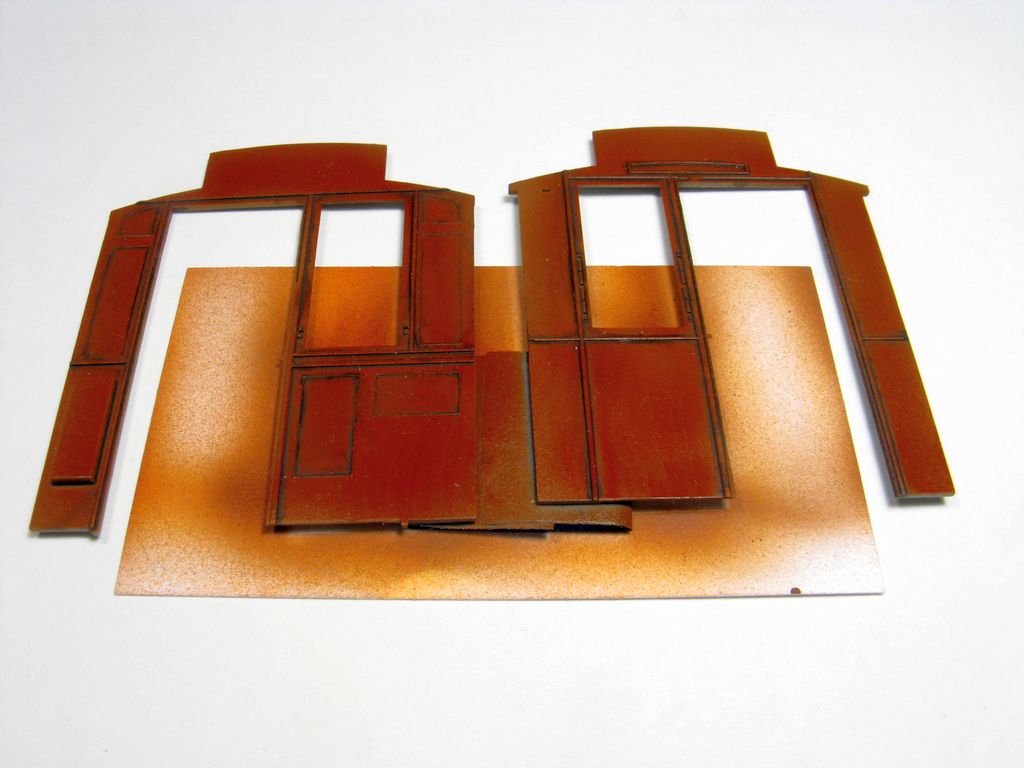
The driver compartments are painted natural wood, with a caramel-color enamel wash applied in the recessed detail to bring up detail and color variation. Other details were painted black and drybrushed with neutral grey to bring up detail
Conclusion of Part 2
While this update might seem somewhat short, many hours were spent in preparing the parts, dry fitting and painting (and re-painting) the wood parts.
The overall “sides” and “front” parts of the tram will be assembled soon, allowing for the roof construction to progress and the final assembly to be much simpler and faster due to the careful planning of how to paint and assembly the sides.
I would like to thank Mini-Art, MRC and IPMS/USA for the review sample.


Comments
Add new comment
This site is protected by reCAPTCHA and the Google Privacy Policy and Terms of Service apply.
Similar Reviews