
English Electric Lightning
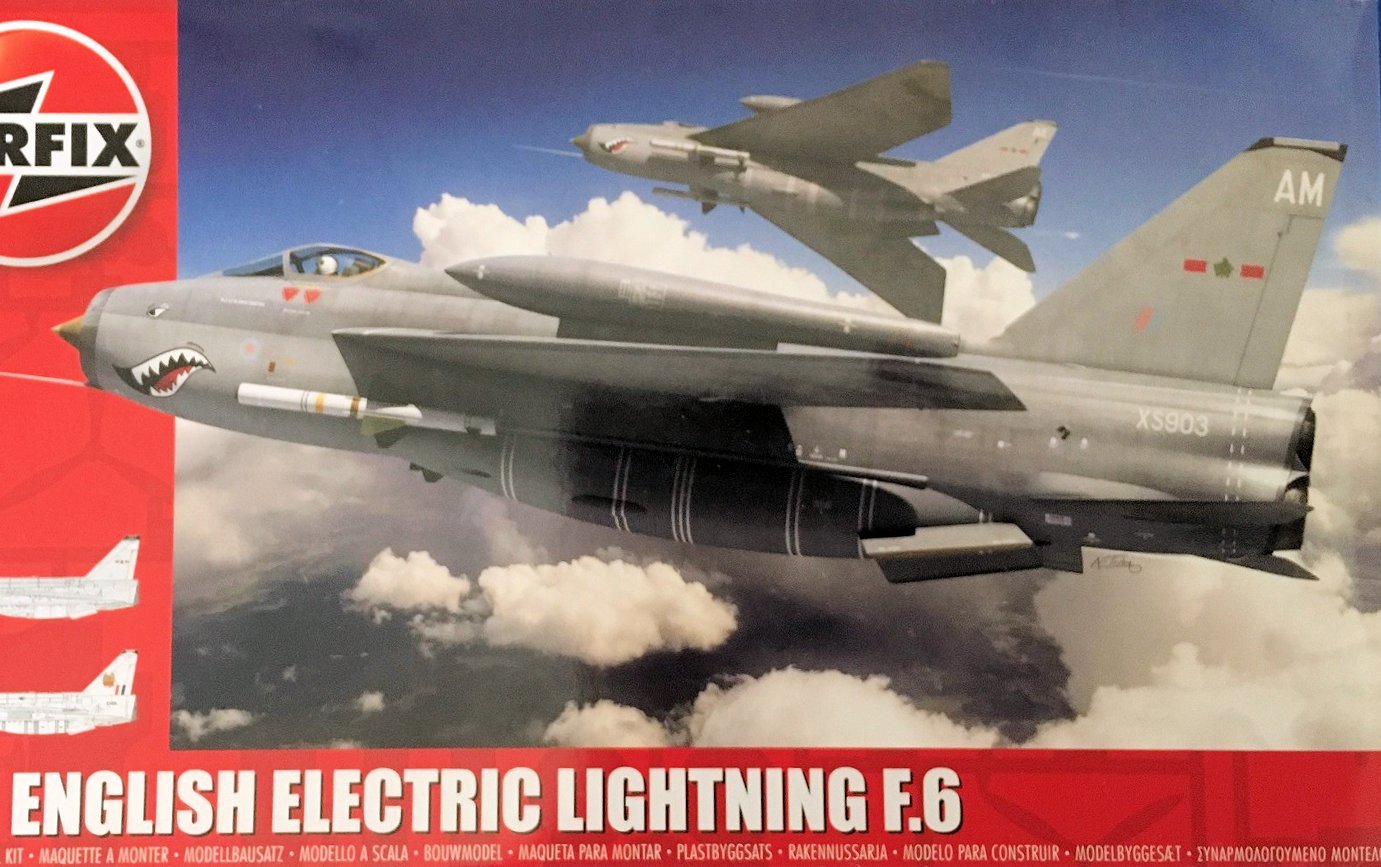
From the Airfix product page: As the only all-British built Mach 2 plus capable fighter aircraft, the English Electric Lightning occupies a unique place in aviation history and remains one of the finest achievements of the British aviation industry. Possessing incredible performance, this Cold War warrior entered service in 1960 and became Britain’s primary interceptor for the following two decades.
The 1/72 Airfix Lightning F.6 is a reissued kit with new decals and parts. The compact red box that has become synonymous with the “new” Airfix is packed full. A single bag containing all grey plastic sprues, a clear sprue within its own bag, Instruction manual and decal sheet.
The grey plastic parts were all in good shape, but there was some flash on a few parts and a couple of items had separated from their sprue.
The instructions were the newer format showing previously added parts in red, and each step was uncluttered. There was a full page for each marking option showing colors and squadron specific markings followed by a page of dedicated stencils. The last page showed decal placement for the over wing tanks and missiles.
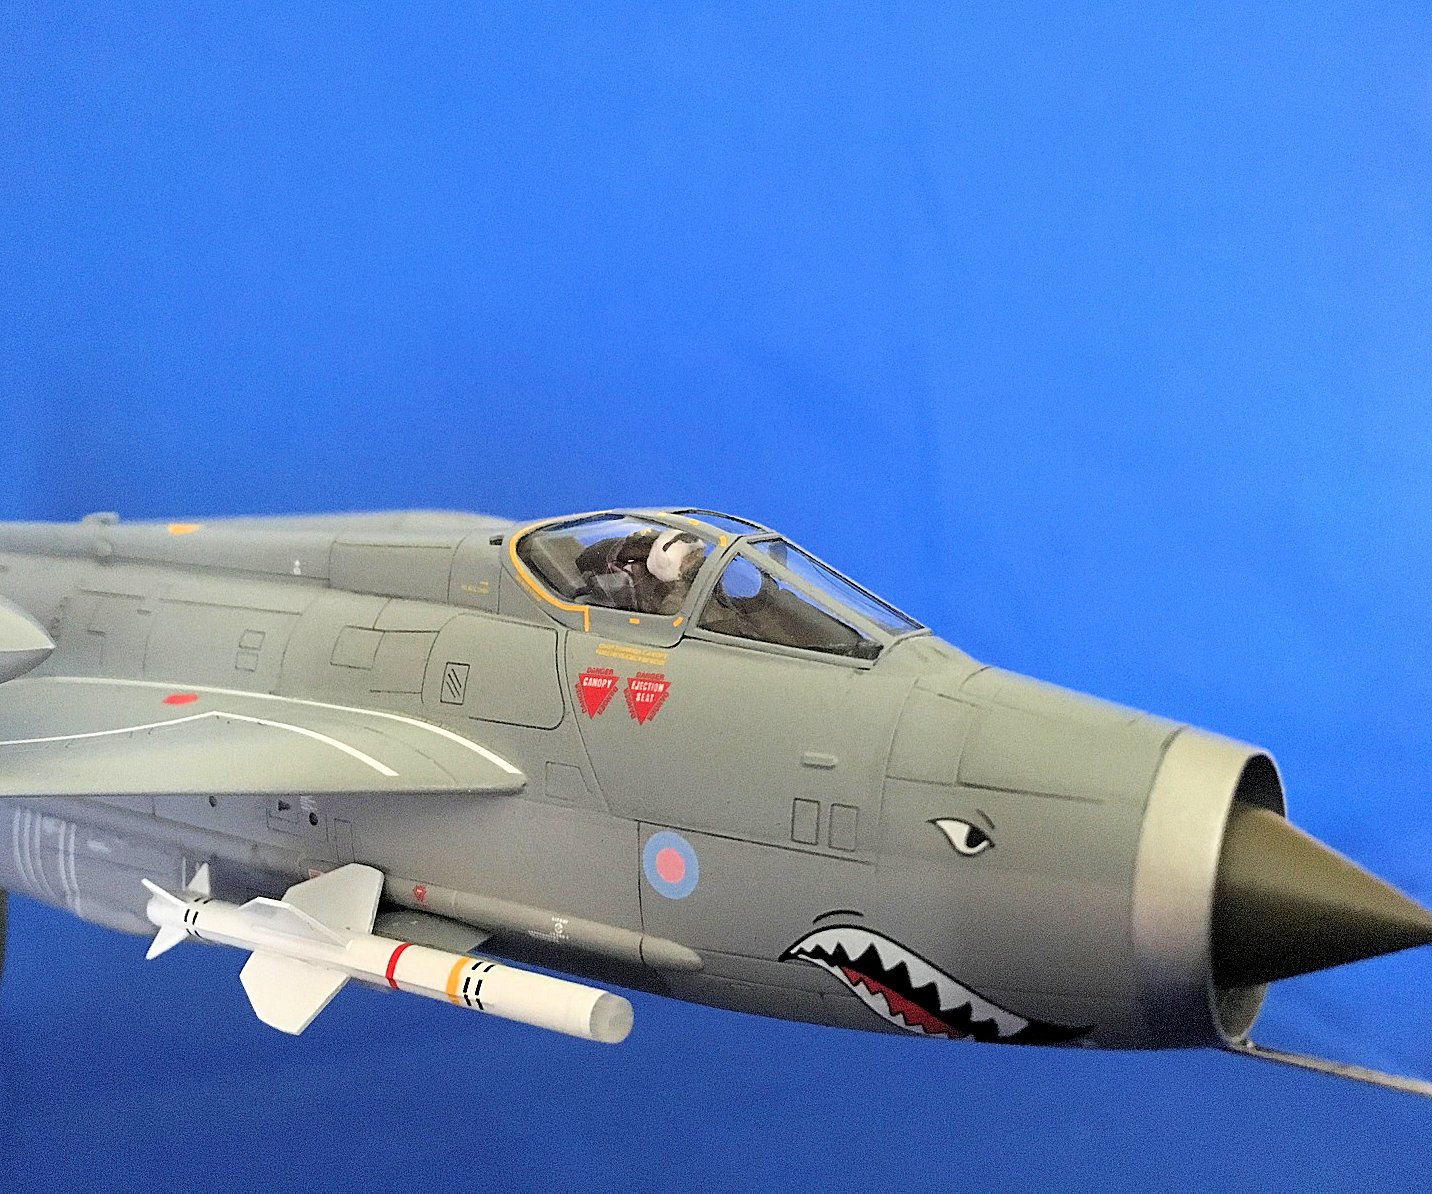
Construction started with the cockpit, and it was a simple affair. A rather basic looking four- piece ejection seat, an instrument panel and stick are glued to the cockpit tub. Instrument and switch decals dress up the panels. Aftermarket seats and belts are available if desired, or as I did, the supplied pilot could be assigned to this aircraft. I modified his oxygen mask so it was over his face and not dangling around his chest. I didn’t want him passing out at high altitude!!!
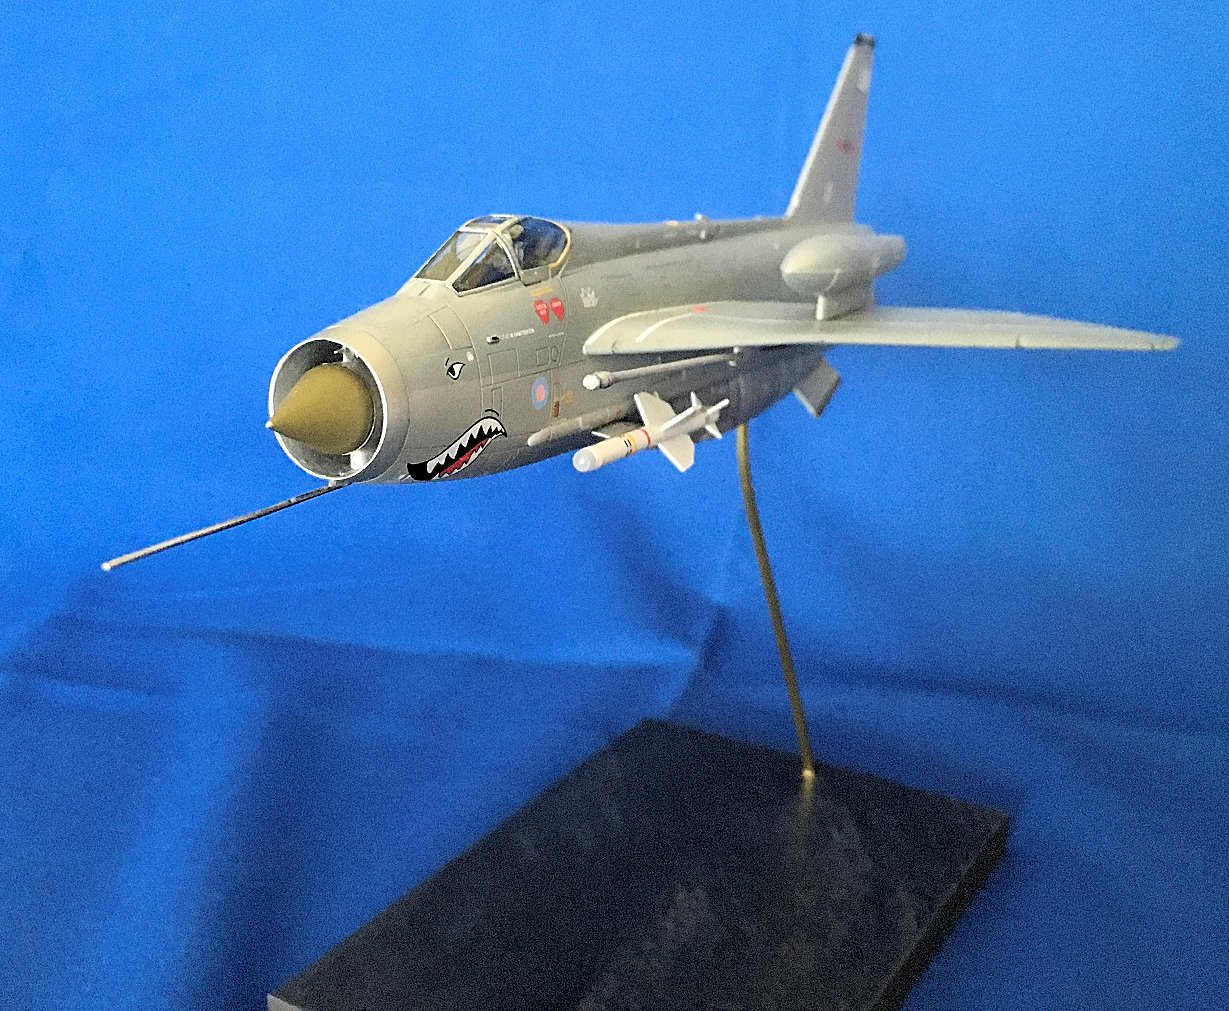
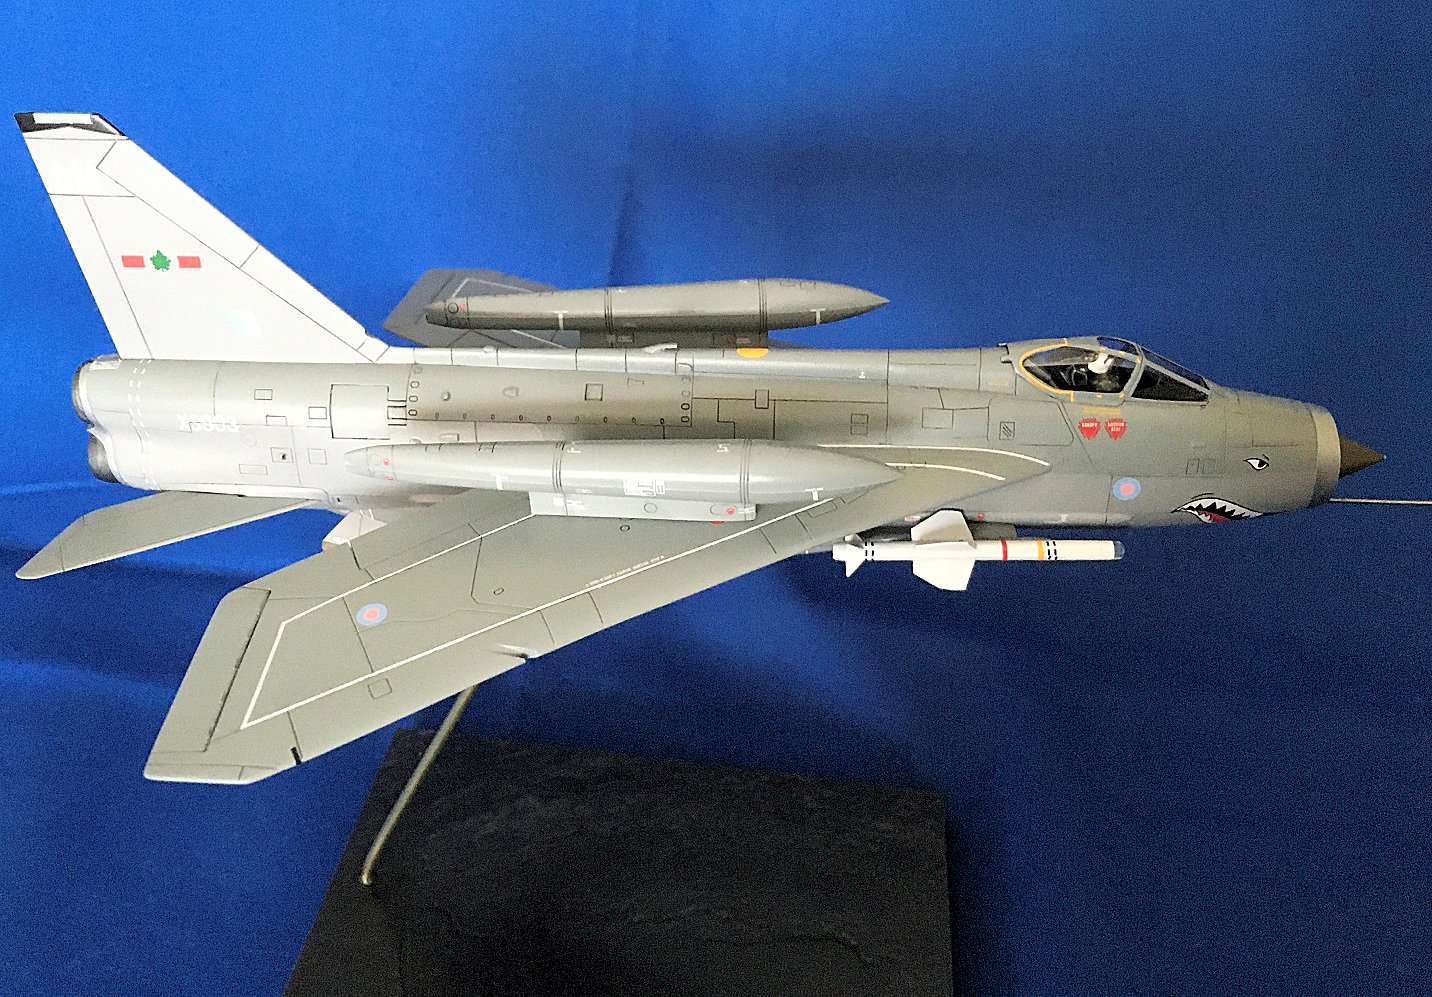
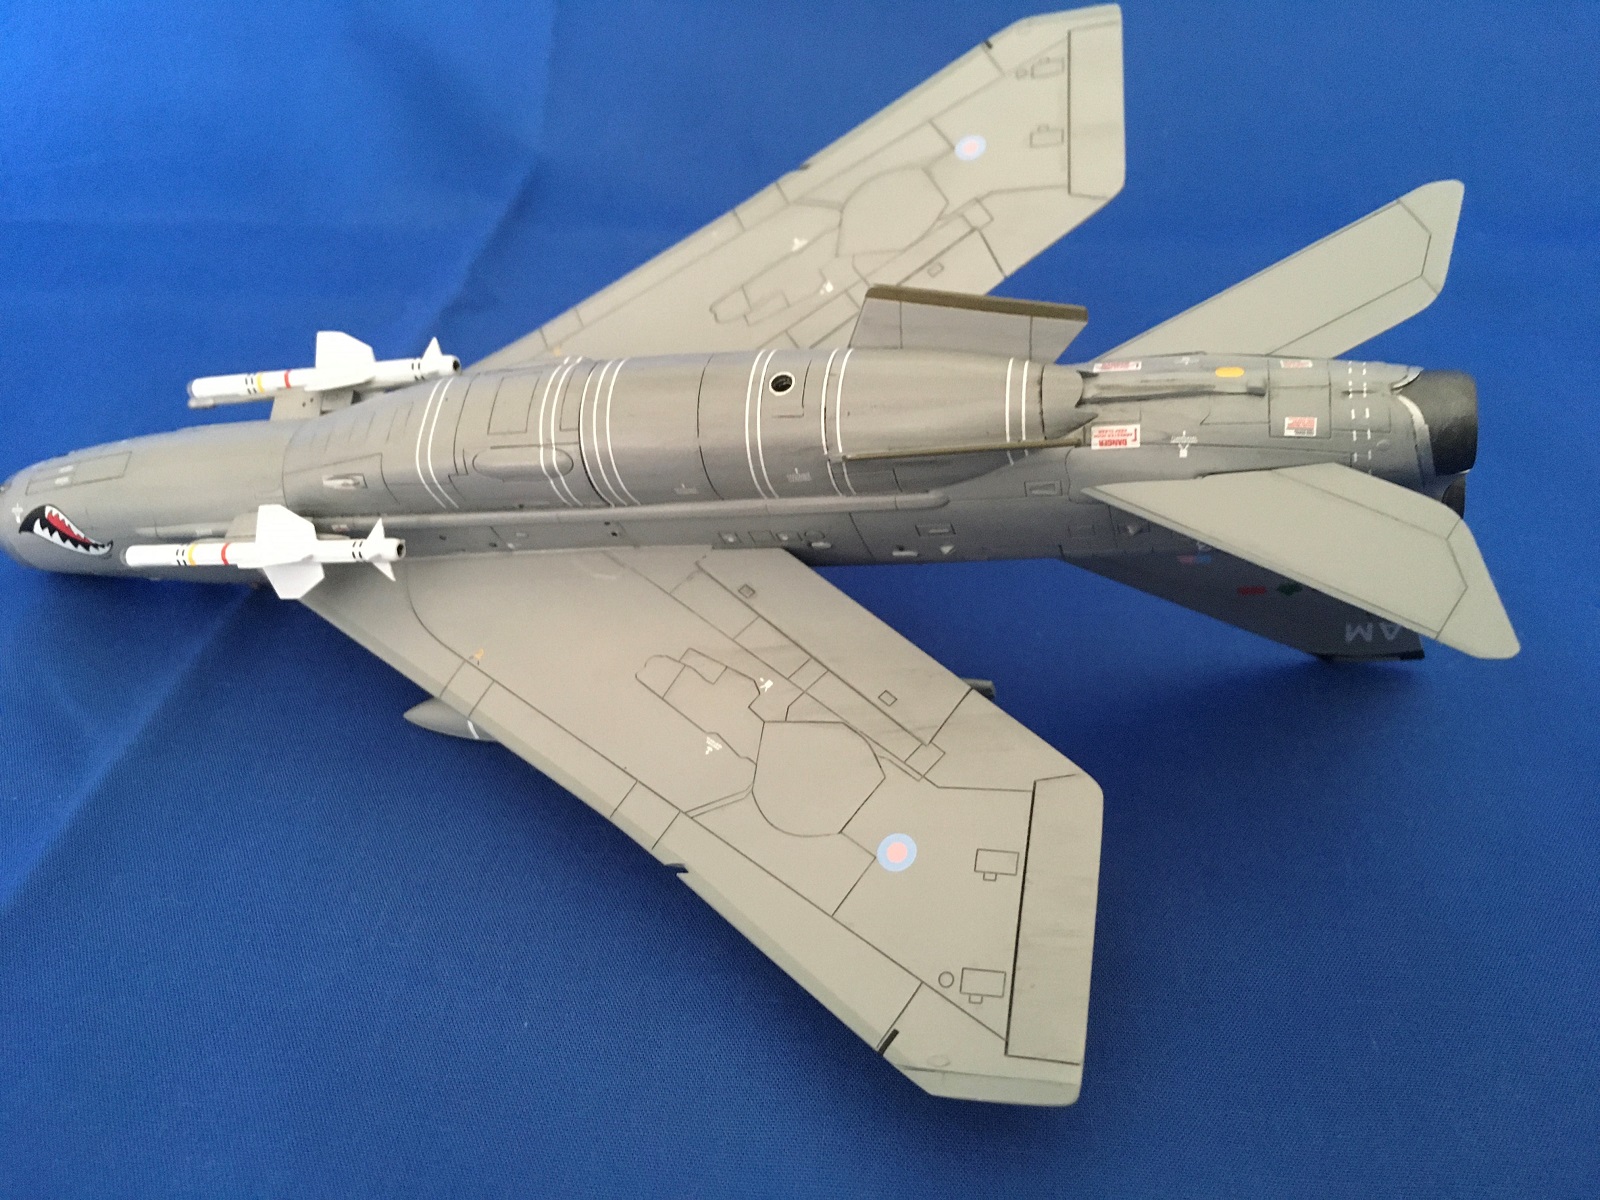
As I had just built the 1/72 F.2A version of this kit with wheels down and canopy open, I decided to build the F.6 in flight. The model includes the closed undercarriage doors as one-piece parts for each of the two main wheel bays and nose wheel bay that fit beautifully. Airfix really does a fantastic job with these options. Step 13 shows where to make holes for a separately sold stand (AF 1006). I had other plans for mounting the aircraft.
Airfix has a novel way of acknowledging their model designer by imprinting his face on the drawing of the pilot in the instruction sheet – Nice!
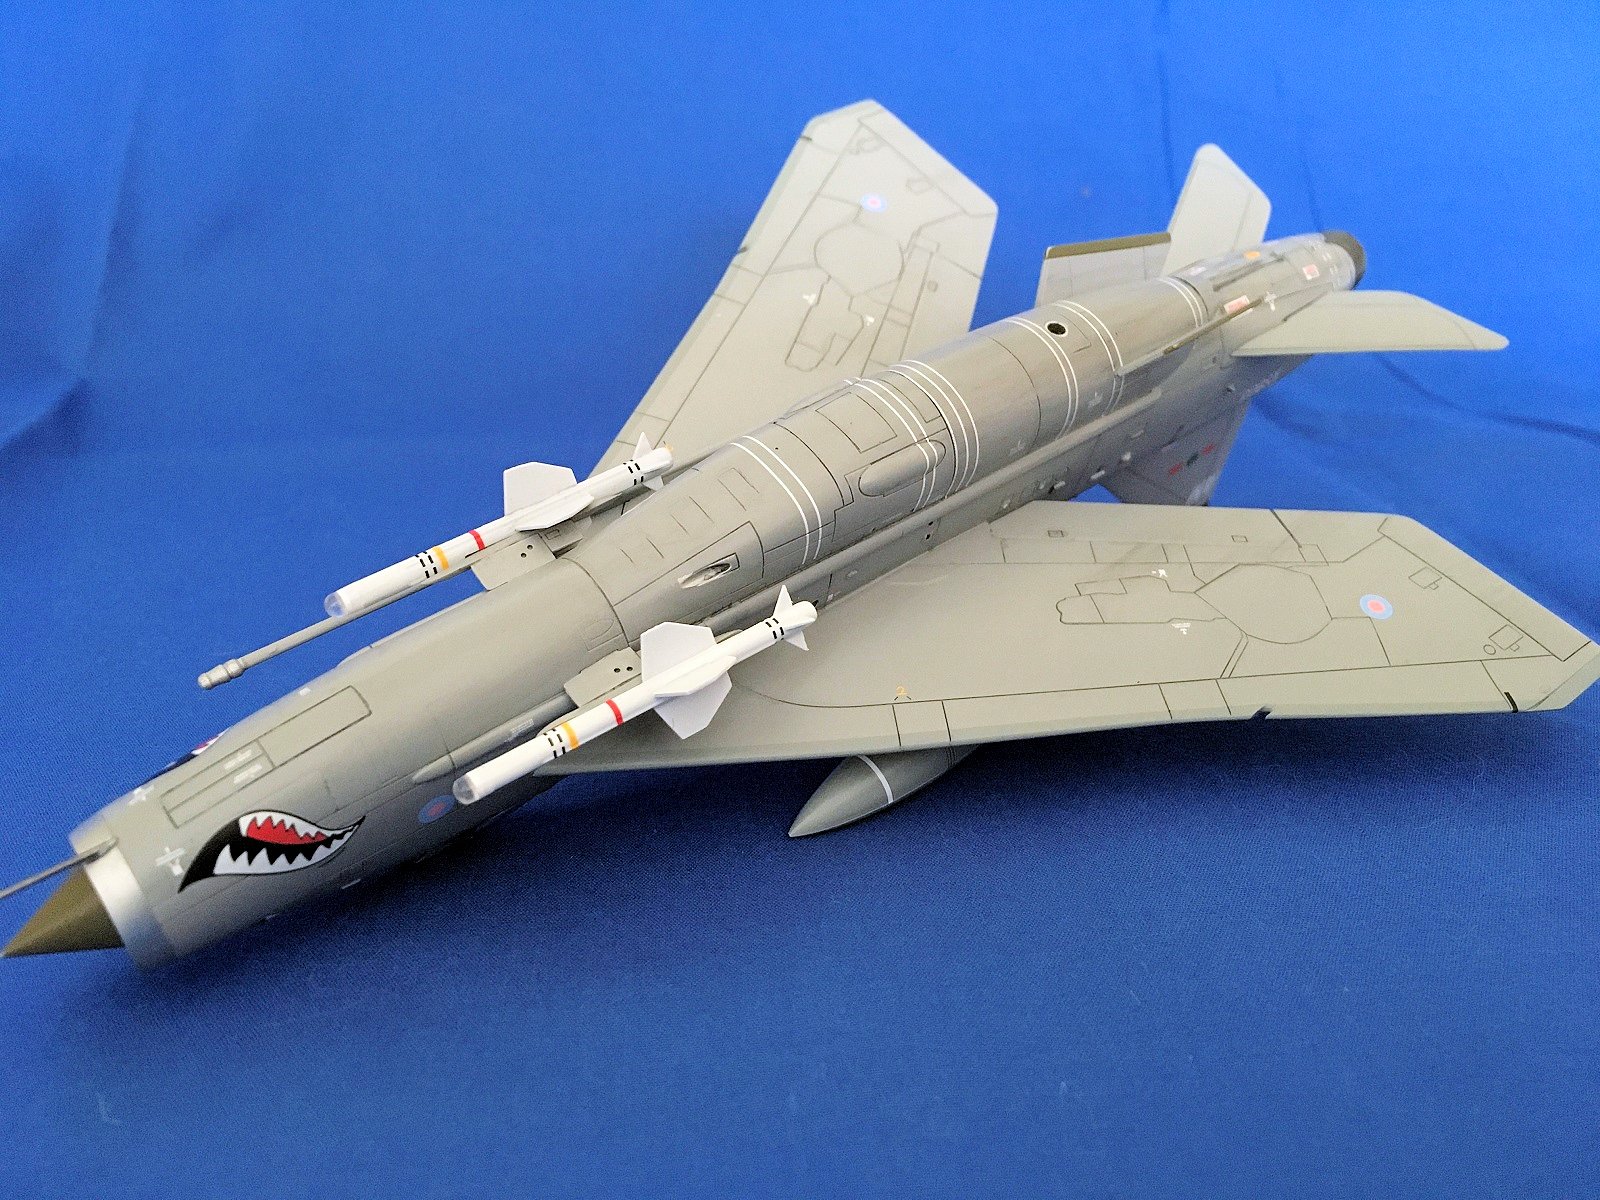
The cockpit sats on top of the air intake trunk. This intake was in two parts with the nose cone and air diffuser fitting inside it. Everything lined up fine, and a compressor face is located at the rear of the trunk. I left the nose cone “bullet “fairing off until later in the build. I painted the intake aluminium and lower compressor face steel, but very little could be seen once assembles. Four grams of weight was suggested inside the nose cone, but it would be easier to load some against the rear of the compressor plate.
The engine turbine and afterburner “faces” were integral to a rear fuselage bulkhead and mate with the exhaust/jet pipes. Two exhaust nozzles and the rear fuselage fairing were then attached to complete this part of the build. Everything fitted together quite nicely and was mounted in a fuselage half. After removing the sprue gates from the inside to the exhaust nozzles, I rotated a blade around the inside edges to thin them a little. It is not necessary, but I think it improved the look and scale appearance.
The only part of the build that presented fit issues were the forward fuselage sides that wrapped around the nose cone and intake trunk. The fit was very tight and if anything is off, even a little the two fuselage halves won’t come together. Make sure the cockpit is seated onto the top of the intake with no gaps otherwise it will interfere with the fuselage fit. There was a slight excess of plastic built up from the molding process at the very front of the fuselage halves that needed scraping, as well as a couple of ejector pin marks that sat proud and presented issues. With the nose area taken care of, the rest of the fuselage came together very nicely.
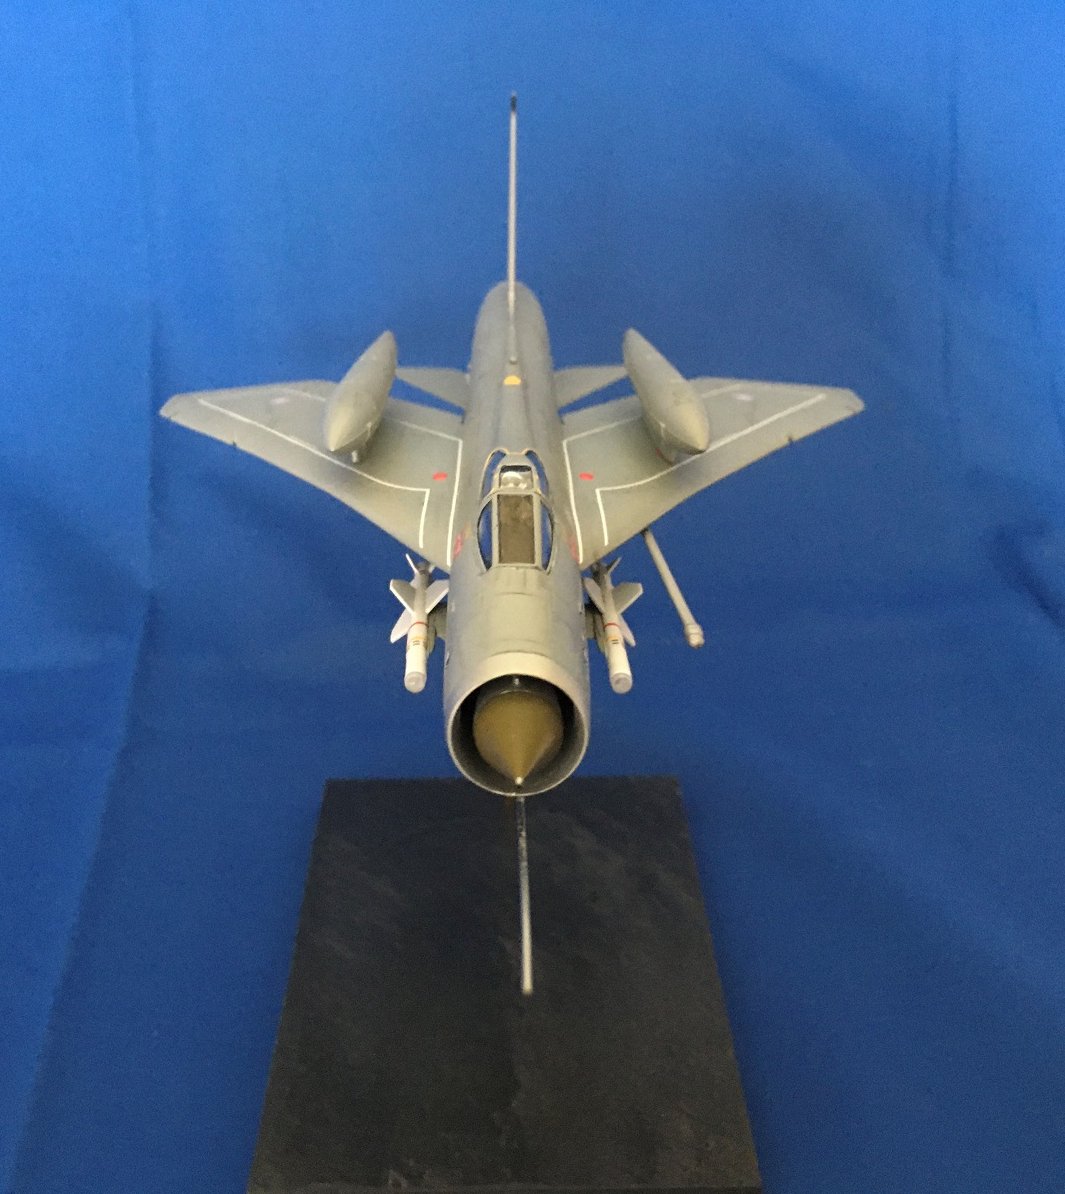
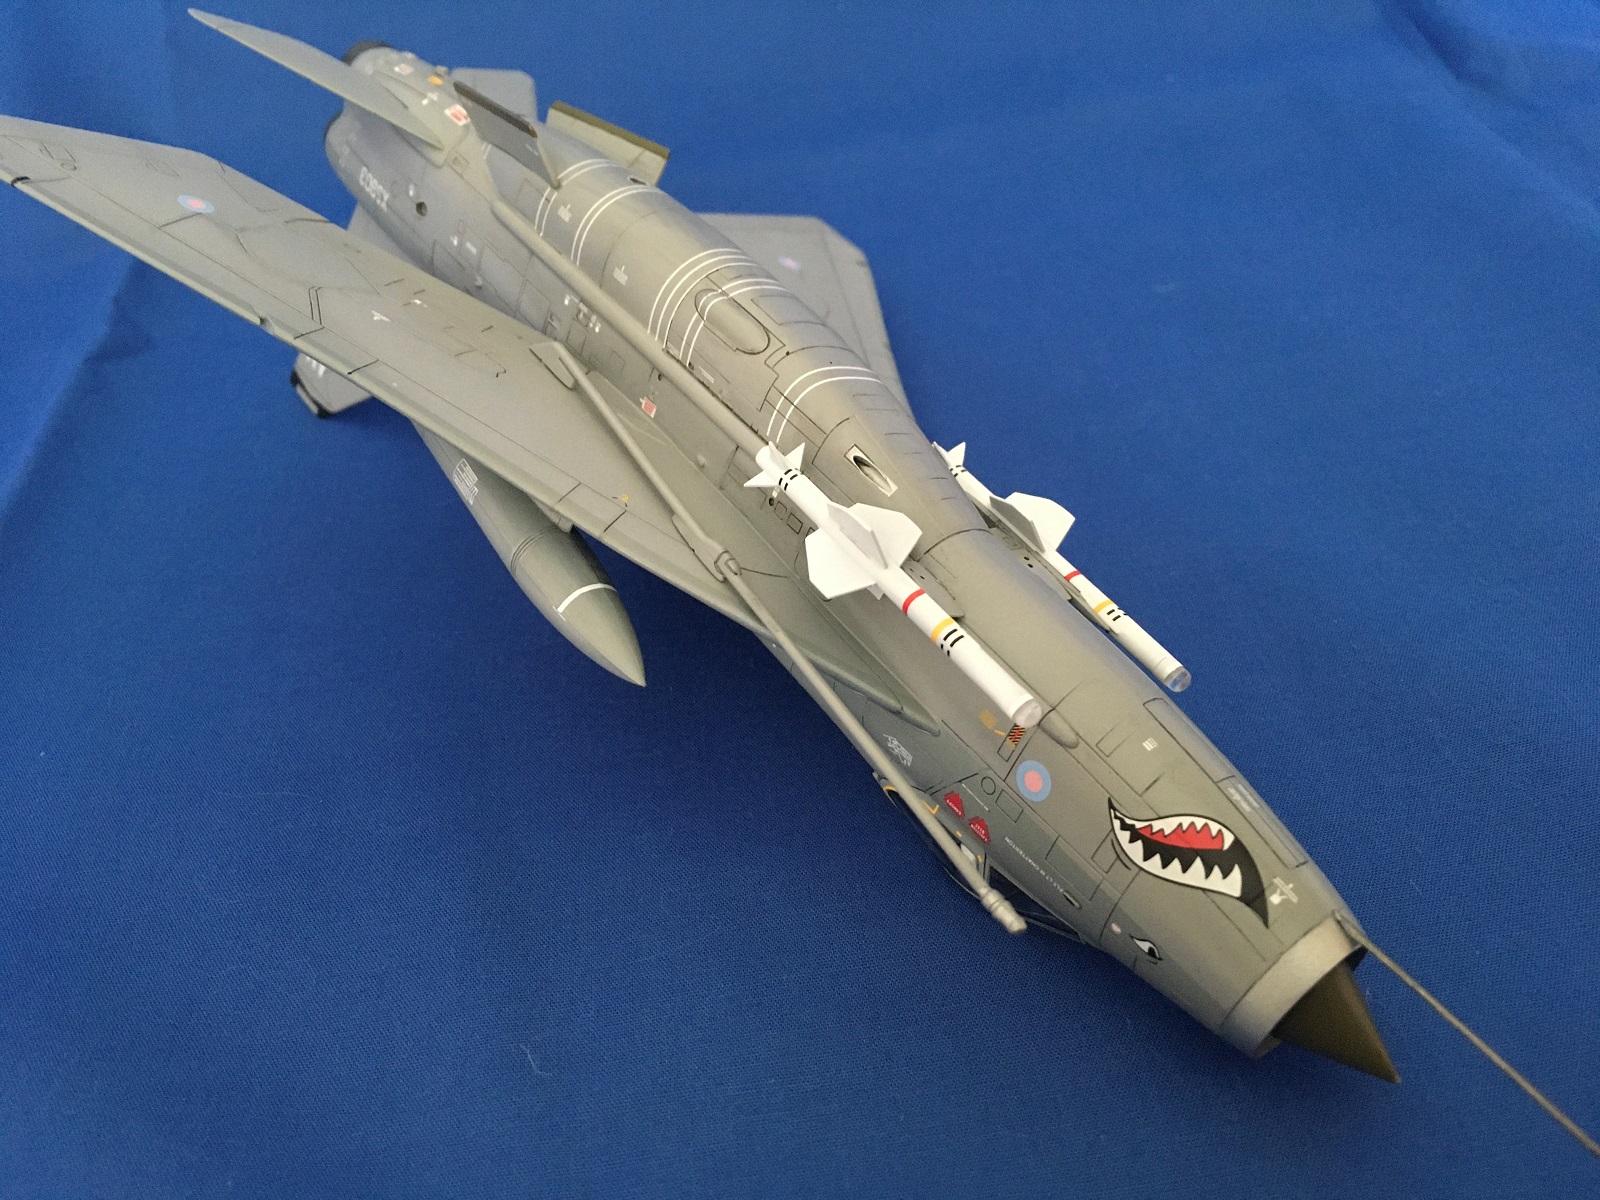
Both upper wing parts one lower wing part needed holes drilled to accept the over wing ferry fuel tanks and refueling pipe. Once the holes were drilled the wings halves went together with no problems. Just make sure the upper and lower wing roots are lined up perfectly so there are minimal gaps where they meet the fuselage sides. The separate flaps were glued in the up position.
The two over wing fuel tanks were assembled and set aside for later. I glued the speed brakes in the closed position to the rear fuselage sides and assembled the missiles. The wings included large tabs that slotted into the fuselage sides. There was a little play, but alignment was easy. Aside from the nose area, if care is taken, this model can be built quite quickly. There were quite a few panel lines that needed to be reinstated. I used my razor saw for that job.
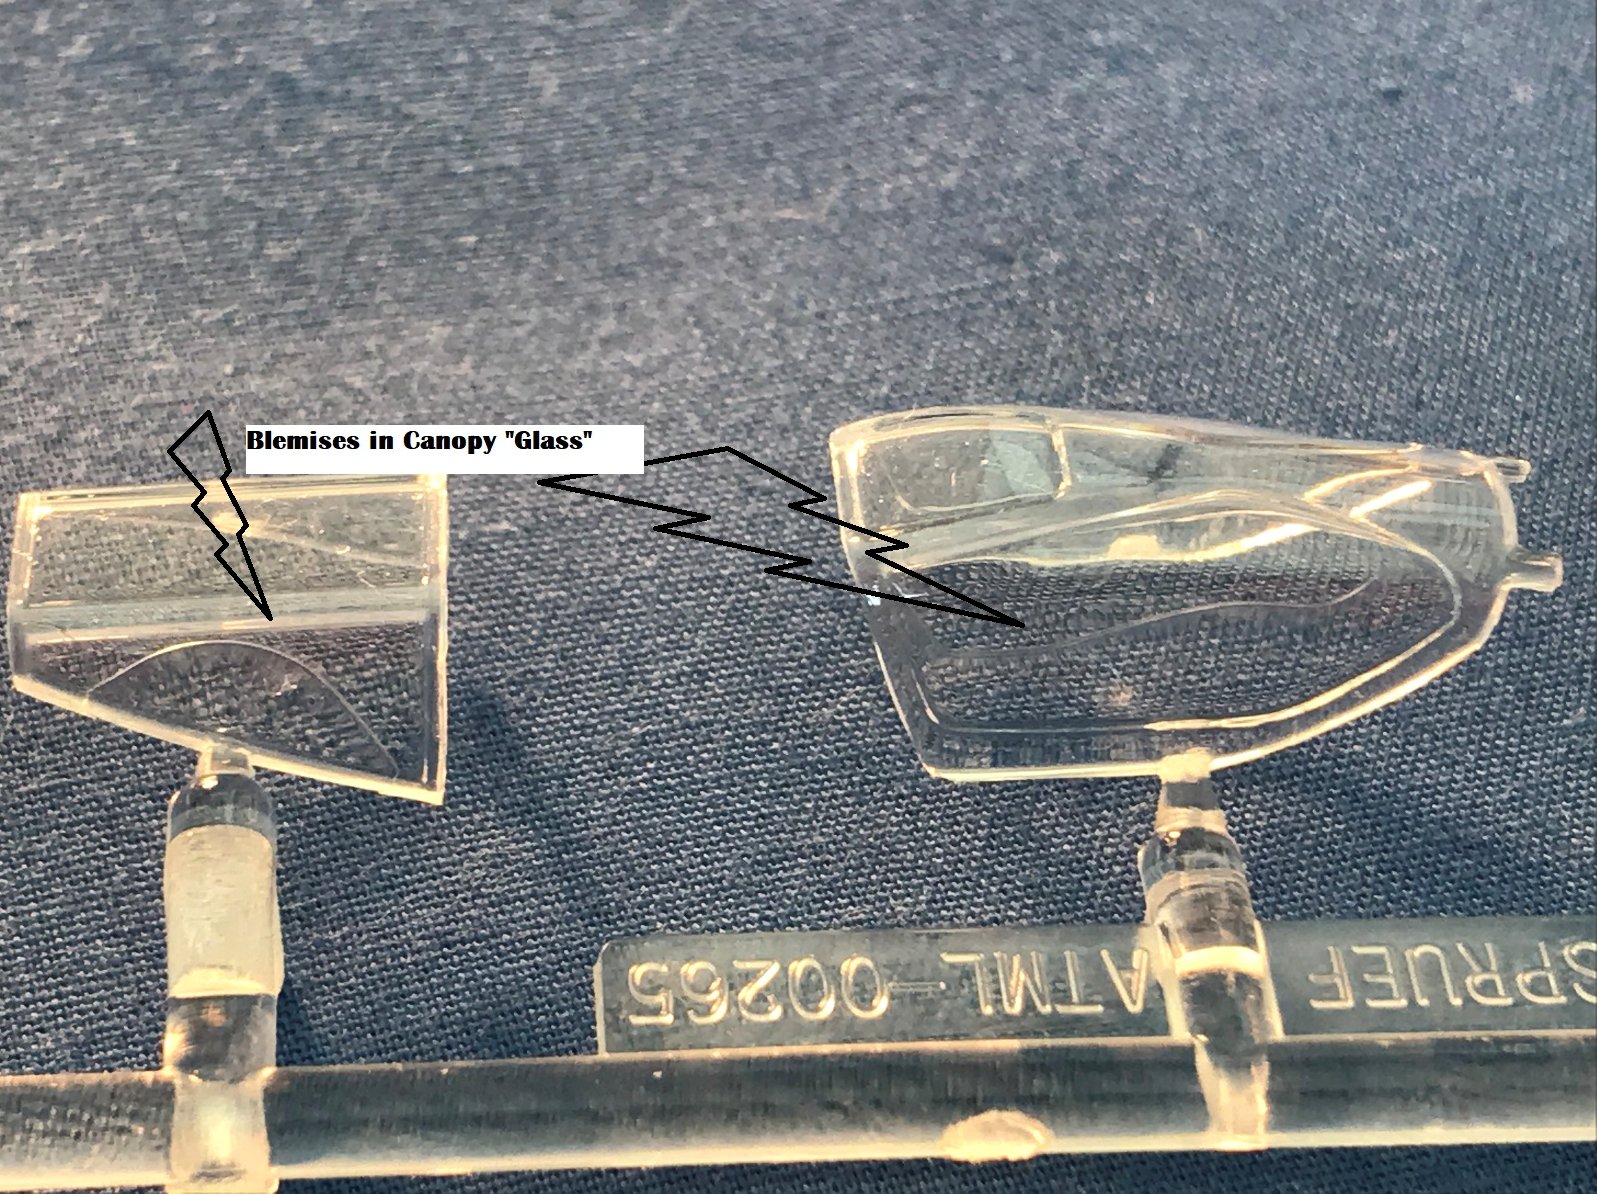
The “glass” was masked with Eduard masks - CX408. Both canopy and windscreen parts had hairline marks through the left side panels. I noticed these before removing them from the sprue. I was afraid they might crack, and they did a little. I emailed Airfix for a replacement.
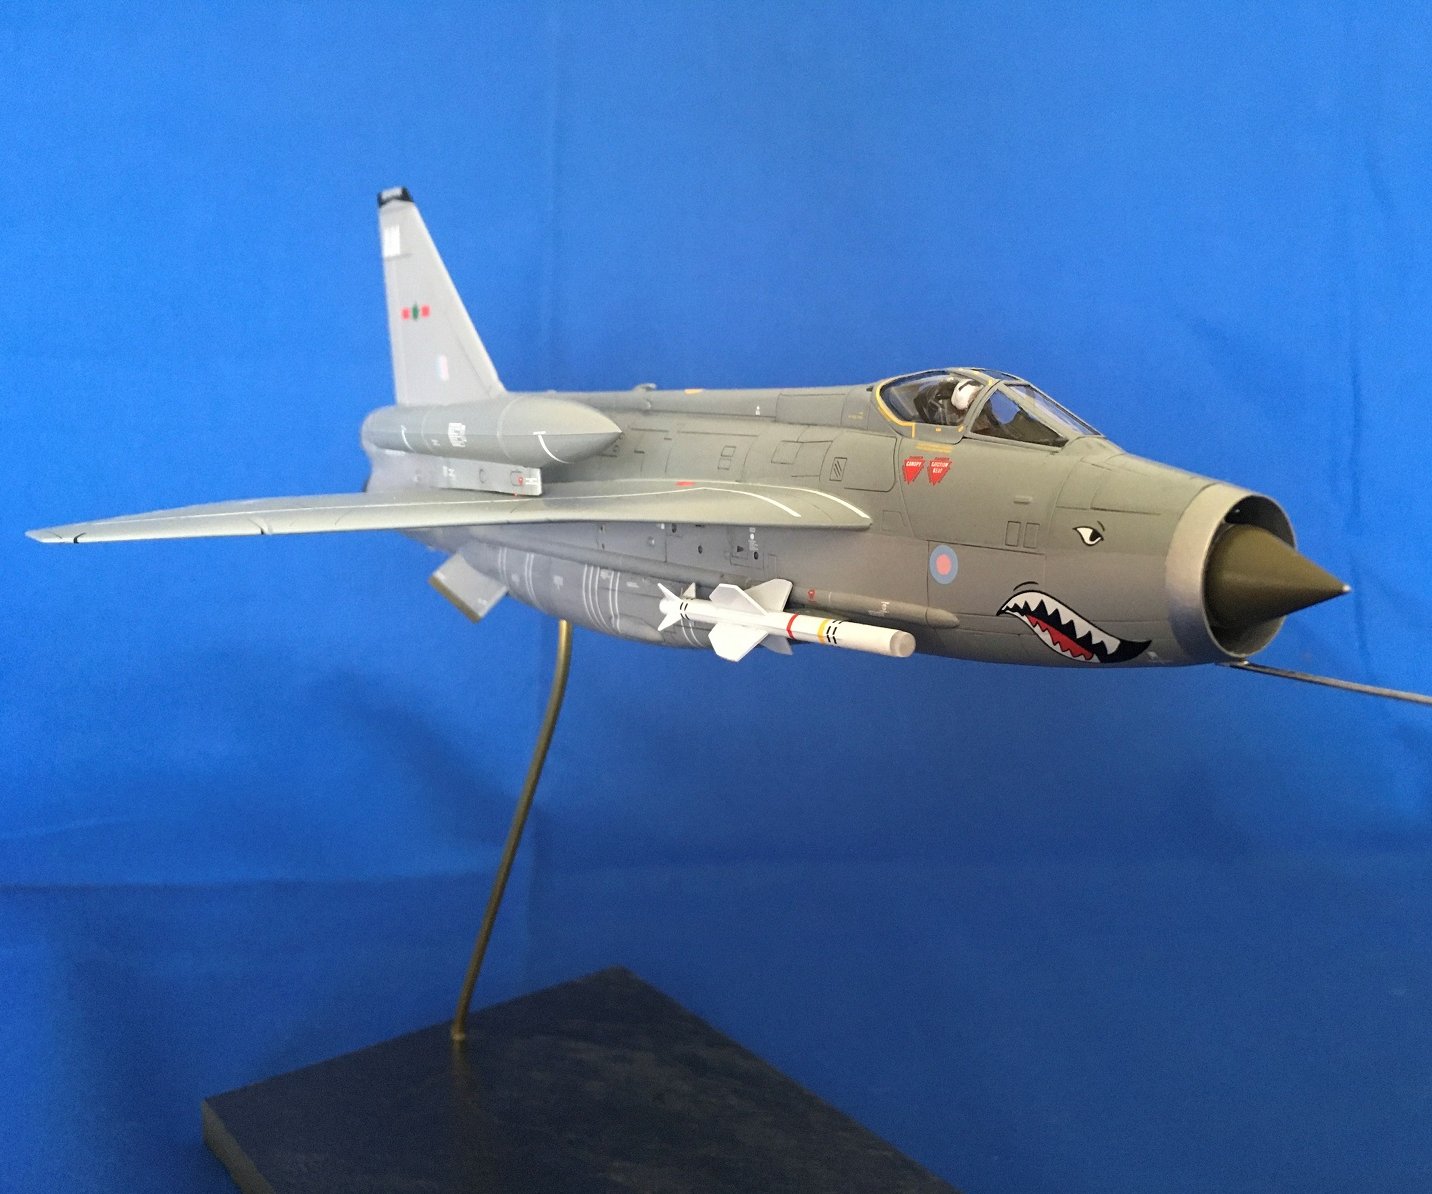
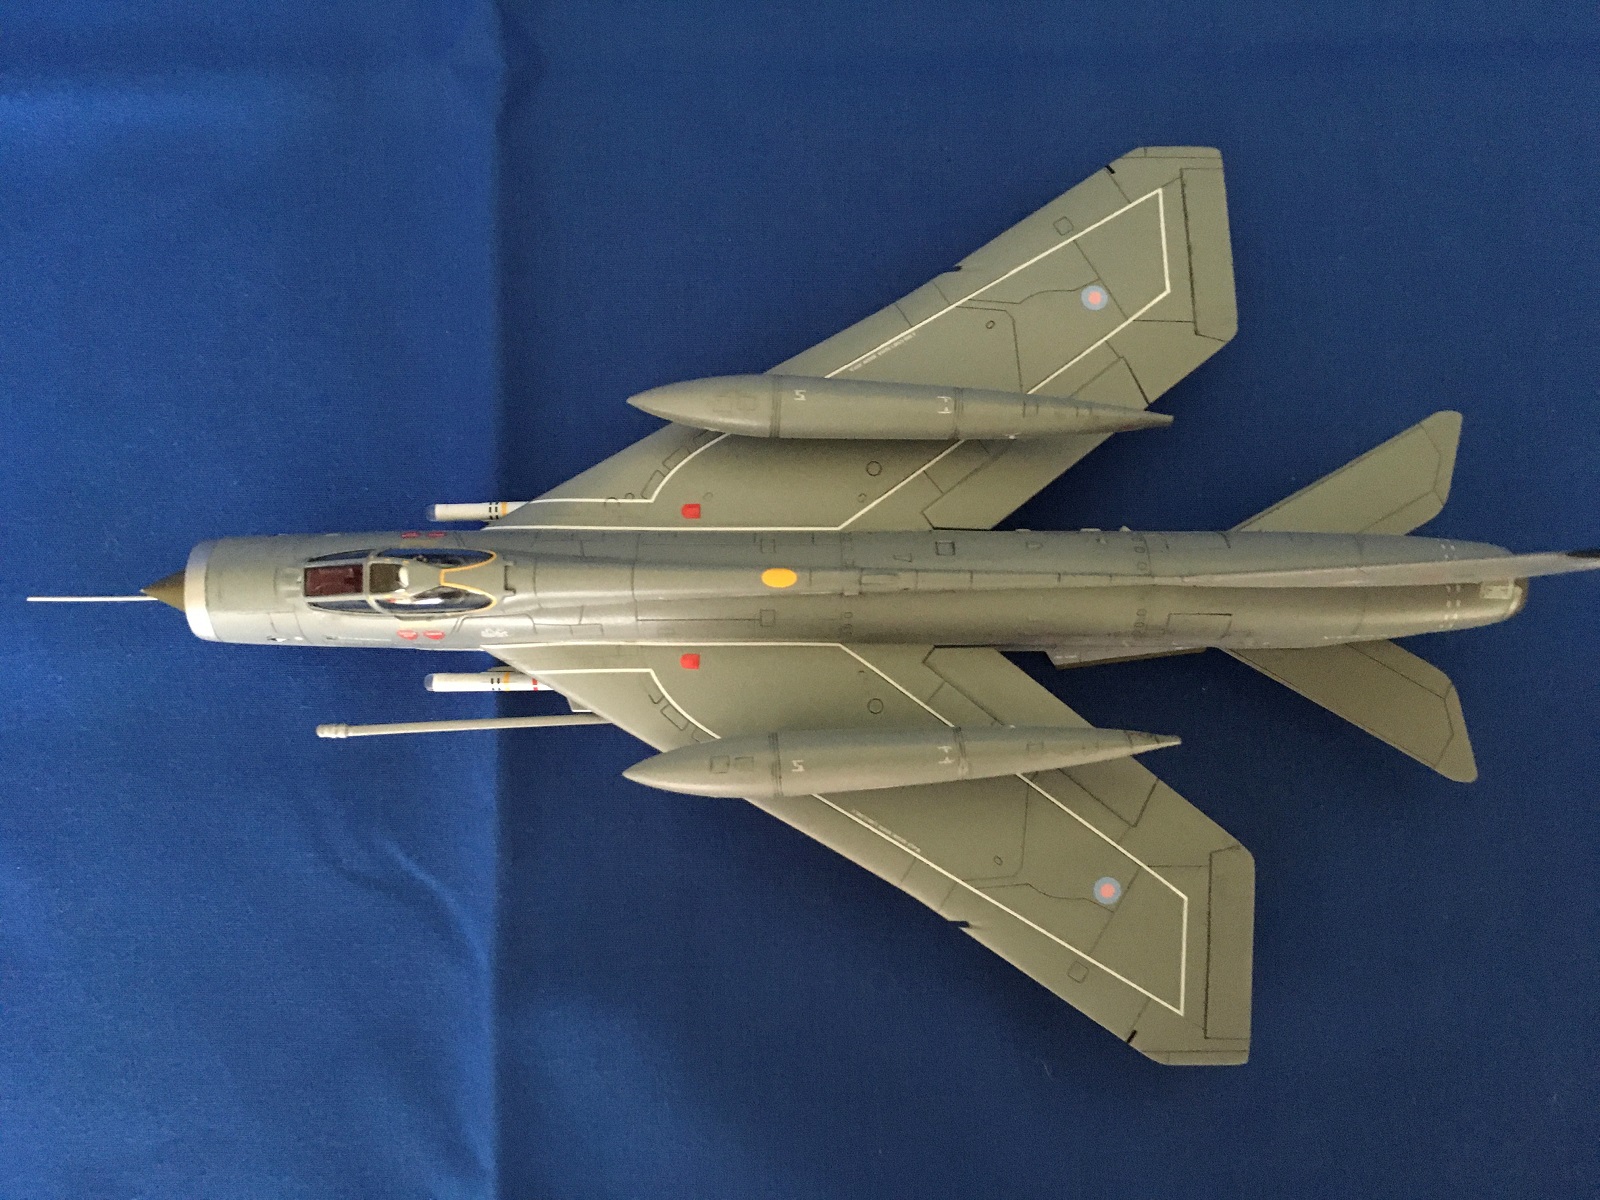
The model offers two painting options: a grey over grey and all-over bare metal. I chose the grey version, as my F.2A was in bare metal. I used Tamiya XF-83 – medium sea gray 2 (RAF) and XF-19 – Sky gray to paint the camouflage colors.
A gloss coat was applied to prepare the aircraft for decals. There are two marking options and tons and tons of stencils. Separate stencils are provided for each option as one set was black for the bare metal aircraft and the set I used was white for the grey camouflaged jet. It took several days to apply all of them. Mircro-Sol was used to eliminate any possibility of silvering. All the decals performed perfectly. I sealed the decals with another gloss coat, and then applied a panel line wash. A final flat coat finished the painting.
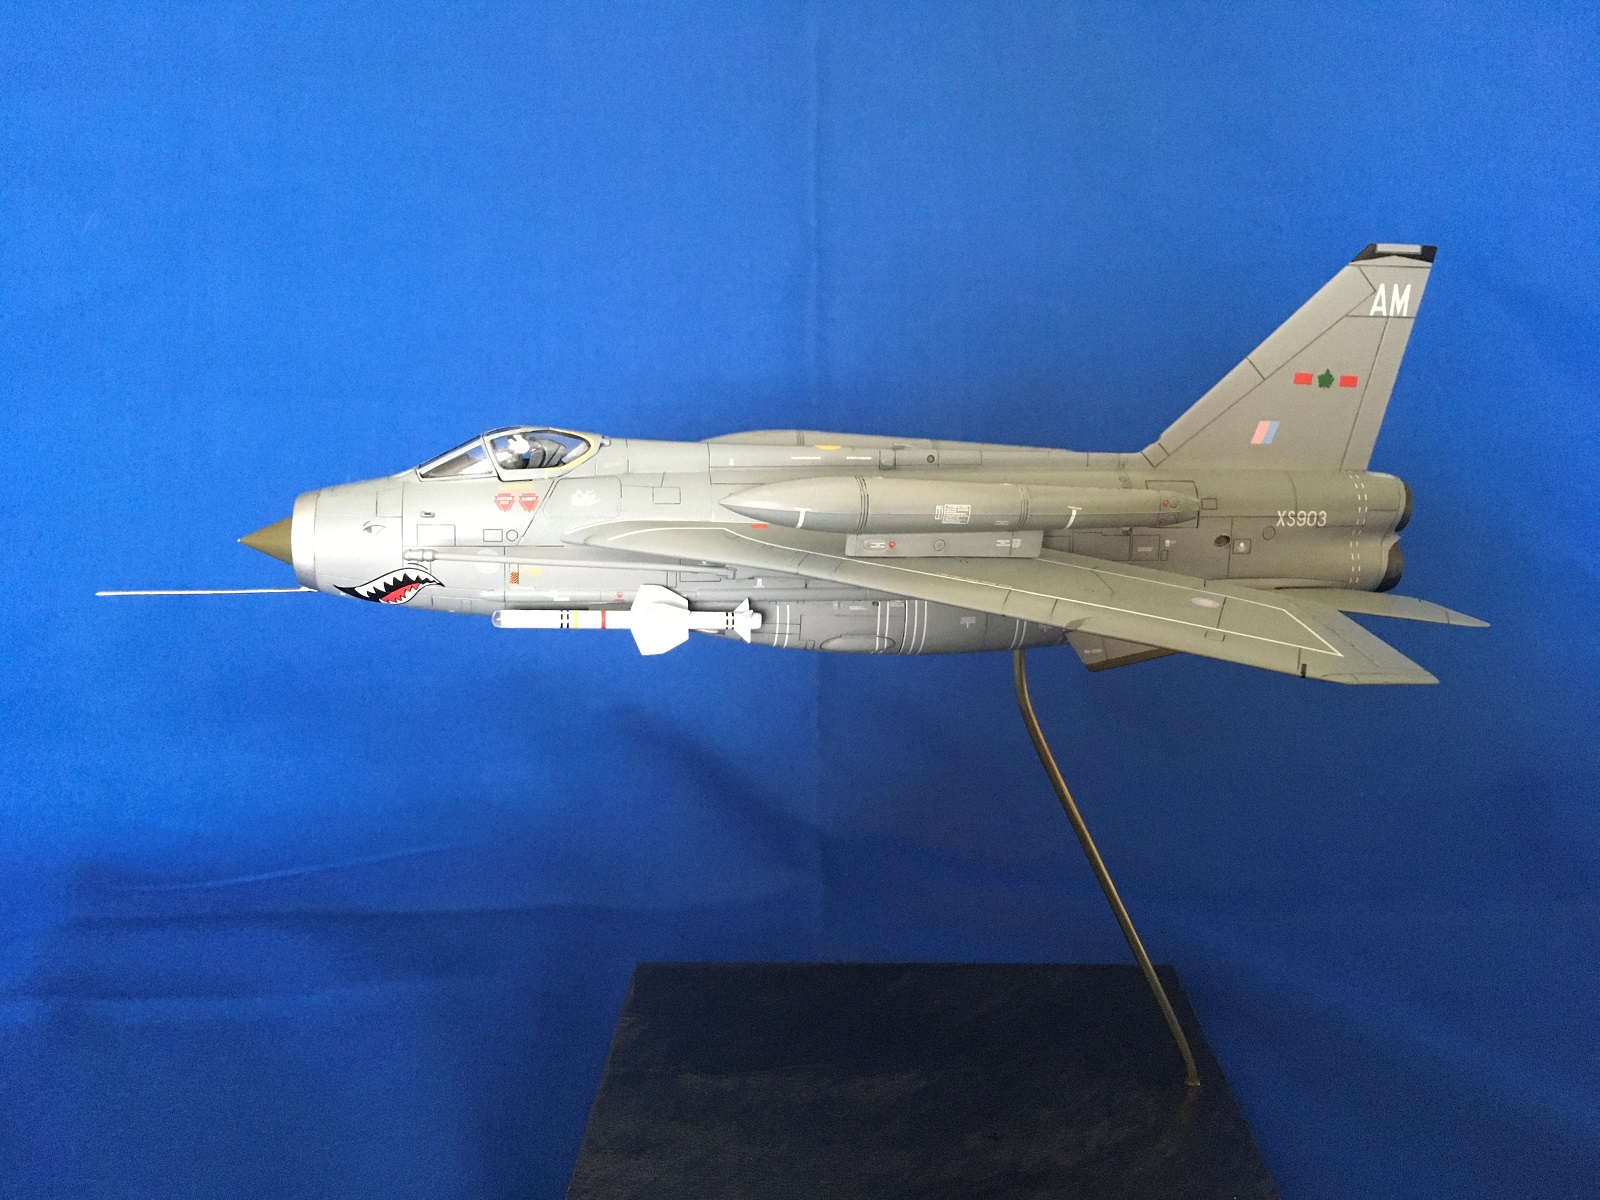
The model completed with the assembly of the tail planes, pilot and seat, the canopy, missiles and their mounting pylons and pitot tube. The Lightning was mounted using brass tubing from my stores onto a wooden base.
I enjoyed building the Airfix Lightning, and it looks great. While I think most people would be able to build this model successfully, the beginner may struggle with parts of the assembly. Especially the nose area. The rest of the build should not present any major problems.
My sincere thanks to the Airfix team and the hard working guys at the IPMS.

Comments
Add new comment
This site is protected by reCAPTCHA and the Google Privacy Policy and Terms of Service apply.
Similar Reviews