EA-6B Prowler Exhaust
Many thanks to Hypersonic Models and the IPMS Reviewer Corps for allowing me to review this excellent engine exhaust enhancement set for the EA-6B kits by Kinetic and Italeri. Hypersonic Models (HM) is a new contributor to the IPMS Reviewer system and is based in the UK, with a Facebook presence established 17 JUL 12. The operation is a one-man show, focused on well-researched products generated from quality CAD artwork and 3D- printed molds. HM has a specialty offering of modern-jet resin accessories, decals, canopy masks and reference drawings, with an X-15 emphasis.
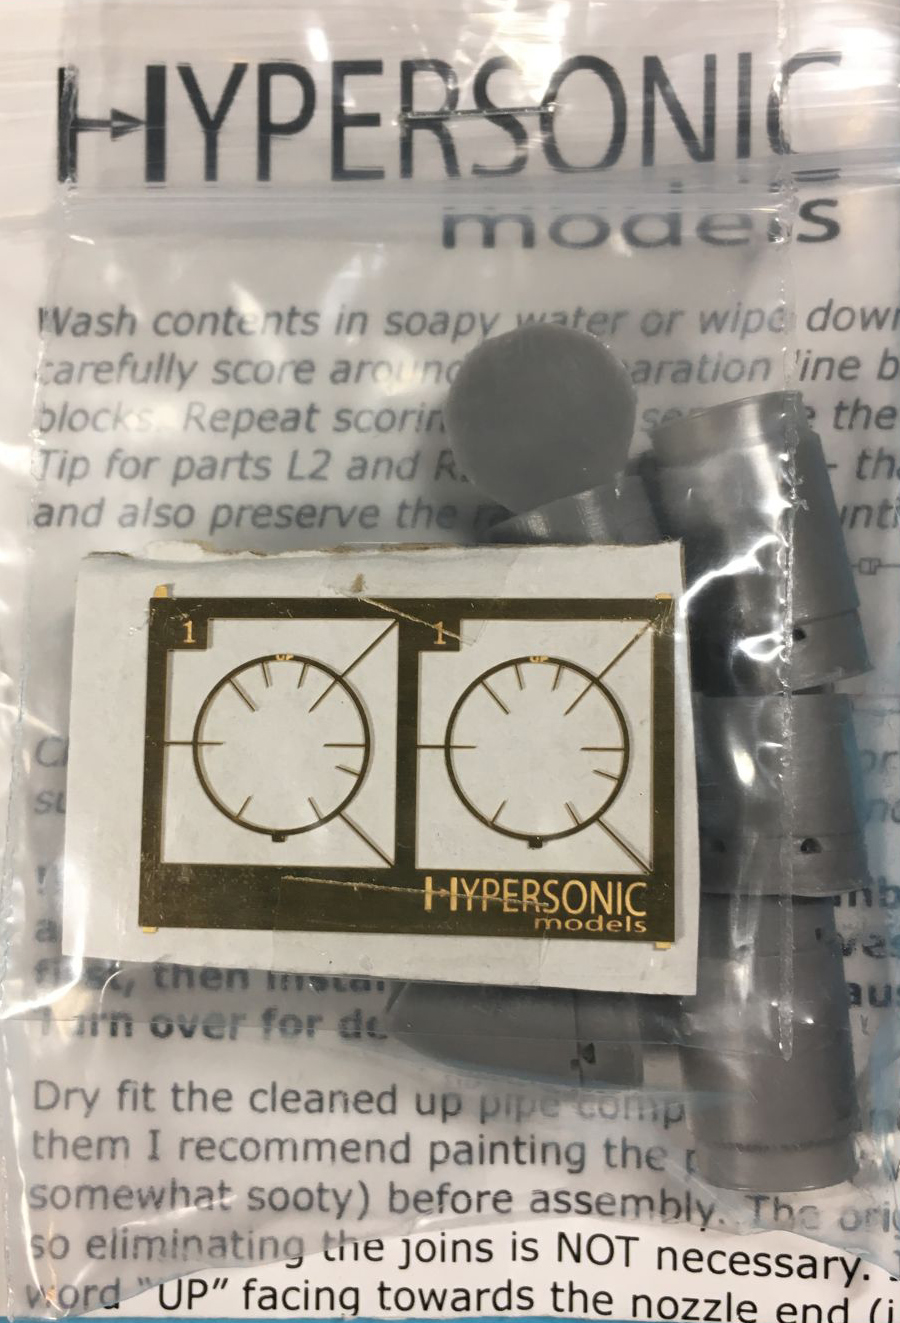
The parts arrived in a zipper closure bag with two double-sided glossy color instructions pages, each about 8.5 by 5.8 inches. The parts are individually cast on modest pour plugs in light-gray resin, with no sign of mold release. The photo etch parts were securely attached to cardboard backing. Each engine exhaust assembly (pipe) has five resin parts and a photo-etch brass ring. The parts are cast with raised numbers, making it very difficult for even me to make mistakes. That said, I still highlighted the right-side part numbers with a gold marker and the left-side parts with a silver marker. There is a facing direction on the PE parts, and Hypersonic wisely etched the word “UP” on the brass frames. No excuses for me!
Assembly of the exhaust pipes is straight forward, but should be done carefully. I trimmed off the pour plugs with a razor saw, but in hindsight should have used a slowly-scribing #11 blade, to suit my skill set. Two cuts on part 2 is important (I am omitting any L and R references, since both pipes have the same numbers); the first cut chops off an interior mounting plug that fits into 1. The PE frame fits into a recess in part 1 and is sandwiched between parts 1 and 2. Pay attention to the word “UP”! The PE frame also has a locating tab that corresponds with a notch in part 1. A large tapered cylinder is present in part 5, which is removed with the pour plug. Don’t be surprised! Cleanup is straight forward and typical of most resin parts. The casting is very clean and finely-detailed.
Correct assembly requires a variance to the kit construction sequence. I used the Kinetic Prowler kit. A significant amount of thinning and trimming is required for the pipes to fit properly. The end result is great, with an impressive looking improvement to the exhaust area. The instructions describe the trimming and fitting areas on the kit parts very well, and I found it very useful to have all of the exhaust pipe parts loose for dry-fitting with the kit parts. I did cut too far on one fuselage half, making a hole into the gear bay. The hole was easily fixed fortunately. After the pipes are installed, go back to the kit instructions. No further modification to the assembly sequence or kits parts is needed after pipe installation.
I am very pleased with the results of the upgrade. The panels around the exhaust are thinner and more representative, and the nozzle detail looks just right. The engine buried in the interior is visible looking in through the pipe. It take a little bit of sawdust and shaving to use the exhaust set, but the result is very much worth the effort.


Comments
Add new comment
This site is protected by reCAPTCHA and the Google Privacy Policy and Terms of Service apply.
Similar Reviews