
Douglas Dakota Mk.IV
The cargo plane probably best known for its use during the Normandy Invasion is one of the best known aircraft in the world. Used by the Allies, including the Soviets and even by the Japanese, these planes continued service as passenger aircraft and cargo lifters throughout the world and some are still flying today.
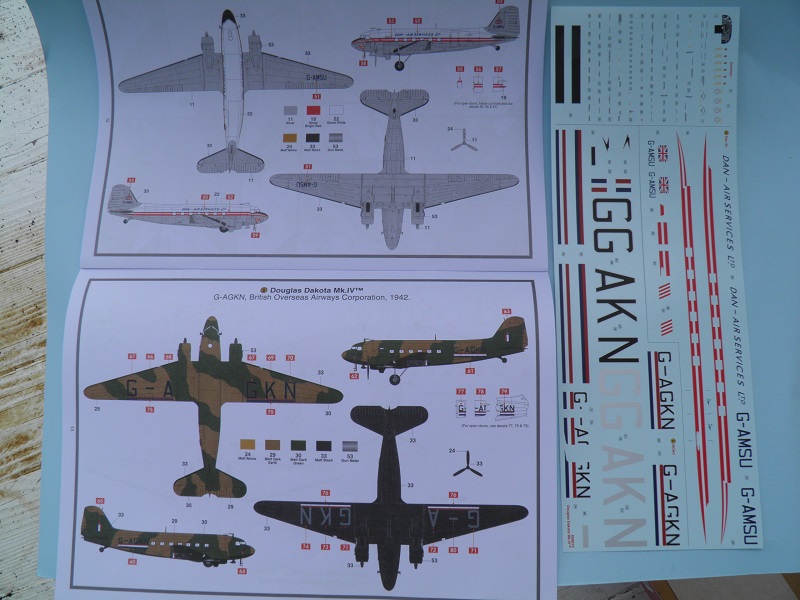
Recently Airfix replaced its old mold of this kit with a new, state of the art version. The first one came with D-Day markings and a ski equipped version. This kit is the second version and covers a couple civilian aircraft, one serving with the British Overseas Airways Corporation during the war and one with Dan Air Services Ltd. out of England during the mid 50’s. They have also released a 3rd version with British SEAC markings that comes with their new Jeep kit as cargo.
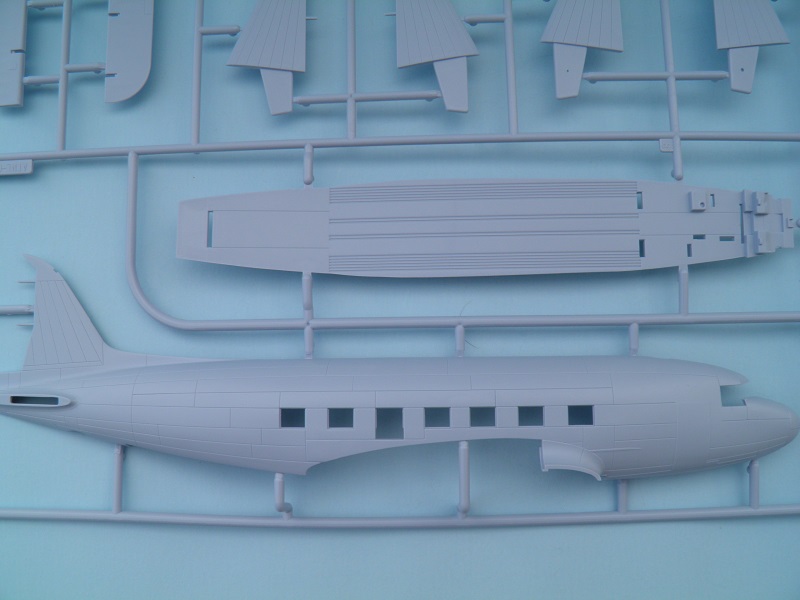
Since I have the first version in the stash the first thing I did was compare the two kits to see what the differences are. Plastic wise, not a dang thing. The 142 parts are exactly the same (though I only used 116 parts on this build). The instructions for the new version are different as they don’t have the option for putting the skis on the plane and the color schemes are different. The decals are also specifically for these two planes and are well printed. I also noticed the cargo ramp (to be used in the newest version) is also included in both of the kits I have.
Since this version is a civilian version it would have been nice to include the passenger seats instead of the jump seats but as I was planning on building it closed up, it didn’t really detract for me.
Airfix uses Humbrol paints which I marked in the appropriate steps of the instructions.
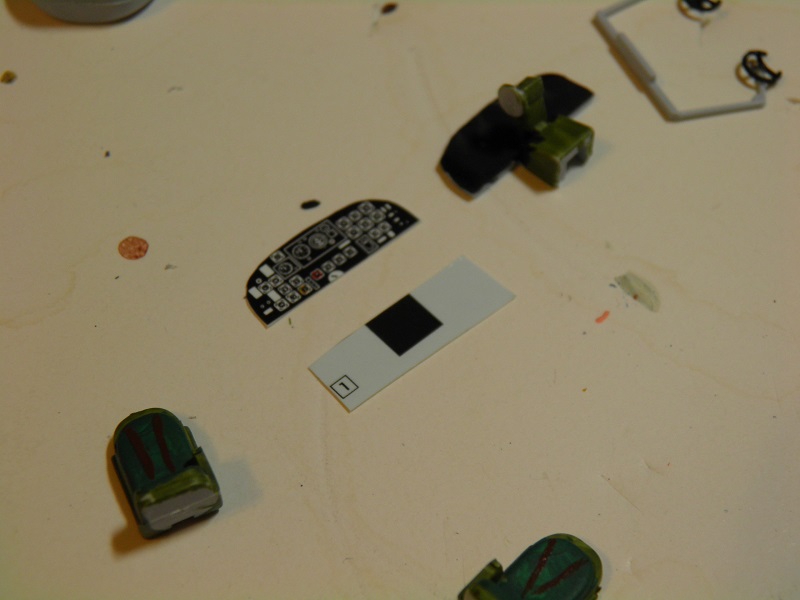
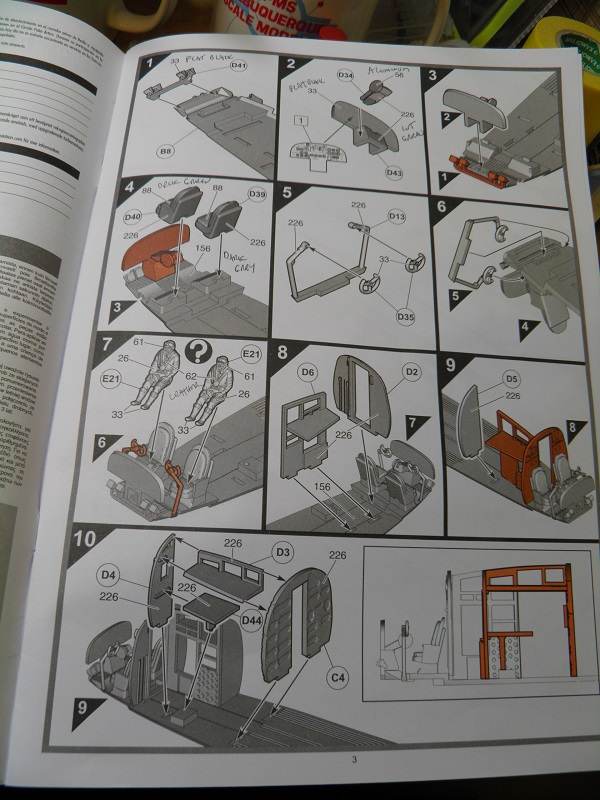
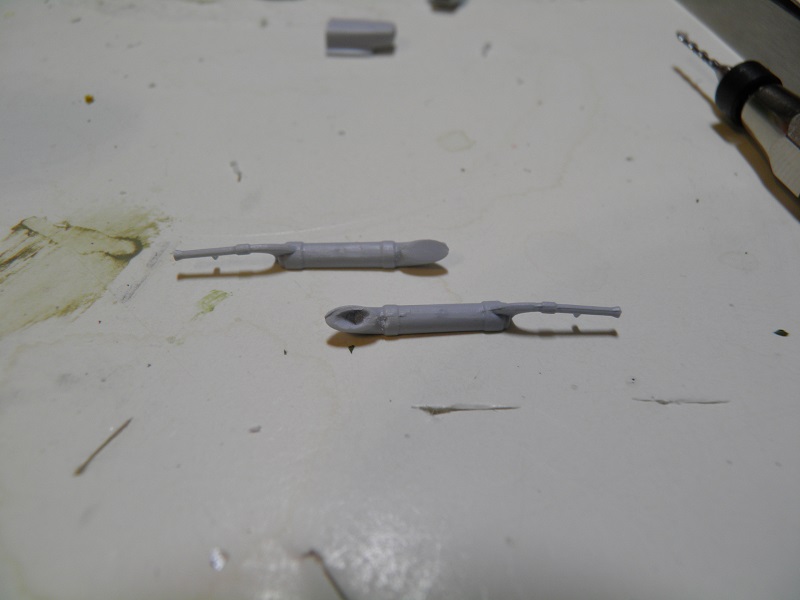
Construction starts with the interior and Airfix provides a very detailed one with a full cockpit and cabin area. A decal is provided for the instrument panel but the bottom needs to be removed so part D34 will fit. The control stick is a very fragile piece and mine was actually short shot on one side. A quick email to Airfix requesting a replacement part which arrived in a couple weeks (good customer service) but it didn’t hold me up as I had that other kit in the stash so just “borrowed” it and continued on. One thing about the interior is that if you don’t leave any of the doors open you can’t see hardly anything besides the seat backs and the cockpit bulkhead.
With the cockpit completed I continued down the interior with the walls and table for the radio operator/navigator and used the jump seats folded versions. Again, with the door closed you can’t see any of this but I know it is in there.
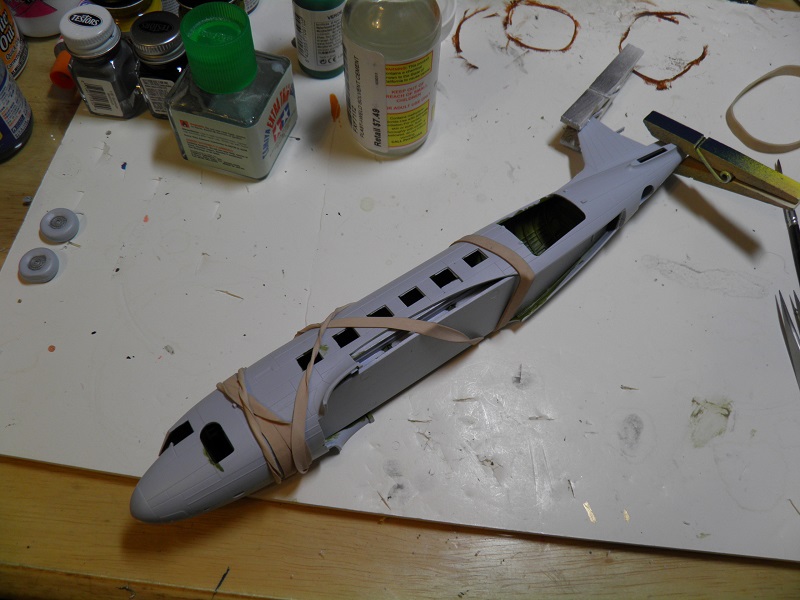
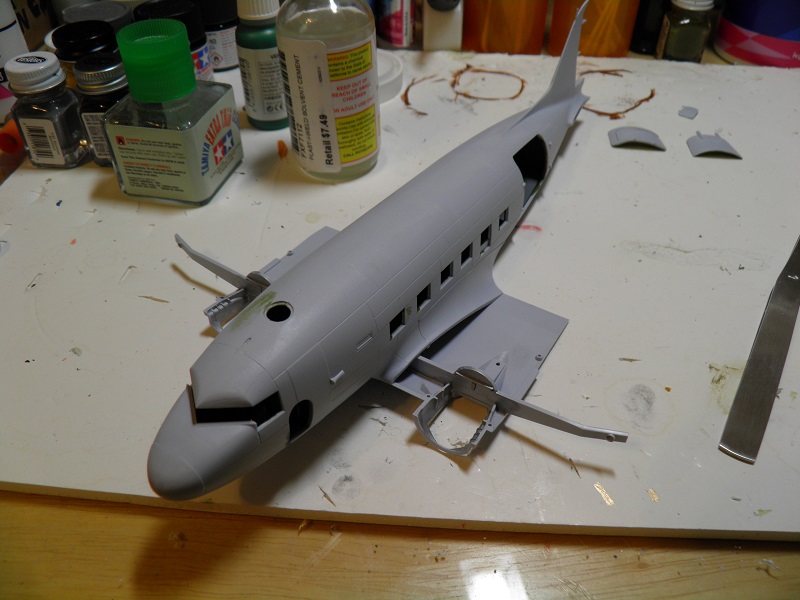
Hearing that the new Airfix kits have some very tight tolerances I made sure to keep paint off of the connecting surfaces and when it came time to close up the fuselage I had no troubles with the fit and no putty needed. Thank you Mr. Airfix.
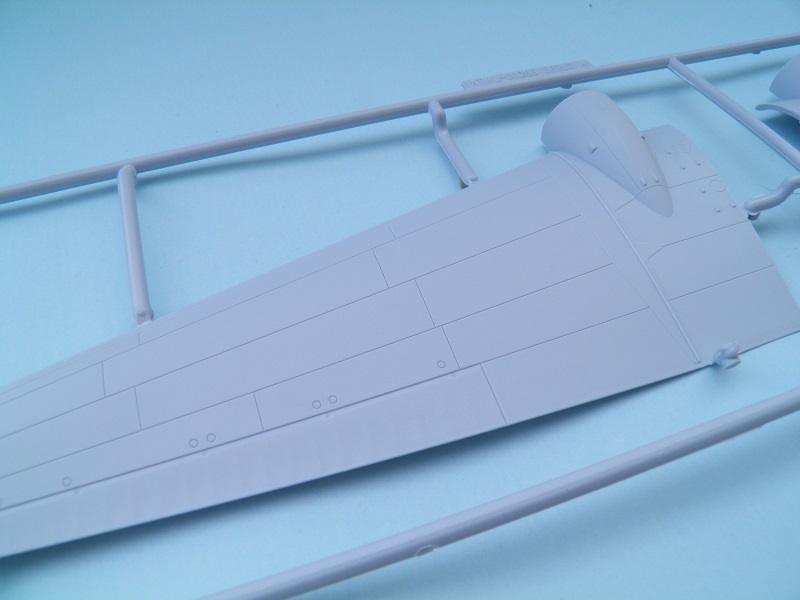
Next up is a wing spar added to the lower middle wing section. This also includes some details for the landing gear wells. Attaching the wings also went well with just a tiny bit of filler needed on one of the root areas. I have heard others have had all kinds of trouble with the wings but mine fit extremely well.
The tail surfaces, which include separate rudder and elevators, were added next. These also fit with no issues.
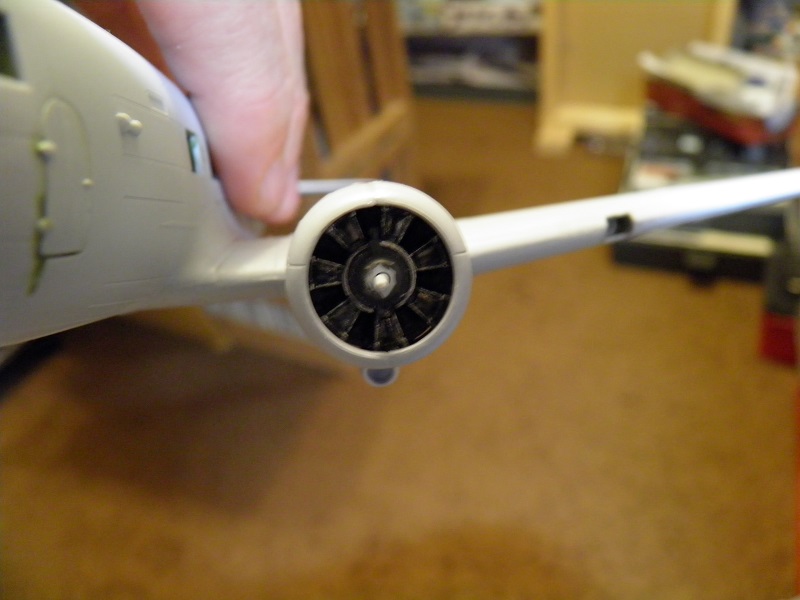
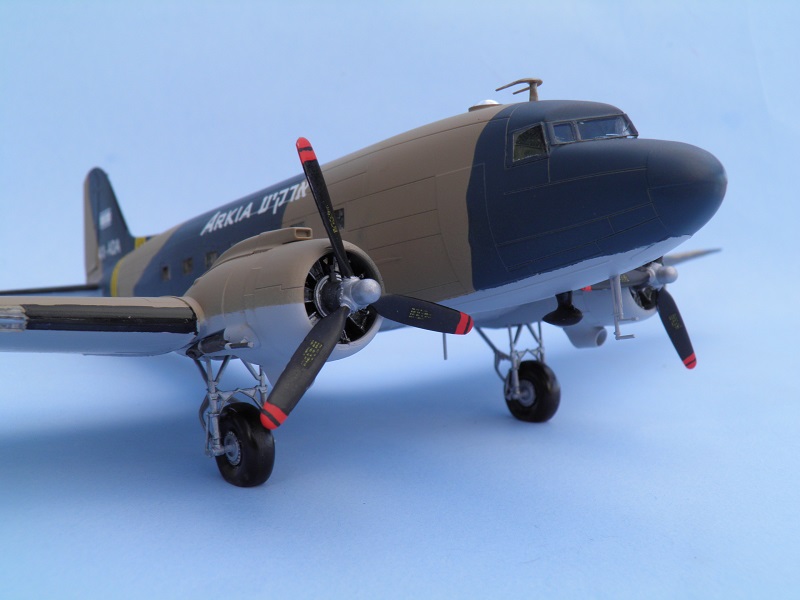
On to the engines and this is one place where the detail lets the kit down a little. They do look fine in the cowlings but lack the cooling fin details and some aftermarket ones would definitely add to the look of the finished model.
Landing gear is next with options for gear up or gear down with a different strut included for the gear up version (no stand is included in the kit). I went for the gear down version and it all went well except for 8 little bits that are added to the gear last. There is no positive location for these so it was apply glue, use tweezers and a little Anglo Saxon to finally get all 8 in position. The main wheels have good detail and include a flat area to represent weight that doesn’t look like two flat tires and the gear is very sturdy once it is all together.
The fuselage doors provide options for both cargo doors open or closed. The passenger door can be opened though that isn’t shown in the instructions. Boarding steps are also provided if you leave the doors open.
There are lots of windows on a Dakota and Airfix allows them to be added at the end of the construction phase (which I personally like). I also bit the bullet and ordered a set of Eduard window masks for this kit (CX401) and have to admit they really made the job a lot easier, though they were one passenger window short. I just cut another one out of what was left on the sheet so all was good.
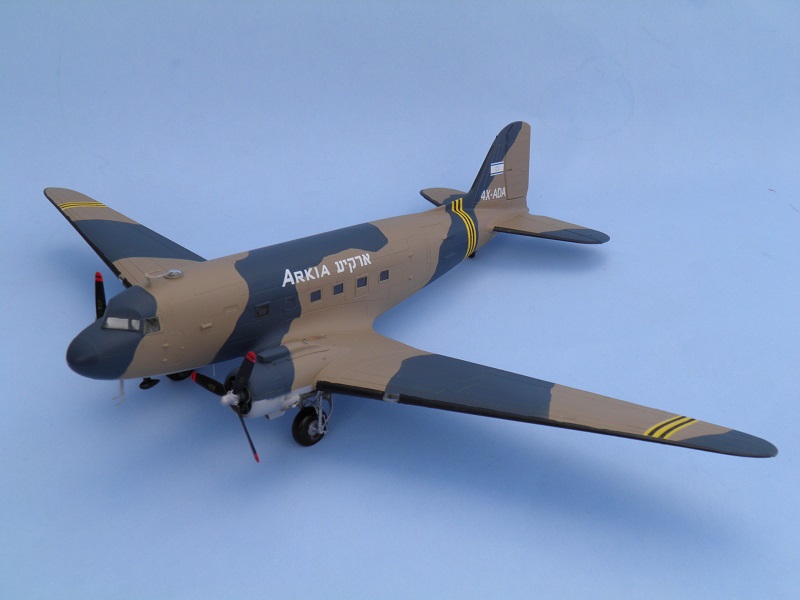
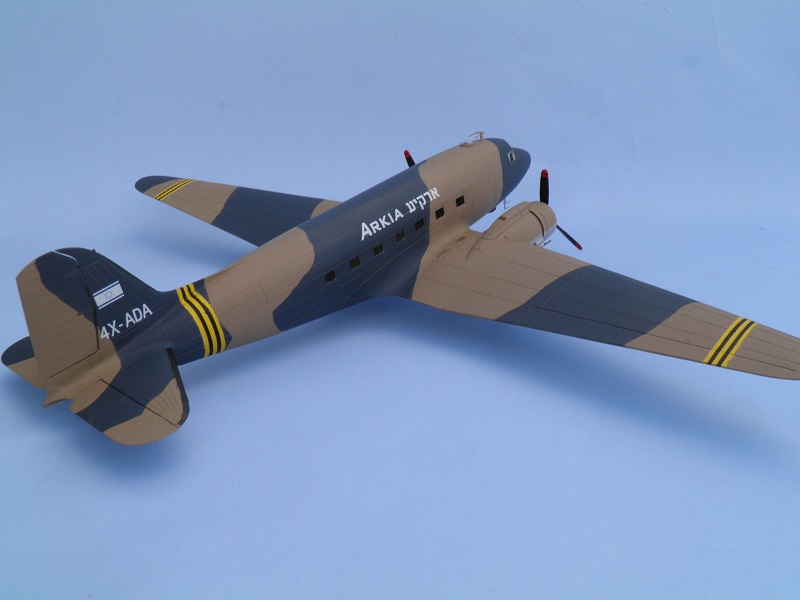
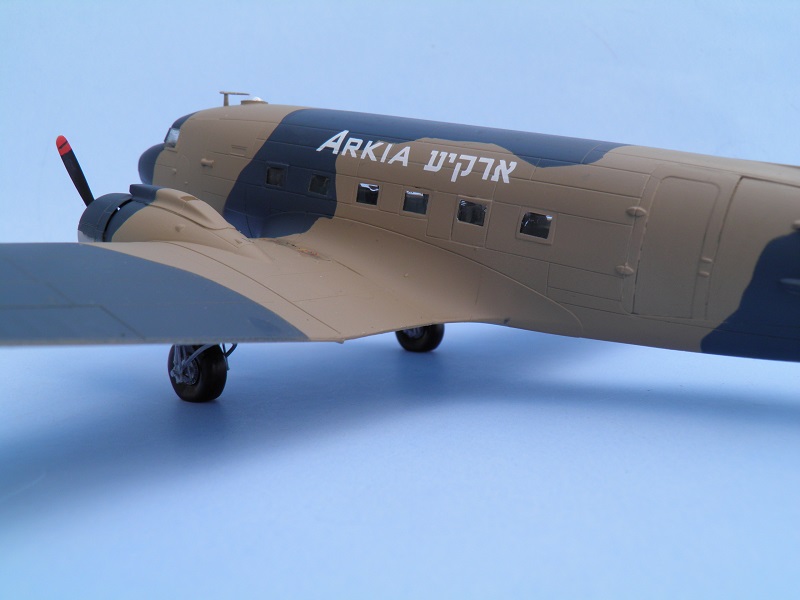
A couple antenna and the props and she is ready to go. Oh wait, painting. So, neither of the schemes that came with this kit really interested me. I really wanted to do a D-Day version but since I already have that one in the stash and Airfix is selling this kit as the civilian version I needed to find some options. I found a lovely set of decals for Israeli Air Force C-47 Dakotas by Sky’s Decals (no. 13) which comes with several options in both 72nd and 48th scale. One of the planes included is in Arkia markings. Arkia is a local airline who had one of their planes transferred to the Israeli Air Force during the Sinai Campaign of the 1956 war. So, a civilian aircraft in military markings from a conflict I needed to add to the shelves, win. Also this version just showed the earth over grey scheme so no extra camo needed, win. Or so I thought.
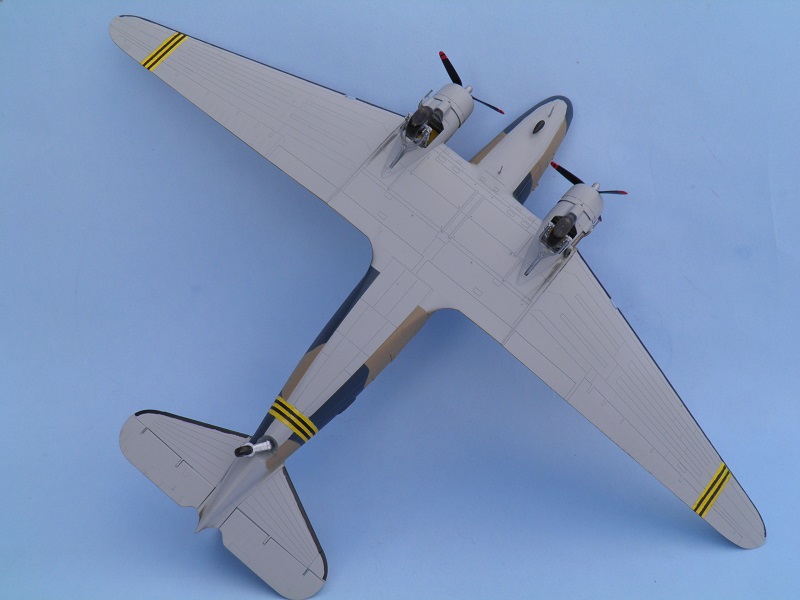
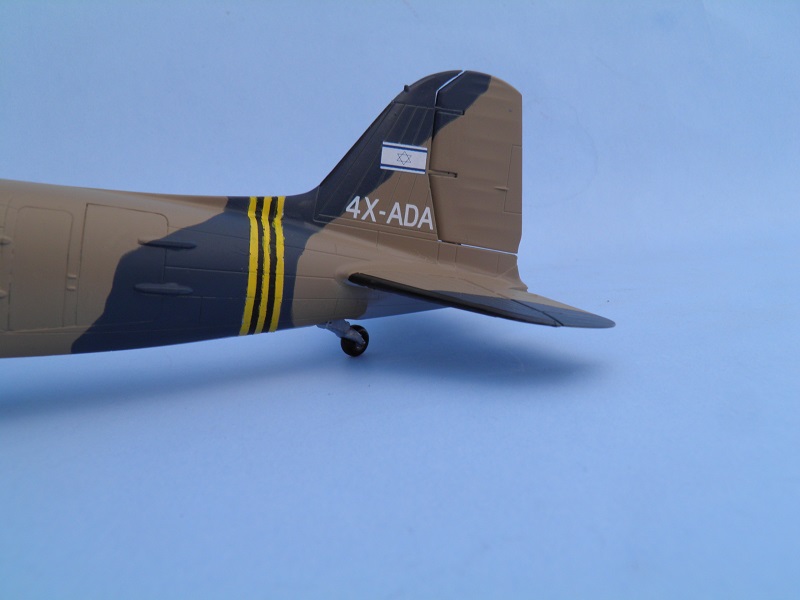
Trying to do some research on Israeli Dakotas is fun as in there isn’t too much out there. I was trying to confirm if the plane I wanted to do actually included the Star of David markings on the wings in any way as this view was not in the instructions. Also the ID stripes seemed to be different on every picture I could find. I sent a pm off to Mark Aldrich through the IPMS Forum to see if he had any data (Mark is the lead for the Middle East Wars SIG) and he came back that he mostly builds Armor but he would check. He got me in touch with the Israeli AMPS Facebook page (don’t you just love technology) and one of them came up with a great picture of the exact plane I had decided to make. This one definitely shows it is in the blue and earth camo and there is no National marking on the fuselage or below the wings. That means less decals to put on the model and potentially screw up, win. Plus, the plane looked like it had recently been repainted in the camo and no stencils or propeller warning stripes were visible, win again.
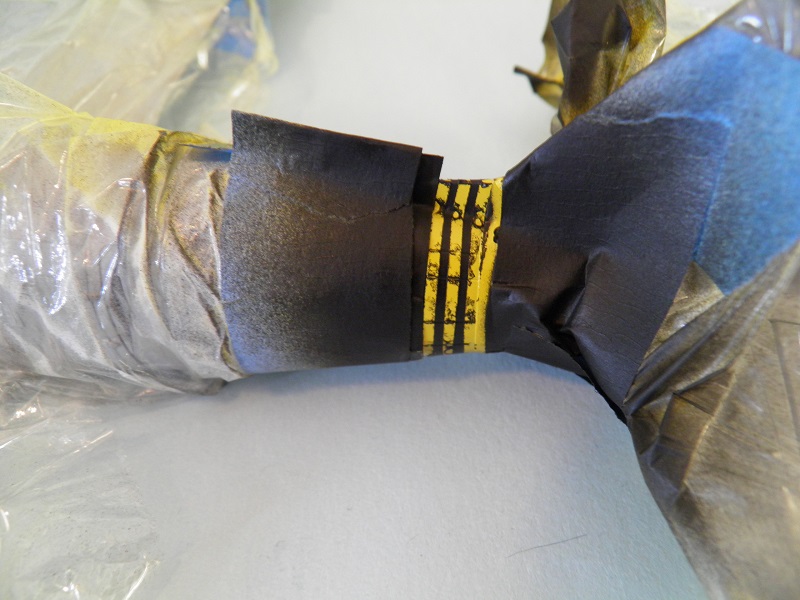
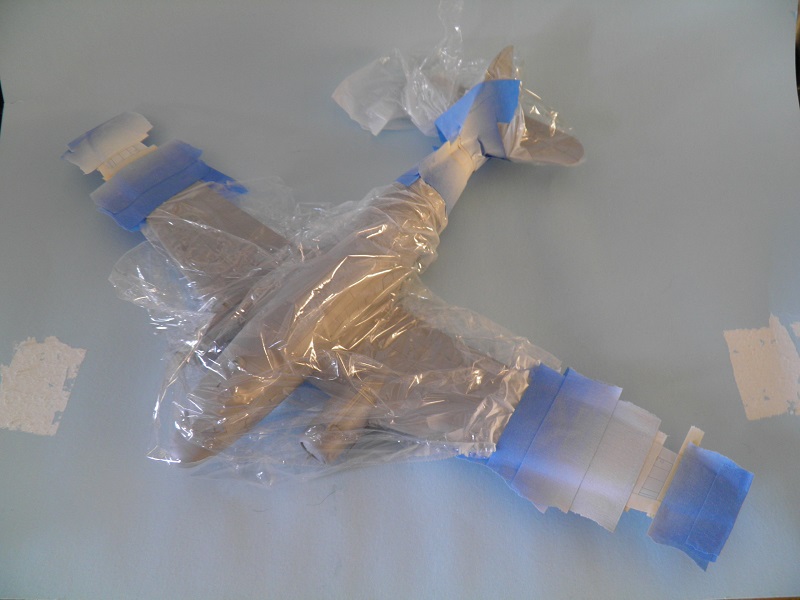
I started with Tamiya Fine Surface Primer L (light gray) and primed the whole aircraft. I did fix a few bits and went around the passenger doors with Tulip white fabric paint as a filler. Touch up with the primer and then masked off the ID stripes. First I sprayed them with Walmart Flat White (large cheap rattle can) to give a good backing and followed this with Tamiya TS-16 Yellow. Some thin masking tape and then Model Master 1949 Flat Black. The black bled under the tape along those fine panel lines and mucked up my yellow. So after some more use of Anglo Saxon I taped over the black lines and used some Future to seal them before respraying the yellow.
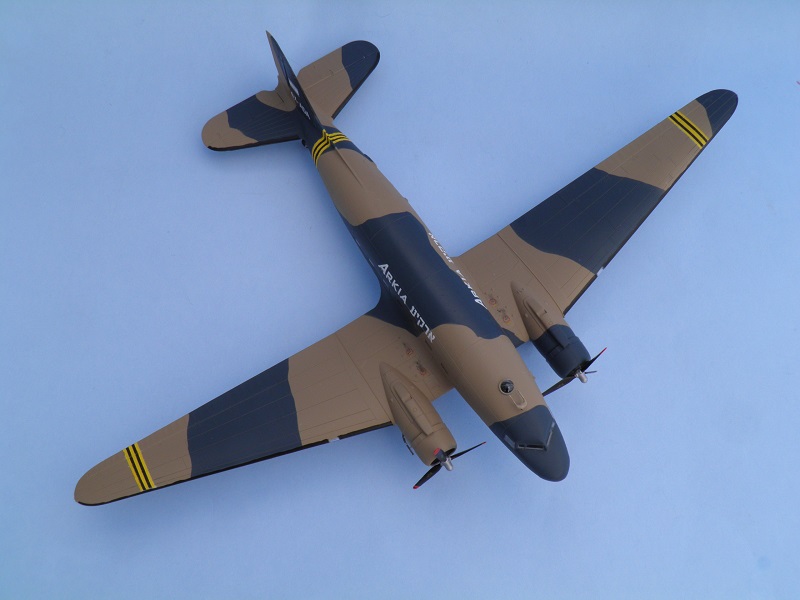
Once the stripes were to my liking (as in good enough) I masked them off and decided the primer was close enough to the Israeli color to suit me so what to use for the top colors. In the end I picked Tamiya AS-15 Tan (USAF) and AS-8 Navy Blue (US Navy) as being close enough for me. The bottom was taped off and the tan sprayed over the whole top. I then used Silly Putty to mark out the camo as best I could based on the decal instructions, the picture I had of my plane, and a shot showing the top of the starboard wing. I used painters blue masking tape between the Silly Putty and only had to do a minor touch up when I was done.
A little Future where the few decals were going to go and they worked well with the Microscale System. I then added the landing gear, antennas and props and finally it was done.
I really liked this kit and will be building at least a few more and may even take the gunship parts out of the Testors kit in the stash and do a Puff with another Airfix kit, unless they are planning that version in the future (anybody know?).
Thanks to Hornby America and IPMS/USA for the review kit.

Comments
Add new comment
This site is protected by reCAPTCHA and the Google Privacy Policy and Terms of Service apply.
Similar Reviews