
Dio Drybrush Paint Light Olive Green, Light Brick, Dark Sand
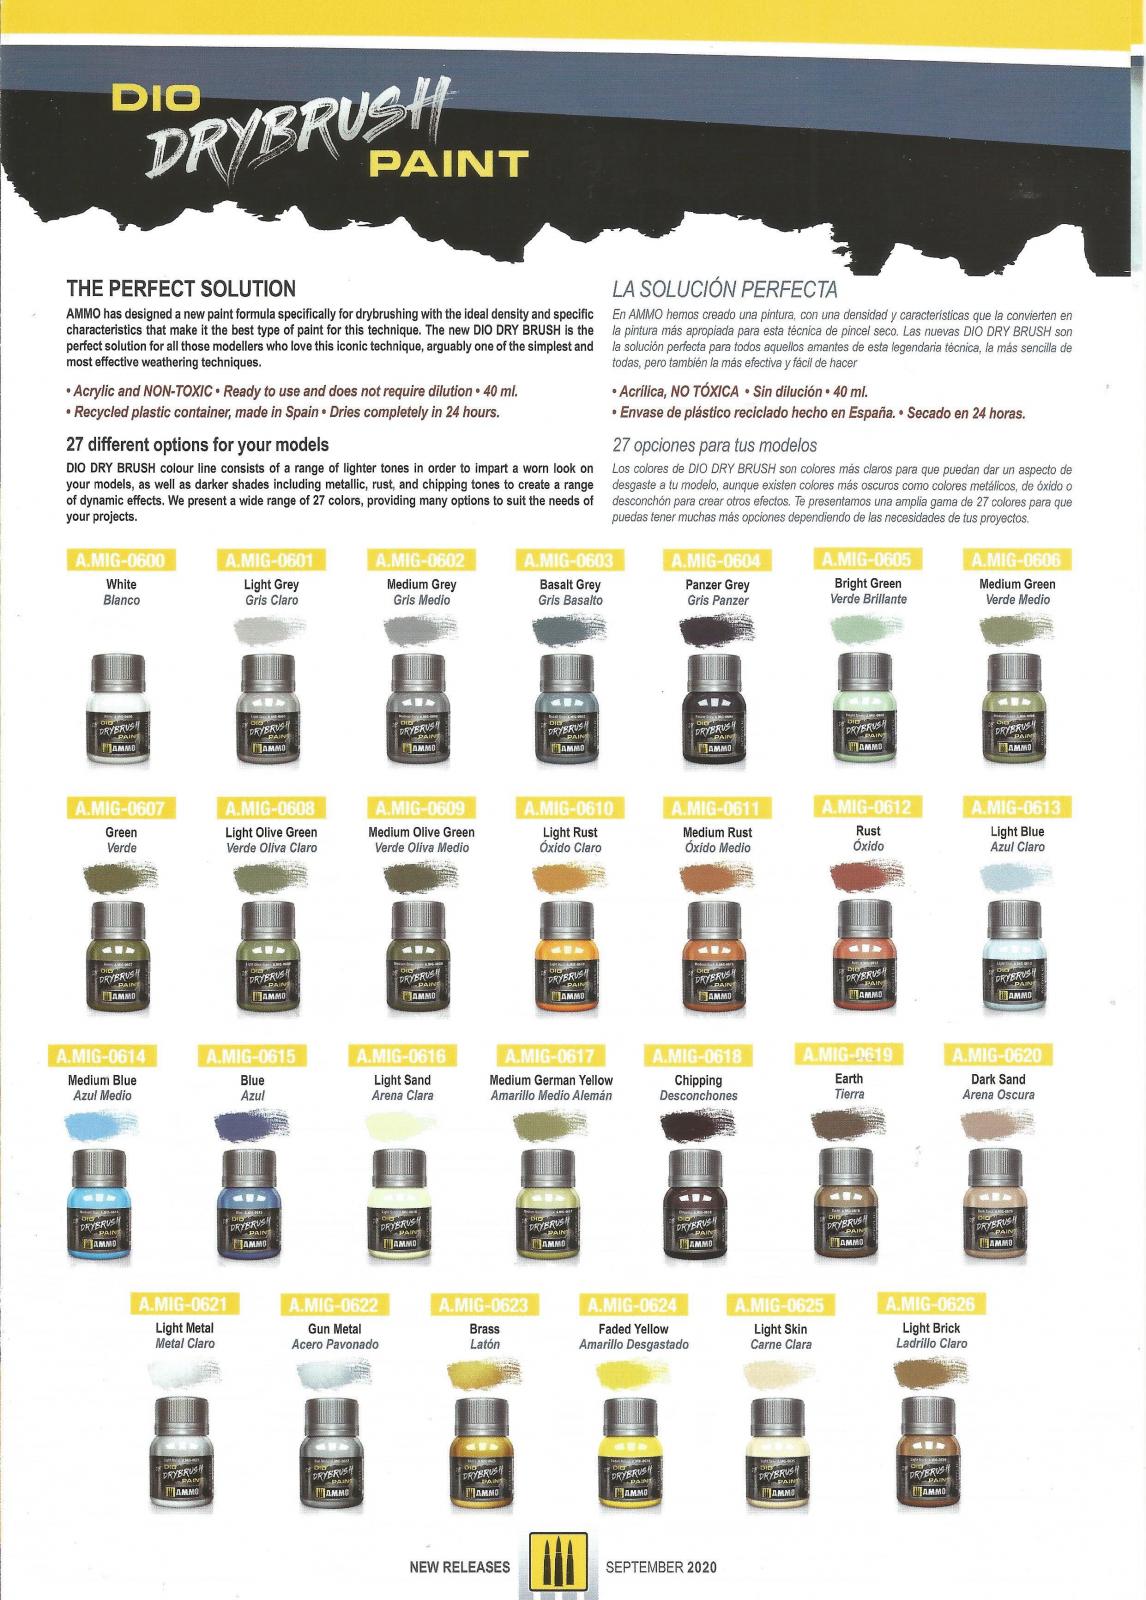
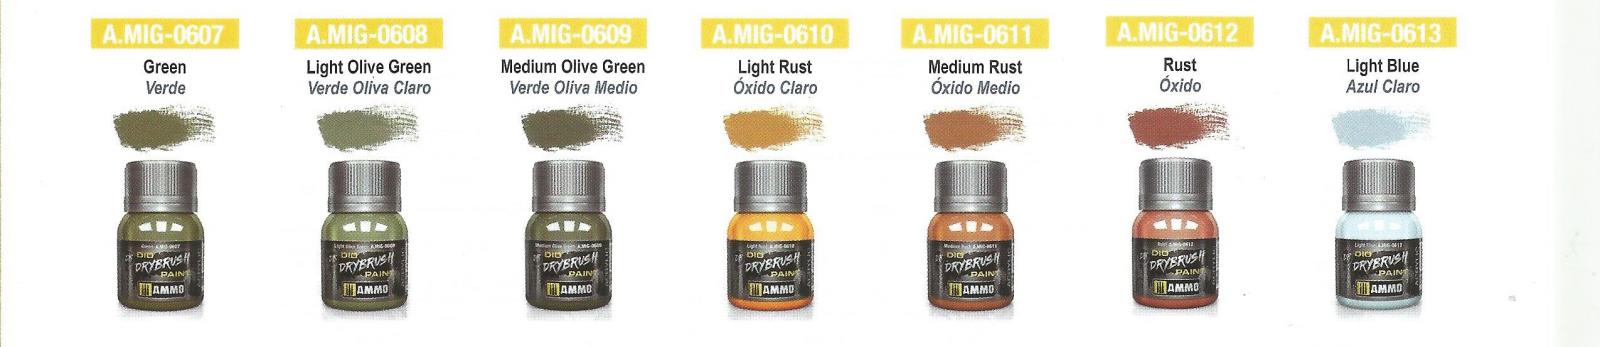
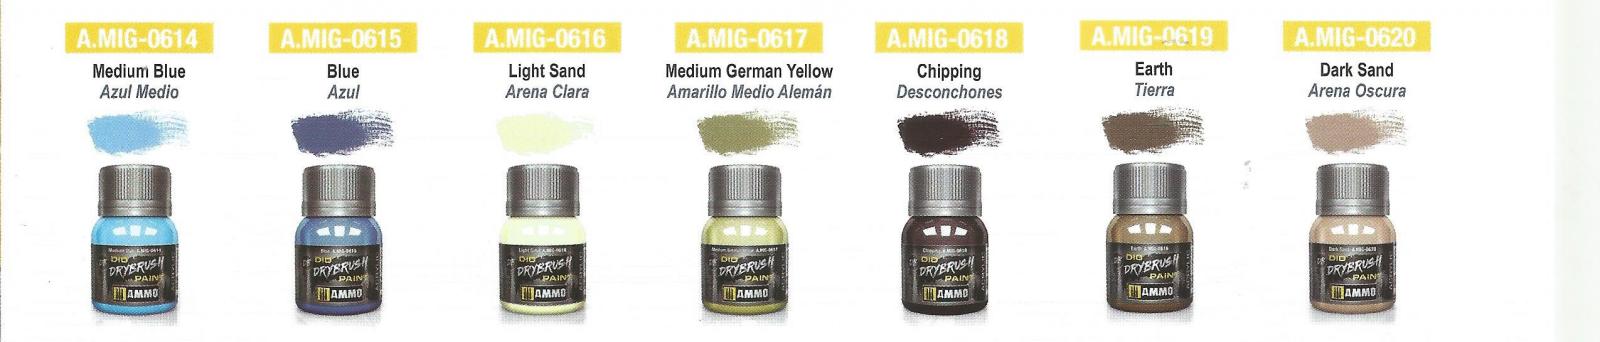
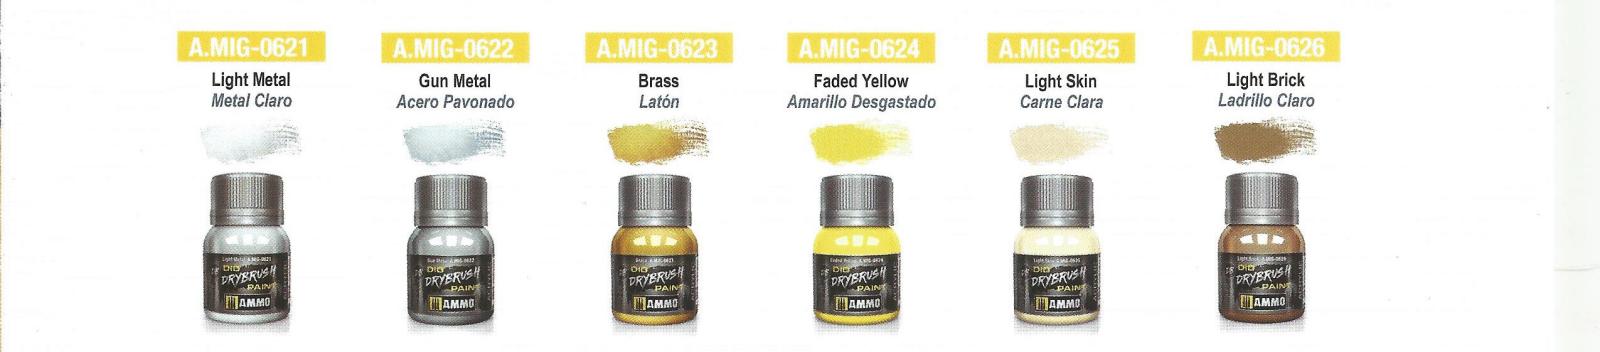
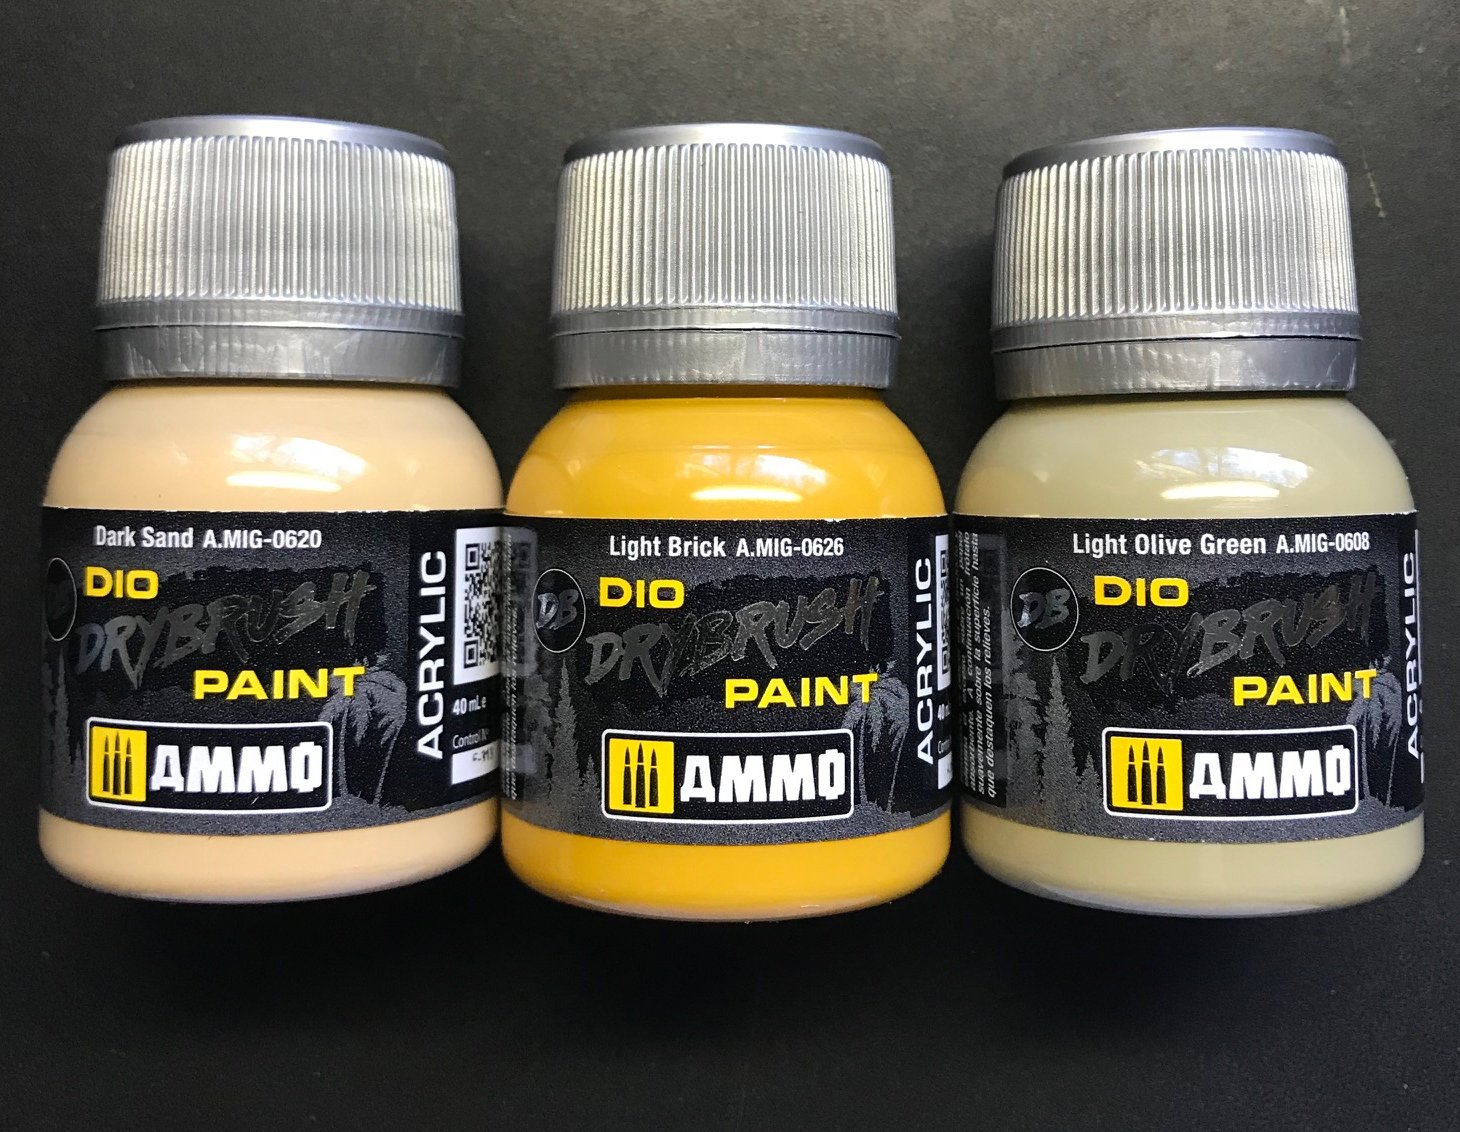
AMMO has an extensive line of paints and a selection of “How To” publications that are familiar to modelers. IPMS/USA recently received for review three of AMMO’s “DIO Drybrush Paint” products. The review samples include A.MIG-0608 Light Olive Green, A. MIG-0626 Light Brick, and A.MIG-0620 Dark Sand. These three items are a part of AMMO’s line of Dio Drybrush Paints. There are 27 paints in this series. Each sell for about $3.50.
There does not seem to be a single “set” that includes all 27 colors, but it is not difficult to submit a purchase order on the AMMO website to purchase each of the 27 colors as a “group” purchase. Note that the “Direct Link to Product” associated with this review opens a page which shows all 27 of the colors grouped together. Hopefully, that will make your “search” for these products less time consuming.
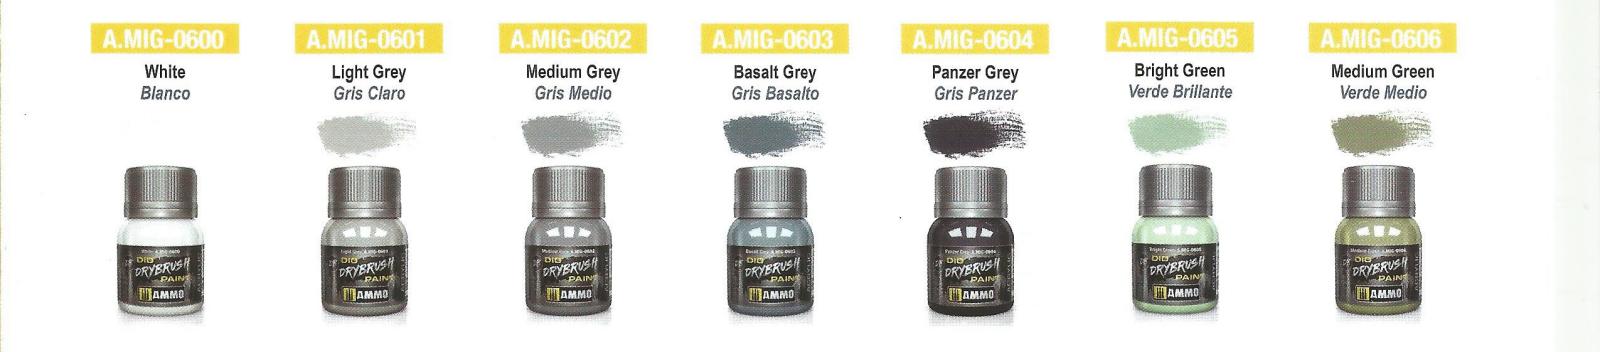
The images that accompany this review include 4 images of paints arranged in rows. Three of these images show seven paint bottles, and one image shows the final six paint selections available in this series of paints.
The MIG information flyer states that,
“Dio Dry Bruch colour line consists of a range of lighter tones in order to impart a worn look on your models, as well as darker shades including metallic, rust, and chipping tones to create a range of dynamic effects. We present a wide range of 27 colors, providing many options to suit the needs of your projects.”
The application instructions are simple. (This information is taken from the MIG Information Flyer that accompanied the three sample paint bottles.)
- Step 1 - Dab the brush directly into the jar and load with a moderate amount of paint.
- Step 2 – Remove the excess paint onto an absorbent surface.
- Step 3 – Gently rub the brush over the surface details of the model to highlight them and enhance the volume.
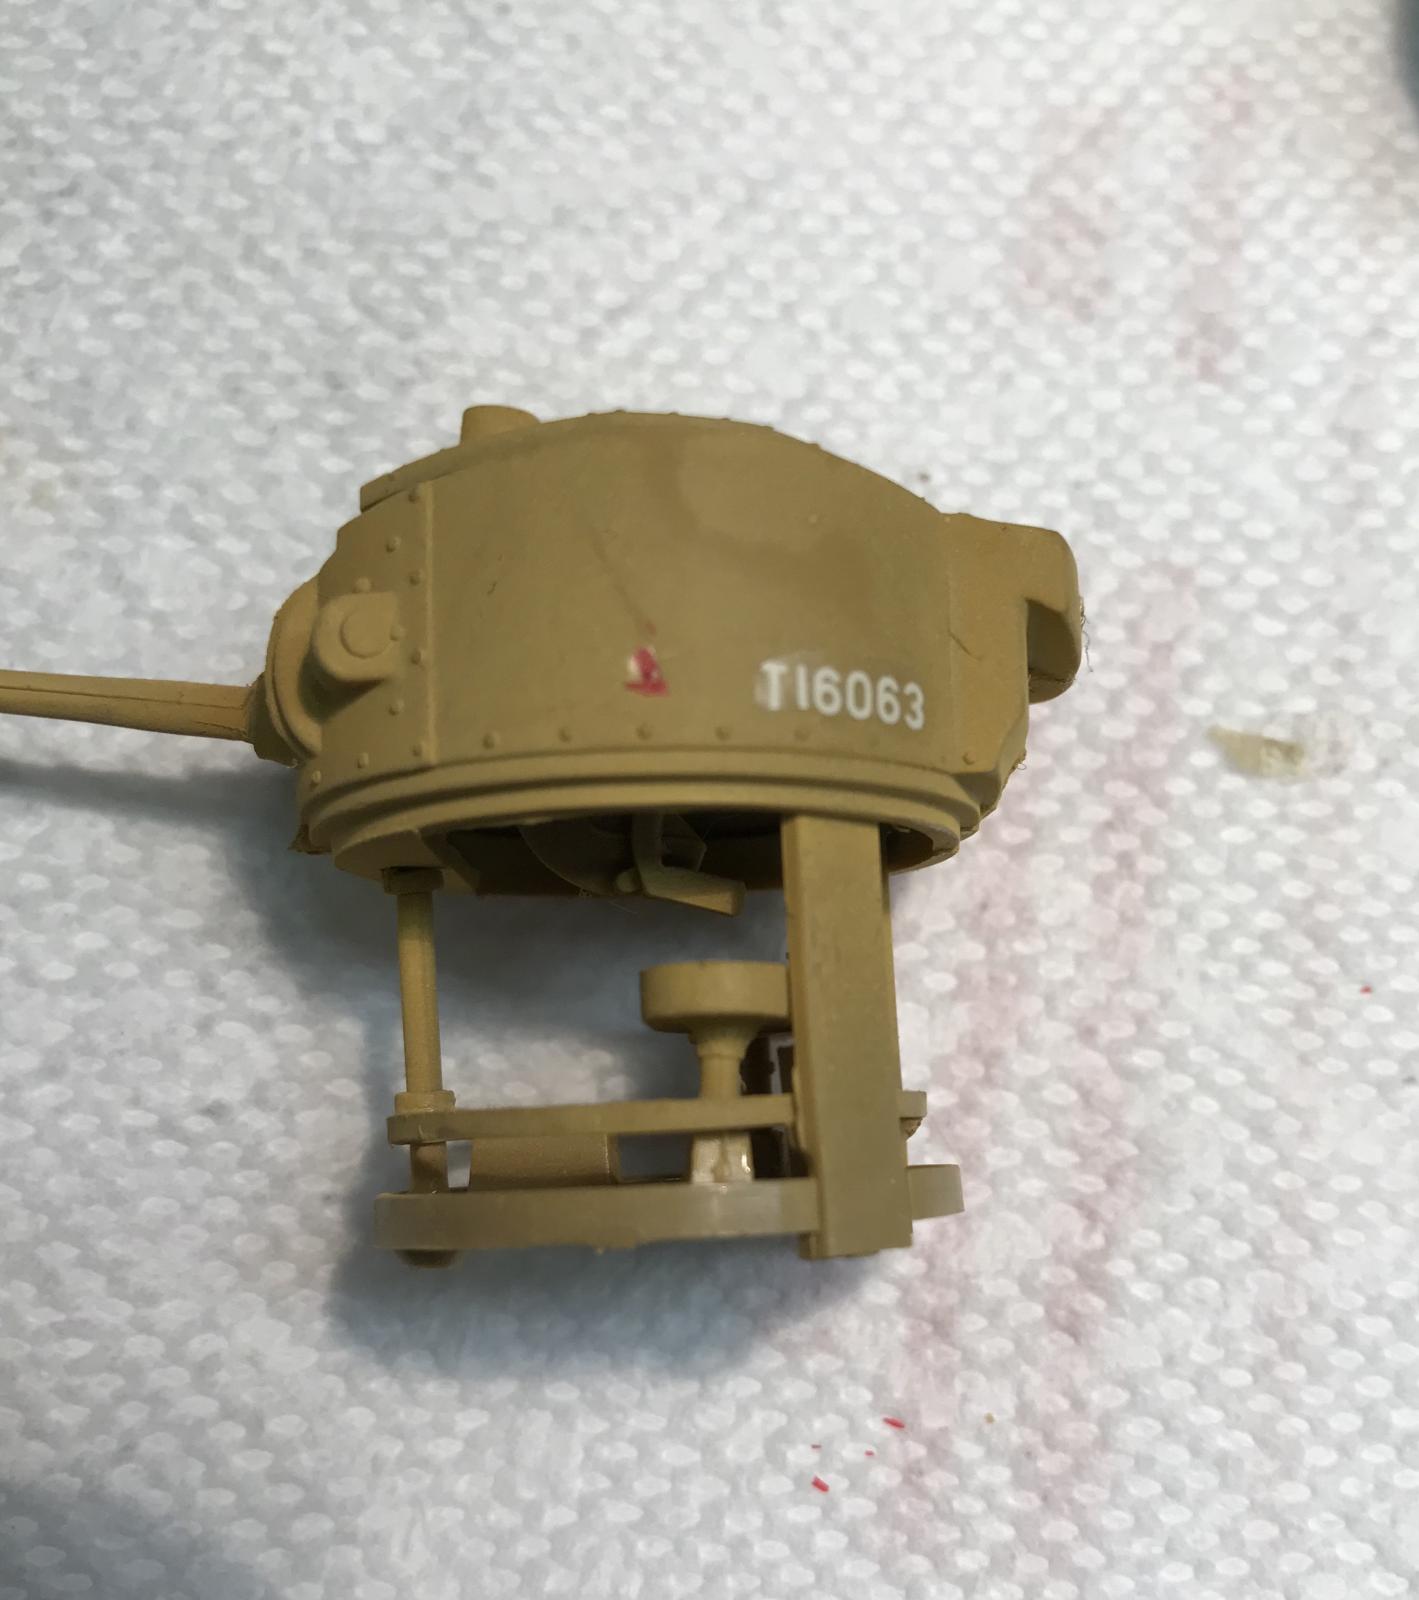
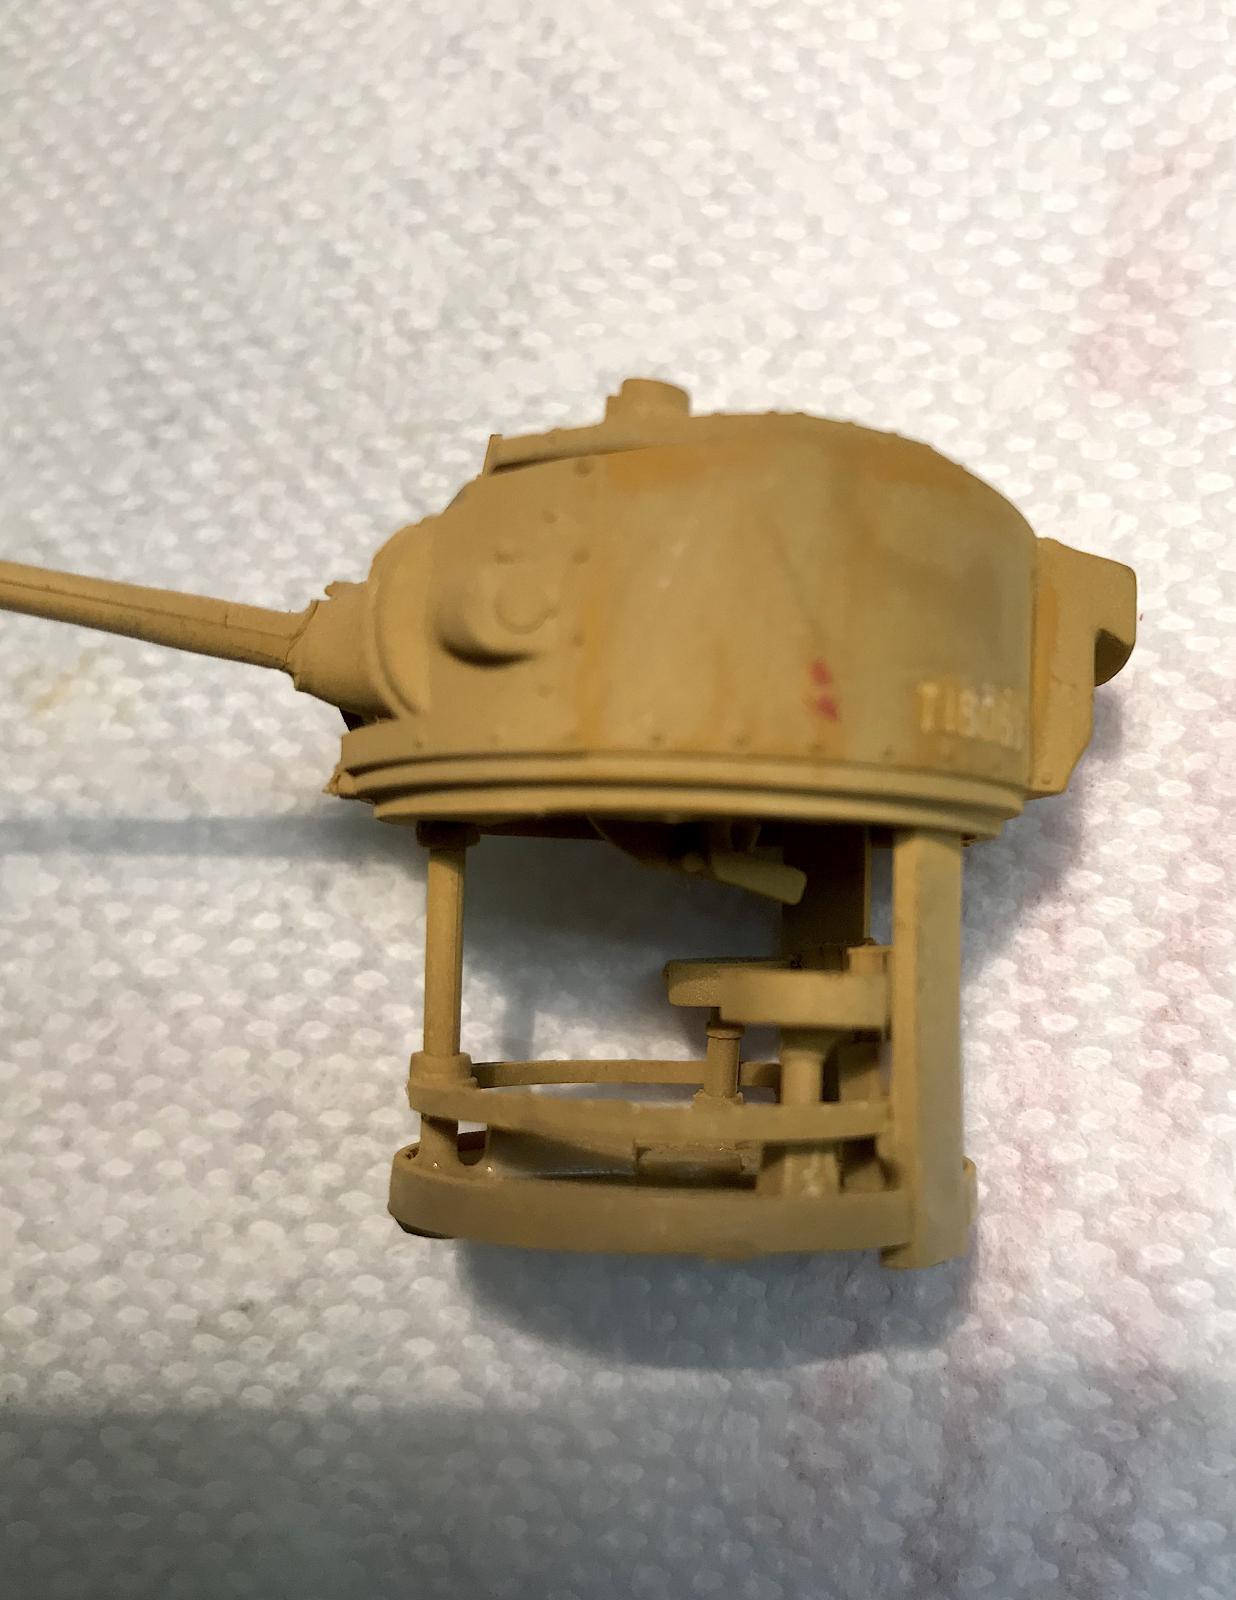
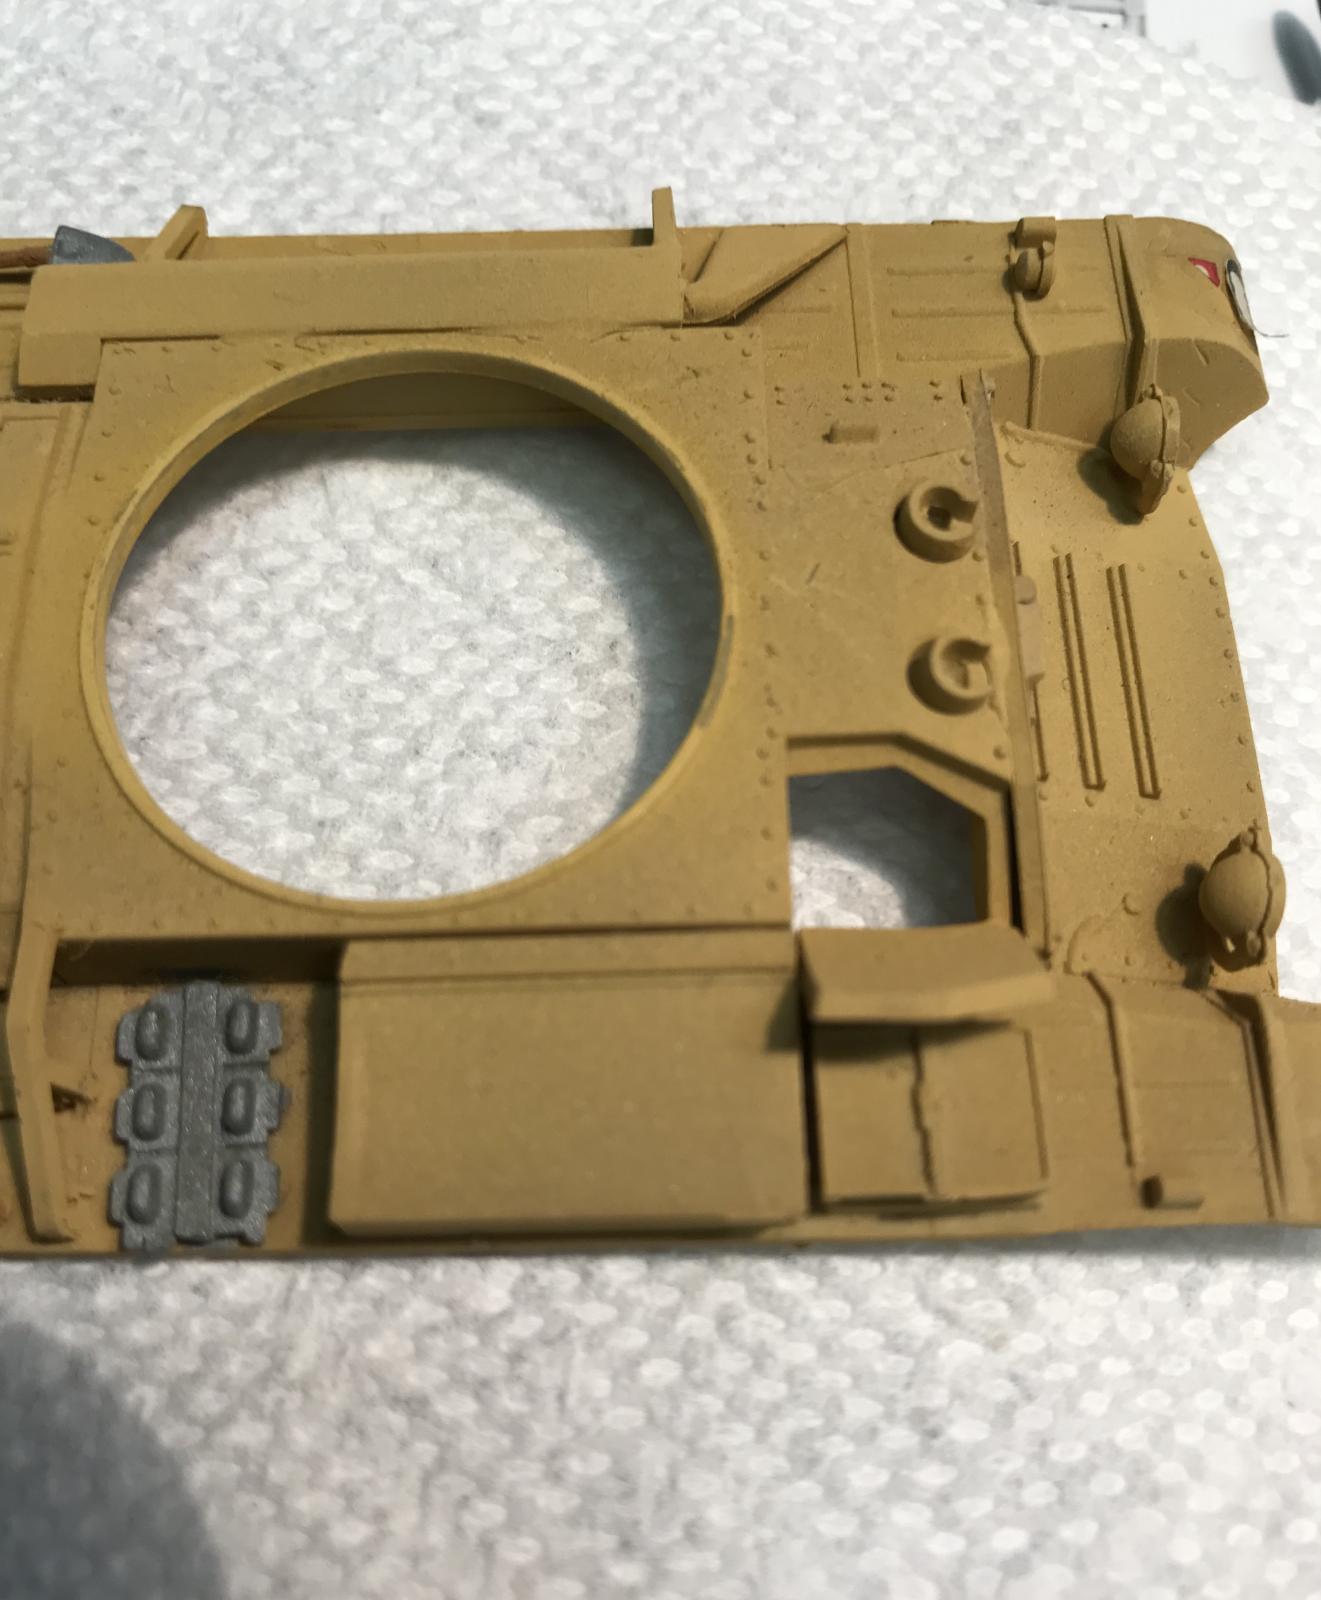
The most significant content of a review of products such as these AMMO paints is the reporting of the application of the product to a model. As a test subject I selected a Mk. III Valentine in 48th scale that had been completed in 1978. The Valentine had a coating of light sand paint, the base coat color that would serve to reveal the changes made when the AMMO paints were applied. I followed the instructions (above) provided by AMMO.
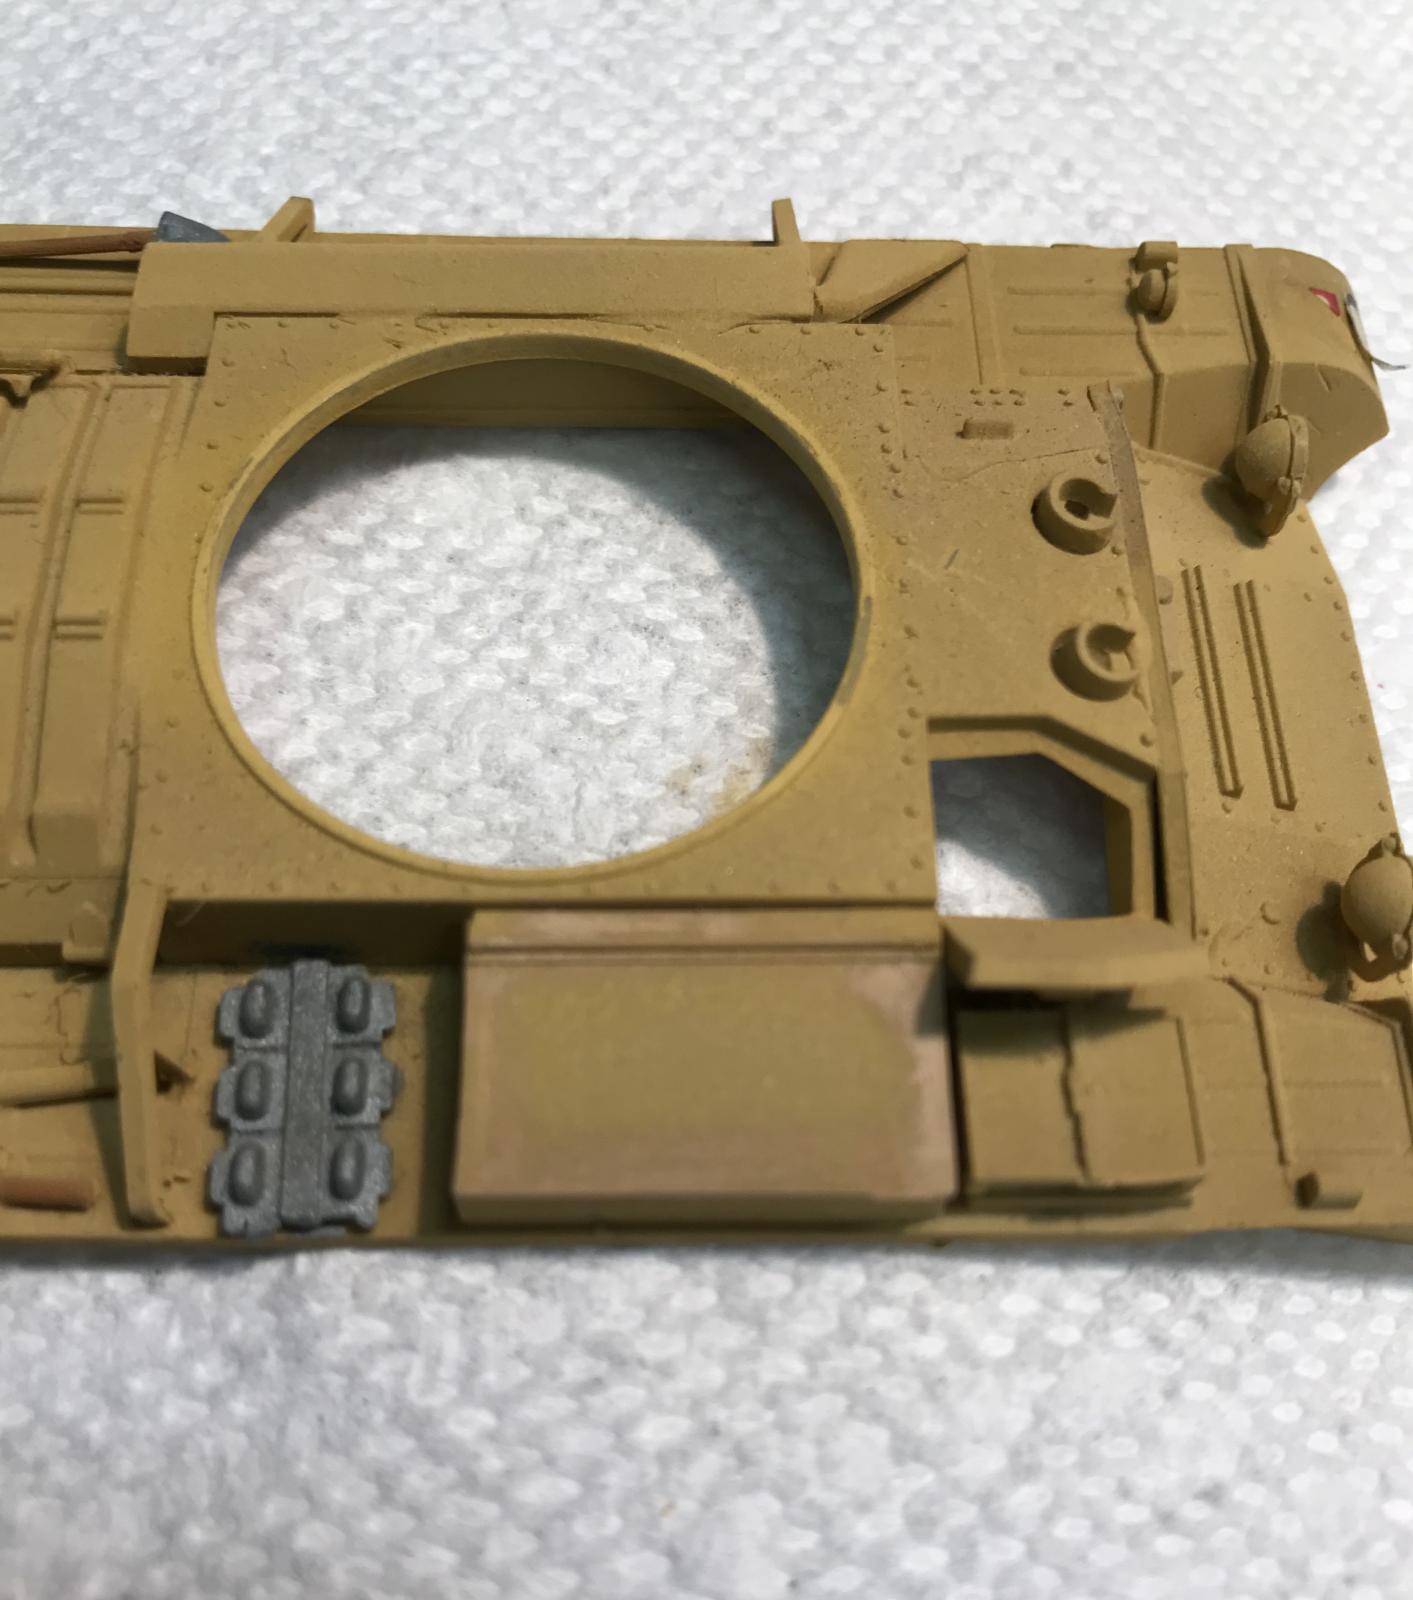
I first chose to apply Light Brick 0626 to a section of the Valentine’s turret. There are two images provided that show the “before” and “after” appearance. It is recommended that a small amount of paint be loaded to your brush, and that you use a scrap piece of sheet styrene to gain some quick experience with application of the paint. The AMMO suggestions state “a moderate” load of paint will be sufficient. I found that I needed little of the AMMO paint in order to make a definite change in the appearance of the area being painted. I quickly fell into a routine in which I loaded the tip of the paint brush with a small amount of AMMO paint, and then I applied that paint to a strip of sheet styrene. This application showed me that the load of AMMO paint was exactly right for application, or if the load was too much or too little. After a very quick learning curve indicated to me how much was “just right” I began to apply the AMMO paint to the test area. On the turret, it is easy to see that the AMMO DIO paint provided a contrast to the original paint, covered the decals in a manner that gave the marking a dusty, worn appearance. I cleaned my brush with water and then selected a 2nd paint to test.
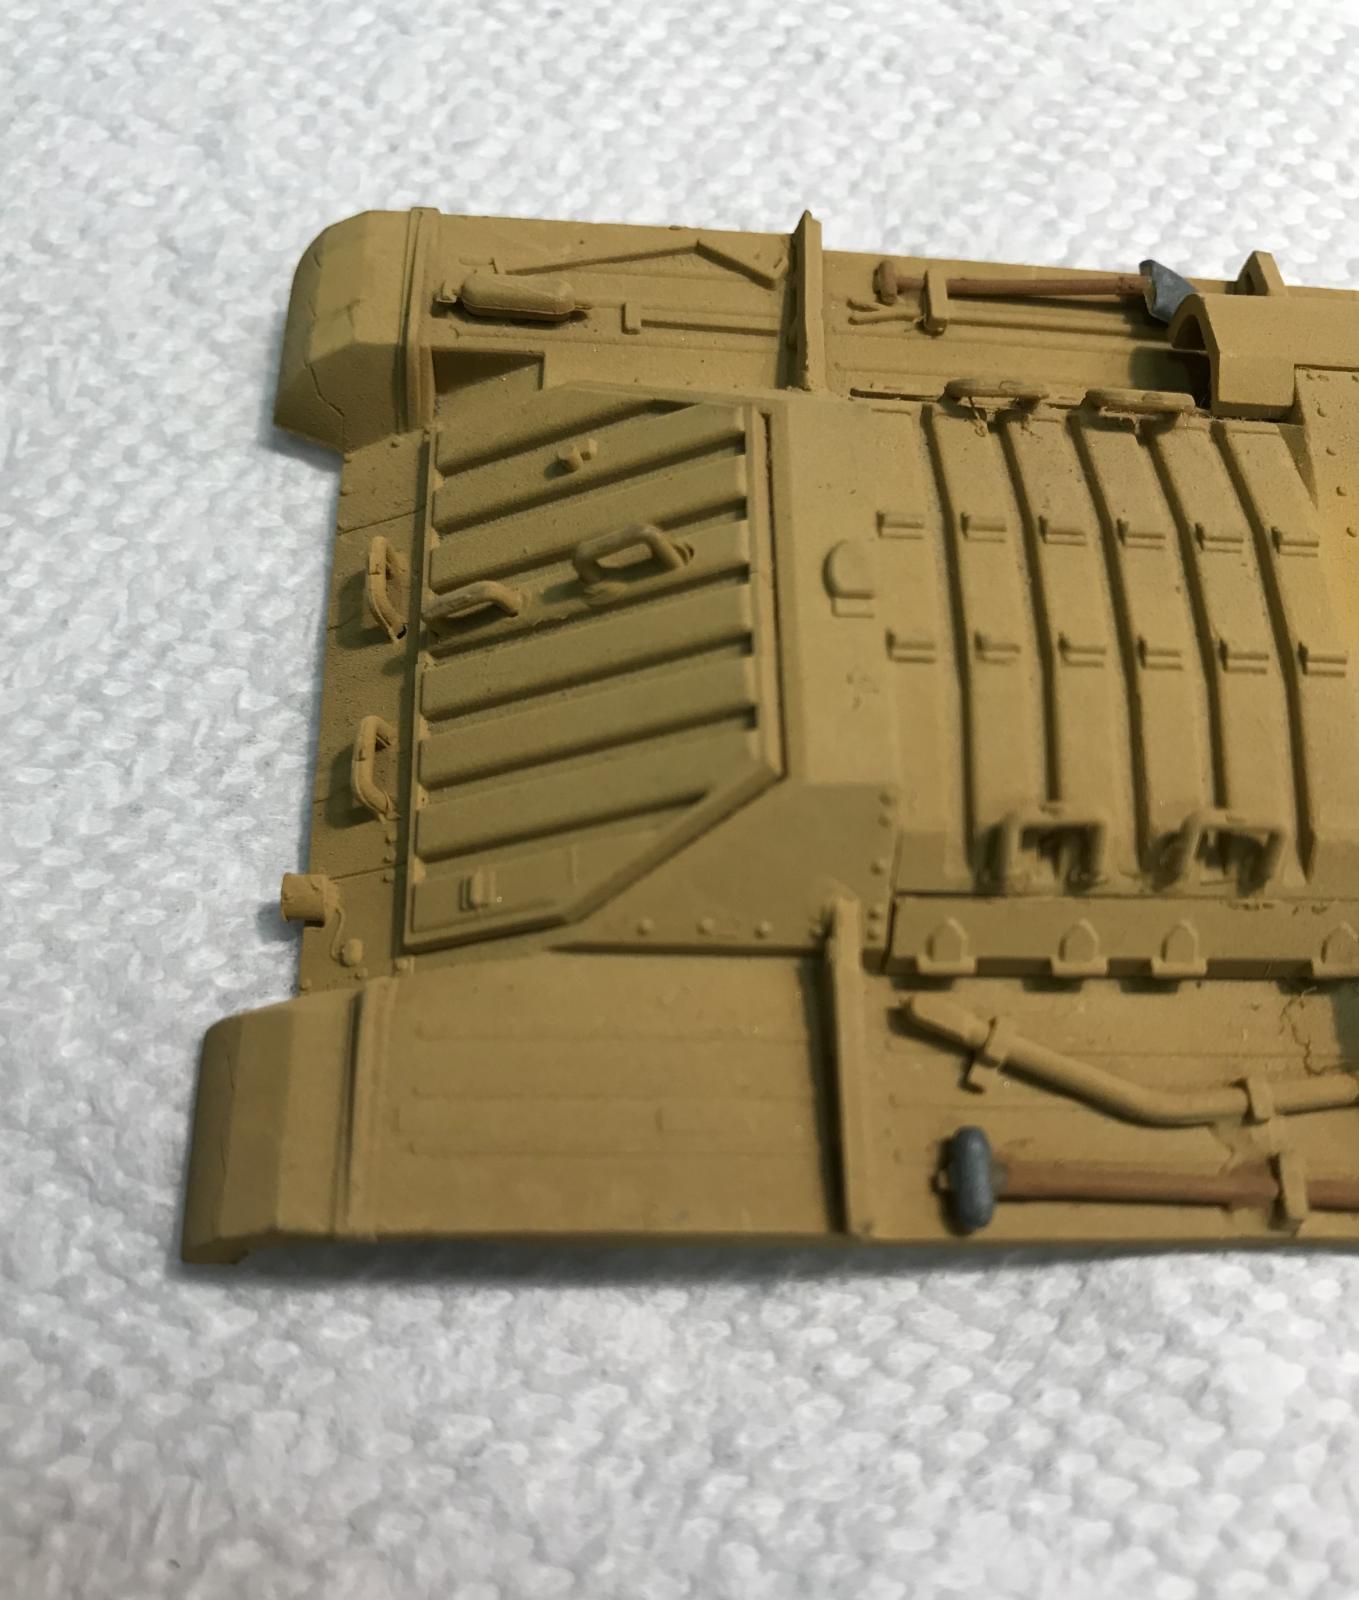
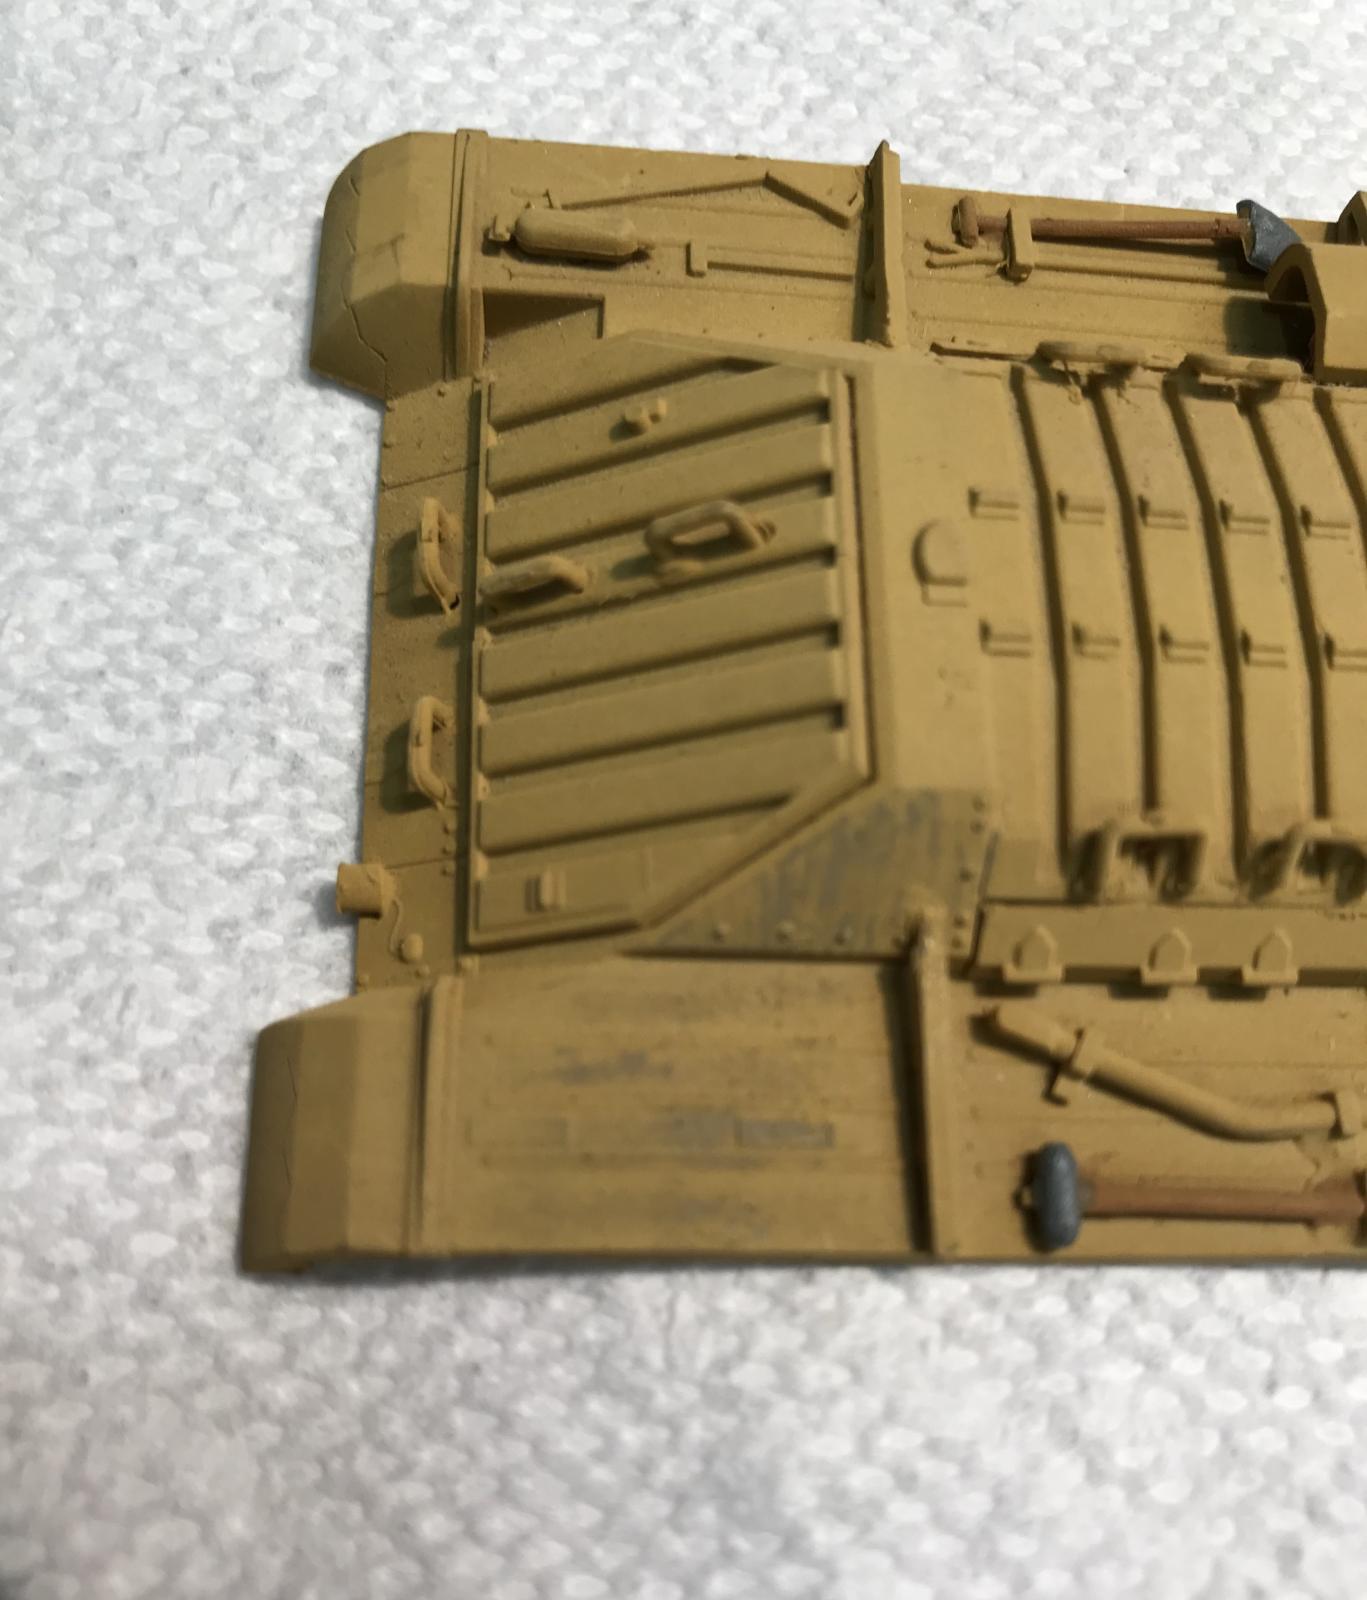
I chose a “fender” as the test area for the 2nd bottle supplied by AMMO for review. The “Before” picture is labeled as” 002 a Before Live Green 0608”. The “After” picture is labeled as “002 b After Olive Green 0608”. The result was rather impressive. The AMMO paint, when properly applied, resulted in some areas that appeared to be darkened from footwear, and weathered.
The 3rd AMMO paint to be tested was Dark Sand 0620. The “Before” picture is labeled as “003 as Before Dark Sand 0620” and the “After” picture is labeled as “003 as After Dark Sand 0620”. This application caused the affected area to take on a weathered appearance that adds reality to the paint job of the Valentine, which it previously lacked.
I did not thin the paint before or during application, but I did remove excess paint onto that styrene sheet which was previously mentioned, and by the application of the 3rd color I seemed to have found the “happy spot”……just enough paint to dry-brush, but not too much.
For those who are relatively inexperienced with dry brushing techniques (I’m raising my right hand) I was pleasantly surprised at how quickly I was able to identify and control the amount of AMMO paint that gave a realistic and lifelike appearance. For those who have already mastered the technique I am sure that the range of colors provided by AMMO will be of interest and of use.
This series of paints is highly recommended. These three sample paints provided by AMMO are highly recommended for the Novice as well as the Master painter. The drying time is advertised as 24 hours, but the applications I made were dry to the touch after 5 or 6 hours. The pricing is reasonable, especially considering the high quality of the paint. Application is actually quite easy ,and I see a definite “step up” in the quality of my future “builds”.
Thanks to AMMO for making these paints available for review by IPMS/USA.

Comments
Add new comment
This site is protected by reCAPTCHA and the Google Privacy Policy and Terms of Service apply.
Similar Reviews