
De Havilland Mosquito B Mk.IX/Mk.XVI
Aircraft and History
The De Havilland DH.98 Mosquito, commonly called “Mossie” or “Wooden Wonder” was a fast, twin engine multi-role aircraft developed and operated during WWII. The Mosquito could operate as a bomber or be fitted with guns (in the nose or in bomb bay) and operate as an effective fighter. Speed was one of the Mosquitos best defensive assets where this aircraft was faster than most piston powered fighters Germany operated. The Mosquito was very capable at high altitude, low altitude, daytime and night operations.
Construction of the Mosquito consisted mostly of wood which was beneficial since “strategic material” (metal) was in high demand during WWII and small “cottage industries” were capable of building parts for the Mosquito and reducing the aircraft manufacturing demand during war time. Some mosquitos were fitted with a “glass” nose while others contained four machine guns and others contained a radar for night fighting operations.
The versions HK Models kit will produce as a bomber version, Mk IX and the Mk XVI (pressurized) versions. One of the options is a bulged bomb bay that will accommodate the 4,000 pound “Cookie” bomb.
Kit
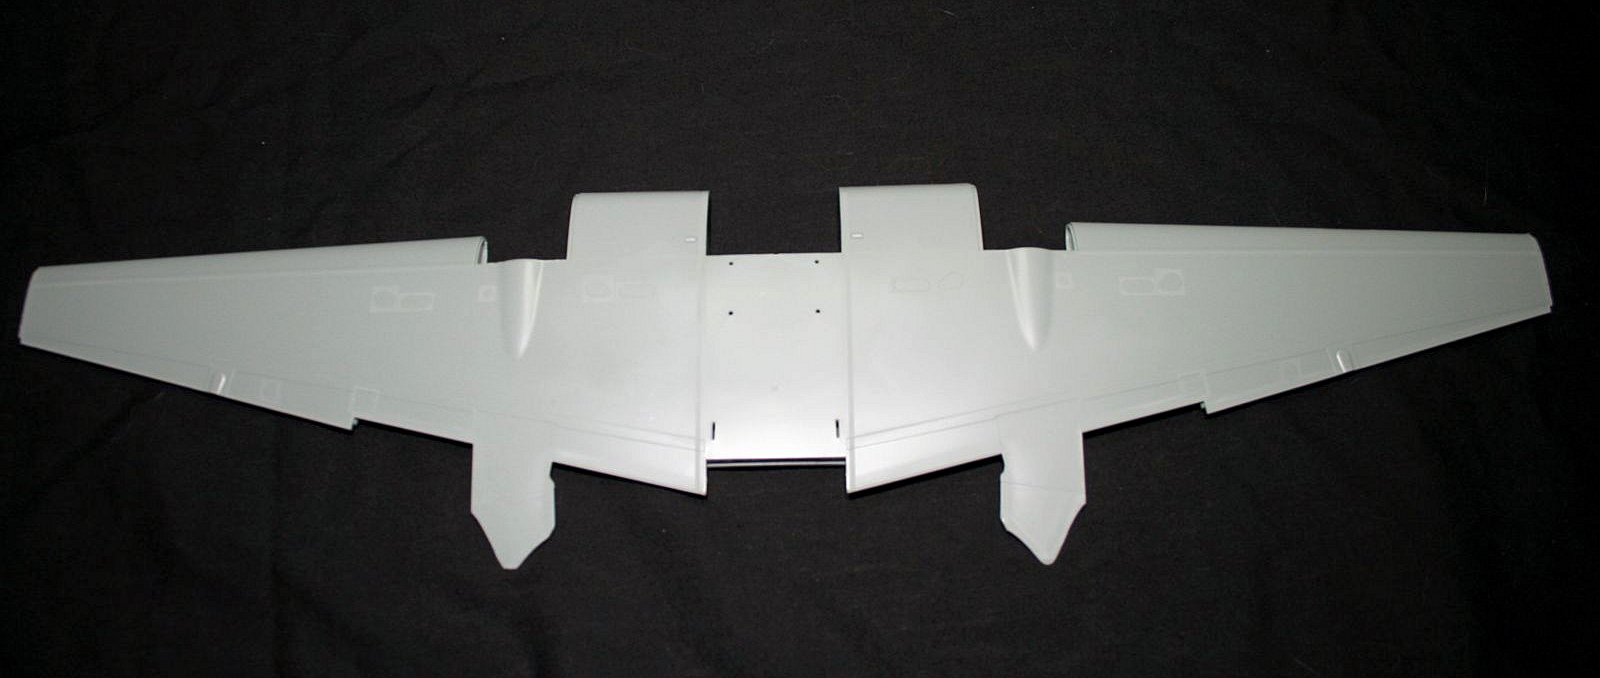
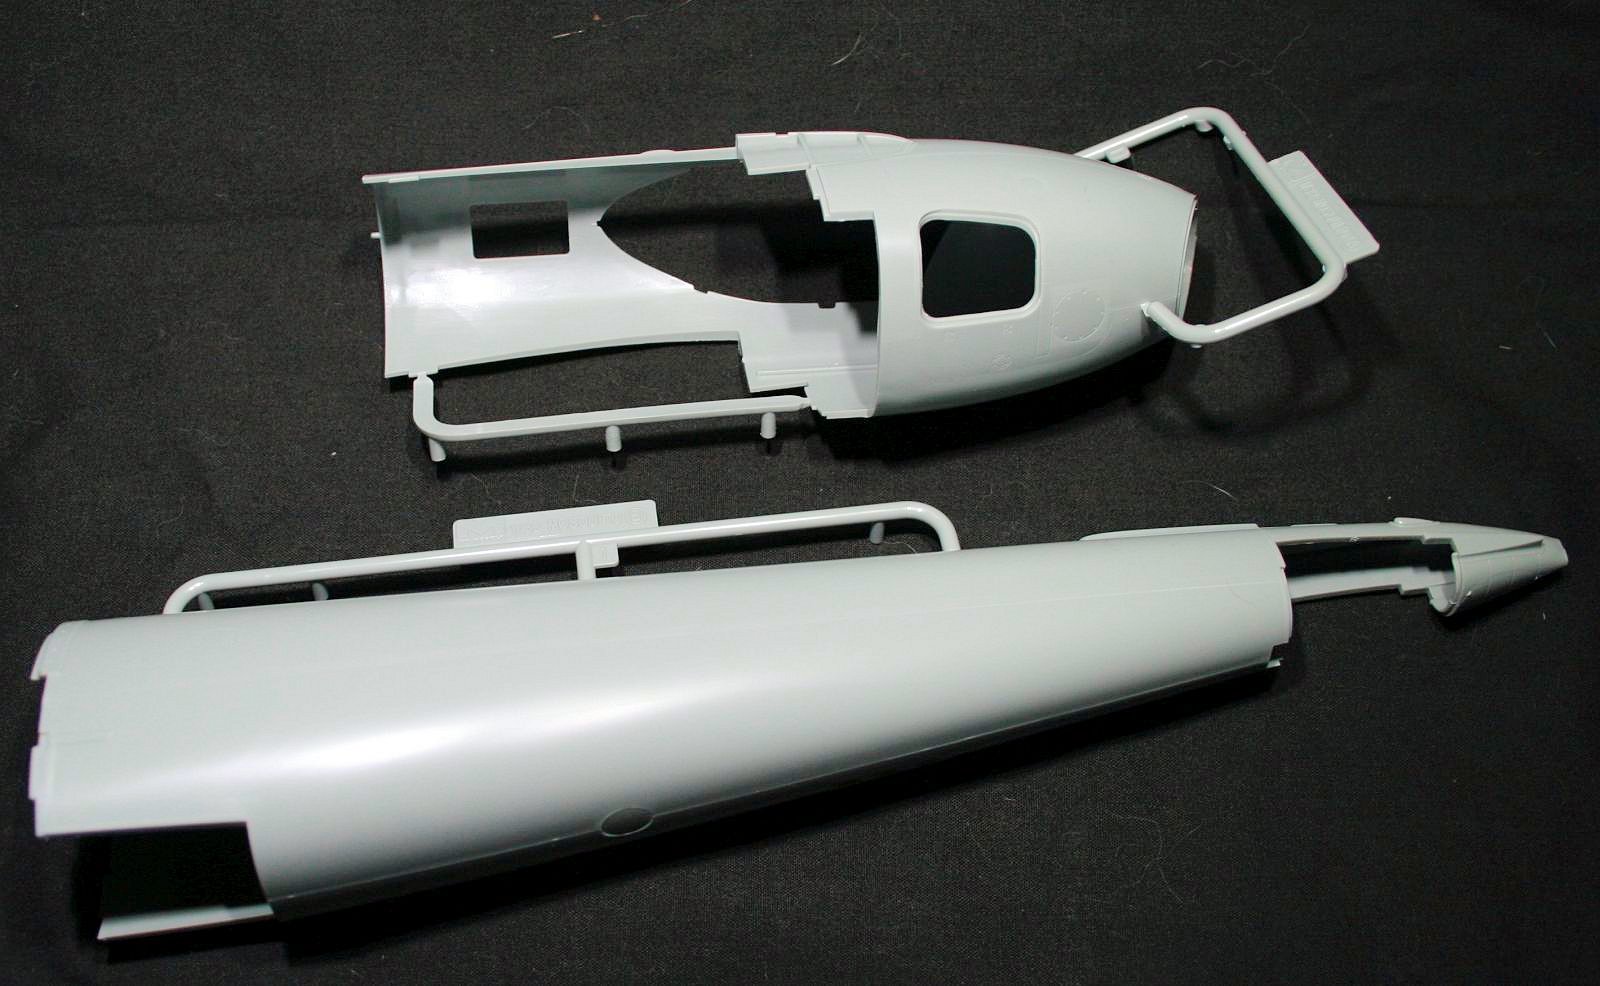
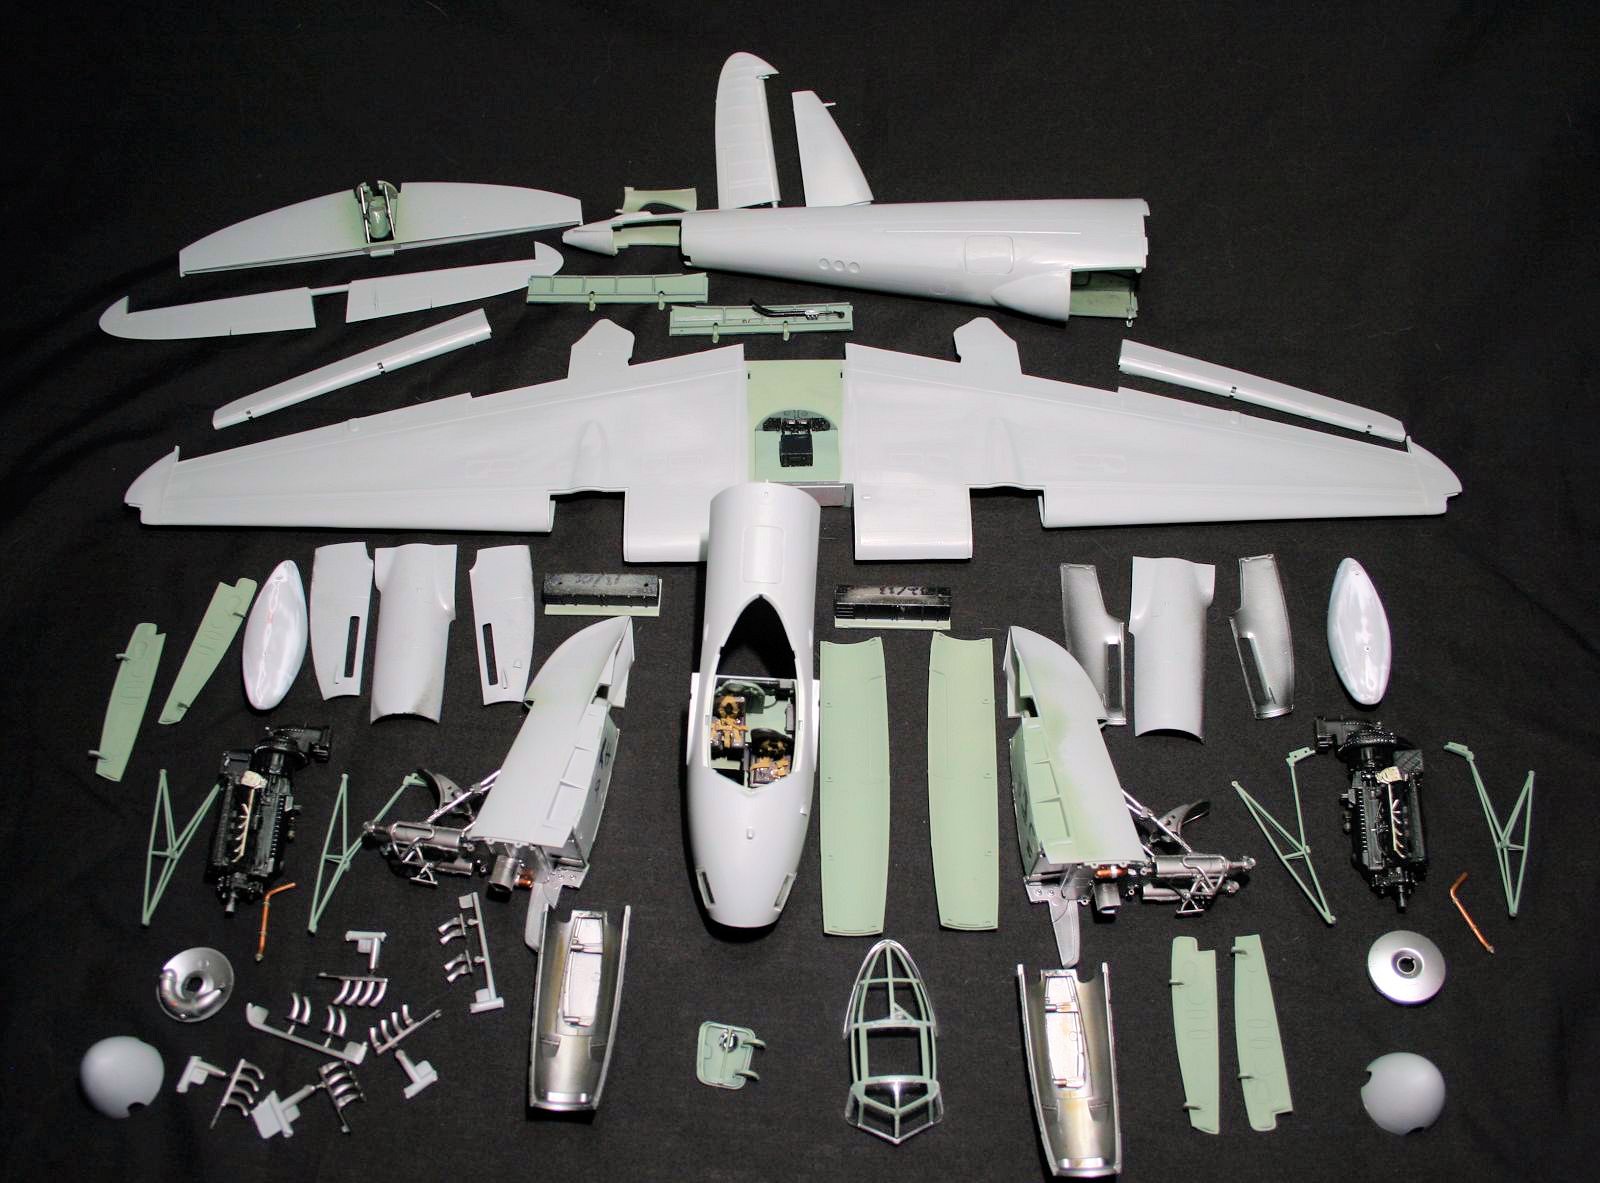
My first impression when looking at the plastic sprues is this will be an impressive, time consuming build. Once I started looking at the details, HK made some impressive mold designs that simplified the build and improving build time. HK models made numerous parts a single piece, primarily the upper & lower wing, horizontal stabilizer and fixed rudder parts one part each saving time filling seams on leading edges. The trailing edges for control surfaces were open and simply capped off and minimal if any filler required to close the wing structure. The fuselage was separated into two sections, front and aft and where all other kits have seams, this kit was seamless.
Build
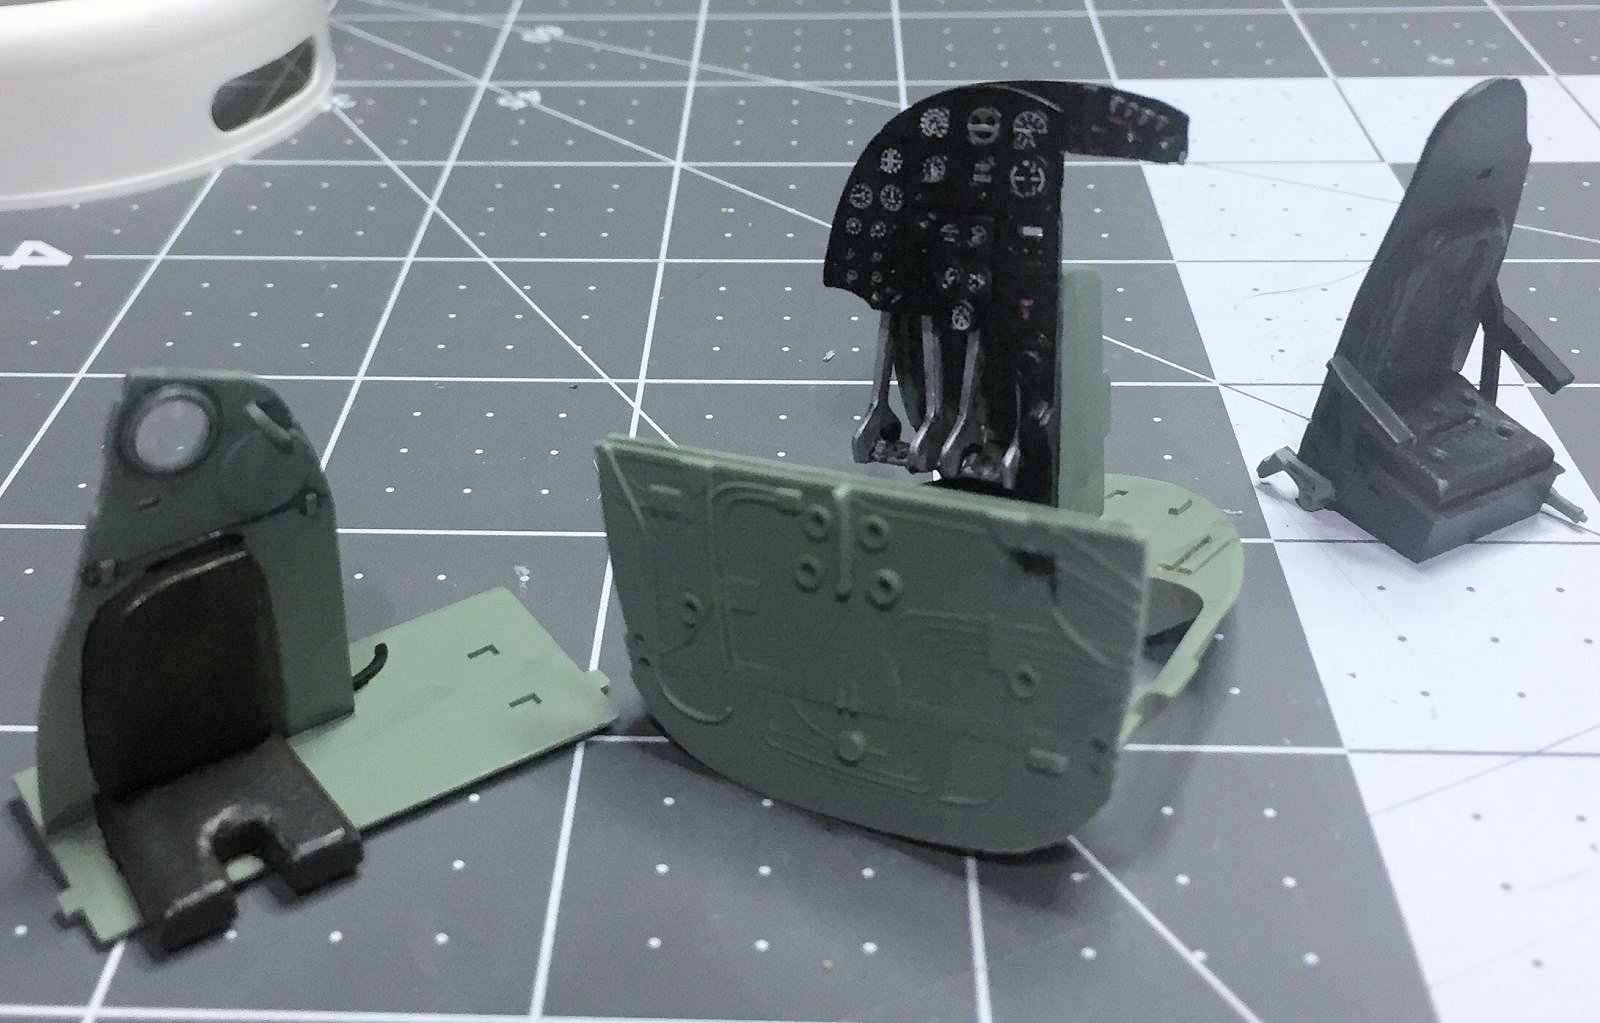
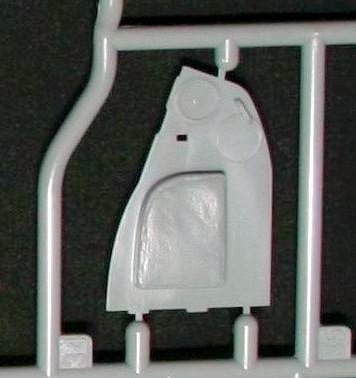
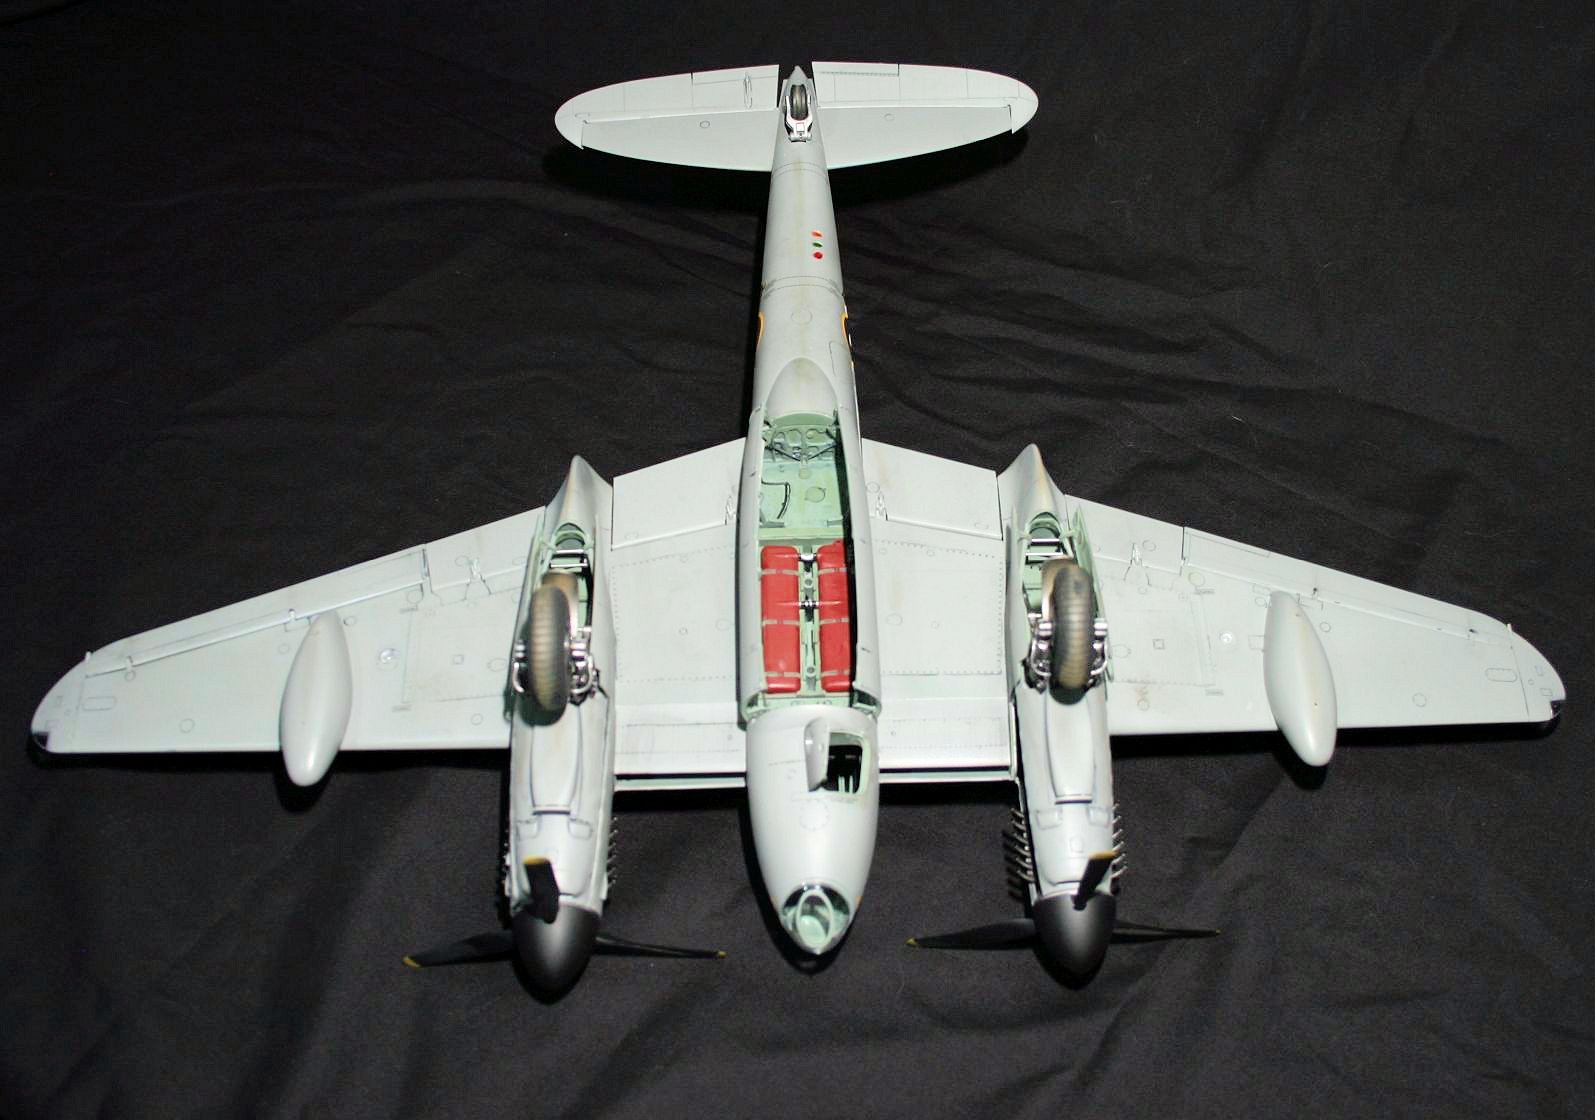
Starting off in the cockpit, it is built up as a module and inserted into the forward one-piece fuselage. The instructions are fairly goon on indicating colors in the cockpit but some areas I wanted some more color variations and used online photos to get a greater depth of color. While researching the cockpit, I noticed a small round recessed area in the navigator’s head rest/armor. While most photos show that portion folded down, one photo revealed that the recessed area is actually a clear part, not just recessed. I used a small punch set and removed the recessed part and glued in a small round clear “window”. The rest of the cockpit was assembled and installed into the forward fuselage without any issues. One area I really thought HK made a huge mistake and that was with the side walls of the cockpit. It appeared that there were numerous injector pin marks, more than I have ever seen before. After filling them, I was doing a little research and noticed similar features on the real aircraft! I believe these are inserts so items can be bolted to the wooden fuselage. HK Models was correct on having those features. There is a small entry hatch cover that the instructions have you install over the entry. I have not been able to see this door in reference photos but did not want to discard it either. I painted the cover and glued it to the floor so it is there but not hiding the cockpit view from below. Wrapping up that area I painted the canopy frame RAF interior green and assembled the canopy clear parts. Do not forget to include the flare gun into the assembly, I noticed that extra part well after the kit was built and painted.
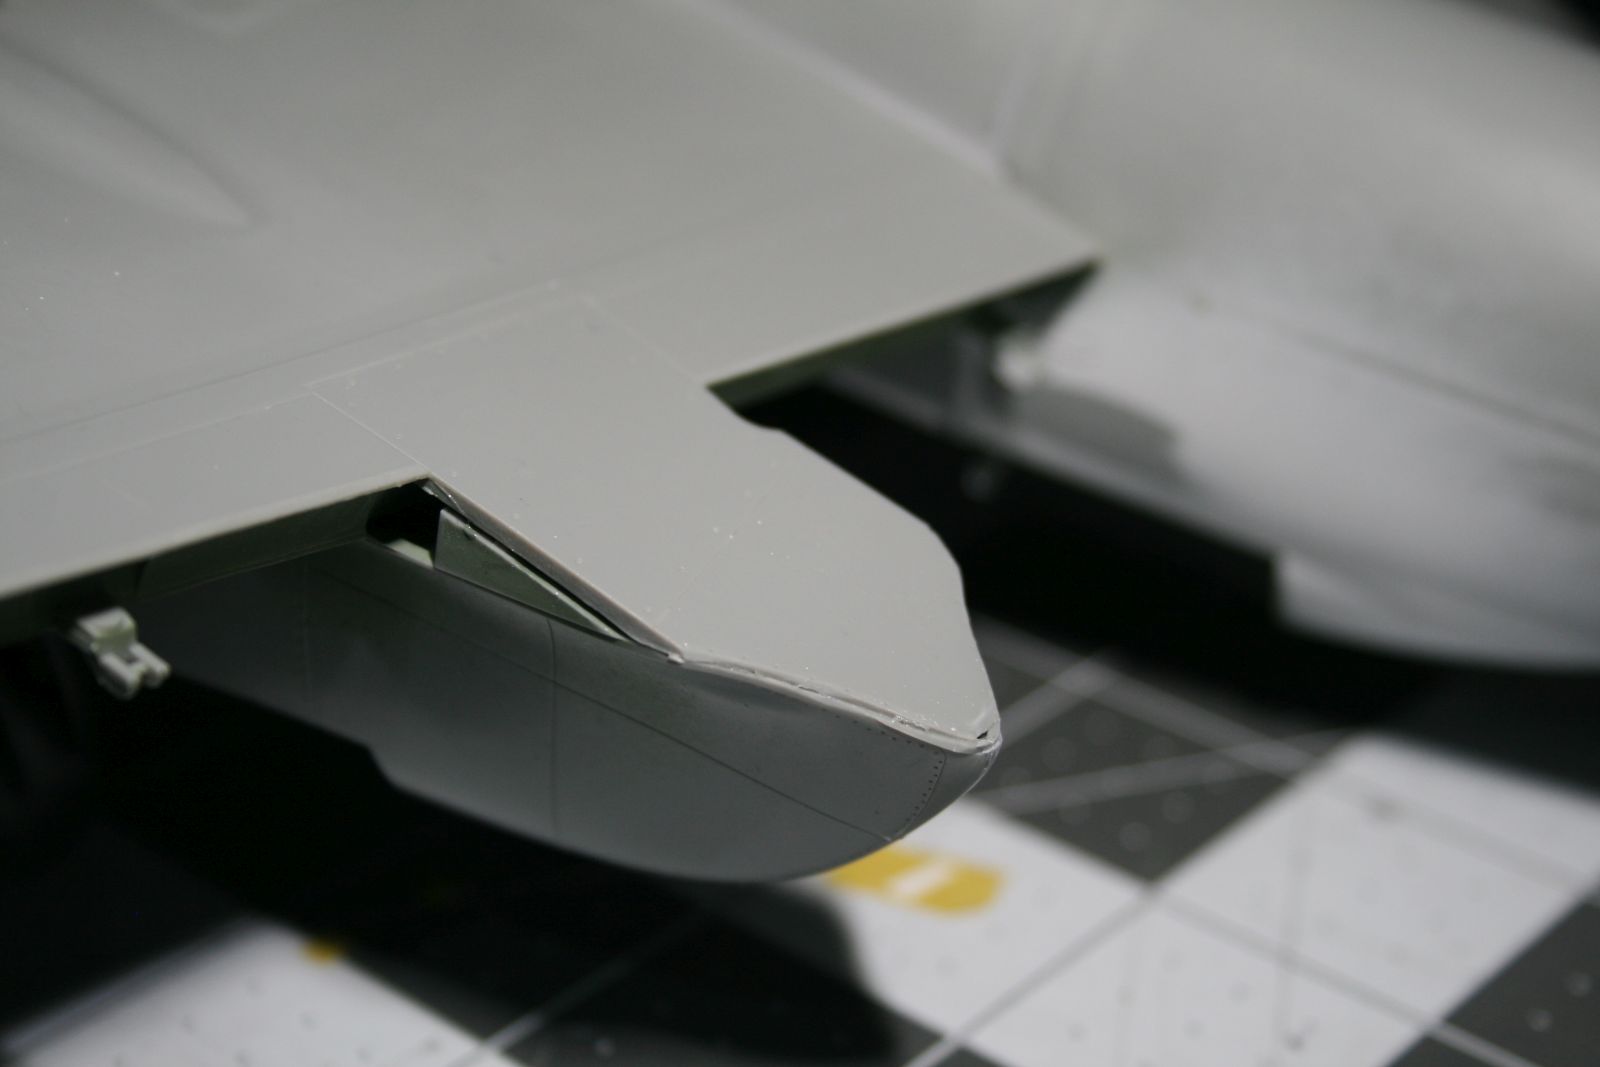
Next area to assemble is the horizontal stabilizer & tail wheel assembly. I decided to leave the elevator off at this time and later realized, it must be installed to the elevator at this stage. I ended up having to cut away the elevator shaft into two pieces after painting. Another area to watch out about is making sure the horizontal stabilizer is centered, mine was off to one side slightly and the elevator has a gap on one side and rubs up against the tail on the other. While working on the aft fuselage, you will need to make a decision on building the “standard” bomb bay or “bulged” bomb bay (Carrying the “cookie” bomb).
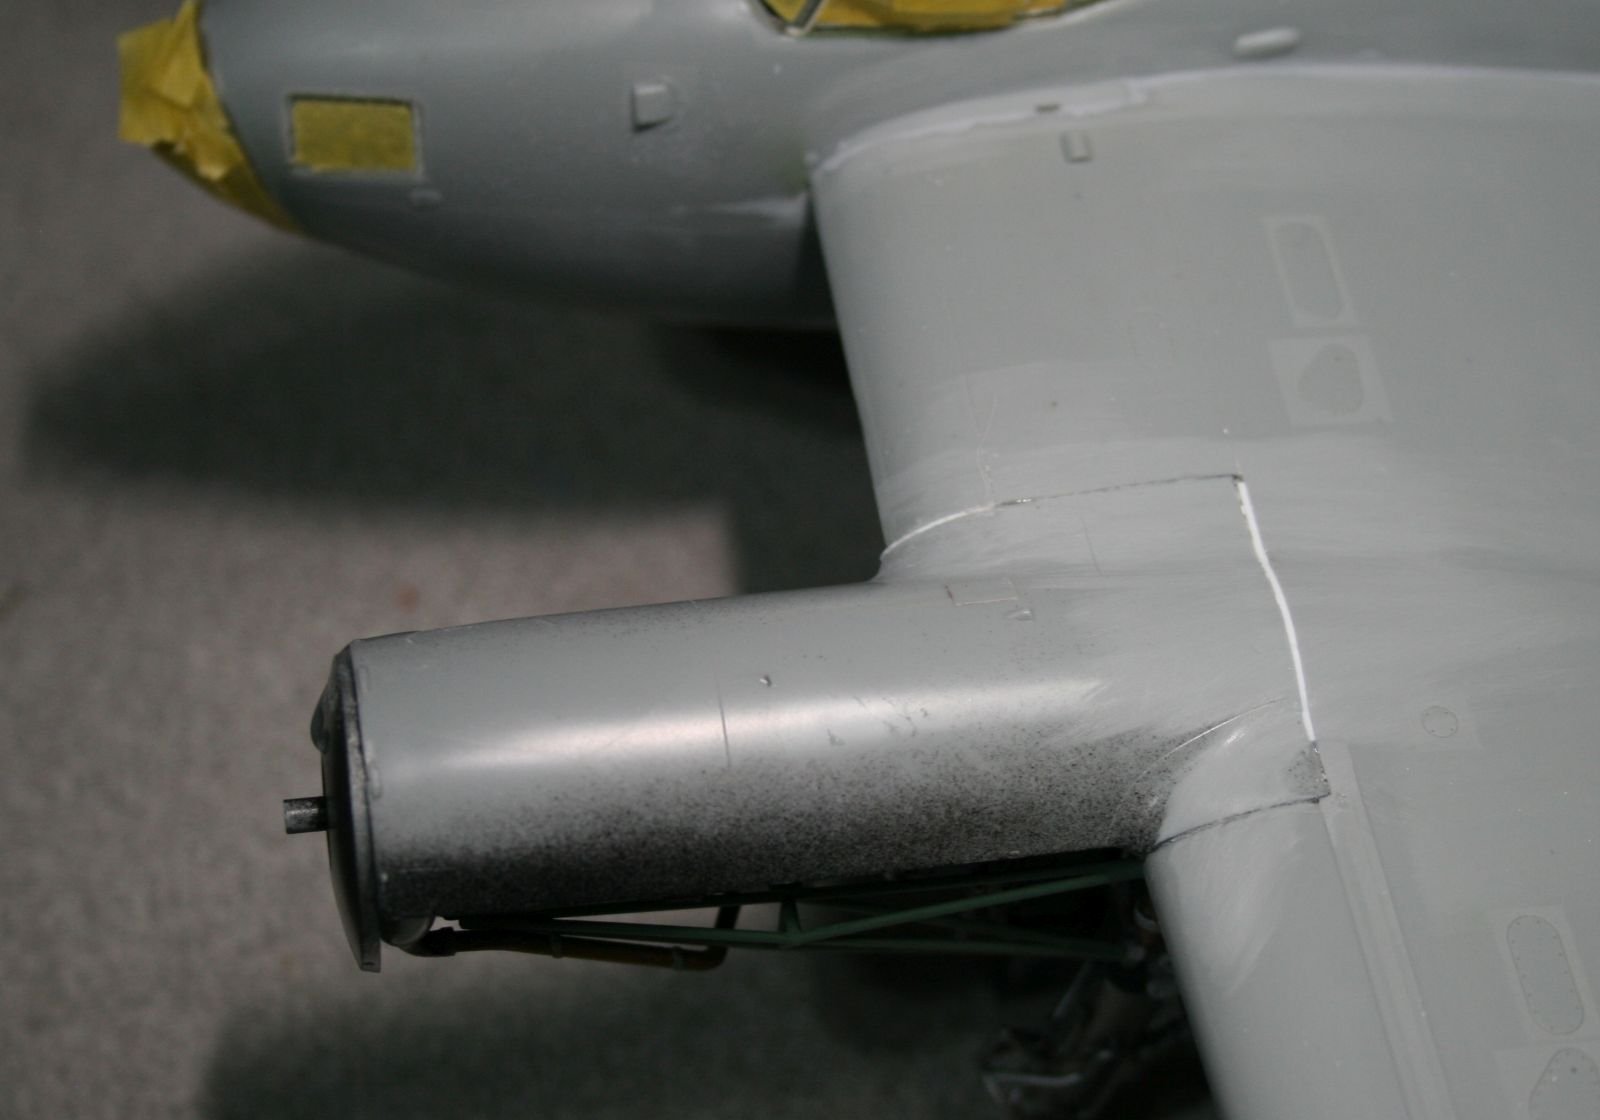
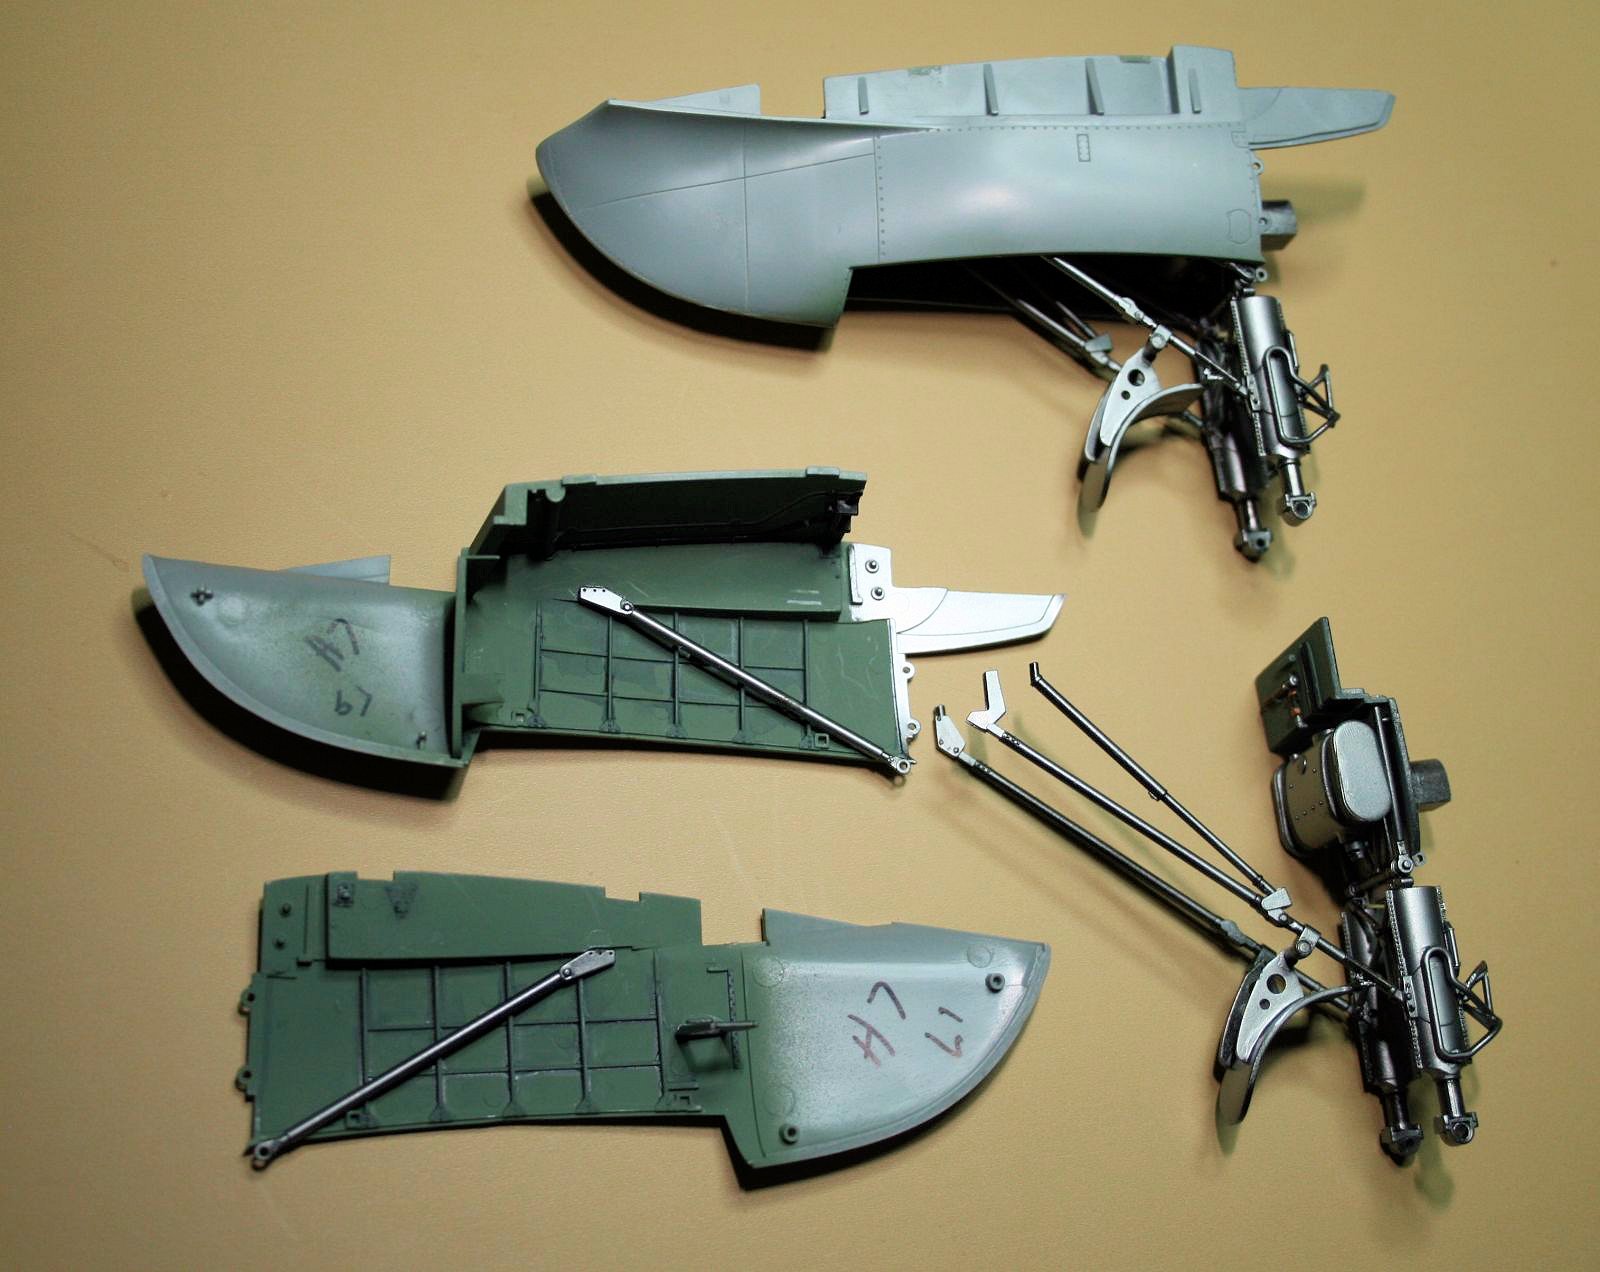
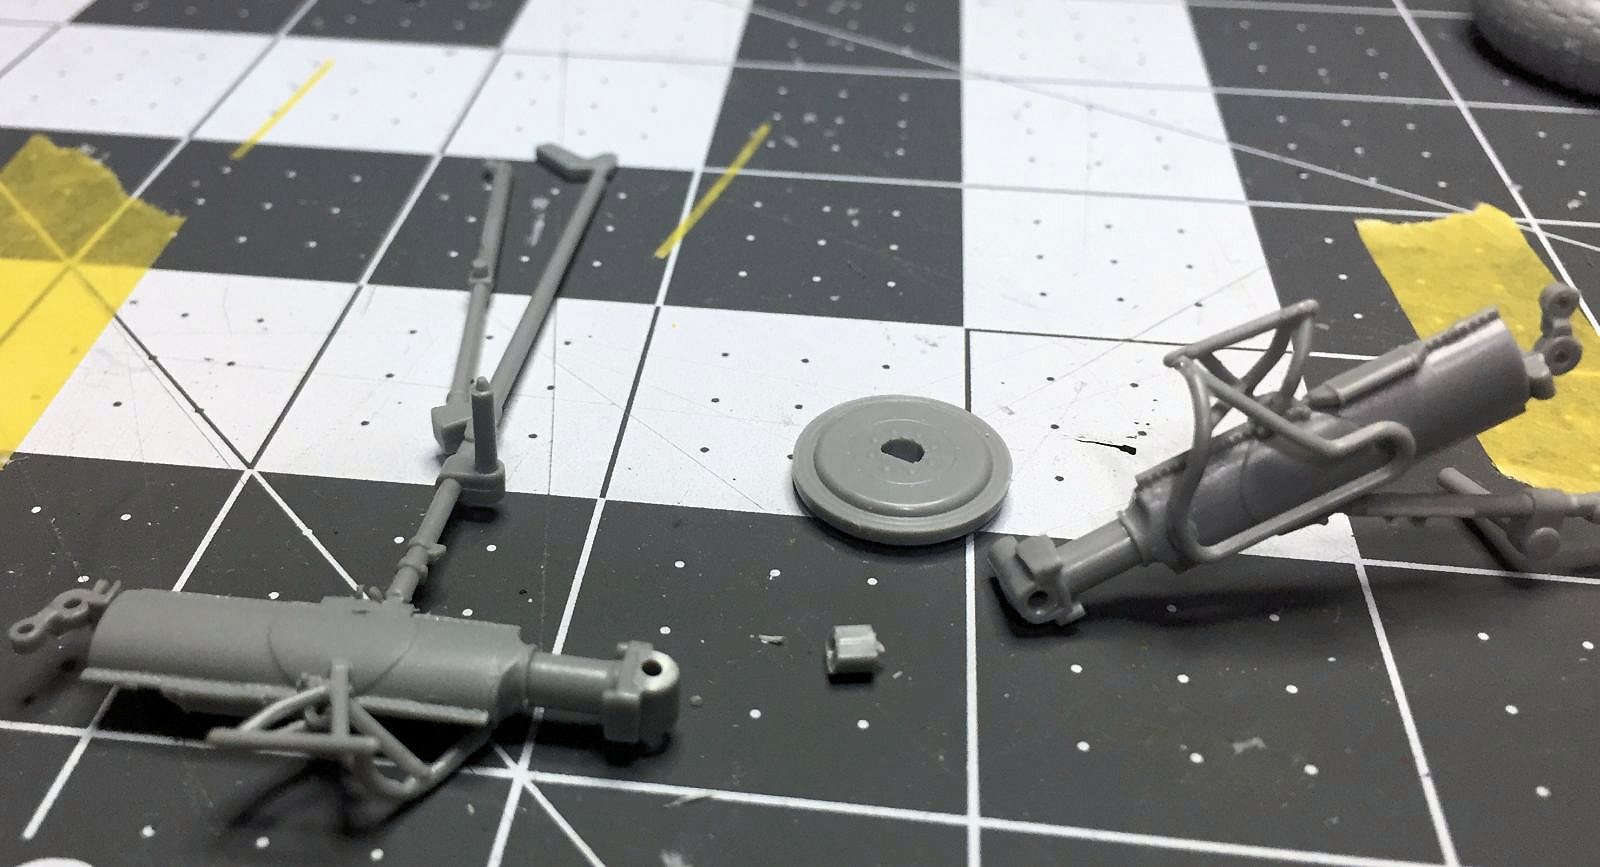
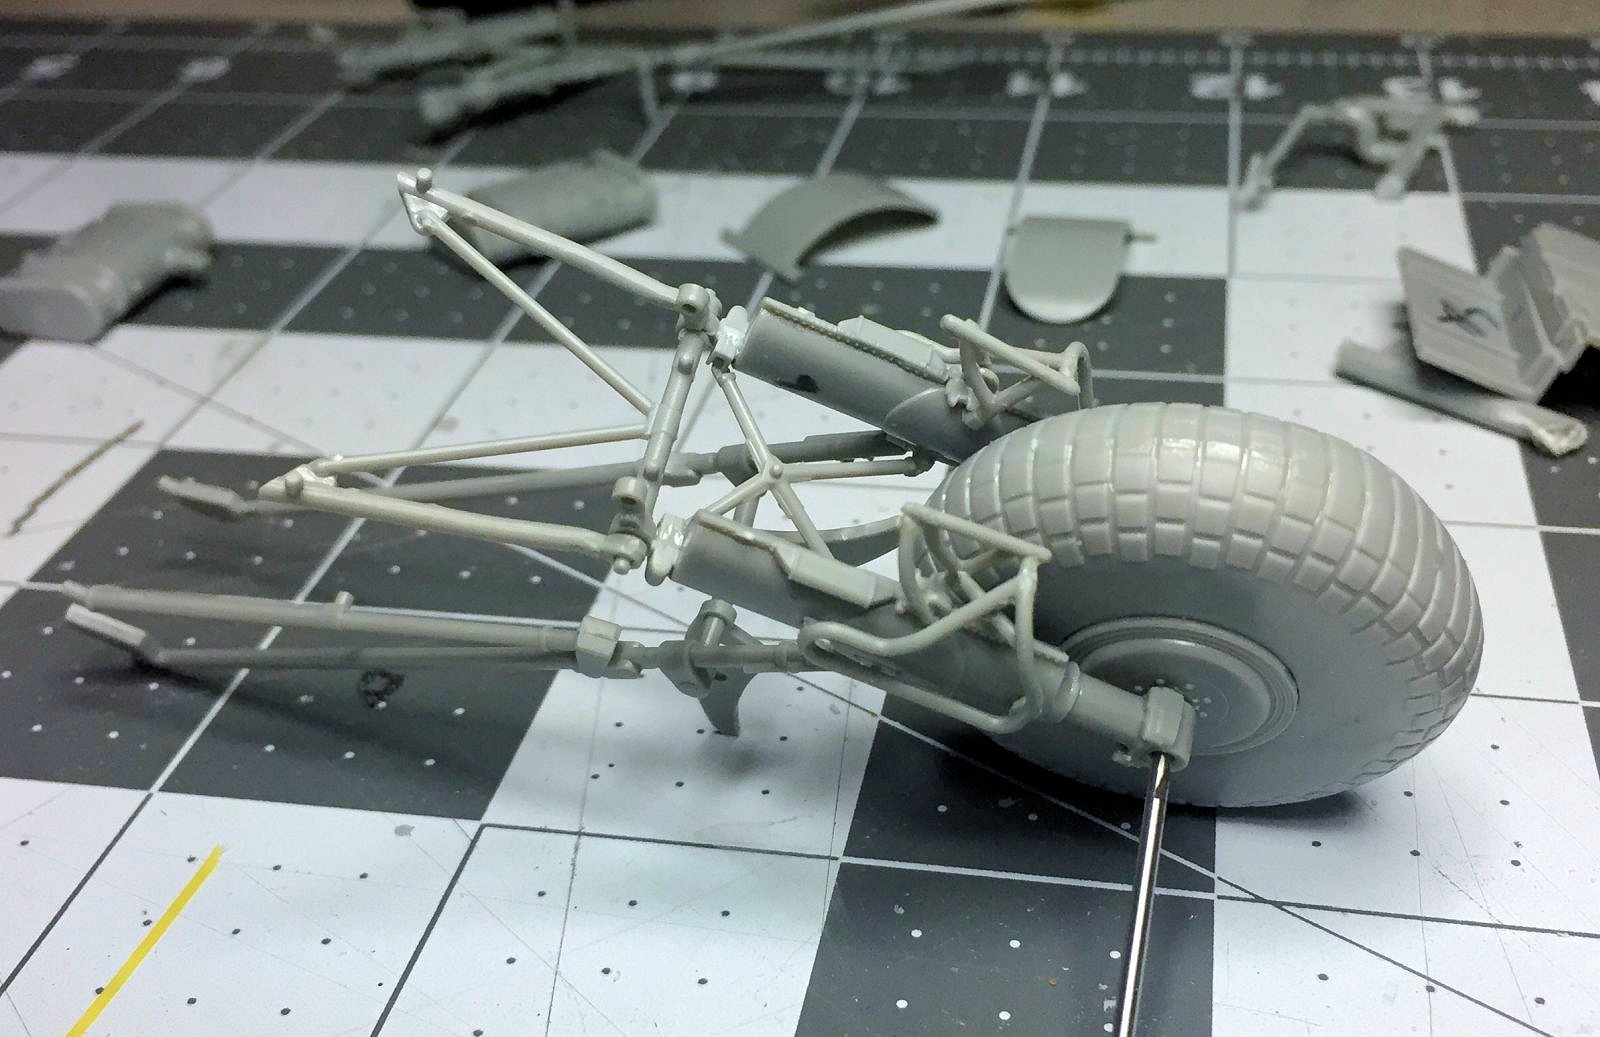
Landing gear assemblies are extremely complex and the need to pay close attention to the instructions are imperative. You may need to look at online photos of actual aircraft to assist you when assembling the small frame work on the landing gear. There are about 20 parts per landing gear not including the wheels & hubs, a work of art but it can very challenging to some. HK designed all the landing gear to be assembled in the struts and will not rotate. I did not want to have to fight with painting around the landing gear to I removed the fixed portions and drilled out the hub to accept a metal axle. This will allow you to build the gear and remainder of the kit without having to mask the wheels. When assembling the landing gear assemblies and gear bays, note which is LH and which is the RH nacelles. Looking at reference photos, there is a small (copper colored) bottle located on the outboard side on the firewall. The instructions correctly show that location but there are not ant locating holes on that side however there are locating holes on the inboard side.. The modeler will need to relocate the holes and fill in the existing holes on the inboard side.
Time for the “Merlins” which go together without any issues. The engine mounts are fairly delicate but go together easily and are strong once completed. I left off the exhaust until final assembly & painting. I decided to not attach the engine assembly on to the nacelle which helped out later on having to fill a few gaps which the engine would have been in the way.
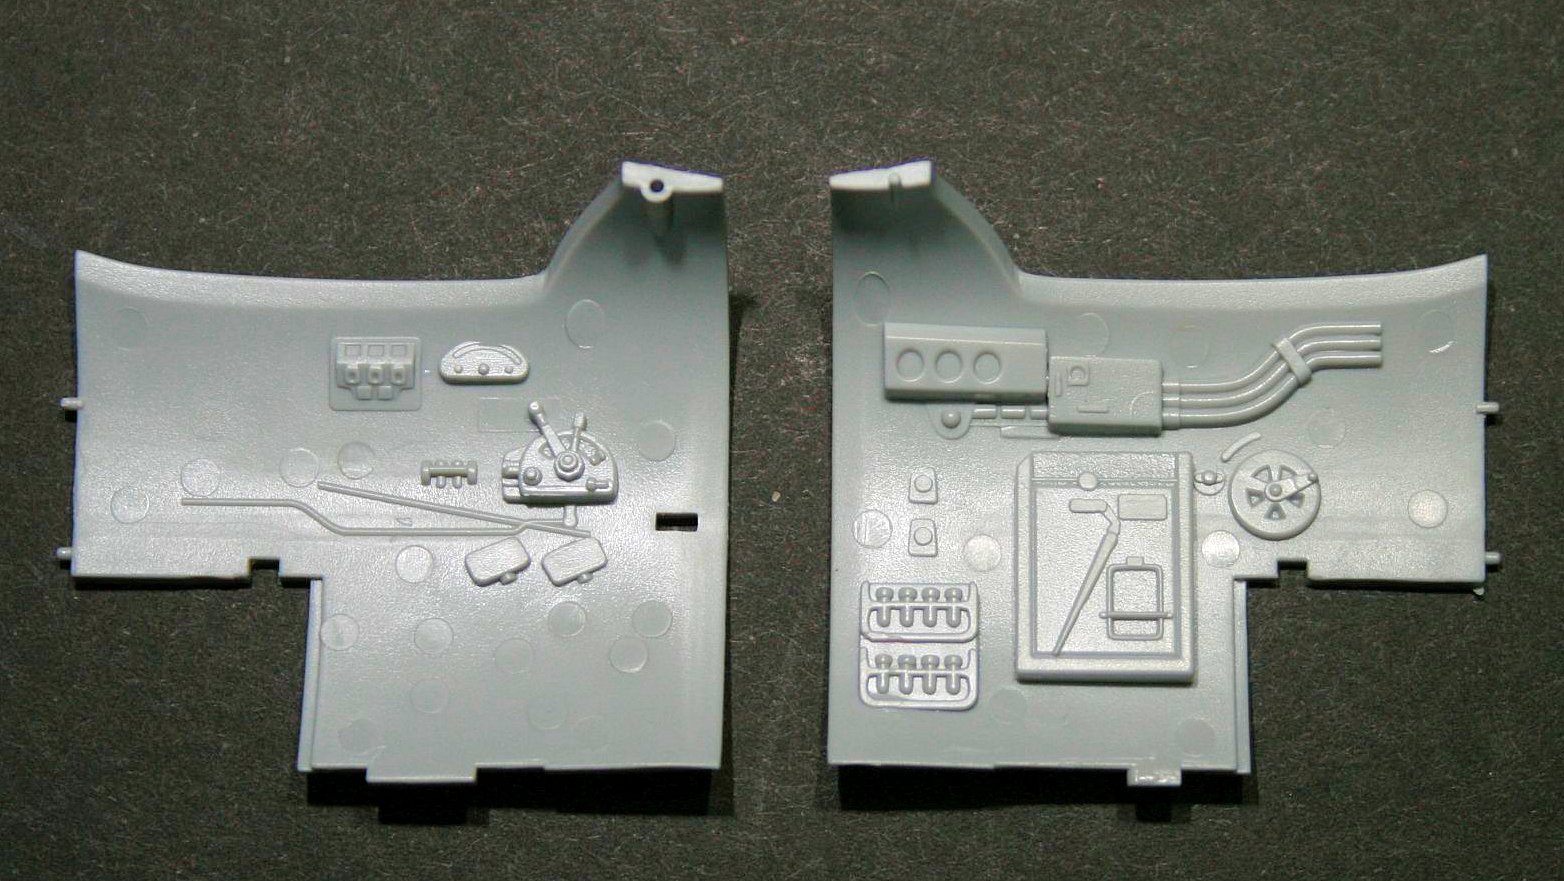
Moving on to the wing, being basically one large part, assembly was easy and seam filling was virtually non existent. I did decide to leave off the upper nacelle portions in this step so I would have less parts in the way when installing the nacelles. I am not sure if that was a good call or bad call since I did run into fit problems with the remaining nacelle panels. As with the elevator, I did not install the flaps at this time and had to cut the joining frame work so the flaps could be installed at final assembly. Back to determining what version you are building, holes will need to be drilled for the ”slipper” fuel tanks. I left off installing the nacelles until the fuselage was installed. This proved useful since I had some fit any gap issues around the bomb bay. You will need to install the aft cockpit area to the upper wing before moving on to the fuselage joining.
Fuselage & wings were joined and there are two closeout sections of the bomb bay. There were a few fit issues which may be linked to the upper aft cockpit electronica area which created small gaps on the lower fuselage/bomb bay area. Dry fit as much as you can before gluing all this area together. I built the “bulged” bomb bay and there are two fairings that are installed for the larger bomb bay doors.
On final assembly, I had a fit issue with some of the engine nacelle panels where some fit ok while a few panels seemed to be about 1mm too long. I am not sure that was assembly error or a problem with the kit. Next time I will do a fit check before gluing this section together. Overall the kit assembles without any issues and with so many parts that make up the nacelle/engine assembly, there is a lot of room to introduce errors that may compound when complete.
Painting and Decals
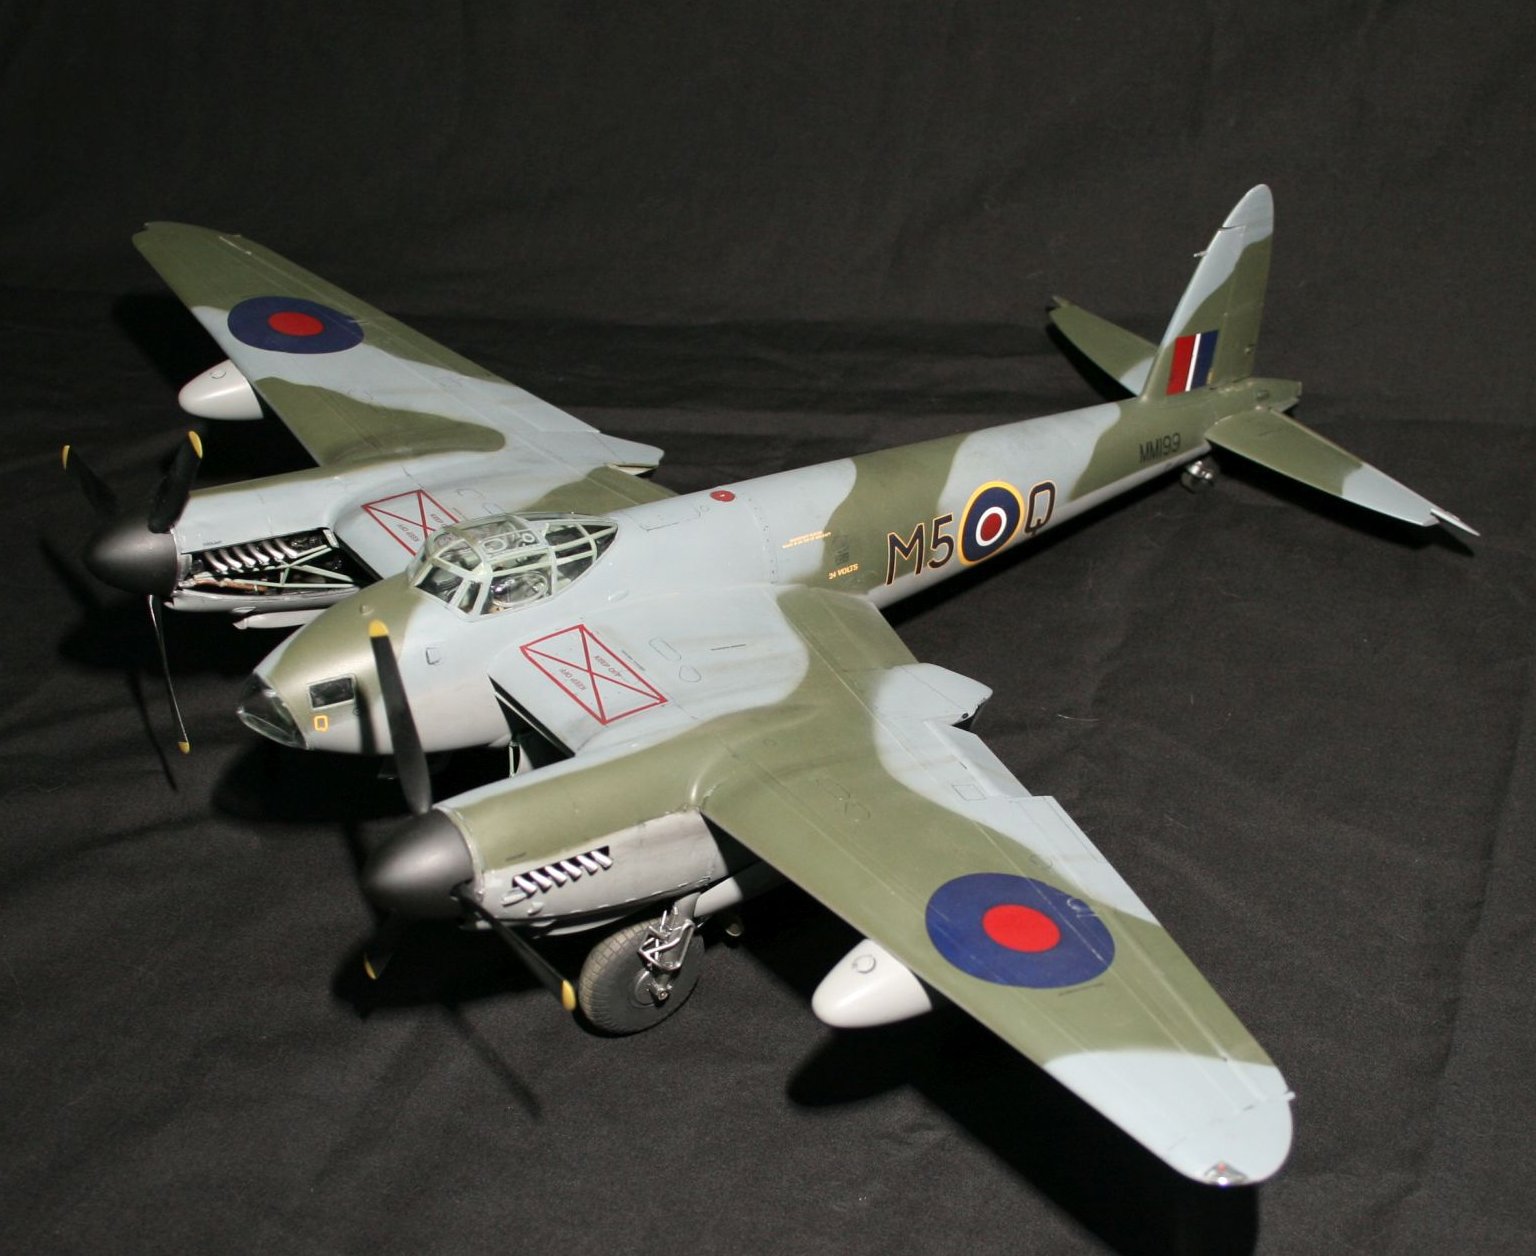
The exterior color on my subject is a tri-color version with RAF med sea gray, RAF Ocean gray and RAF dark green. The paint of choice I used is Xtracrylix which can be a very challenging paint to use at times. I like Xtracrylix & Xtracolor for the reason is their paint dries to a gloss finish saving a clear coat so decals can get a silvering free application. On this build, I fought with a clogging airbrush tip and poor paint adhesion. I used very low tack tape and still pulled paint up on large chunks. Much of the camouflage ended up being free hand painted or using a cardboard mask. I do like the paint but this paint job just wanted to fight me all the way.
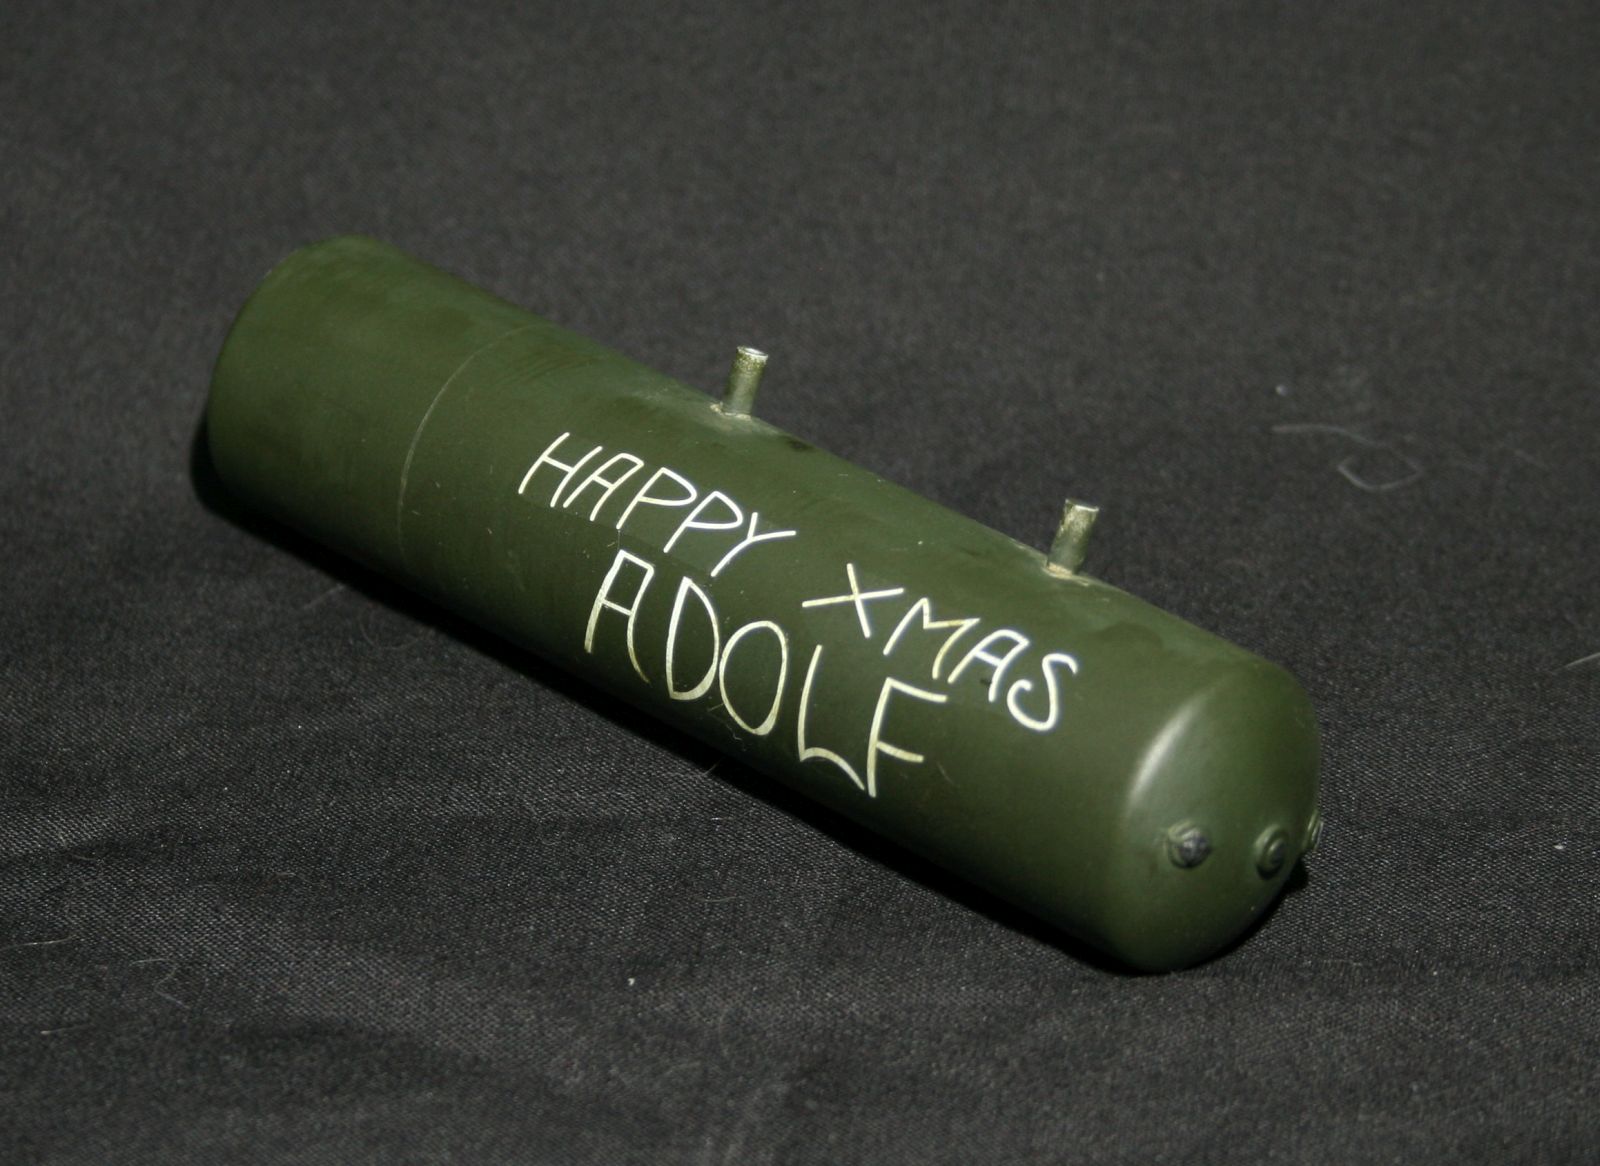
The decals included went on without any issues and directions were very clear on placement. On the “cookie” bomb, there is one large decal for the art work “Happy Xmas Adolf” which has a larger carrier film, which is required for that type of art. I trimmed as much of the carrier film off as I could but to ensure a minimal silvering, I weathered the bomb using Vallejo weathering stains. Looking at reference pictures of that bomb, it was fairly dirty to begin with so weathering was a good call.
One note on the instructions and color, the three formation lights on the lower aft fuselage only call for “aluminum” where the real aircraft colors are red, green and orange. I painted the inside silver and used clear red, orange and green on the clear lens.
Conclusion
Overall this a very nice kit to build and is impressive when complete. Although HK Models did simplify many parts (wings & fuselage) which did make it an easier build, a few other areas, do need skill or close attention to make sure the fit is correct before permanently attaching the components. I highly recommend this kit to modelers but do not be in a rush and test fit as much as possible when assembling this kit.
Many thanks to HK-Models for providing this kit to IPMS for review.


Reviewer Bio
David Horn

I have been building models since at least 8 years old and with a brief break after high school, model building started again late in college. My preferred subjects are aircraft of all eras and scales but a majority of my builds are 1/48 scale. I am the son of a USAF navigator who flew tactical airlift in Vietnam then his last 8 years he served at Altus AFB where he retired. My love of aircraft comes naturally and try to build subjects that I have a personal connection to. My day job parallels the hobby where I design full flight simulators ranging from small corporate jets, military fighter jets to the C-17. I hold a commercial pilot certificate and fly as a volunteer with the Civil Air Patrol. I really enjoy flying cadets, passing on the love of flight and inspiring future aviators.
Comments
Add new comment
This site is protected by reCAPTCHA and the Google Privacy Policy and Terms of Service apply.
Similar Reviews