
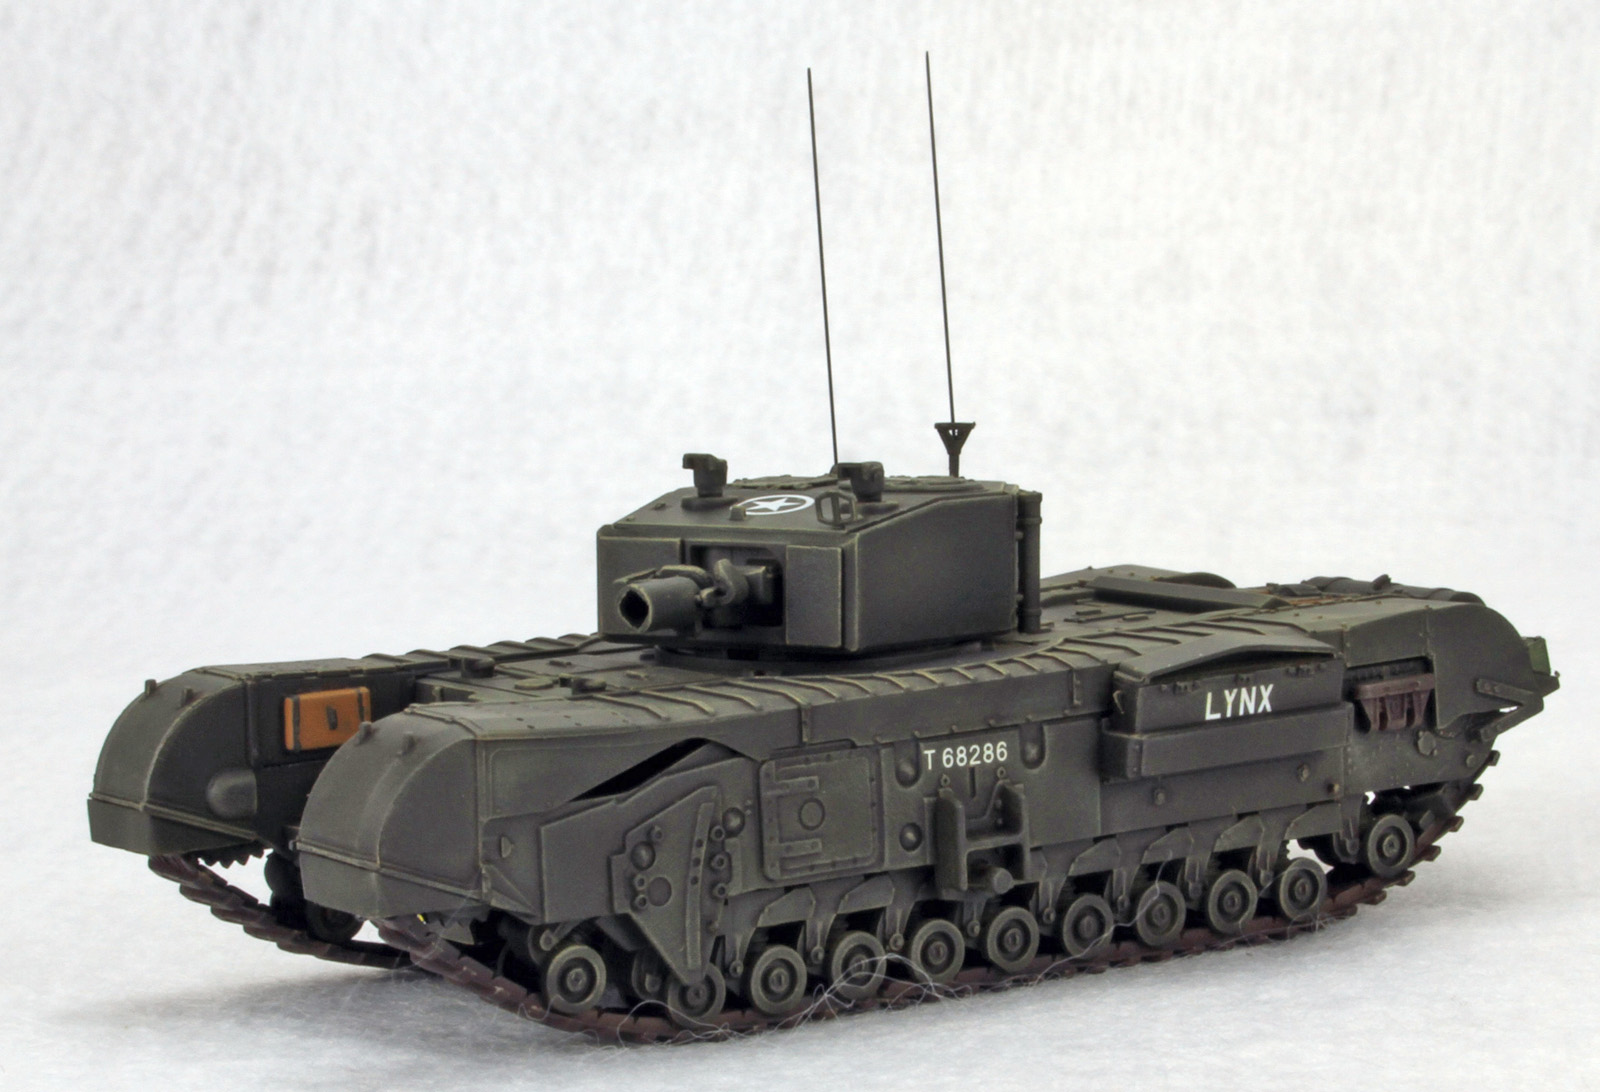
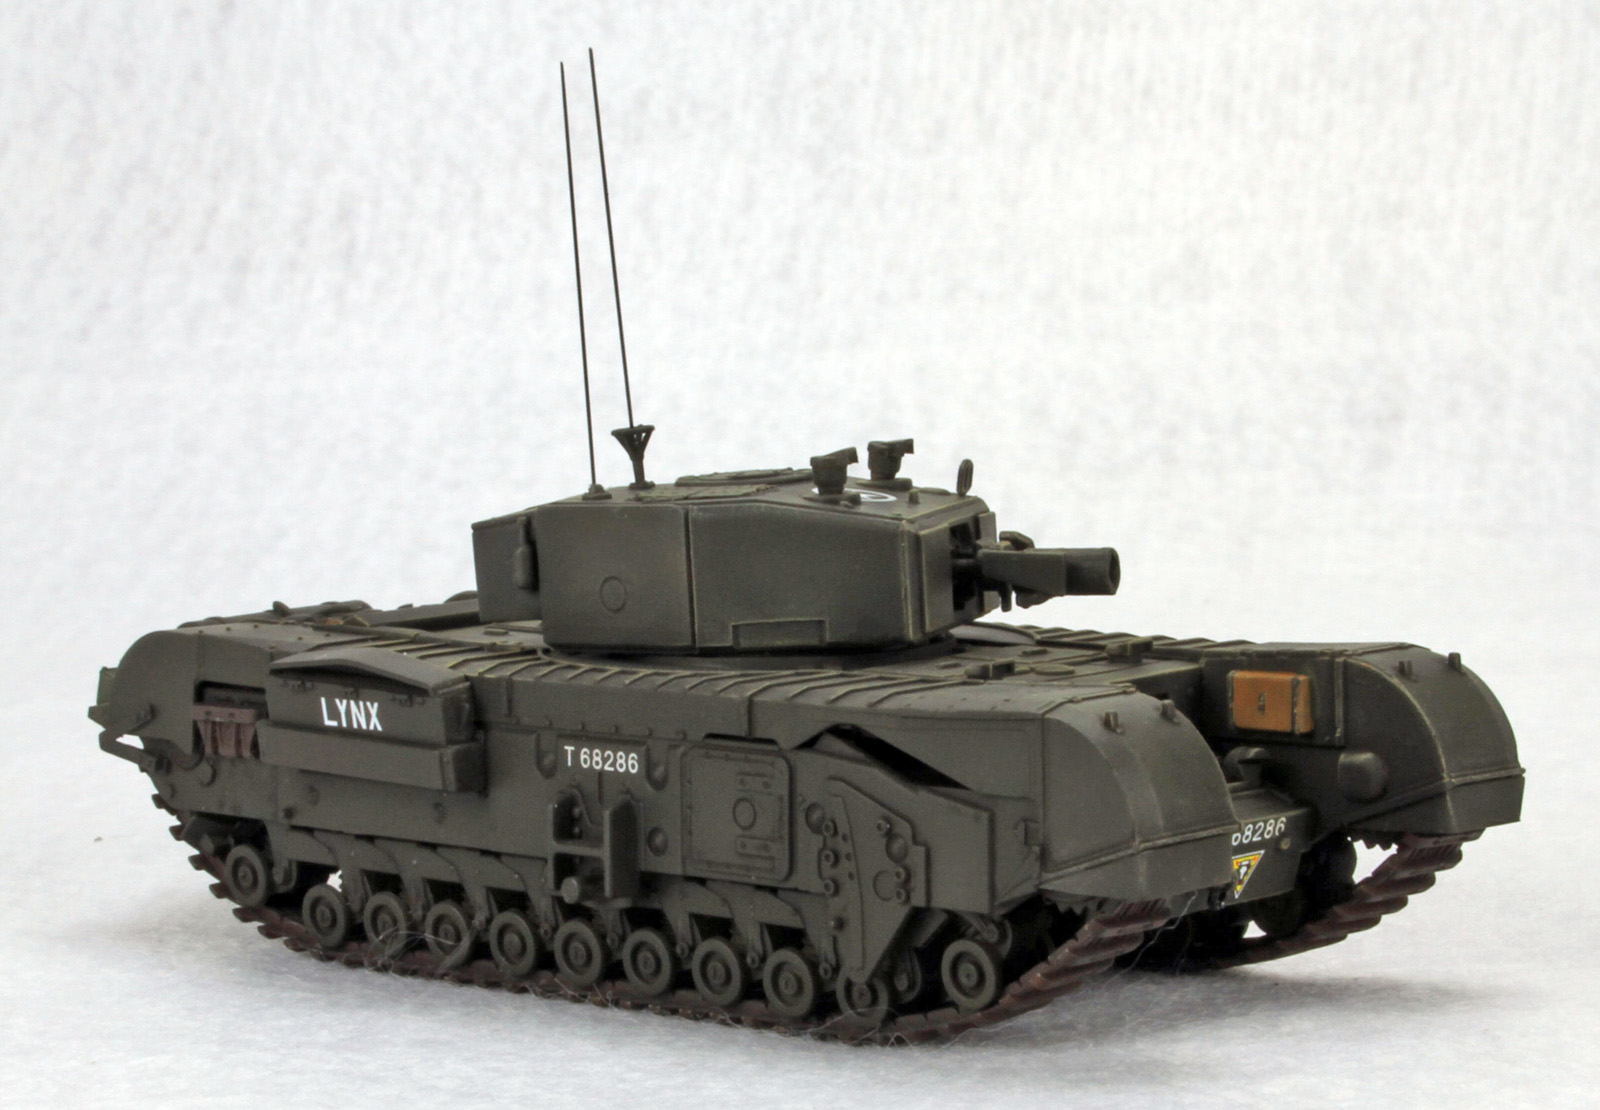
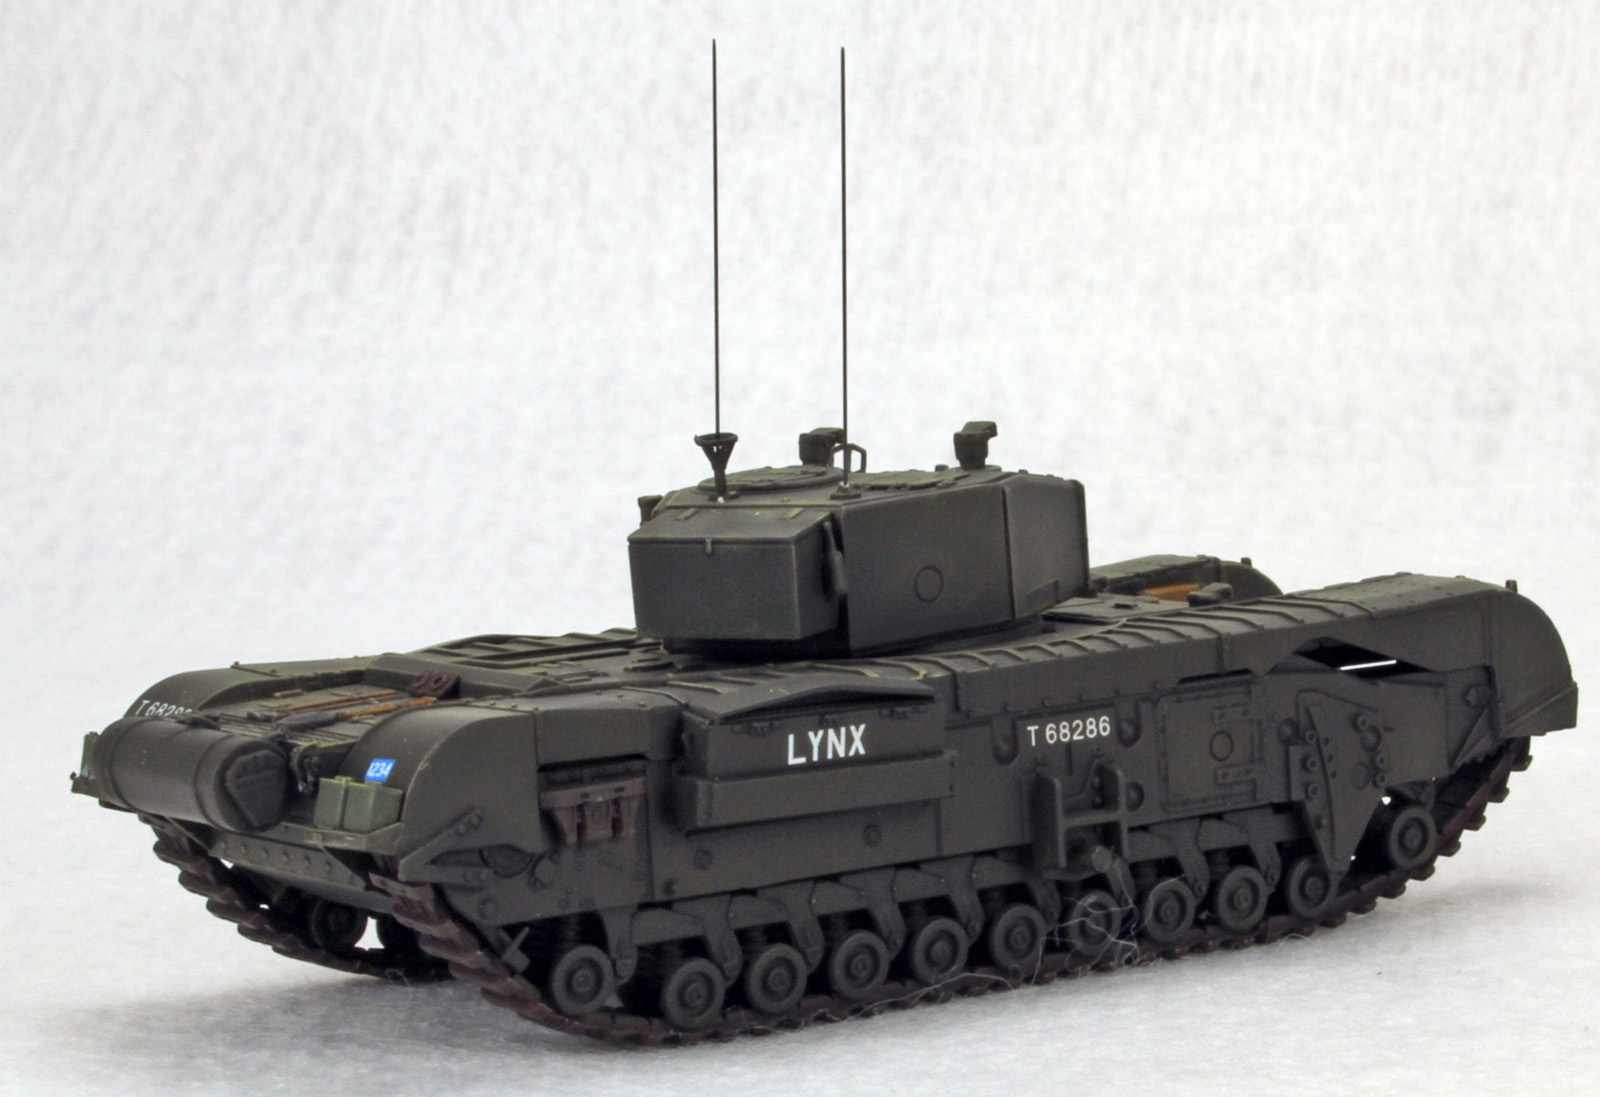
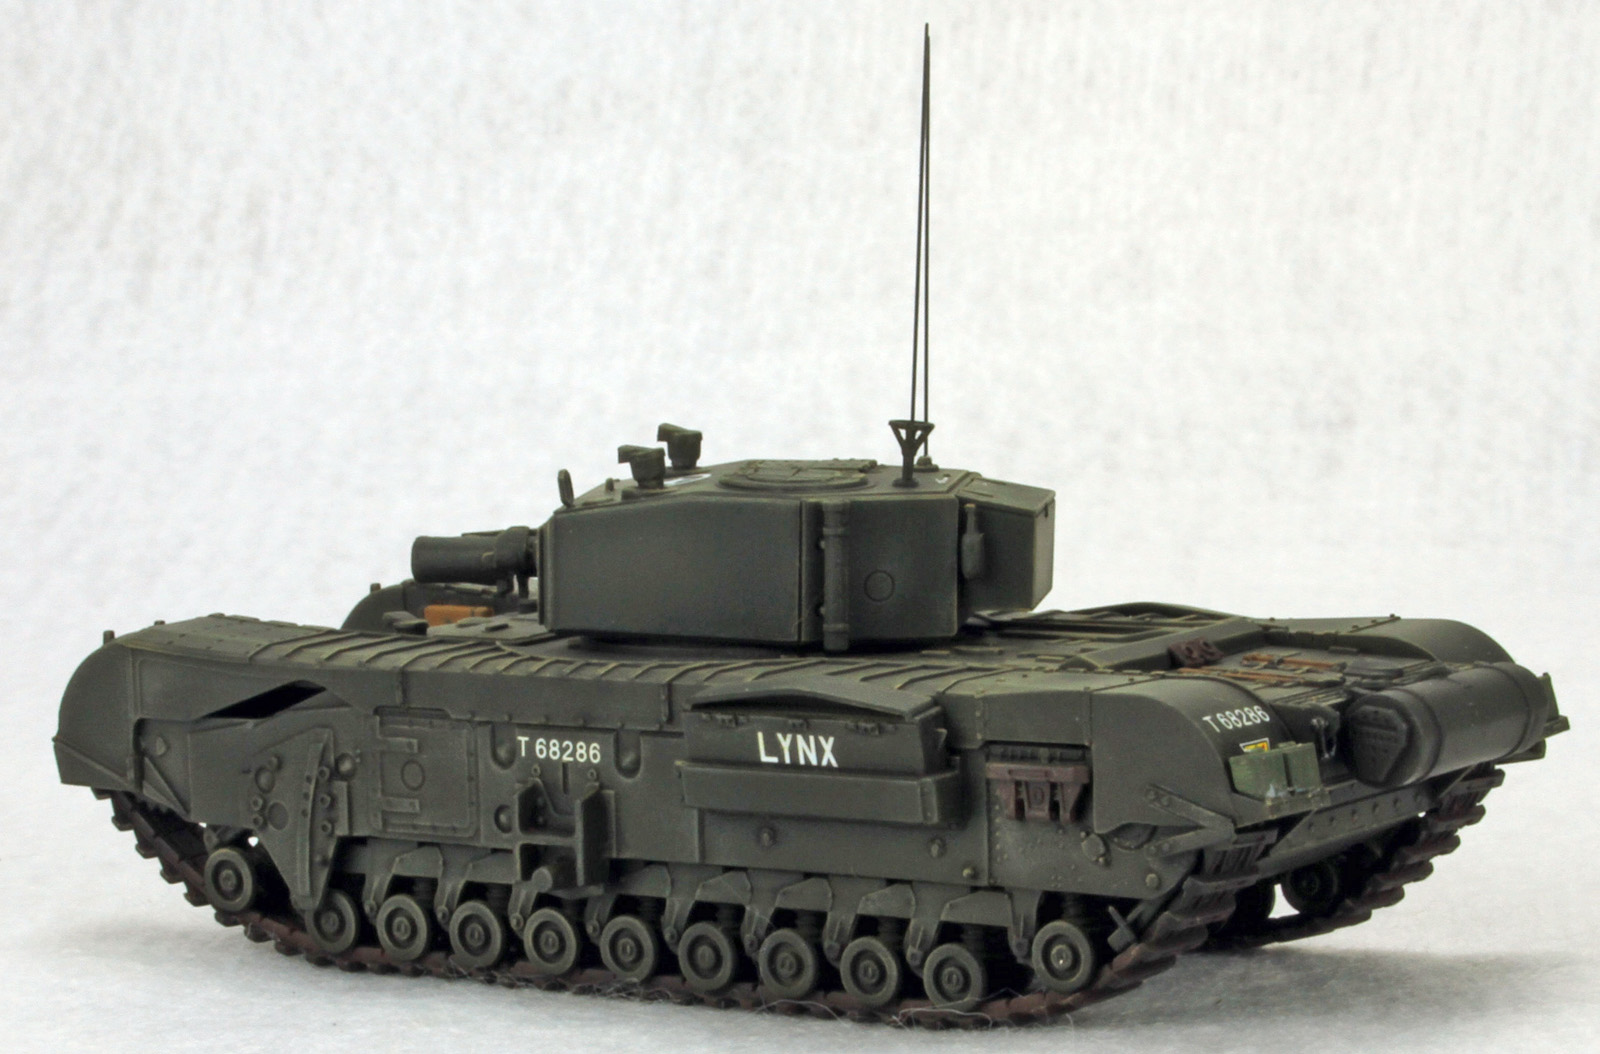
Churchill Mk. III AVRE Combat Engine
This is a multimedia kit comprised of 70+ styrene parts, DS tracks, no photo etched parts fret, and a standard set of instructions, they need to be reviewed very carefully before gluing any parts together.
- Step 1. This builds the turret, there is an aiming device, part A10, and the antenna guard A9 that need to be held out and placed on the model late in the build, as they will be easy to break off during handling.
- Step 2. This the build of the hull and the running gear. There is an error in the parts for the drive sprockets, A25 should be A28 and conversely A28 should be listed as A25
- Step 3. This step attaches the tracks and the upper hull to the main hull. There is an armored air filter guard, part A16 and A15 which showed a have locating pins in the instructions, however, there are no pins on these two parts. You will need to attach them to the hull using your best judgement. The tracks are of the DS type and are glueable using standard glue. They fit pretty well, but remember the tracks themselves disappear under the hull, so whether they’re are long or short doesn’t really matter, just get close enough and then glue it down and it should stay put.
- Step 4. This step finishes the rear part of the hull and includes what appears to be an extra fuel tank. It is attached at two brackets to the back of the tank. These are very delicate and have the appearance of being able to be broken off pretty easily, so take great care after they are attached.
- Step 5. This step mounts the turret onto the hull. The instructions show part D8 has been attached to the turret, but nowhere in the instructions does it call it out, this part should’ve been added in step one.
Molding
I found the molding to be clean, with no sink marks and few ejector pin marks on the newer sprues. The mold seams were easily removed and I saw no flash. Dragon makes extensive use of the pin nodes to keep ejector pin marks on the parts to a minimum. However, you will need to handle the removal and clean up of the parts with care.
Instructions
As with all Dragon’s instructions, read them carefully and plan what you want to do ahead of construction. Check the fit over and over and over again to make sure that all items fit together. Also, check the number of the part being called out – or lack thereof.
Painting and Decals
The color call outs are for Testors Model Master enamel and Gunze paints. There is 1 paint scheme depicted in the instructions. But there are decals for two different tanks. The decals are by Cartograf and are up to their usual high standards.
Conclusion
This is a very nice model and is easy to put together. It is also easy to paint since it’s all one color. The only concern is a little bit about the Dragon instructions, again they are a little incomplete and have errors in the instructions. I can recommend this model to any World War II British armor fan and small scale modelers.
References consulted included:
- The Churchill Tank Part One: The Gun Tank, Mk I-VIII A Visual History Of The British Army's Heavy Infantry Tank 1941-1945 by David Doyle ISBN: 978-0-9773781-9-7.
- The Churchill Tank Part Two: The Gun Tank, Mk I-VIII A Visual History Of The British Army's Heavy Infantry Tank 1941-1945 by David Doyle ISBN: 978-0-9773781-2-8.
- Modelling Churchills Book 1 by Meddings, Guld, Volchenkov, Pulinckx, Mcconnell ISBN 978-0-993258-80-0.
Thanks to Dragon and Dragon Models USA for the review sample, and IPMS/USA for the review space.

Comments
Add new comment
This site is protected by reCAPTCHA and the Google Privacy Policy and Terms of Service apply.
Similar Reviews