
CF-188A '20 Years of Service RCAF'
The CF-188A Hornet, more commonly known as the CF-18, is a multi-role fighter that first flew with the Royal Canadian Air Force in 1977. It was chosen as a replacement for the CF-101 Voodoo and CF-104 Starfighter. The CF-188s were upgraded through two incremental Modernization Programs, with a new radar and avionics from the F/A-18C/D as well as a new targeting pod. This new kit from Kinetic is the latest special edition of the CF-188 Hornet and it covers the commemorative scheme for 20 years of service with the RCAF.
The base kit for this release is Kinetic’s new F/A-18C that was released in 2016. There are several new sprues for parts to turn the jet into a F/A-18A/CF-188A. The kit comes in a very large box with an impressive and colorful picture of the aircraft in question on the front. Upon opening the box you will find 2 sprues of clear parts, a small photo-etch sheet, 2 large sheets of decals, and 9 parts trees of light grey plastic. There are a total of 269 grey parts which are well molded with sharp rivet and panel line detail and little to no flash. There is a black and white instruction book but I found a few problems with the printing of this booklet that I will mention on the appropriate steps below. When it comes to painting the aircraft, there are no color guides included but you can find a color painting guide at the link provided above.
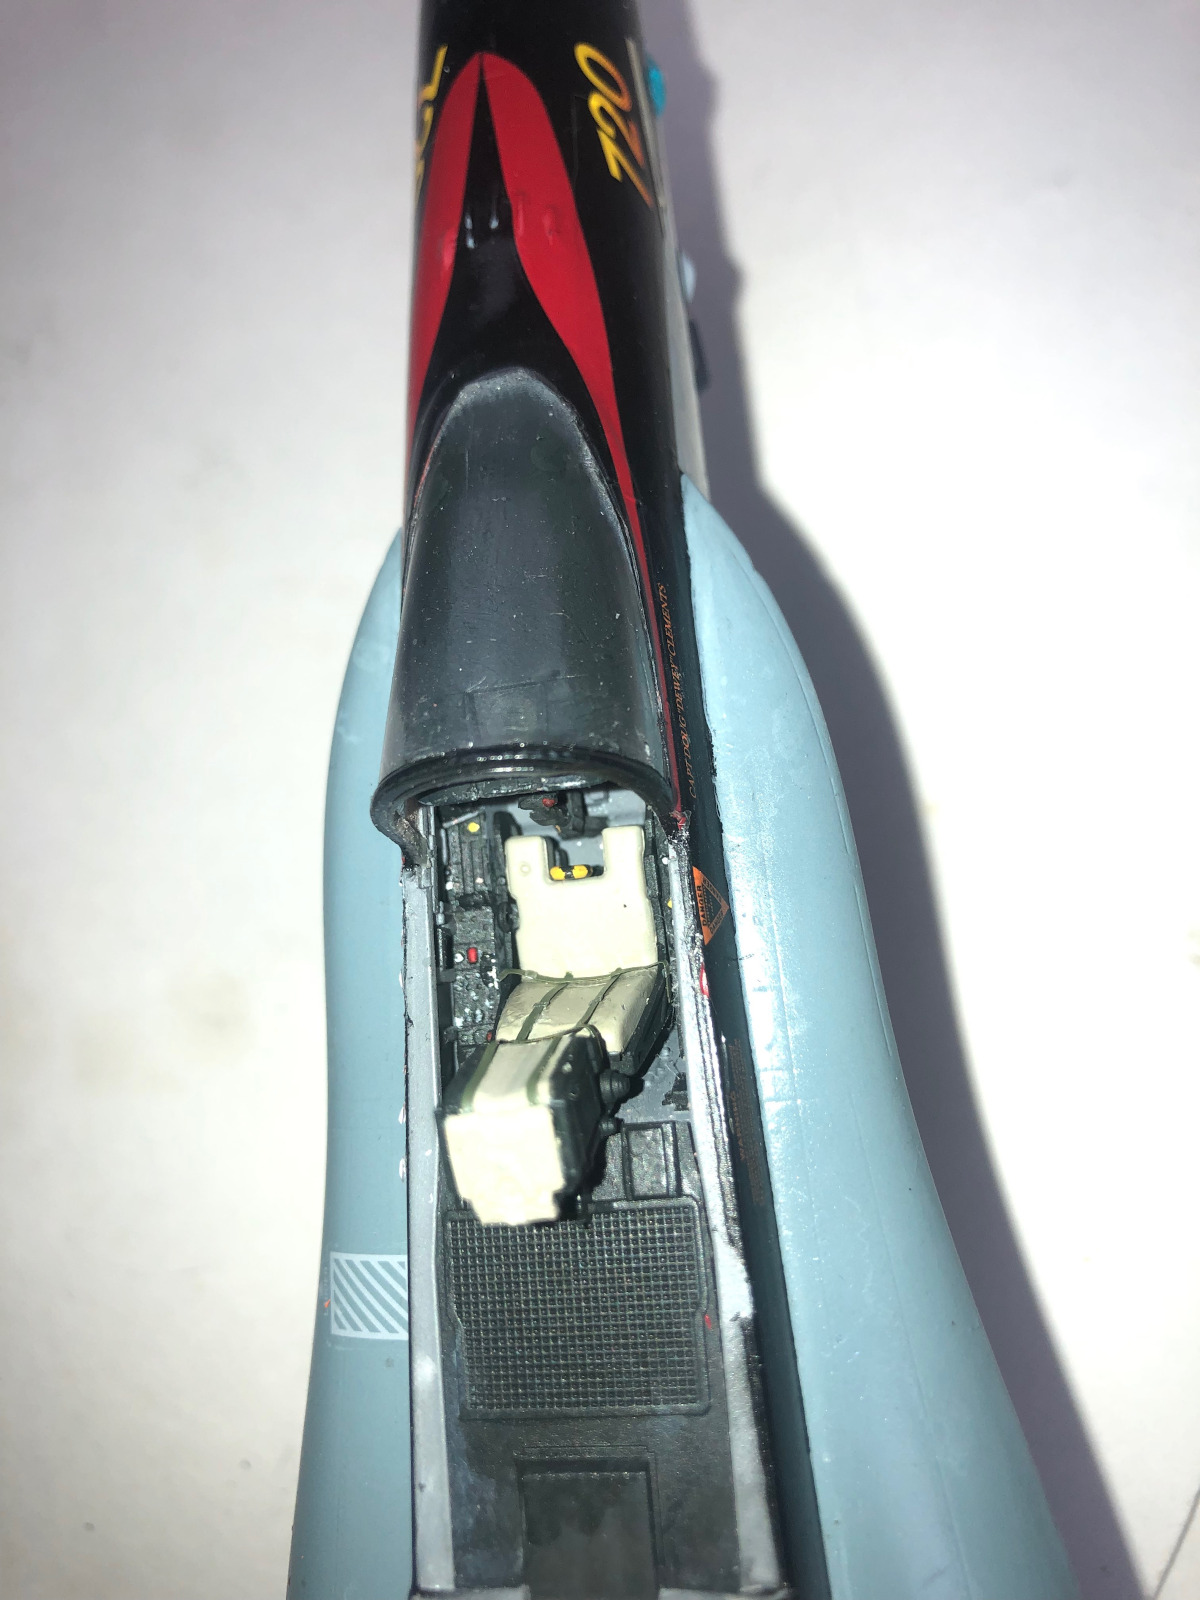
As usual with most aircraft the construction starts with the cockpit. The cockpit tub and instrument panel is well detailed and the instructions are pretty straight forward with nice color call outs. All of the color call outs reference AMMO MIG paint colors but there is a nice conversion chart in back of the instruction book if you want to use a different brand; I used mostly Model Master Enamel paints for my build. There is a minor issue with the instructions in Steps 1 and 3, the seat has a seat belt added in Step 3 that is not included in Step 1 or mentioned in any way. The parts for the seat belt are PE10 and PE14, the kit includes them but it’s not clear why they are never called out.
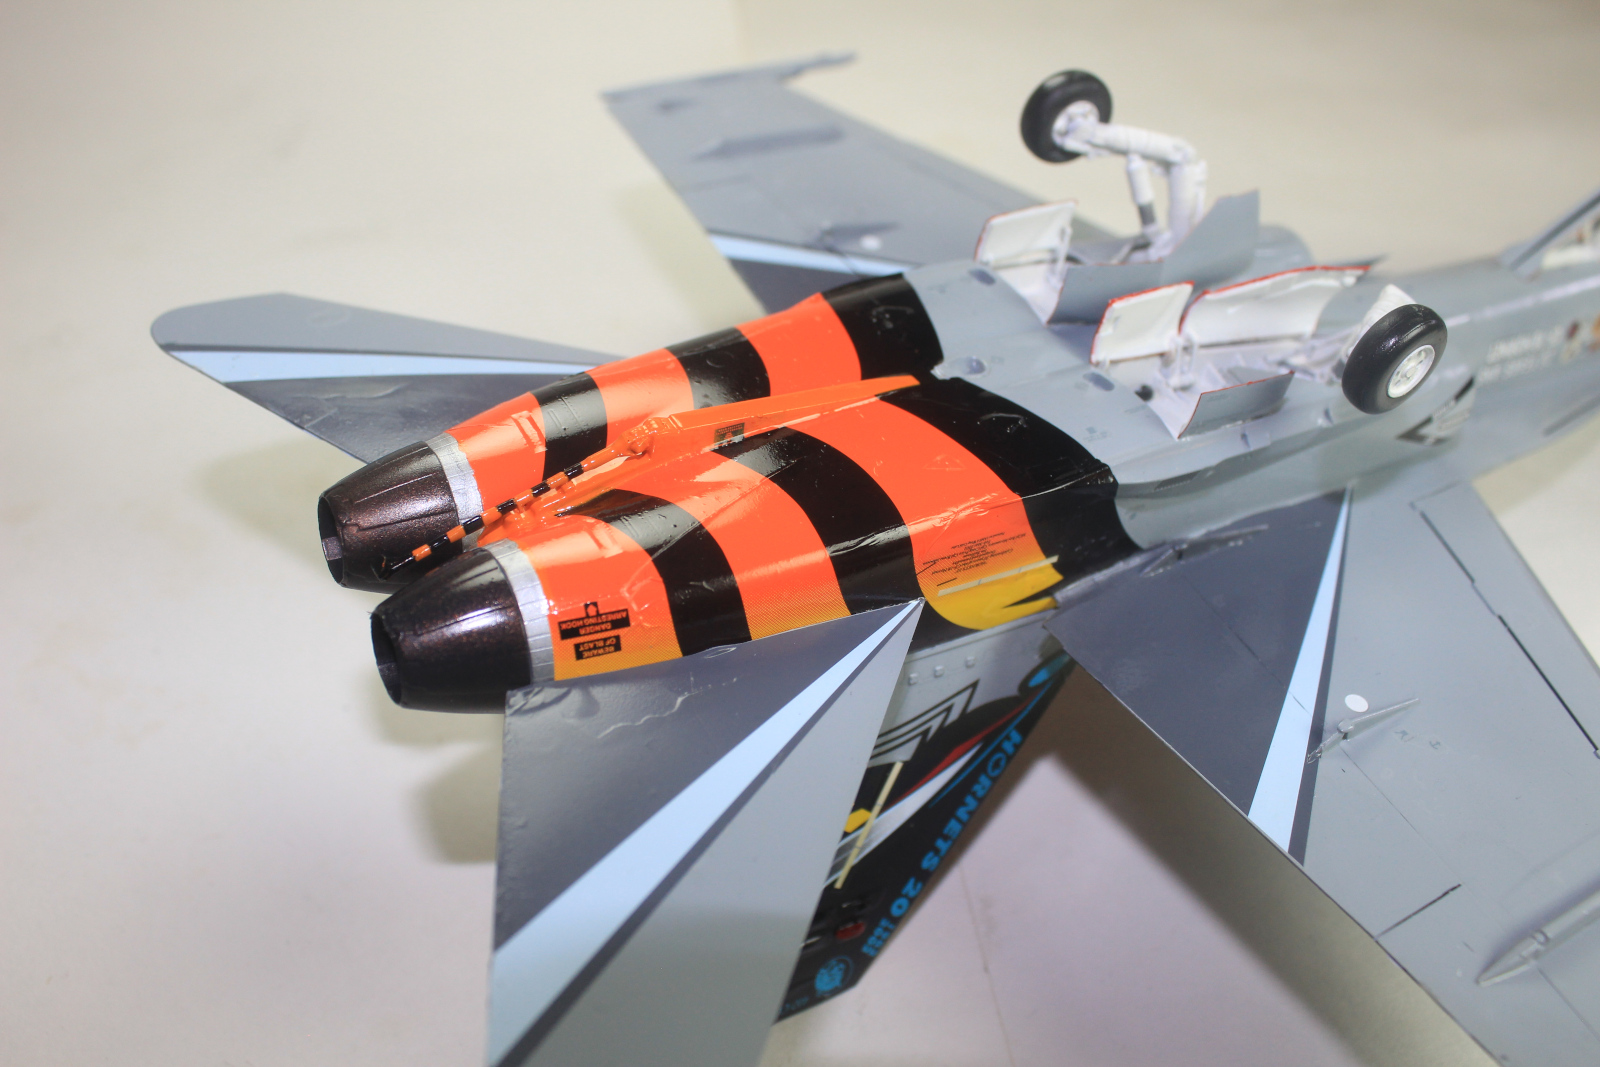
The next steps work on the building of the air intakes and the afterburners, both have issues with seams along the joins that are difficult to sand/fill. I was able to get a pretty good result with repeated applications of Mr. Surfacer with sanding and removal with isopropyl. I kept these parts separate for painting and only installed them after I was happy with the coverage of the white paint. This worked fine with the afterburners but not so well with the intakes. In Step 7, the front parts of the intakes are installed (Parts H32/H33) and the fit is pretty poor with the fuselage and the interior of the intakes. I had to do a lot more sanding, filling and repainting to correct the issue. So, my recommendation is to install the intakes without the fans (H8) installed, install the parts in Step 7, and correct the fit issues prior to painting so that you can have an easier time painting without having to mask for the silver fans (H8). I left the burner nozzles (H3) off and left the detail paining in the wheel bays until after decaling.
The next few steps are pretty straight forward with some minor issues. The refueling probe door closed the fit of H6 to the rest of the nose is poor and required some filling. The location of part E105 is not clear as that side of the nose is never shown in the instructions, so check your references for accurate placement. Also, I found part PE17 to be too long to fit well and it was difficult to install so I left it off on both sides. The nose and cockpit tub fit very well in Step 8 and the only issue I had in Step 9 was with Part A11, the front portion this piece is very thin and mine was bent slightly. It ended up breaking on the left side as well which made fitting Part C25 difficult and fitting A11 to the rest of the fuselage in Step 10 difficult as well. It needed some filling to correct some minor gaps.
I chose to build my example of this aircraft with the wings down rather than folded, feeling that as this aircraft was not on a carrier it would not likely have its wings folded. I had no major issues with Steps 11 and 12, however the leading edges of the wings did need a little filler to correct some minor gaps and I would recommend leaving Parts E96 and E99 off until final assembly. There is a very large decal that is applied over these parts and it is much easier to apply the decals with out the parts installed. The last issue that I had with these two steps is that the part numbers of the leading edges are swapped, Step 11 lists C5/C8 and A6/A7 while Step 12 lists C7/C6 and A3/A1. These are swapped, C7/C6 and A3/A1 are needed for Step 11 and vice versa. For Step 13 there is a small issue with the C28/C16 and C27/C15 assemblies, I had an inconsistent gap that needed filling.
Moving on to Step 19 as I had chosen to do the wings down rather than folded, the location of the PE3 parts is very vague. They are on different sides of the tails when they should both be on the inside and there isn’t a clear location for them. Check your references on this one as well. There is also a possible error on the parts to be used for the tails, there are two types included in the kit and the parts listed in the instructions are for O4/O6 and O5/O8. However, the parts look like the other tails that were included so again check your references to see which tail set you should use.
Moving on to the canopy parts, both parts for the main canopy had a serious molding seam down the center which required sanding and polishing to remove. I had some serious problems with the fit of the canopy parts as well. For example, Part L1 was molded very thick and a pretty serious gap/step fit problem when attached to the fuselage. Luckily with careful filling and sanding it was very easy to blend into the fuselage. Also, I left the HUD display off until after final assembly to limit the risk of breaking it during handling. The problem that I ran into was that after Part L1 was installed I could no longer fit the HUD assembly into its spot, so I had to leave it out. Also, I found it easier to attach Part I3 to the main canopy assembly before attaching it behind the seat. In the next few steps I left off almost all of the parts until final assembly with the exception of photo-etch to make decaling and painting mush easier. This includes the upright tails, both parts A6 and all parts of the landing gear.
Moving on to painting, the underlying scheme is the standard RCAF Medium Grey and Light Ghost Grey. I painted these first with Model Master Enamels. The next step was painting the black for the spine of the aircraft. The directions provide good guidelines for where to mask for the black and two decals to help with the curve on the nose. I printed copies of these decals to make tape masks and sprayed the black using Model Master Gloss Black. Moving forward there were two options for the wing markings and the tail markings, full decals or partial decals with masking/painting. I chose to use the full decals to see how they performed.
The decals are printed by Cartograf and are extremely impressive. They went down surprisingly well over a gloss coat from Alclad with the help of Micro Sol. The register is quite nice but if I were to do it again, I would recommend panting anything that had an orange or yellow decal over it white before decaling to improve the color and limit bleed thought of the under lying colors. Also, due to the complex shape of the rear of the aircraft wrinkles or tears in the decals are nearly impossible to avoid. If you are planning on building this kit for competition, I would recommend airbrushing the yellow and orange stripes to avoid this issue. Overall, I am very happy with the results of using the decals they just take some patience and skill to get the best results.
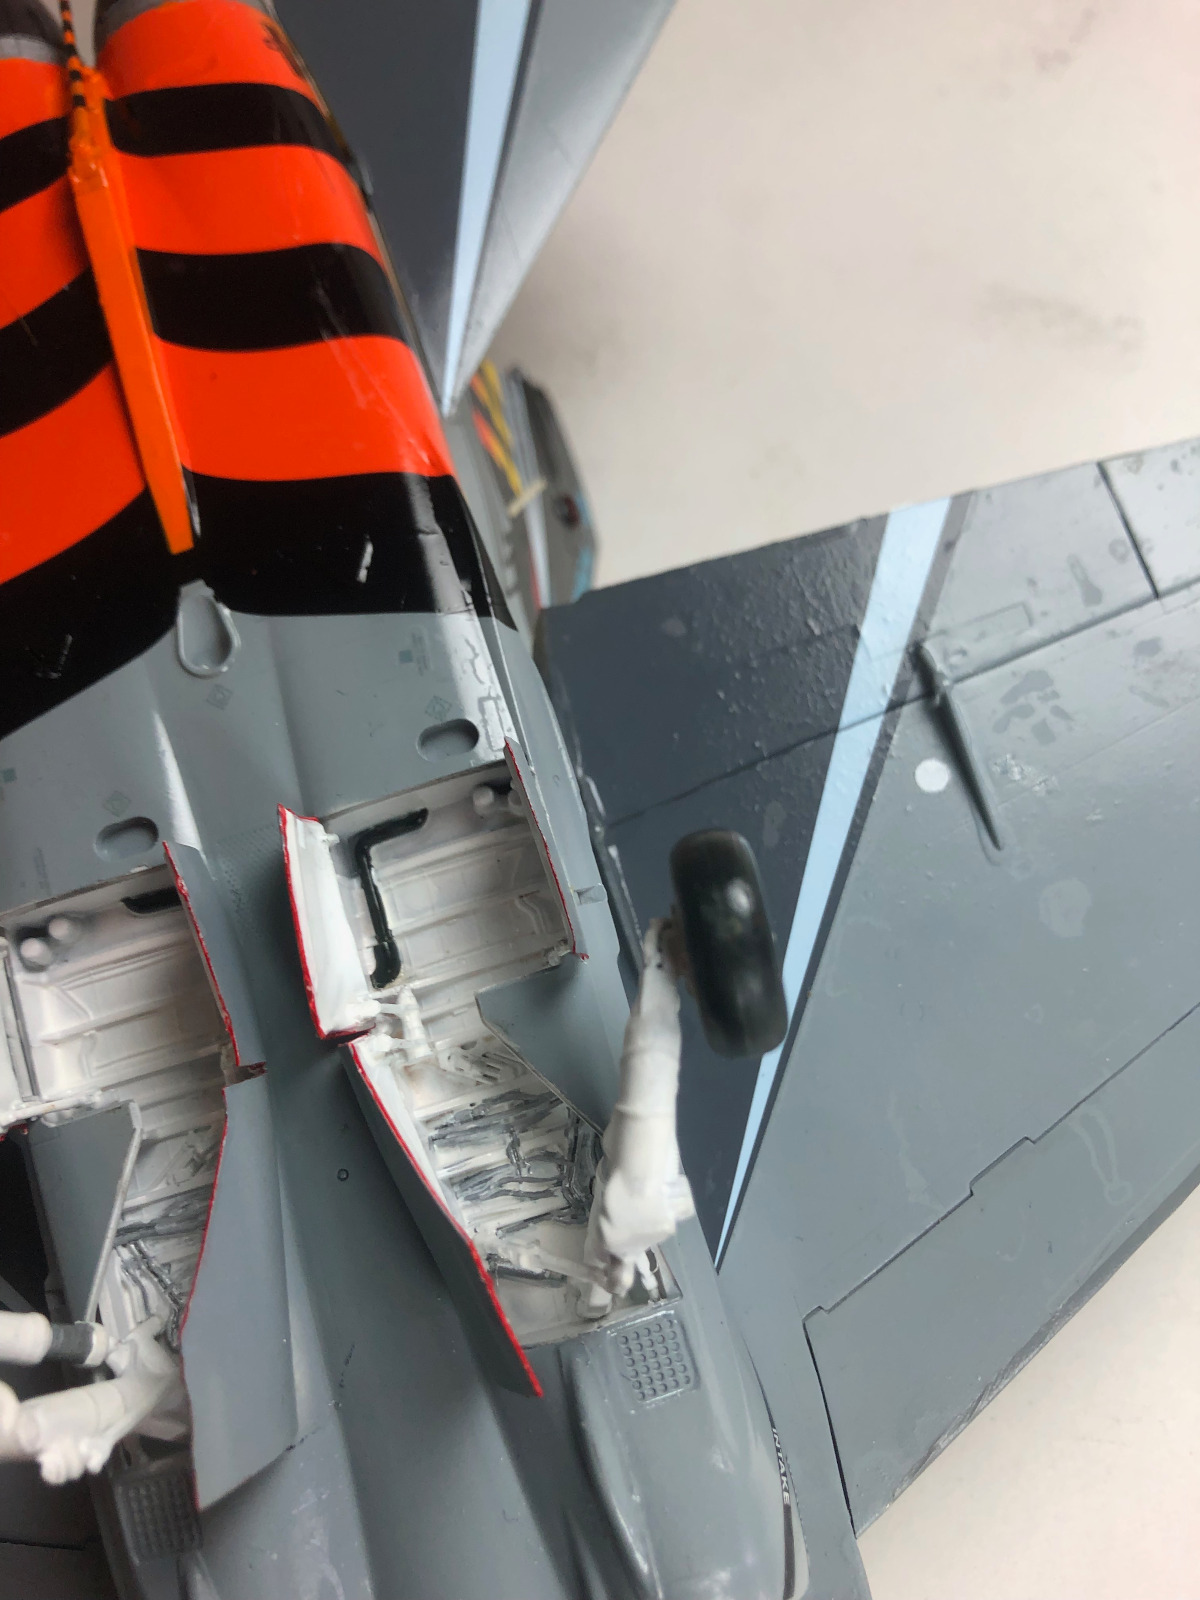
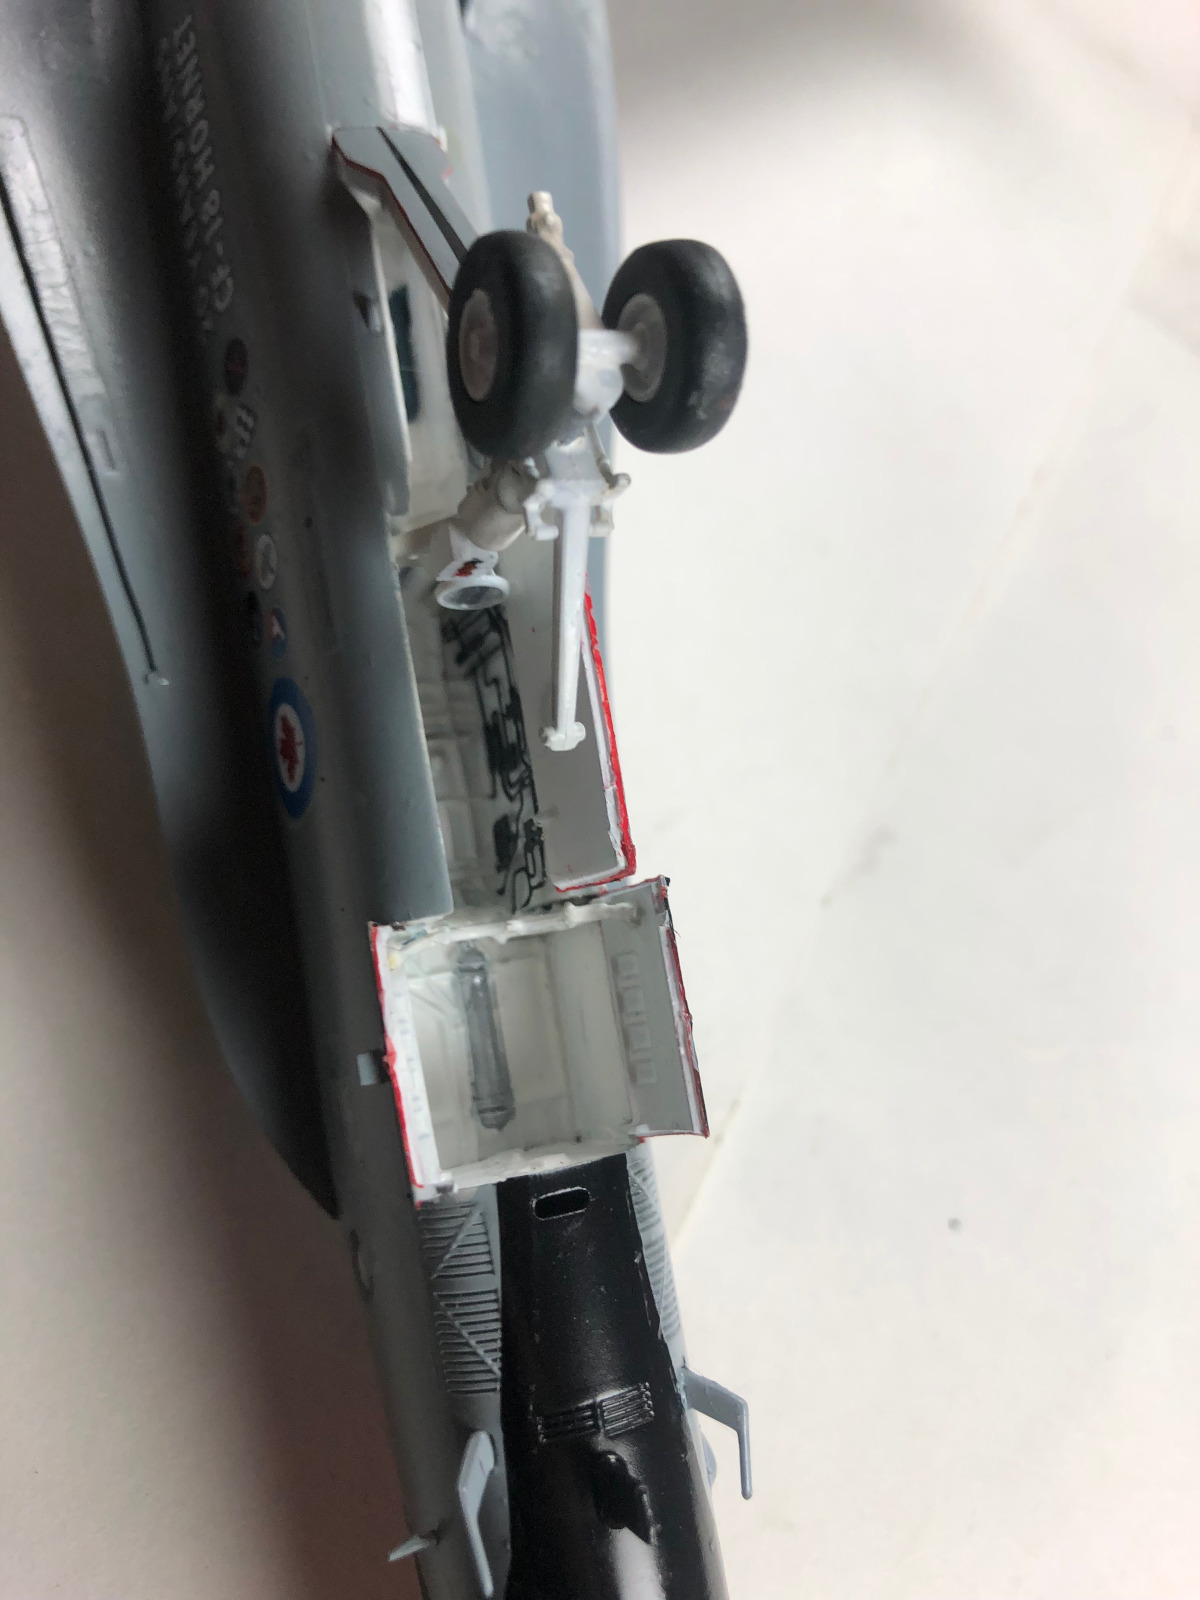
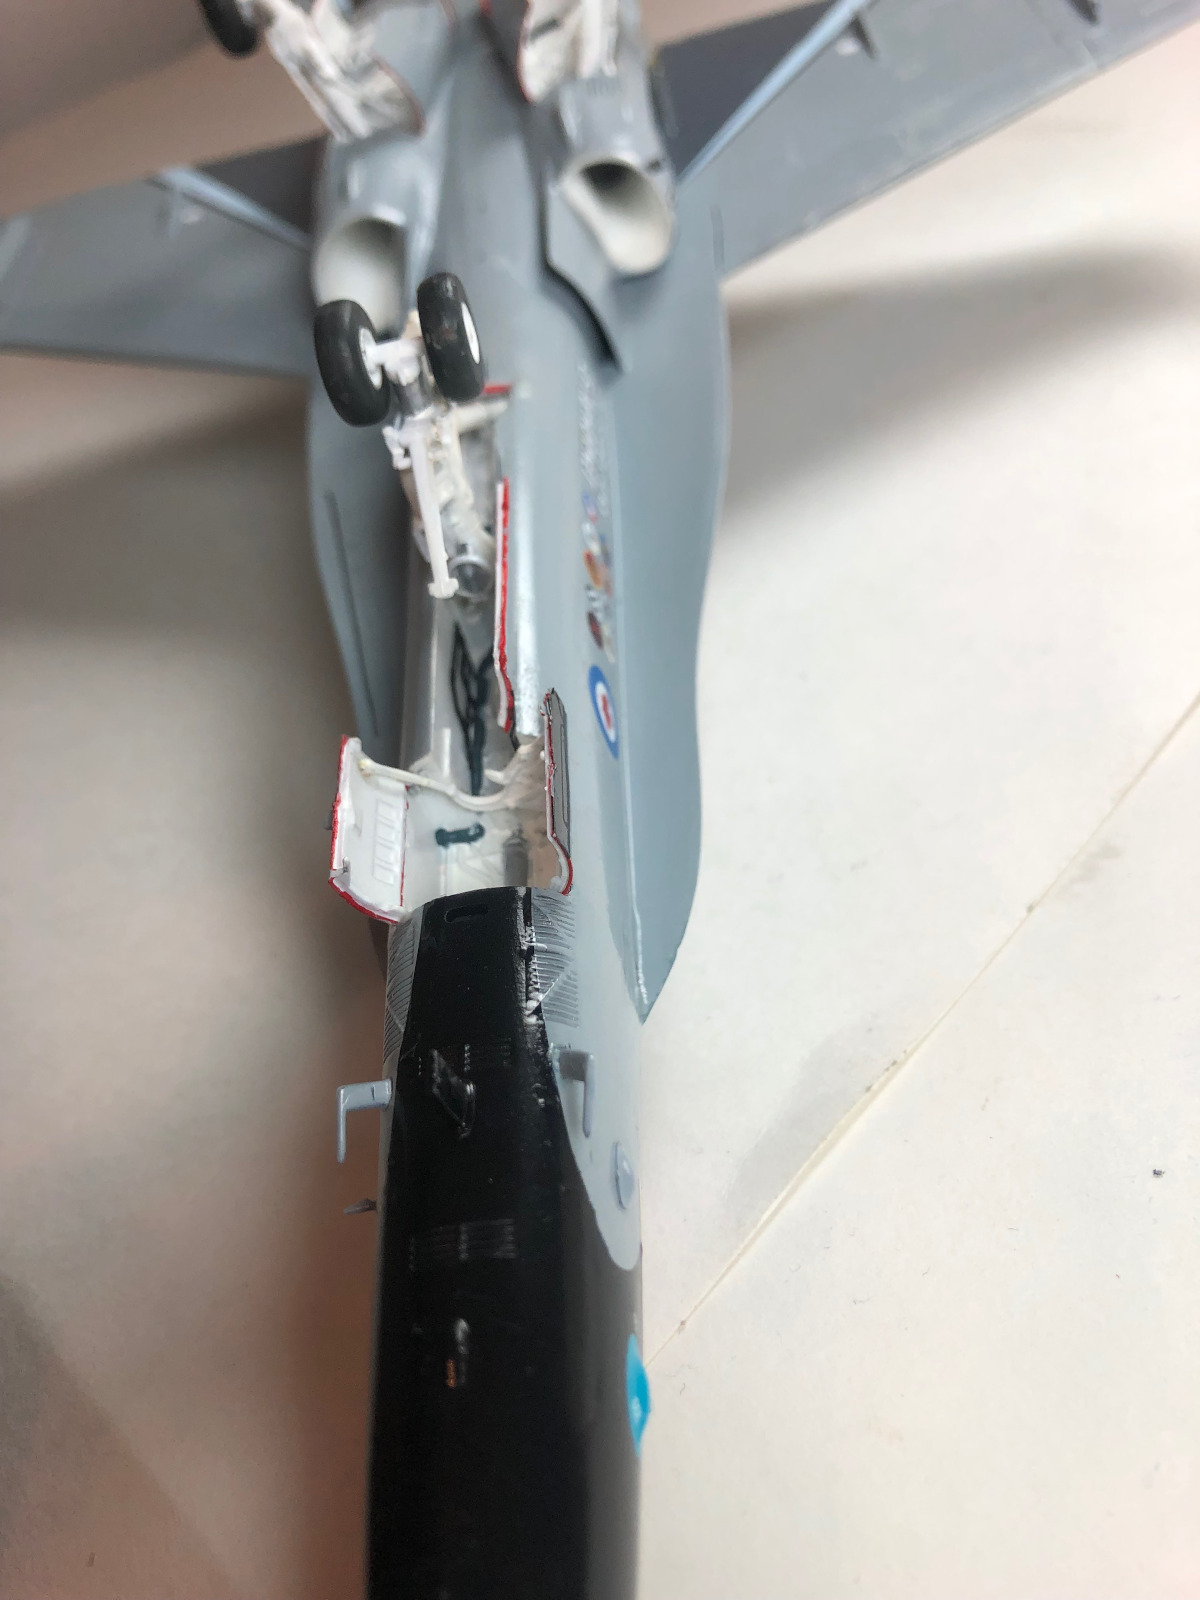
After a gloss coat to protect the decals I moved to final assembly. Starting with the landing gear, the build of the landing gear is straight forward with some minor issues. First, assembling the tires I had gaps in all four tires that needed filling/sanding to correct. There are some unfortunate sink marks on the inside portion of the main landing gear that need to be addressed (Parts O1/O2) and there is a miss-print on these parts as well. The instructions call for Parts O1/O2 but show Parts D3/D4. There is also an issue when installing these assemblies into the main wheel wells, I found the front attachment tabs to have a rather weak connection as the slot for them in the wheel wells was too shallow. Lastly, in Step 22 there is a photo etch part (PE2) that doesn’t fit into the front wheel well. There are pipes blocking its installation and it looks like the wheel well in the image doesn’t match the wheel well included in the kit, it is flatter with no pipes on the wall where PE2 is installed. I would leave both parts out after checking references.
The last part of the build was to install all of the remaining parts, such as pitot tubes, gear bay doors, and vertical tails. There were no major problems with any of these parts. I found two minor issues during this final assembly. One was with Part E83, the location for this part is extremely vague so check your references prior to installation. The second was with Part E9, the arresting hook, the instructions have a paint callout for Light Ghost Grey, but the painting guide shows it as orange with black stripes so be careful.
Overall this is an awesome kit. The scheme is fantastic, and the subject matter is very cool. It is based on one of the better modern F-18 kits in 1/48 scale and was a pleasure to build. Due to the complicated nature of the paint scheme I can’t recommend this kit to a beginner. However, if you have built a few aircraft before and take it slow with the decals you will have an impressive aircraft at the end of the build. My thanks to Kinetic Models and IPMS for giving me the opportunity to review this kit.

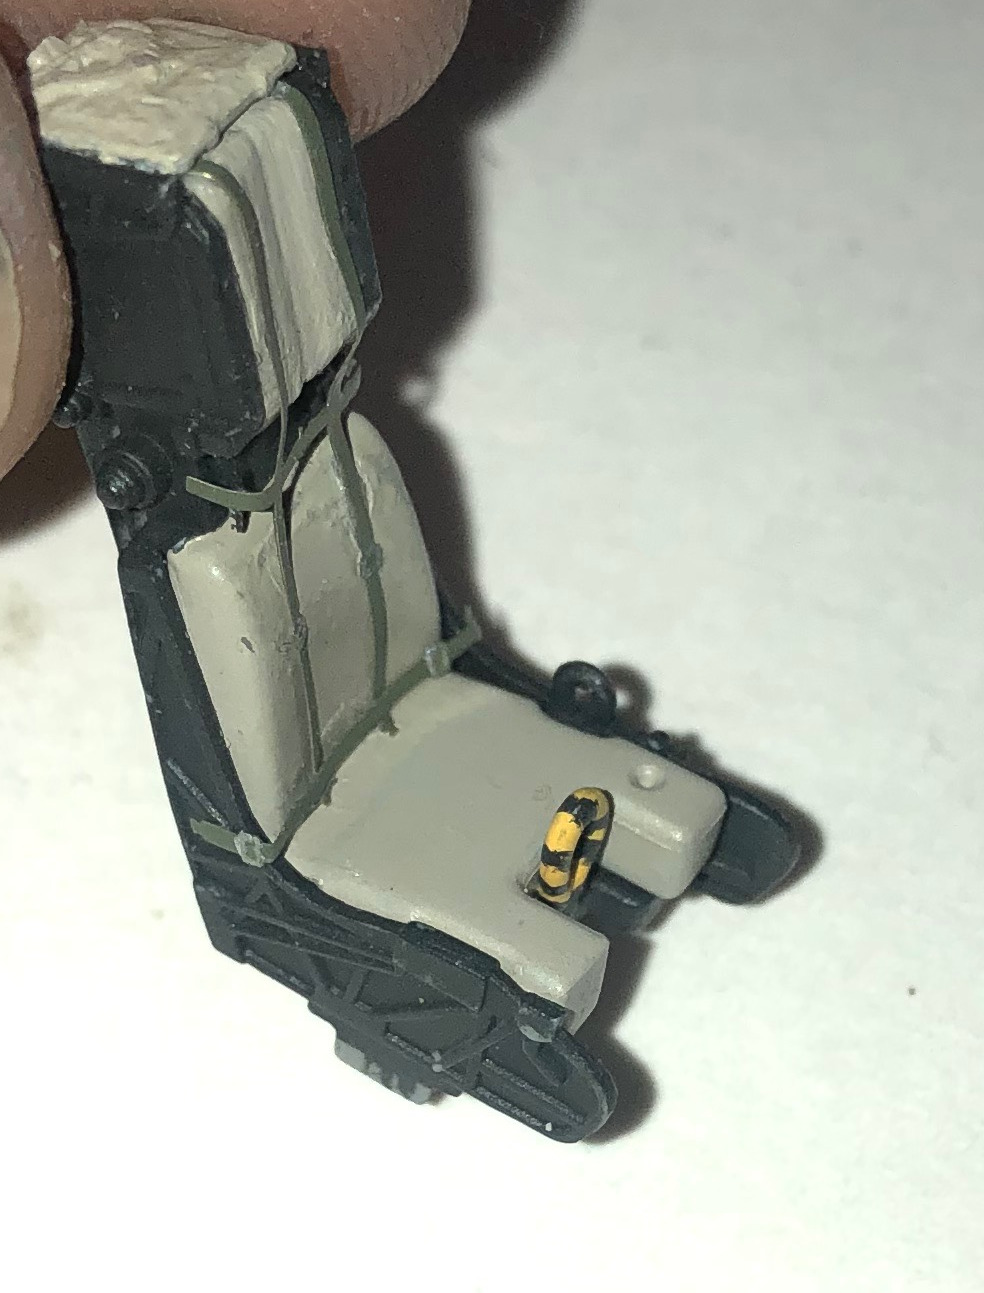
Seat
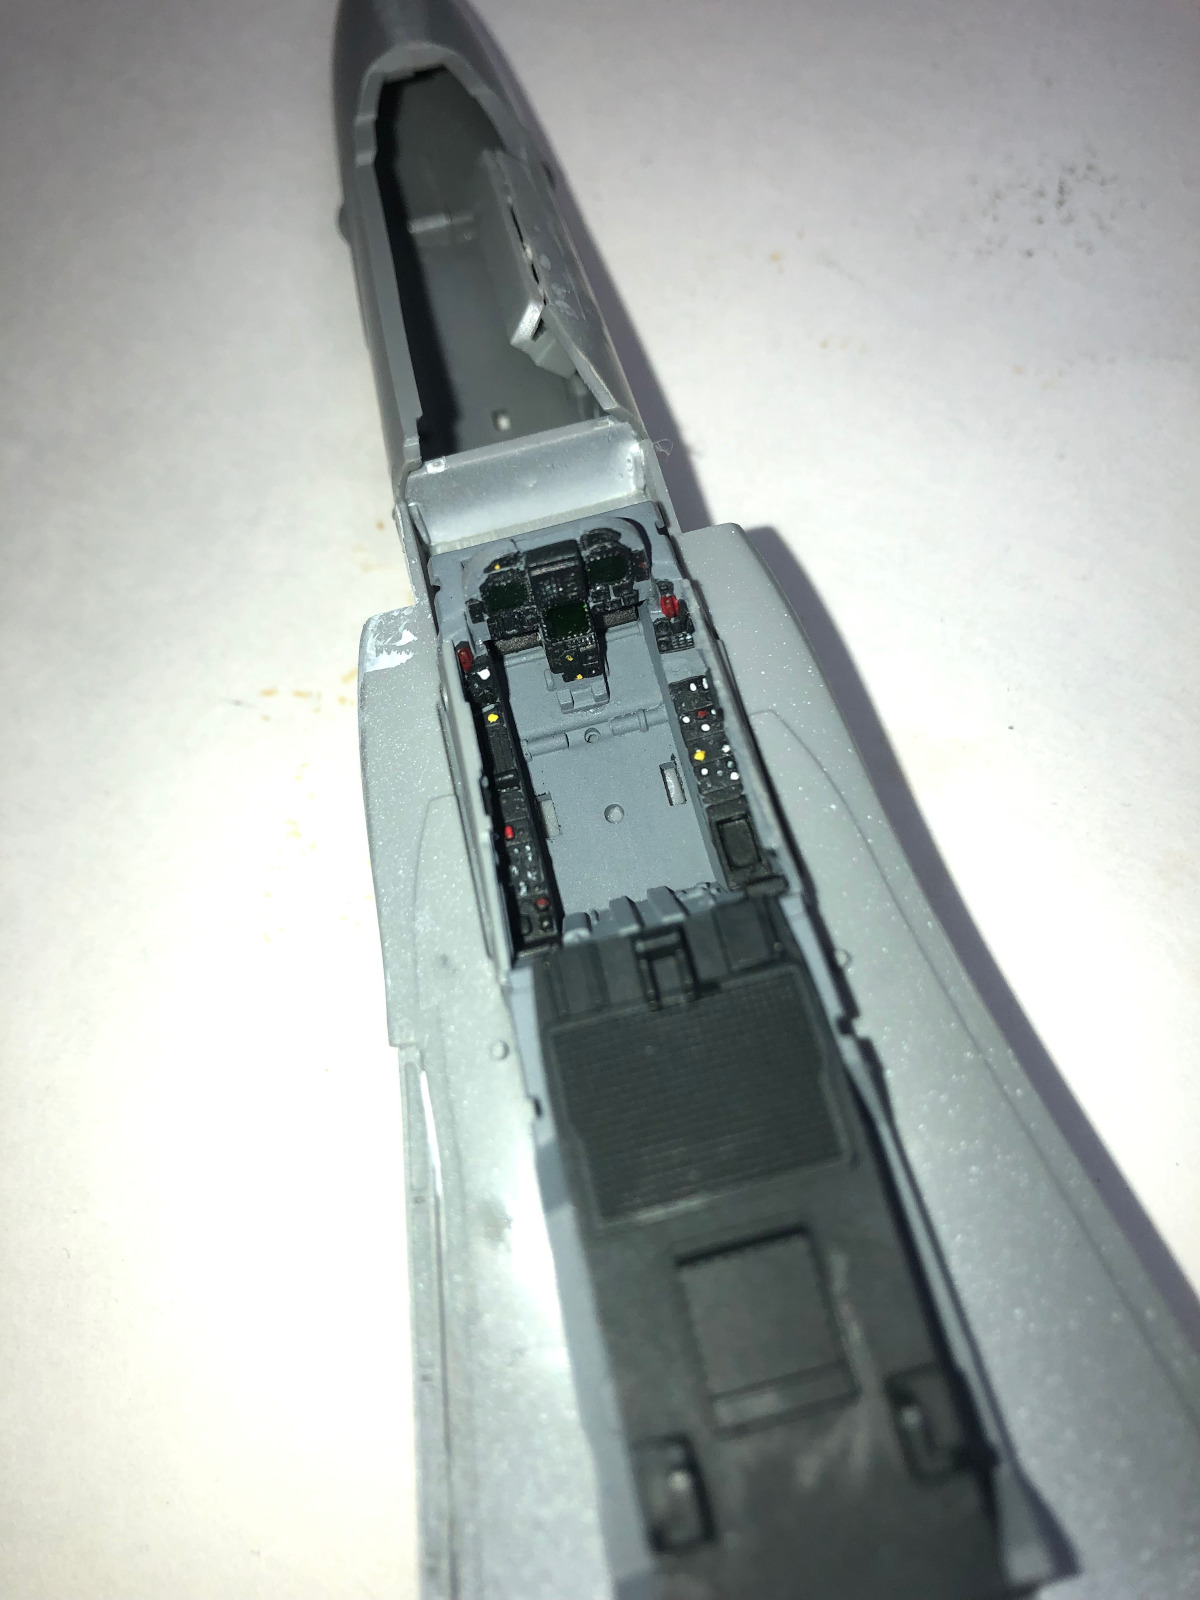
Cockpit 1

Cockpit 2

Cockpit 3
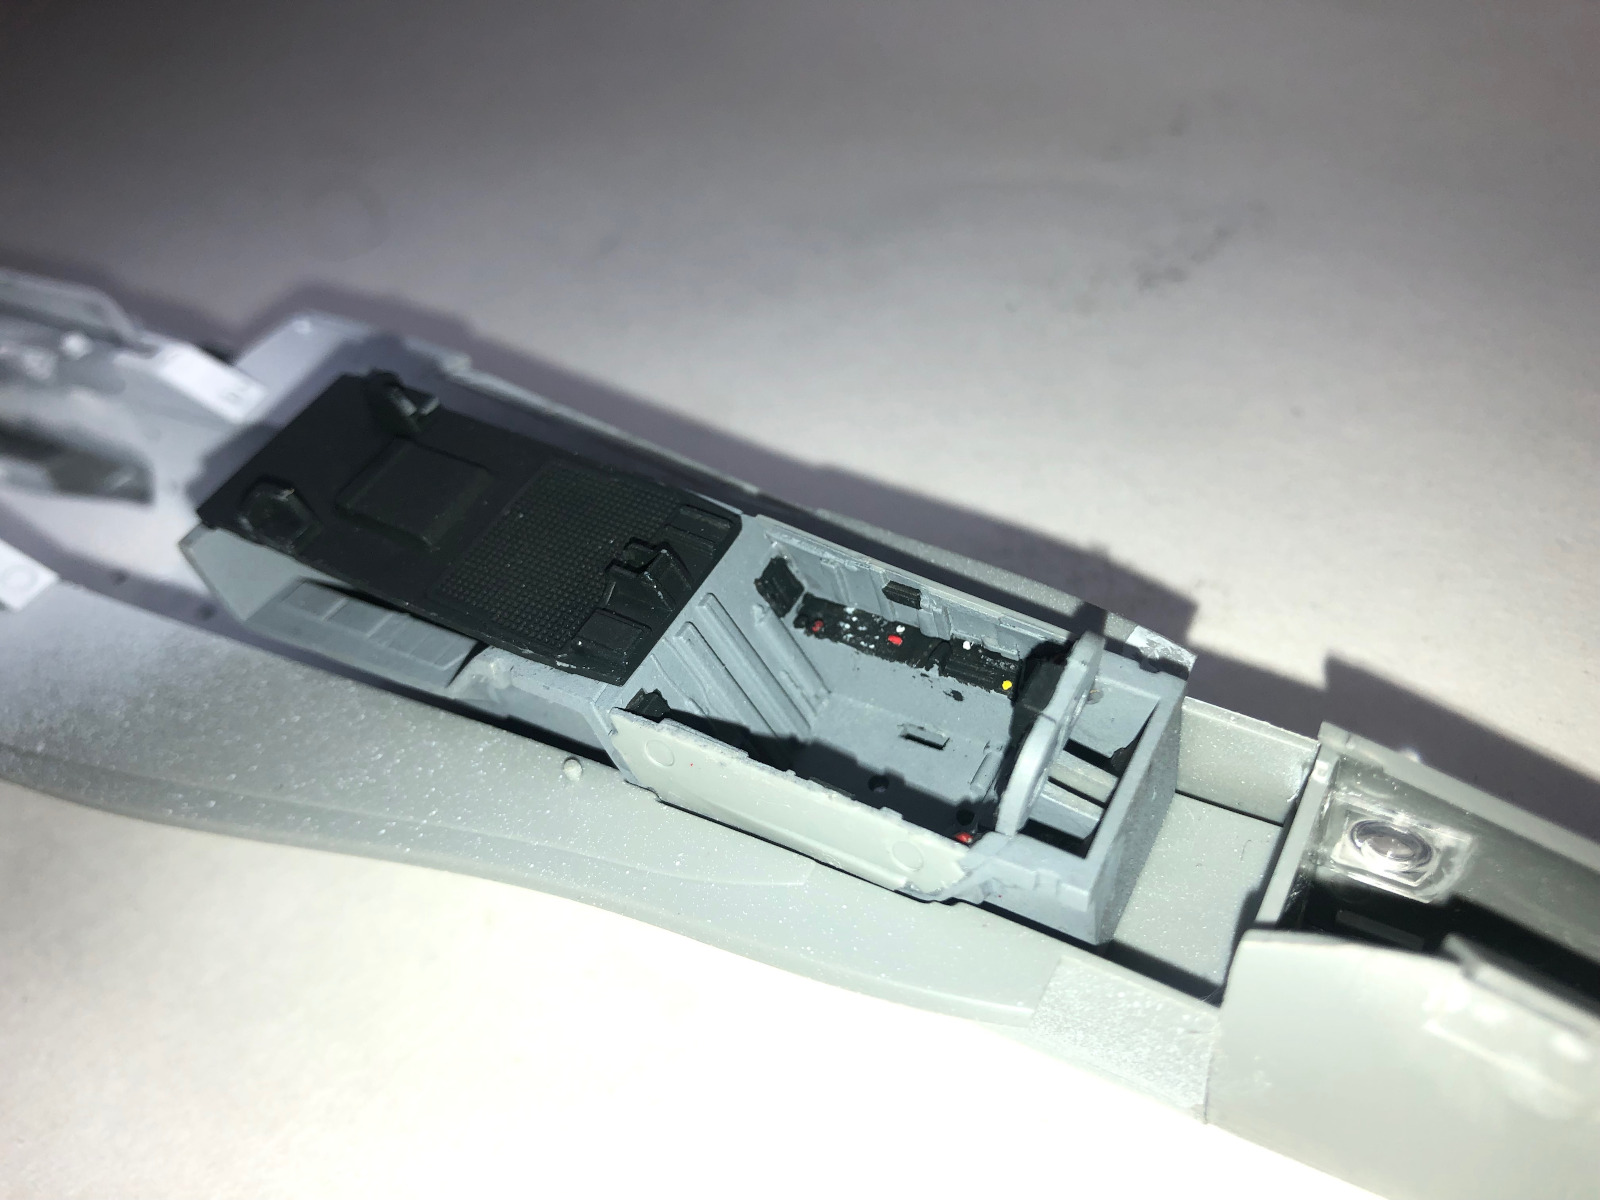
Cockpit 4

Cockpit Complete 1
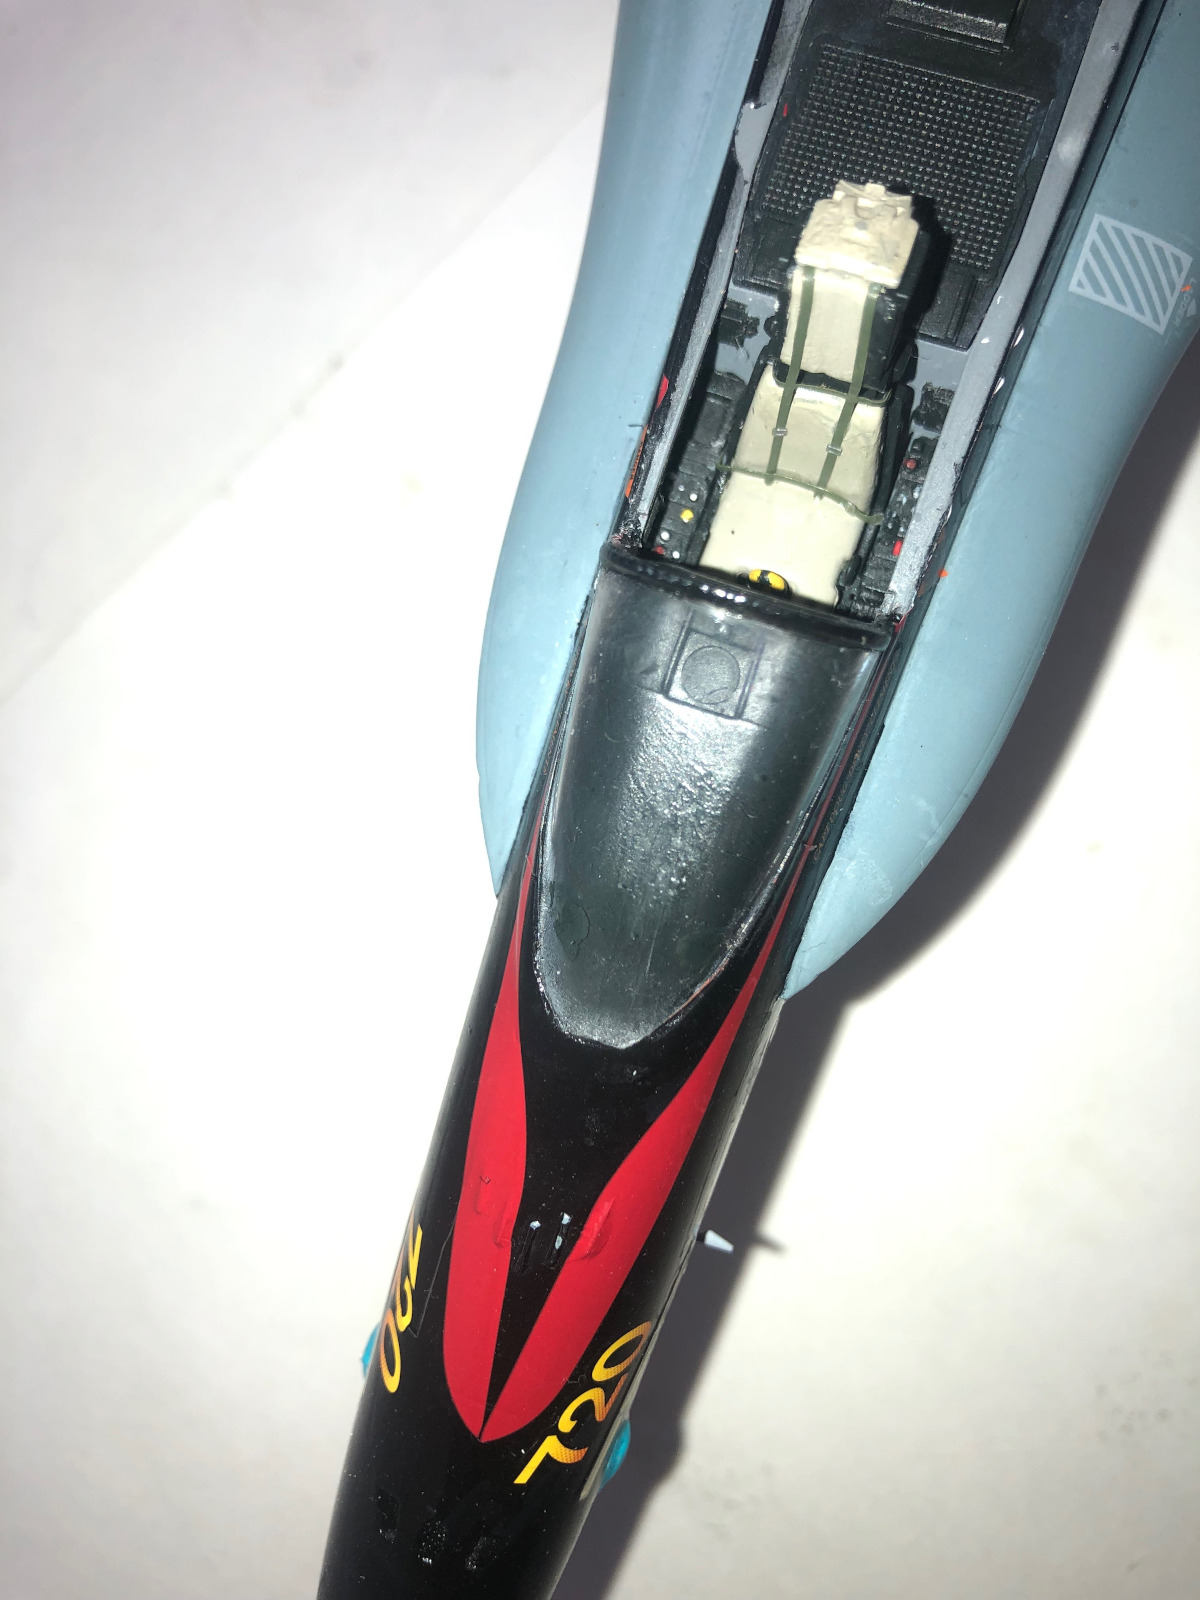
Cockpit Complete 2
Cockpit Complete 3
Wheel Wells 1
Wheel Wells 2
Wheel Wells 3
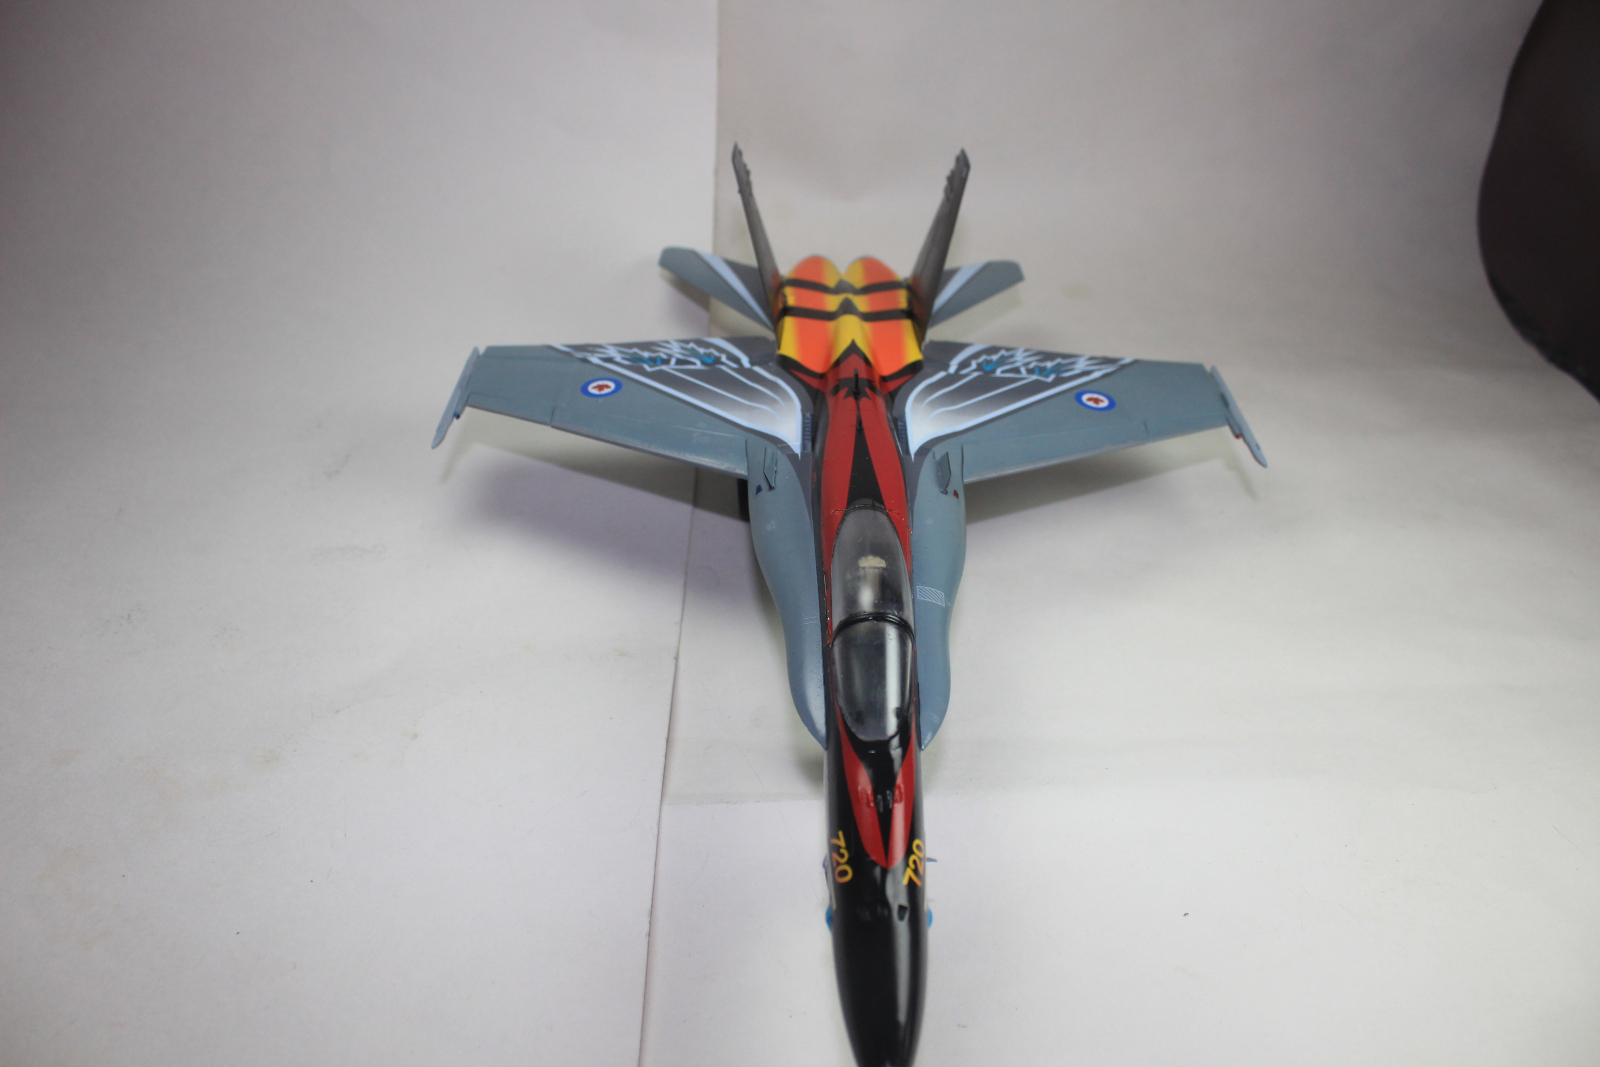
Complete Front
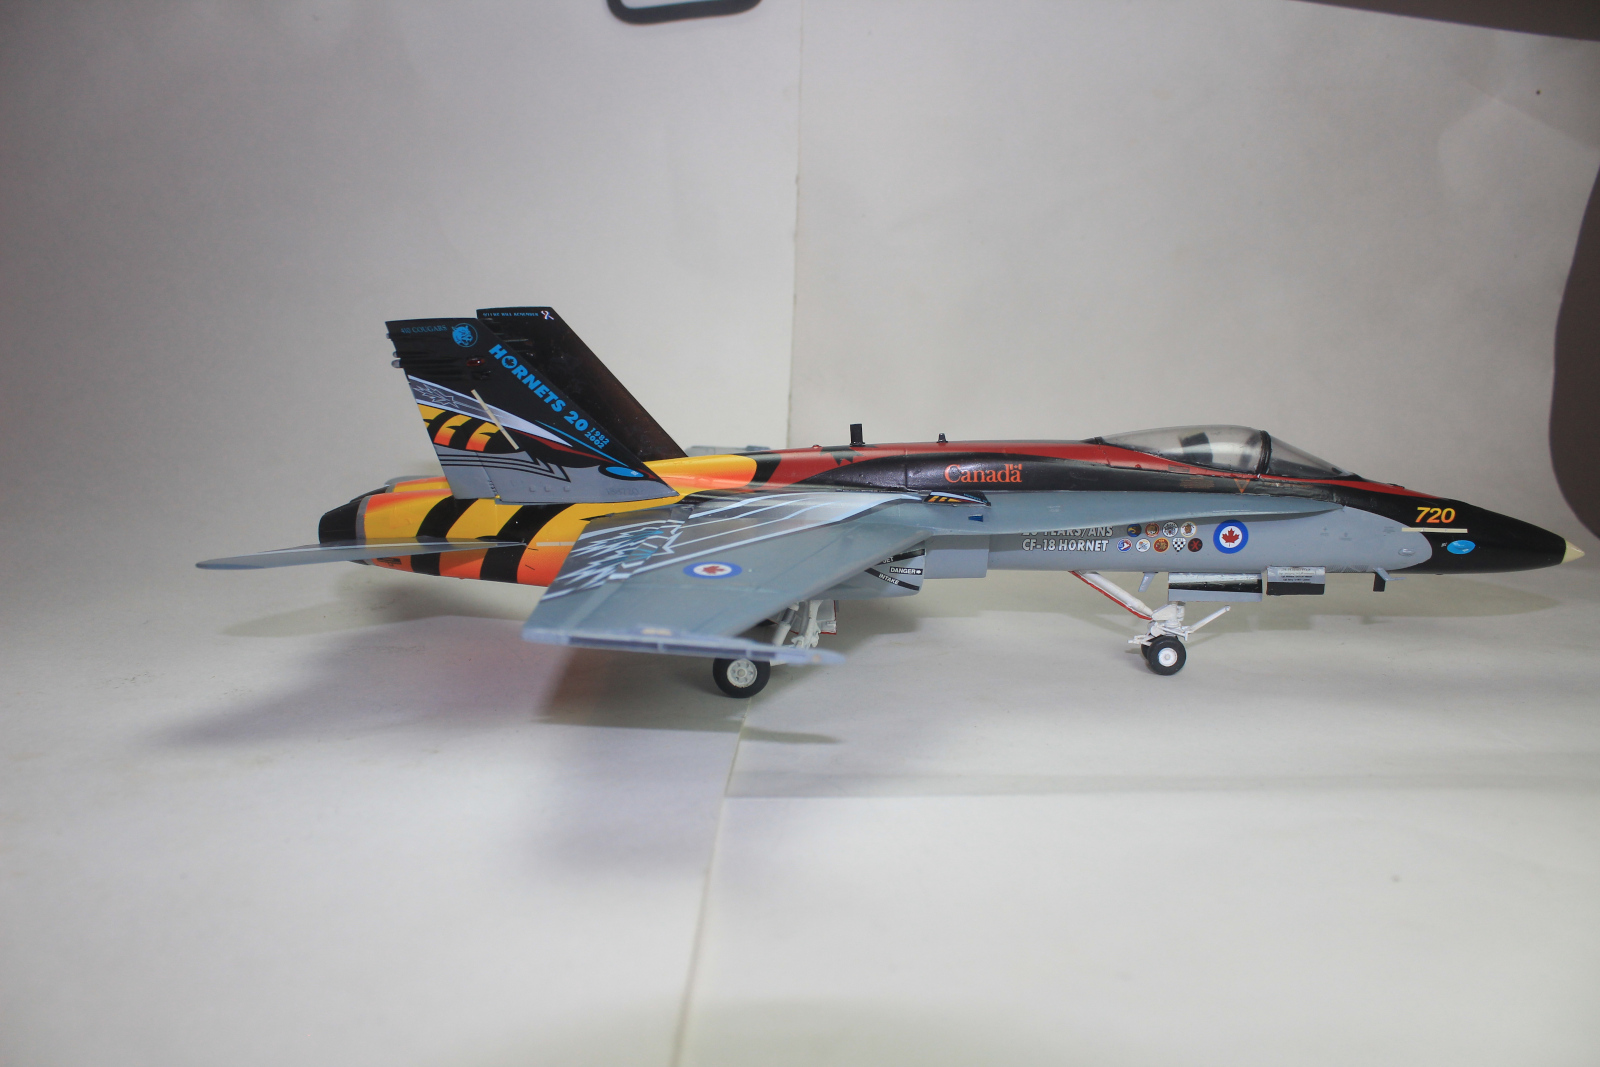
Complete Left 1
Complete Left 2
Complete Left 3
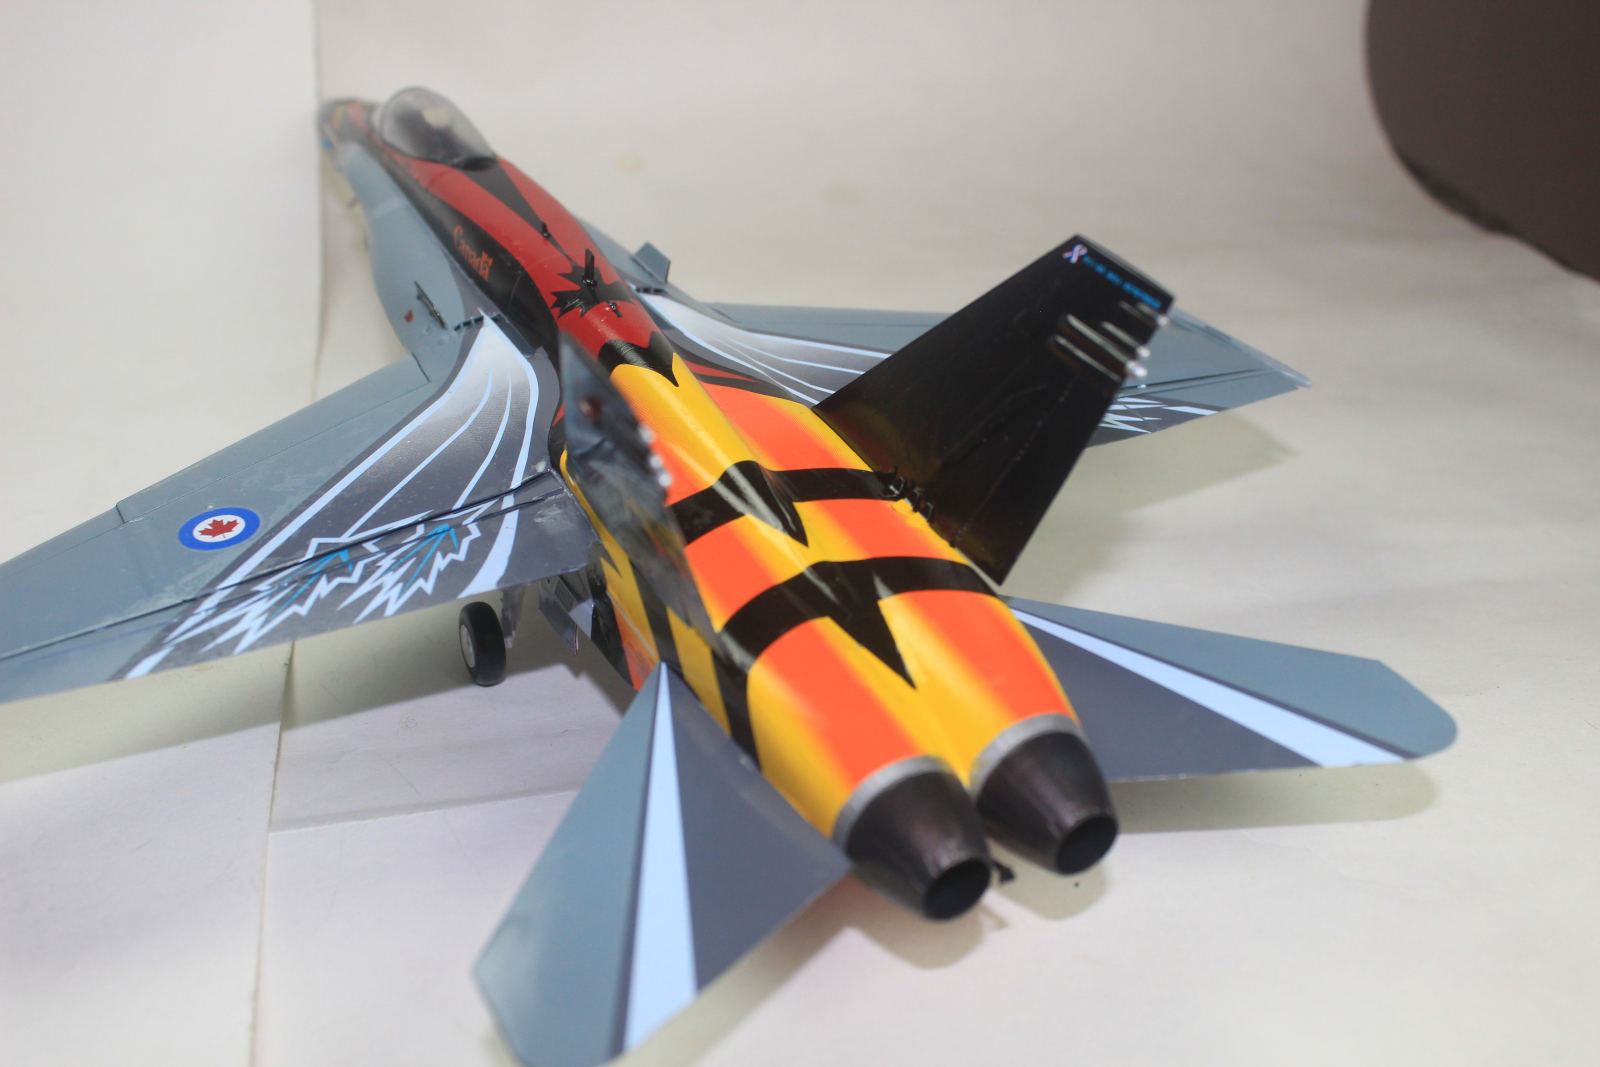
Complete Rear Left
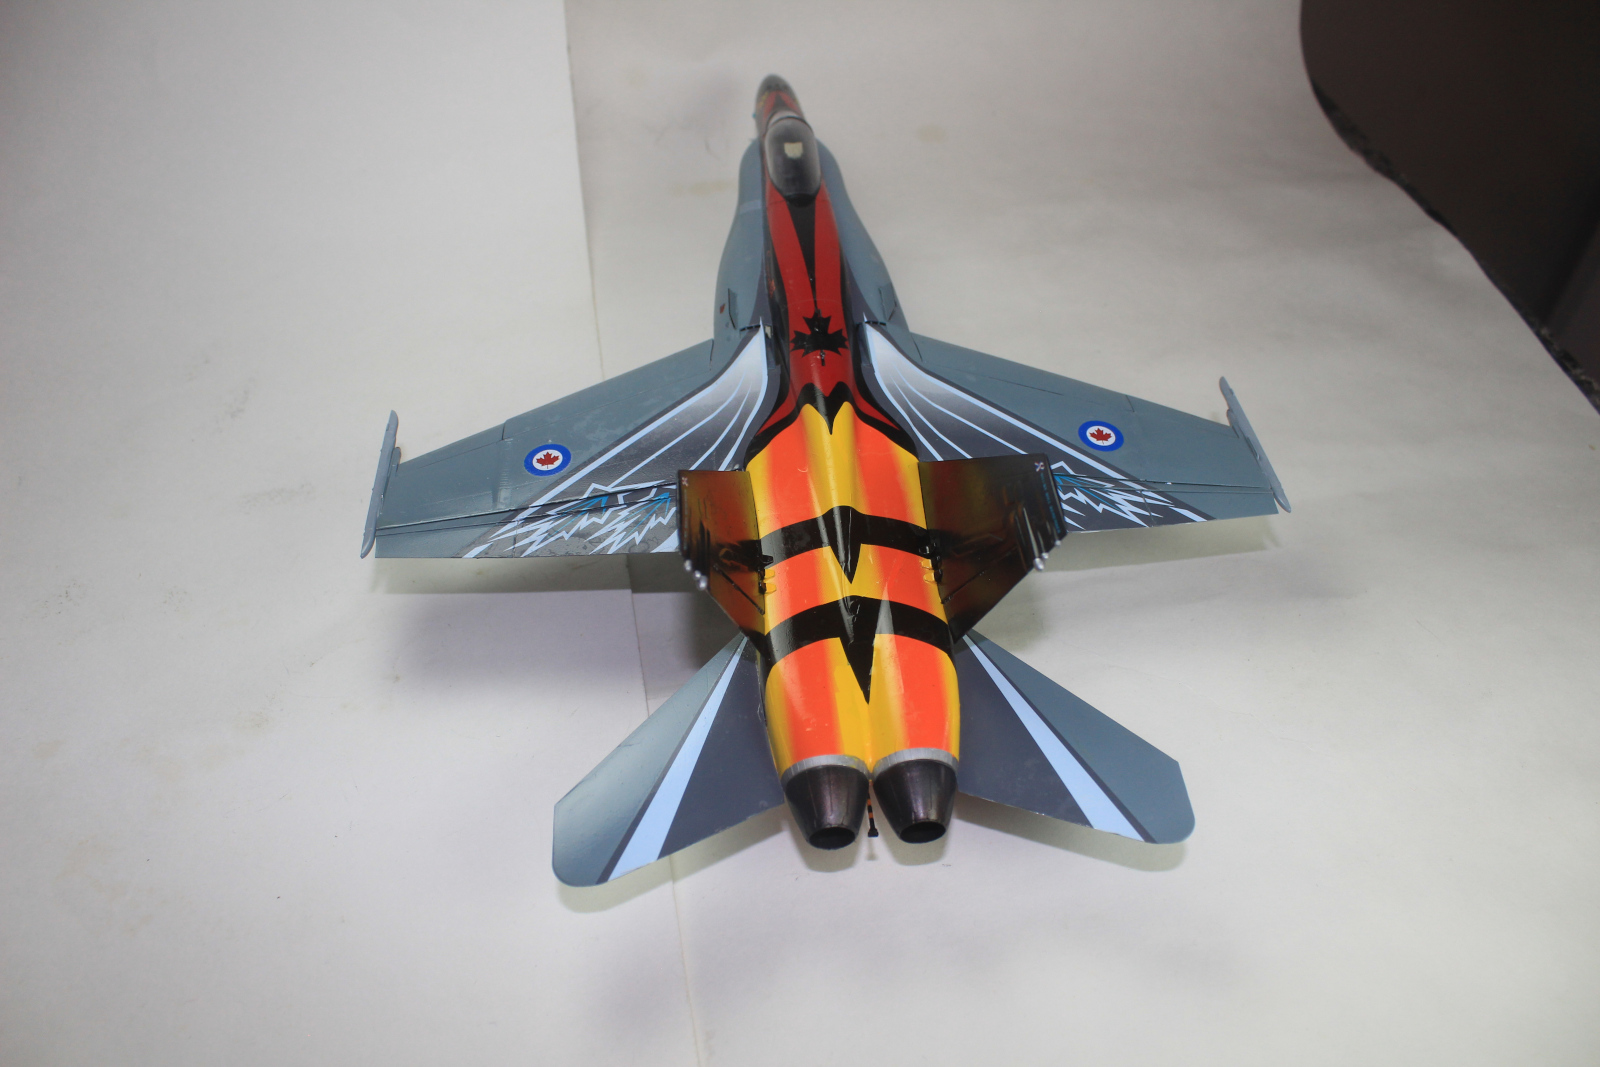
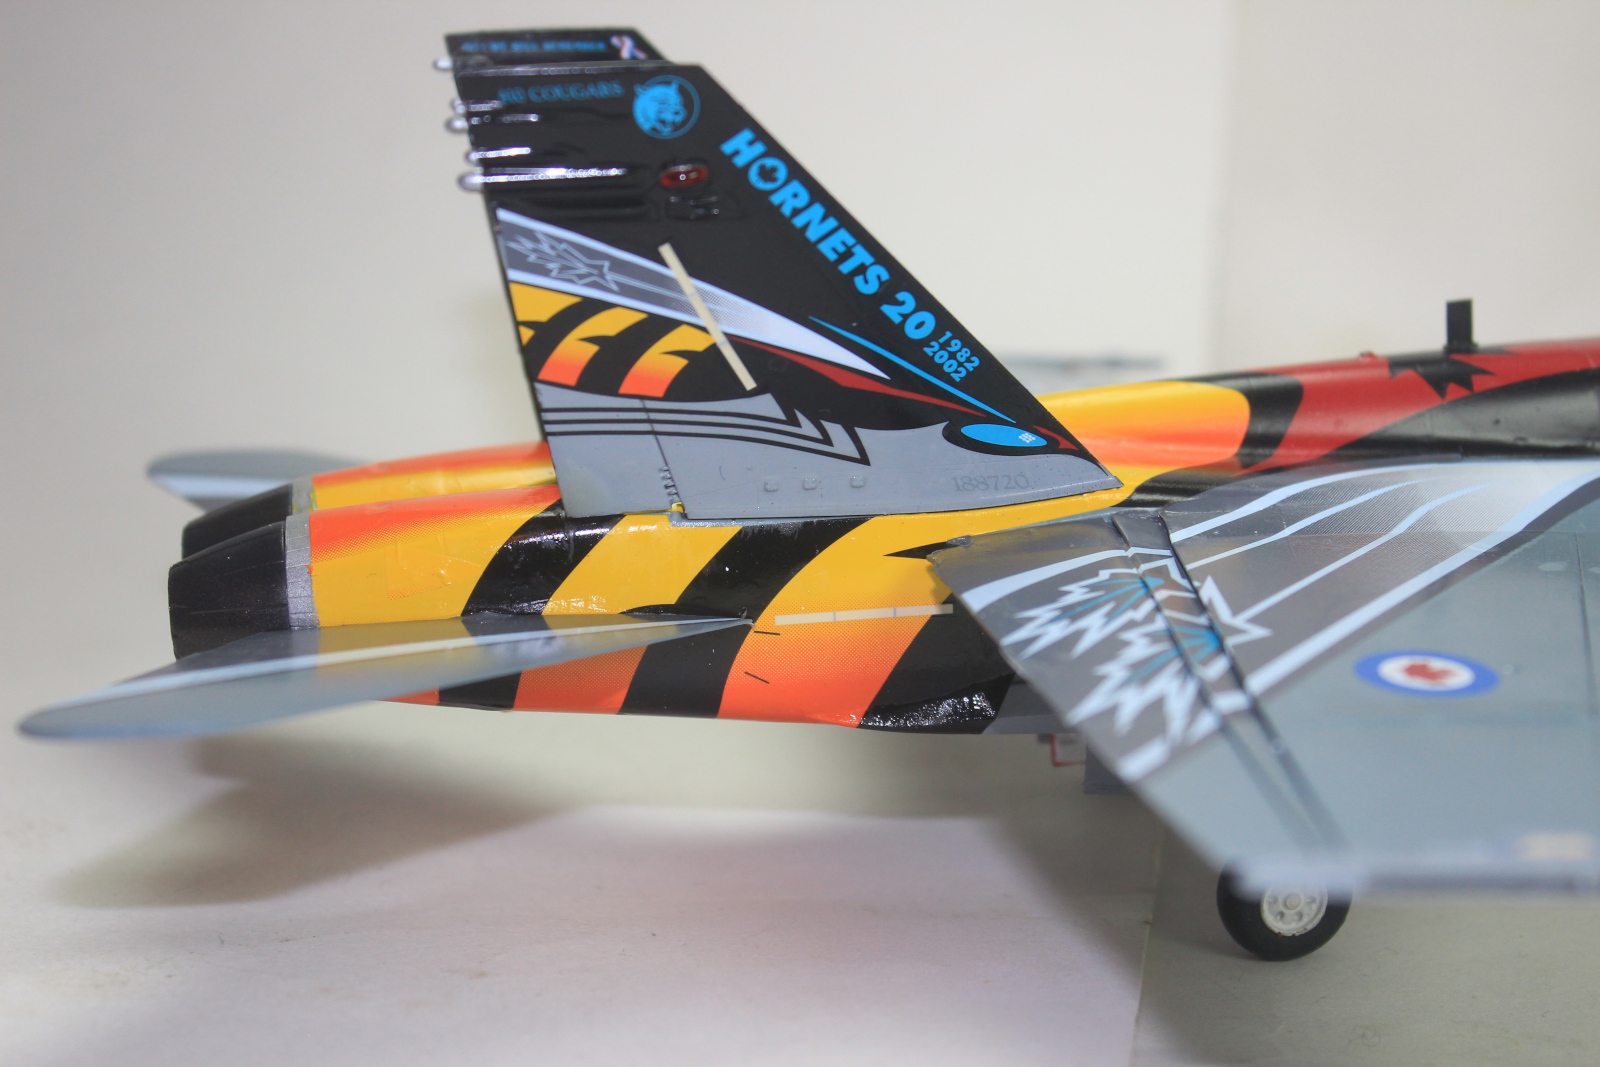
Complete Rear Top 1
Complete Rear Top 2
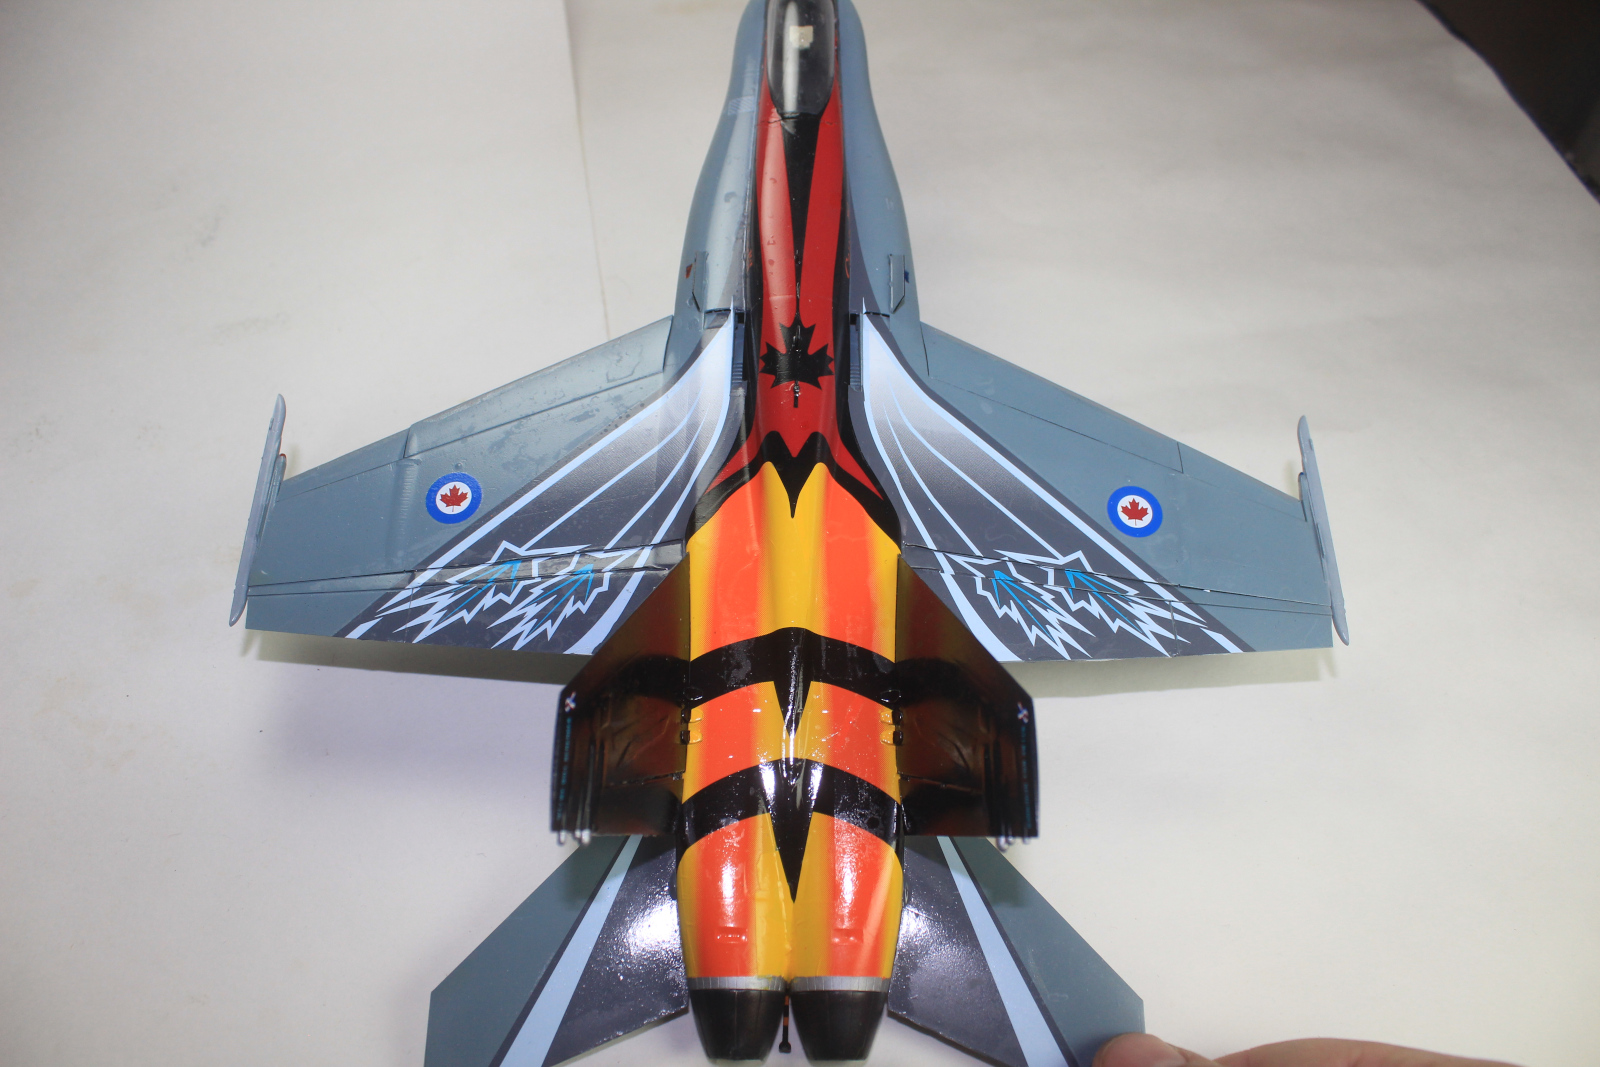
Complete Rear Underside 1
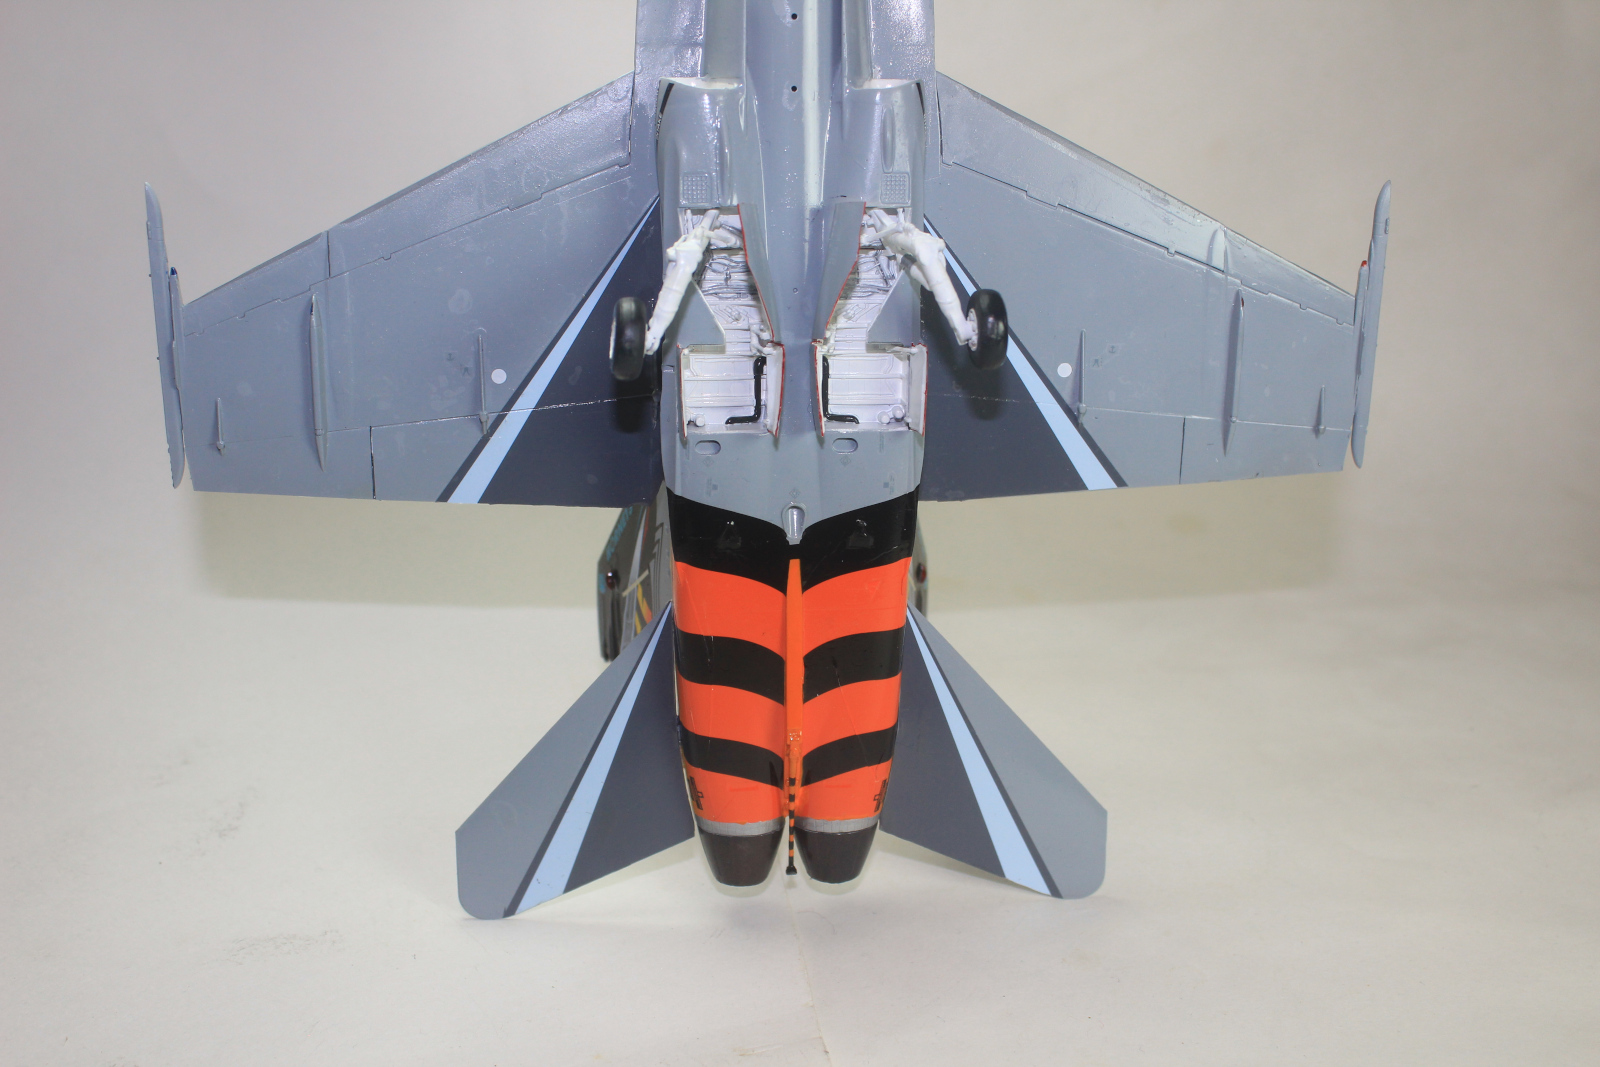
Complete Rear Underside 2

Complete Rear Underside 3
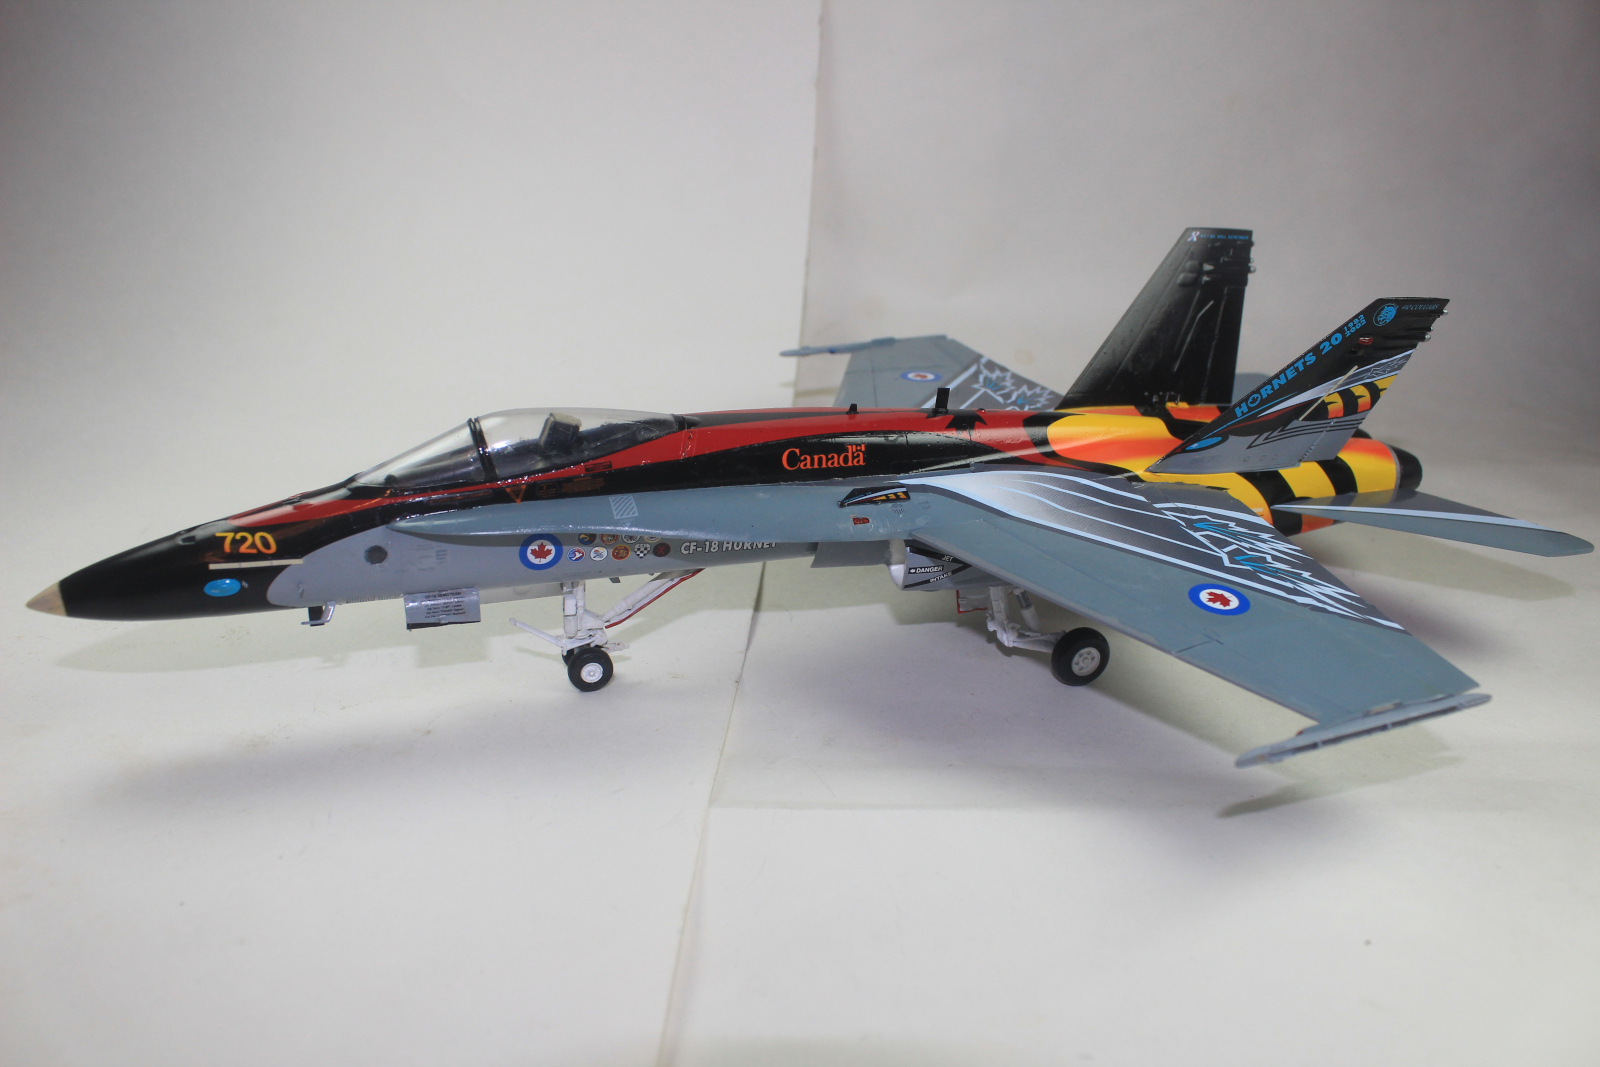
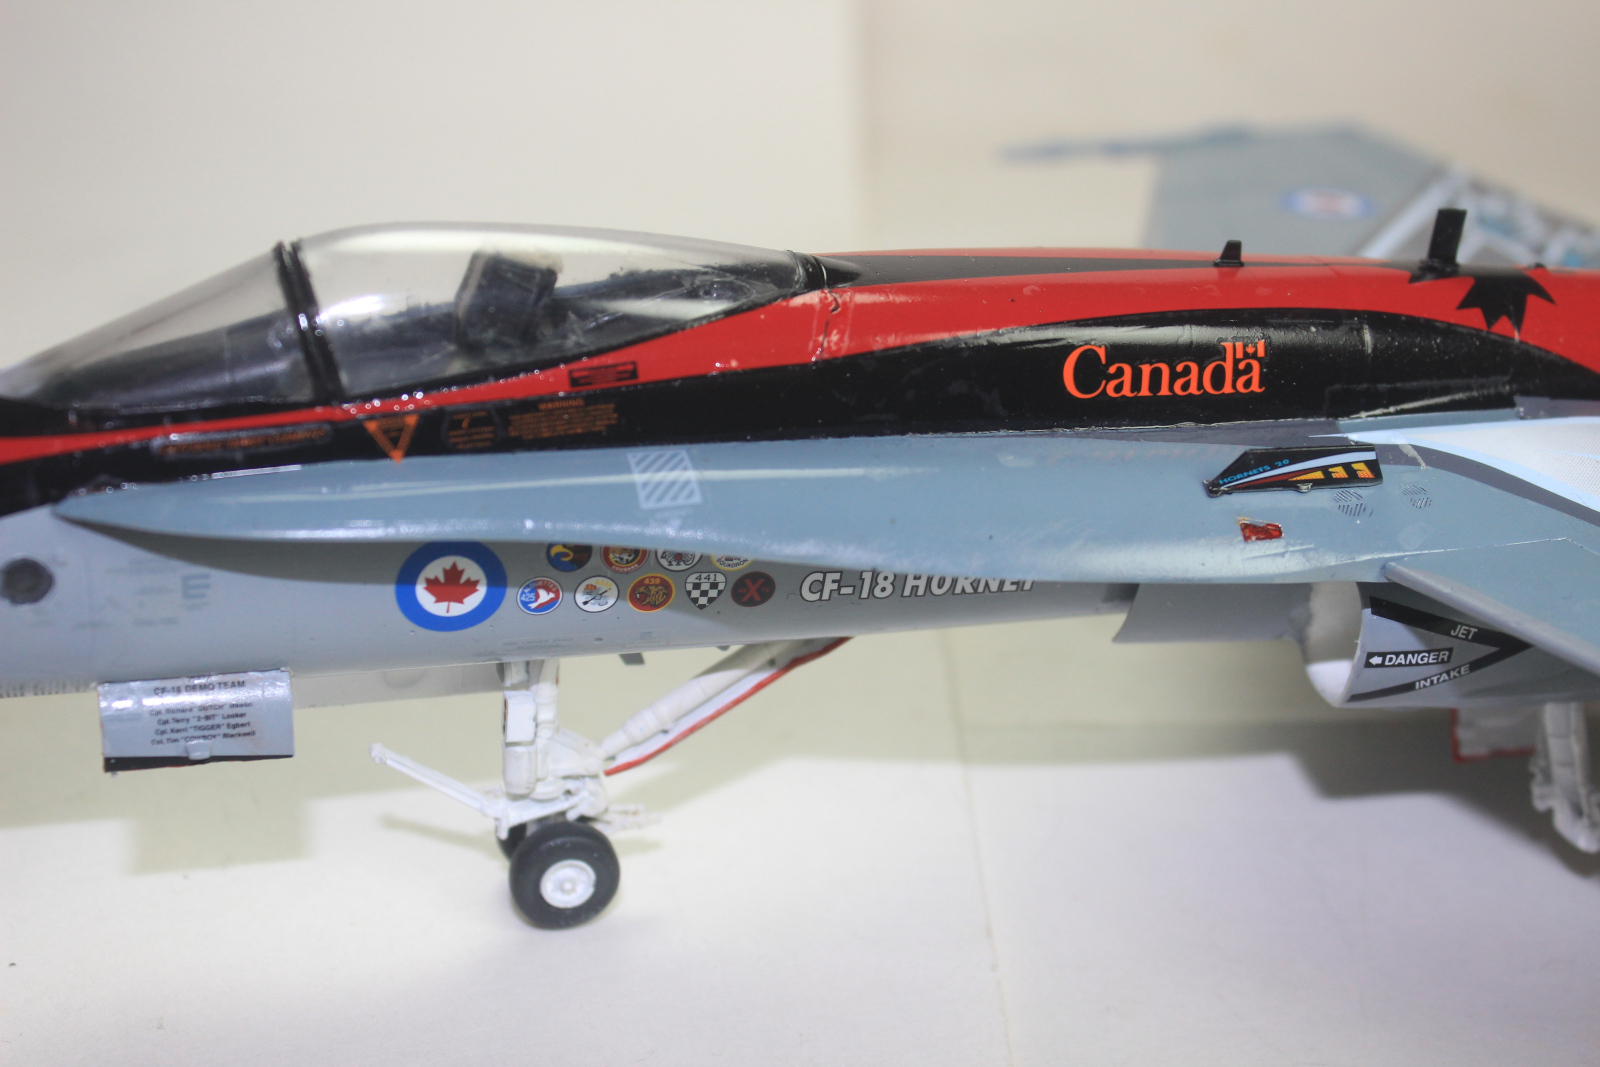
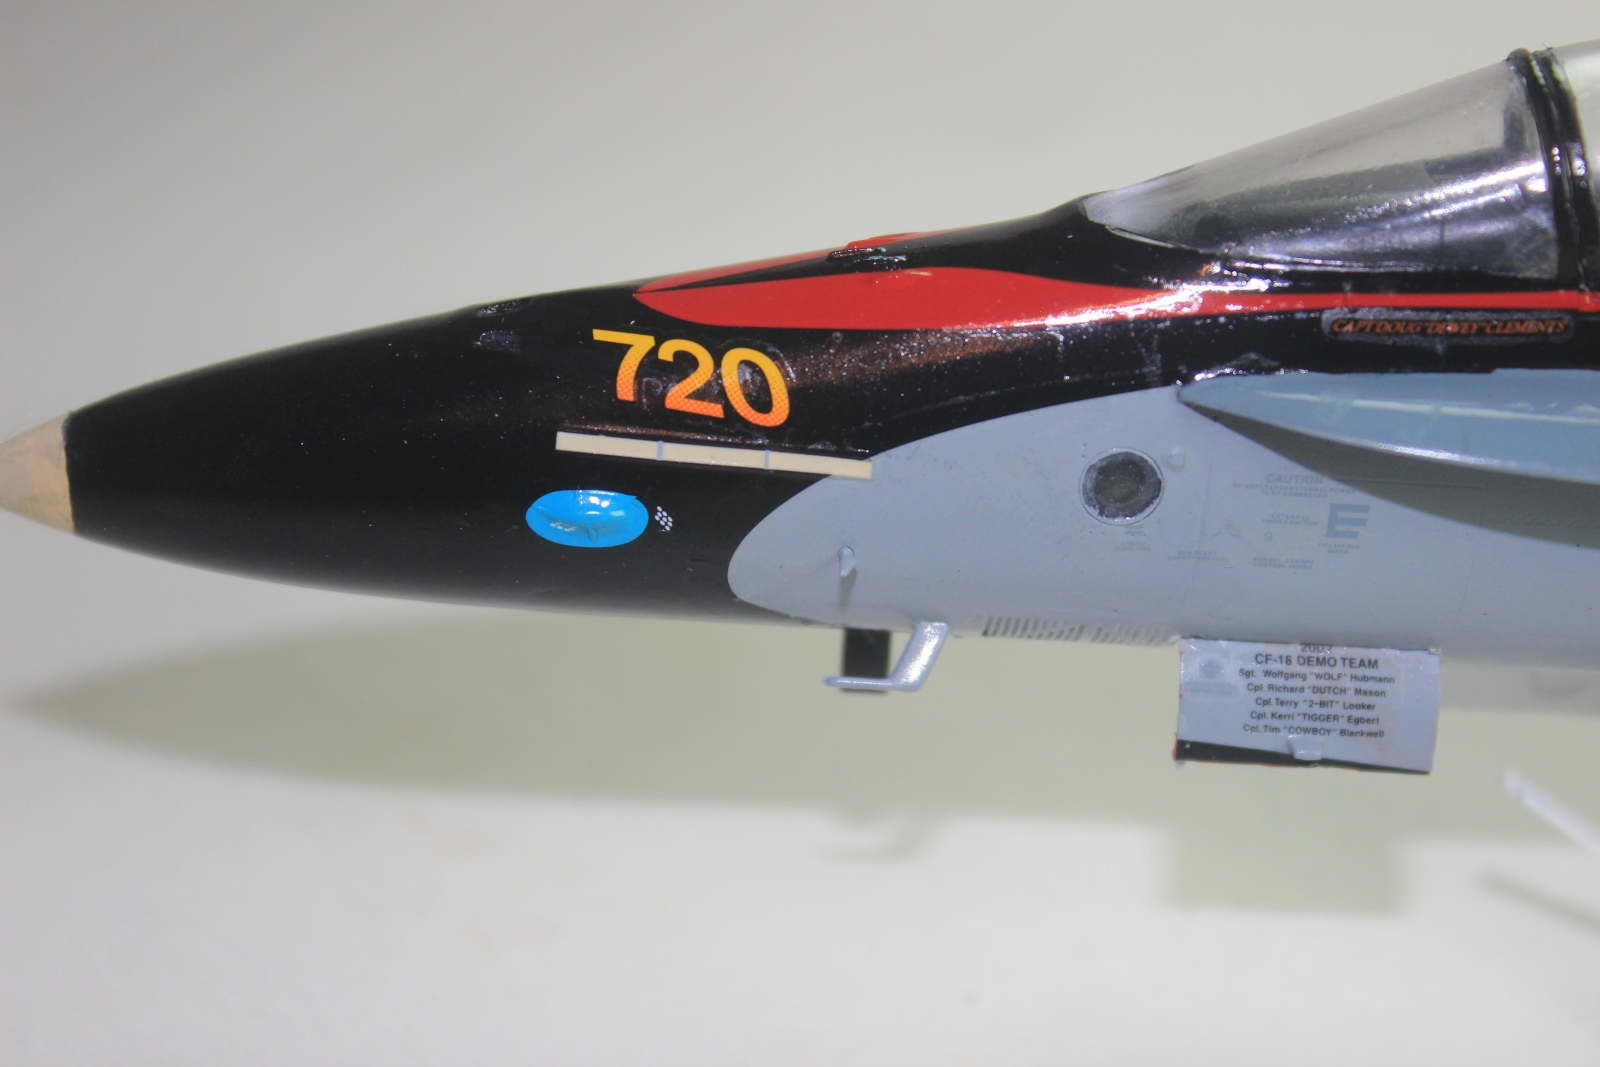
Complete Right 1
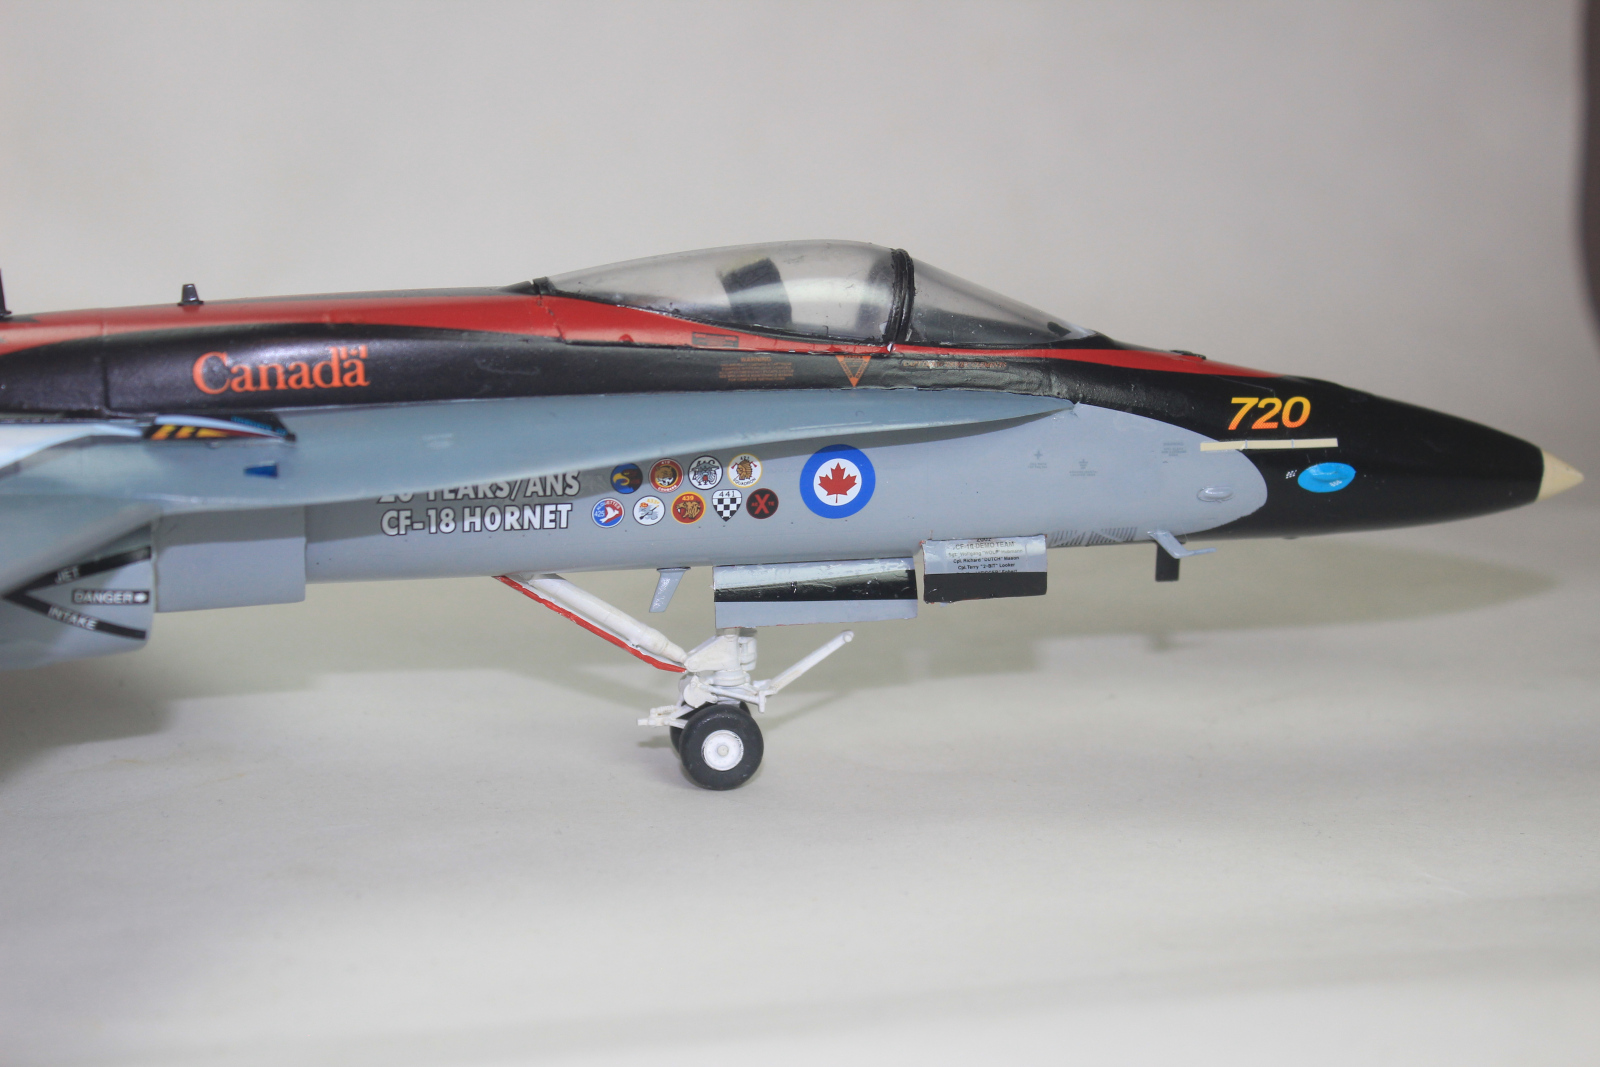
Complete Right 2
Comments
Add new comment
This site is protected by reCAPTCHA and the Google Privacy Policy and Terms of Service apply.
Similar Reviews