
Cessna O-2A Skymaster
Aircraft and History
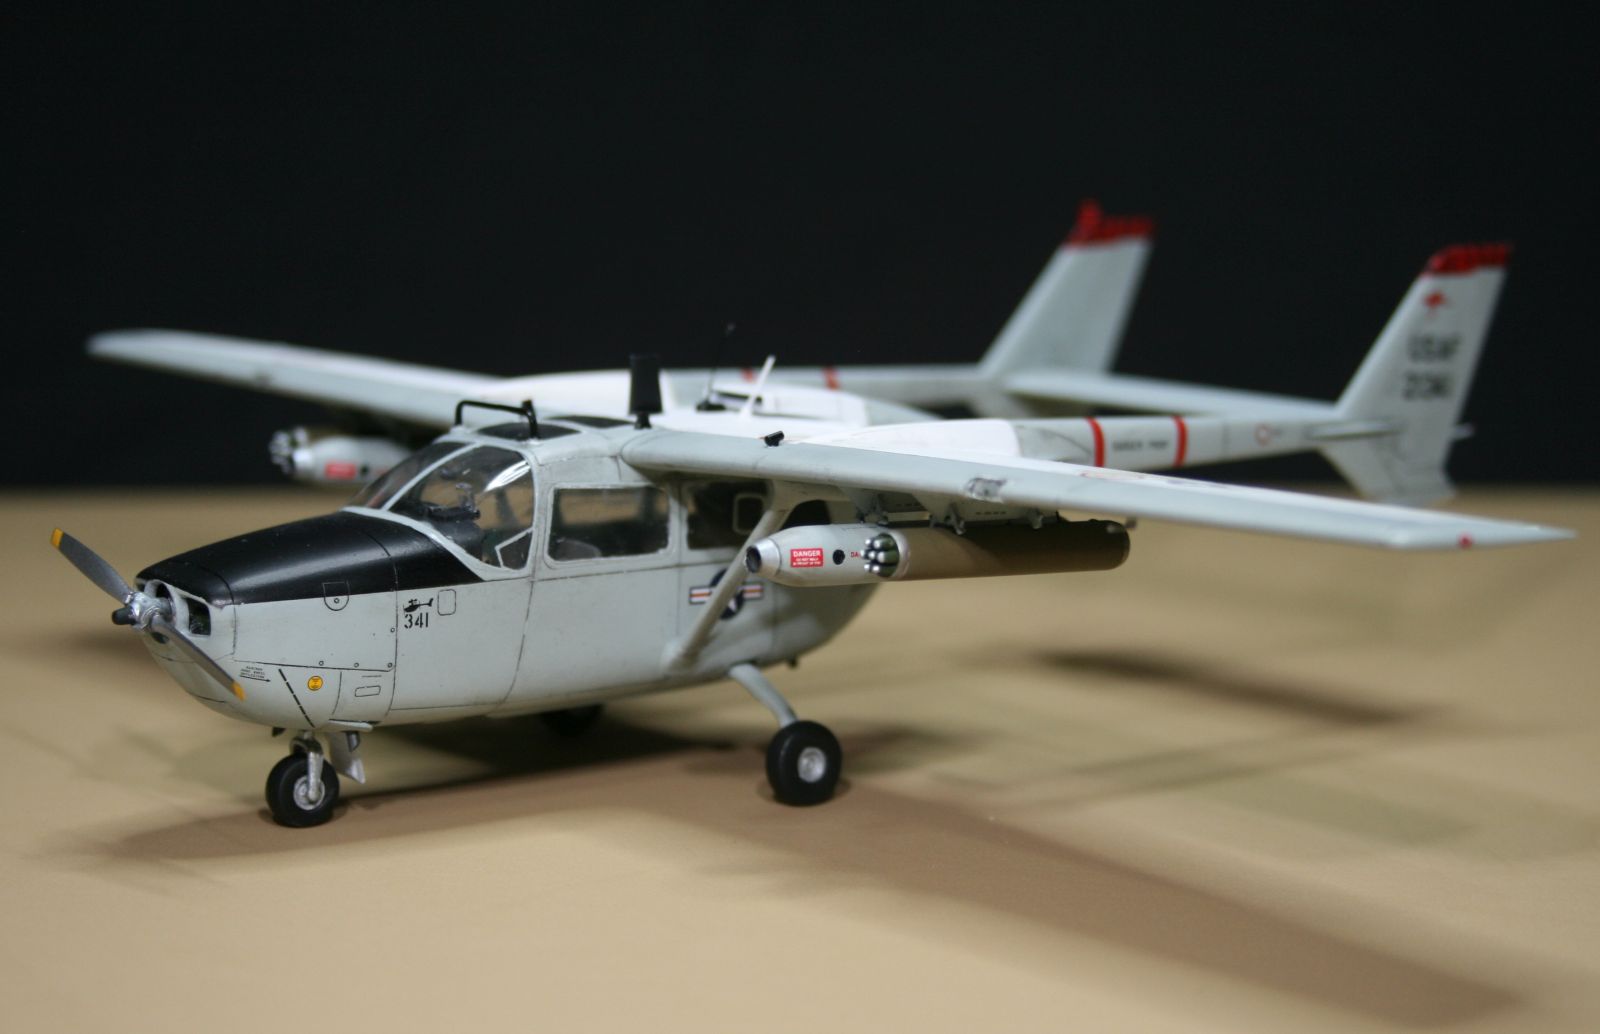
The O-2A Skymaster, known as “Oscar Deuce” is a small twin engine aircraft used primarily as a Forward air controller (FAC) and psychological operations (PSYOPS). The USAF starting using the O-2 in 1967 in the Vietnam War as a replacement for the O-1 Bird Dog. With just a few years service, the O-2 was intended to be replaced by the OV-10 Bronco but the O-2 remained in service, primarily for night operations.
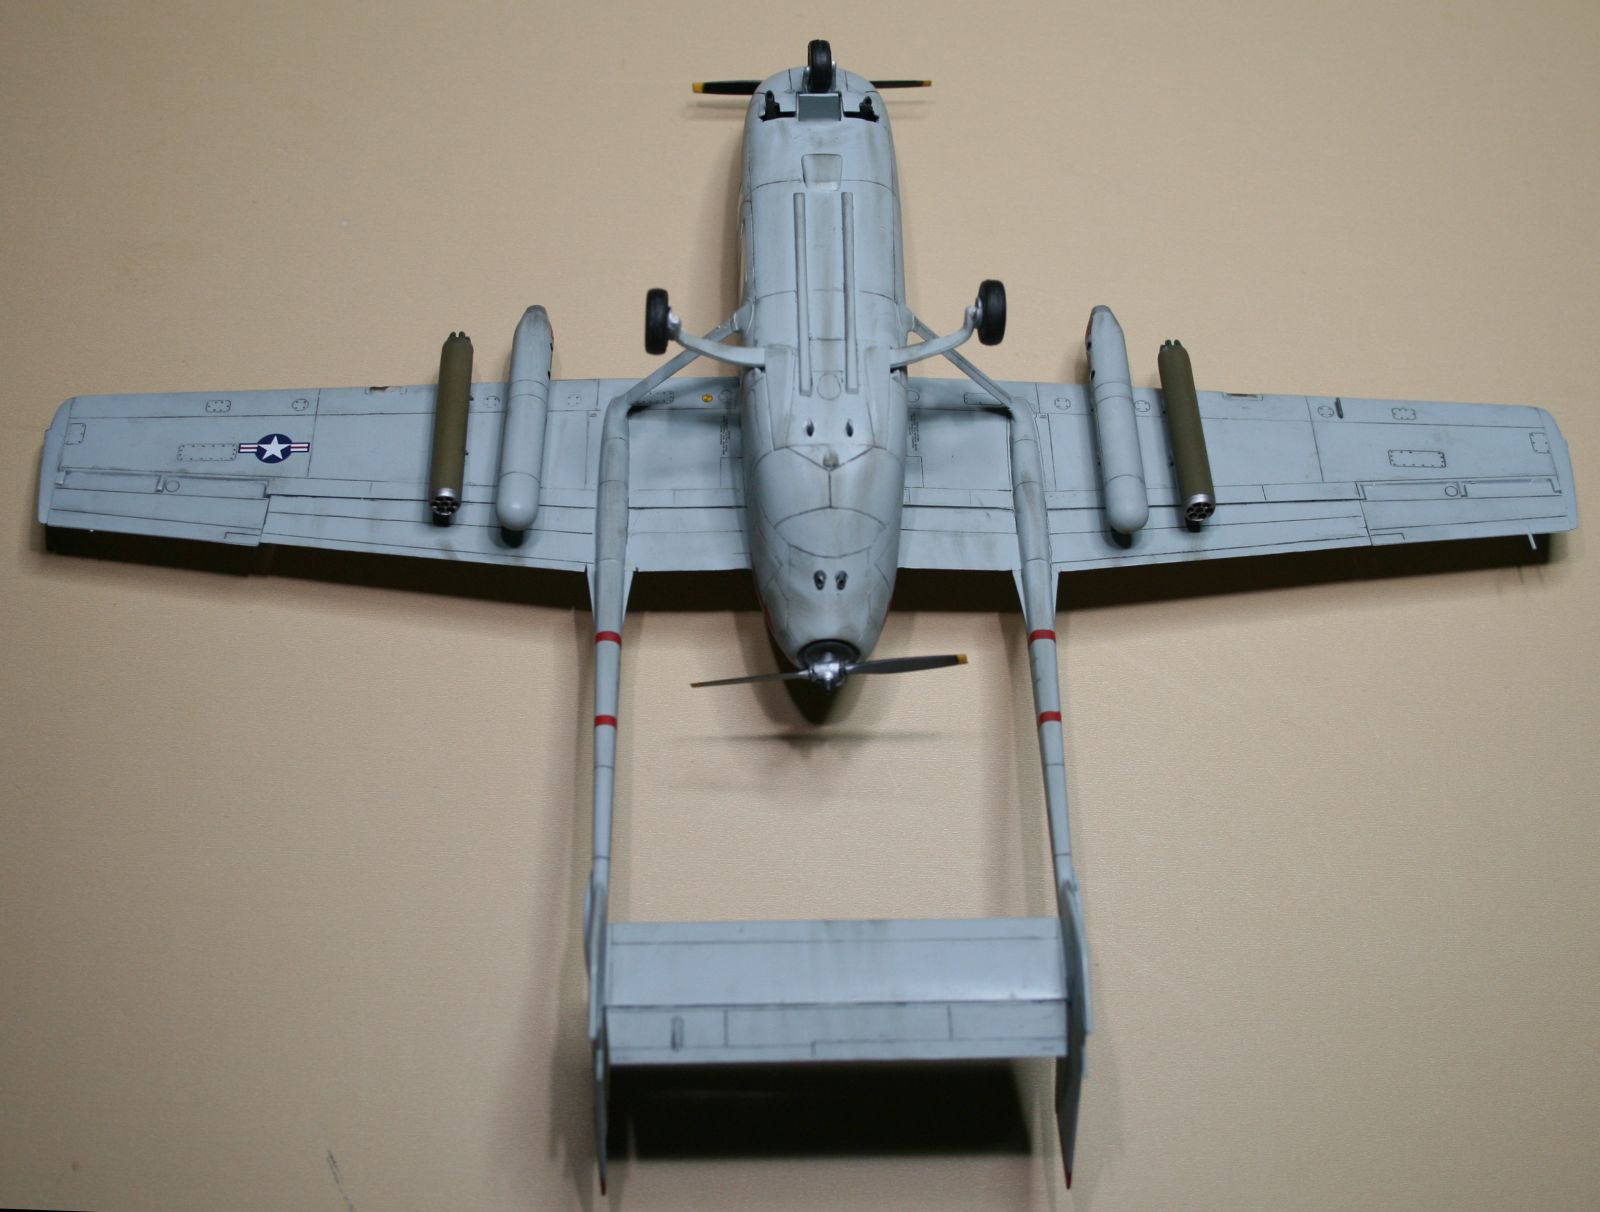
The USAF requested Cessna to make a military version of its 337 Super Skymaster with “hardpoints” under the wings, additional windows for observers and new cabin arrangement. A unique feature of the Skymaster is the engine arrangement. Unlike traditional twin-engine aircraft with engines on each wing, the Skymaster has one in the nose and another on the rear fuselage. This arrangement allows centerline thrust so if one engine loses power, aircraft control (in yaw) is minimal if any at all which is a significant safety advantage.
Kit
Packaged in a thick sturdy box that is separate than the cover (which is really nice) are just three sprues. Panel lines are engraved and not too fine and not overly deep or wide. I did not see any flash on the sprues on this sample. The instructions (written in Russian and English) contain 20 pages with full color portions for painting & decals and the remaining instructions black & white. Paint brands listed are for Revell and Tamiya. The instructions clearly indicate how parts are assembled but with most builds, you may need to skip a few steps and go back to install items to make assembly easier.
Build
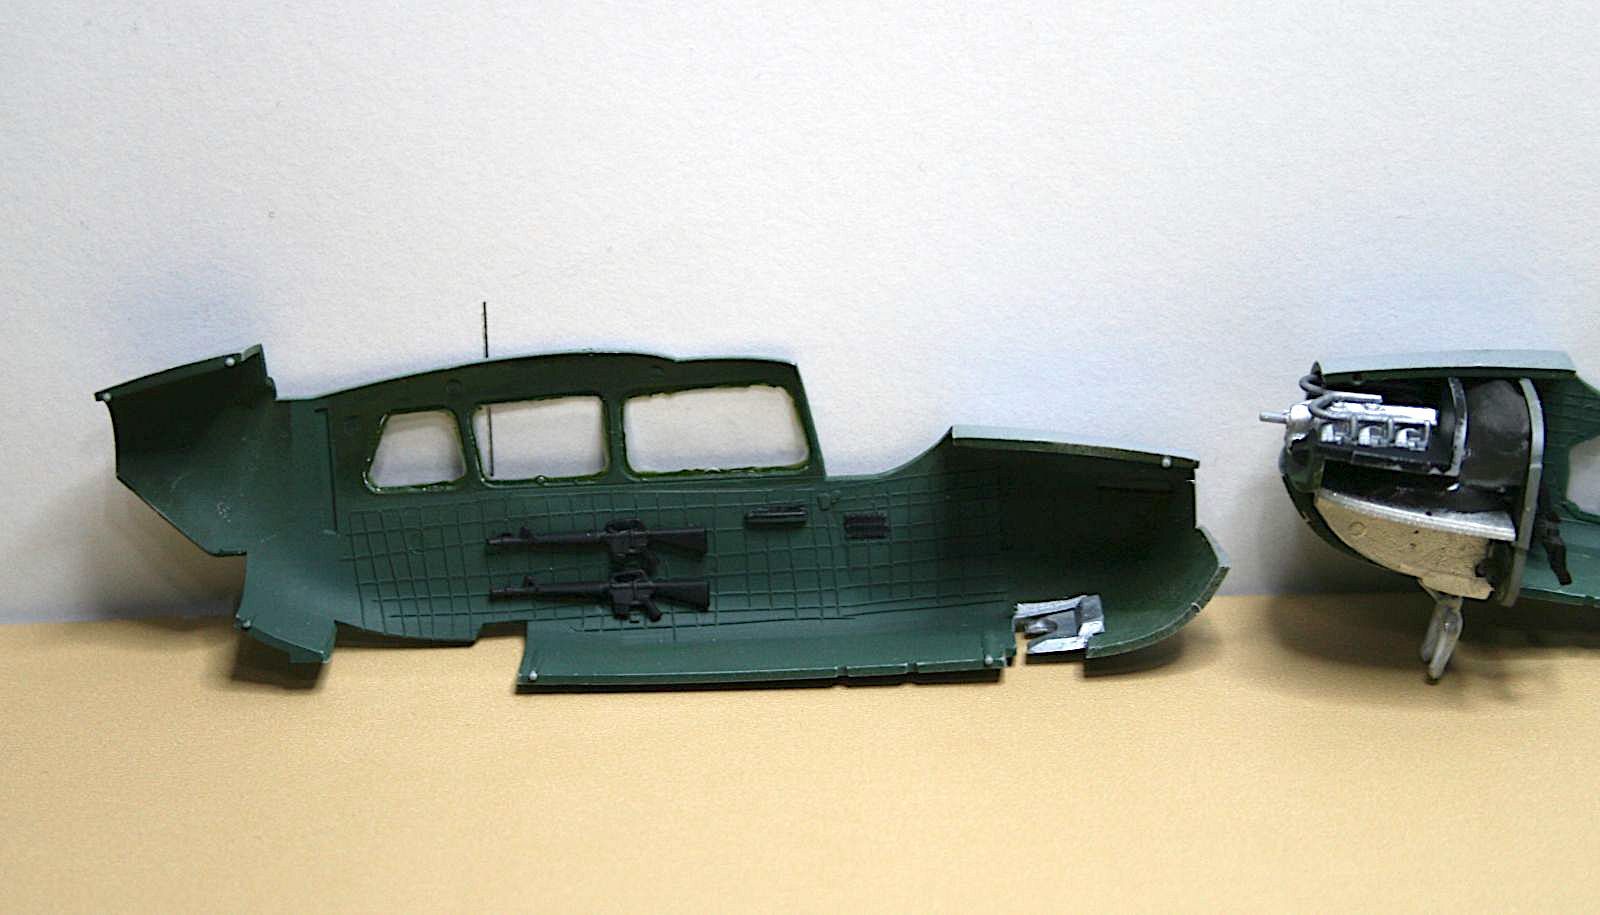
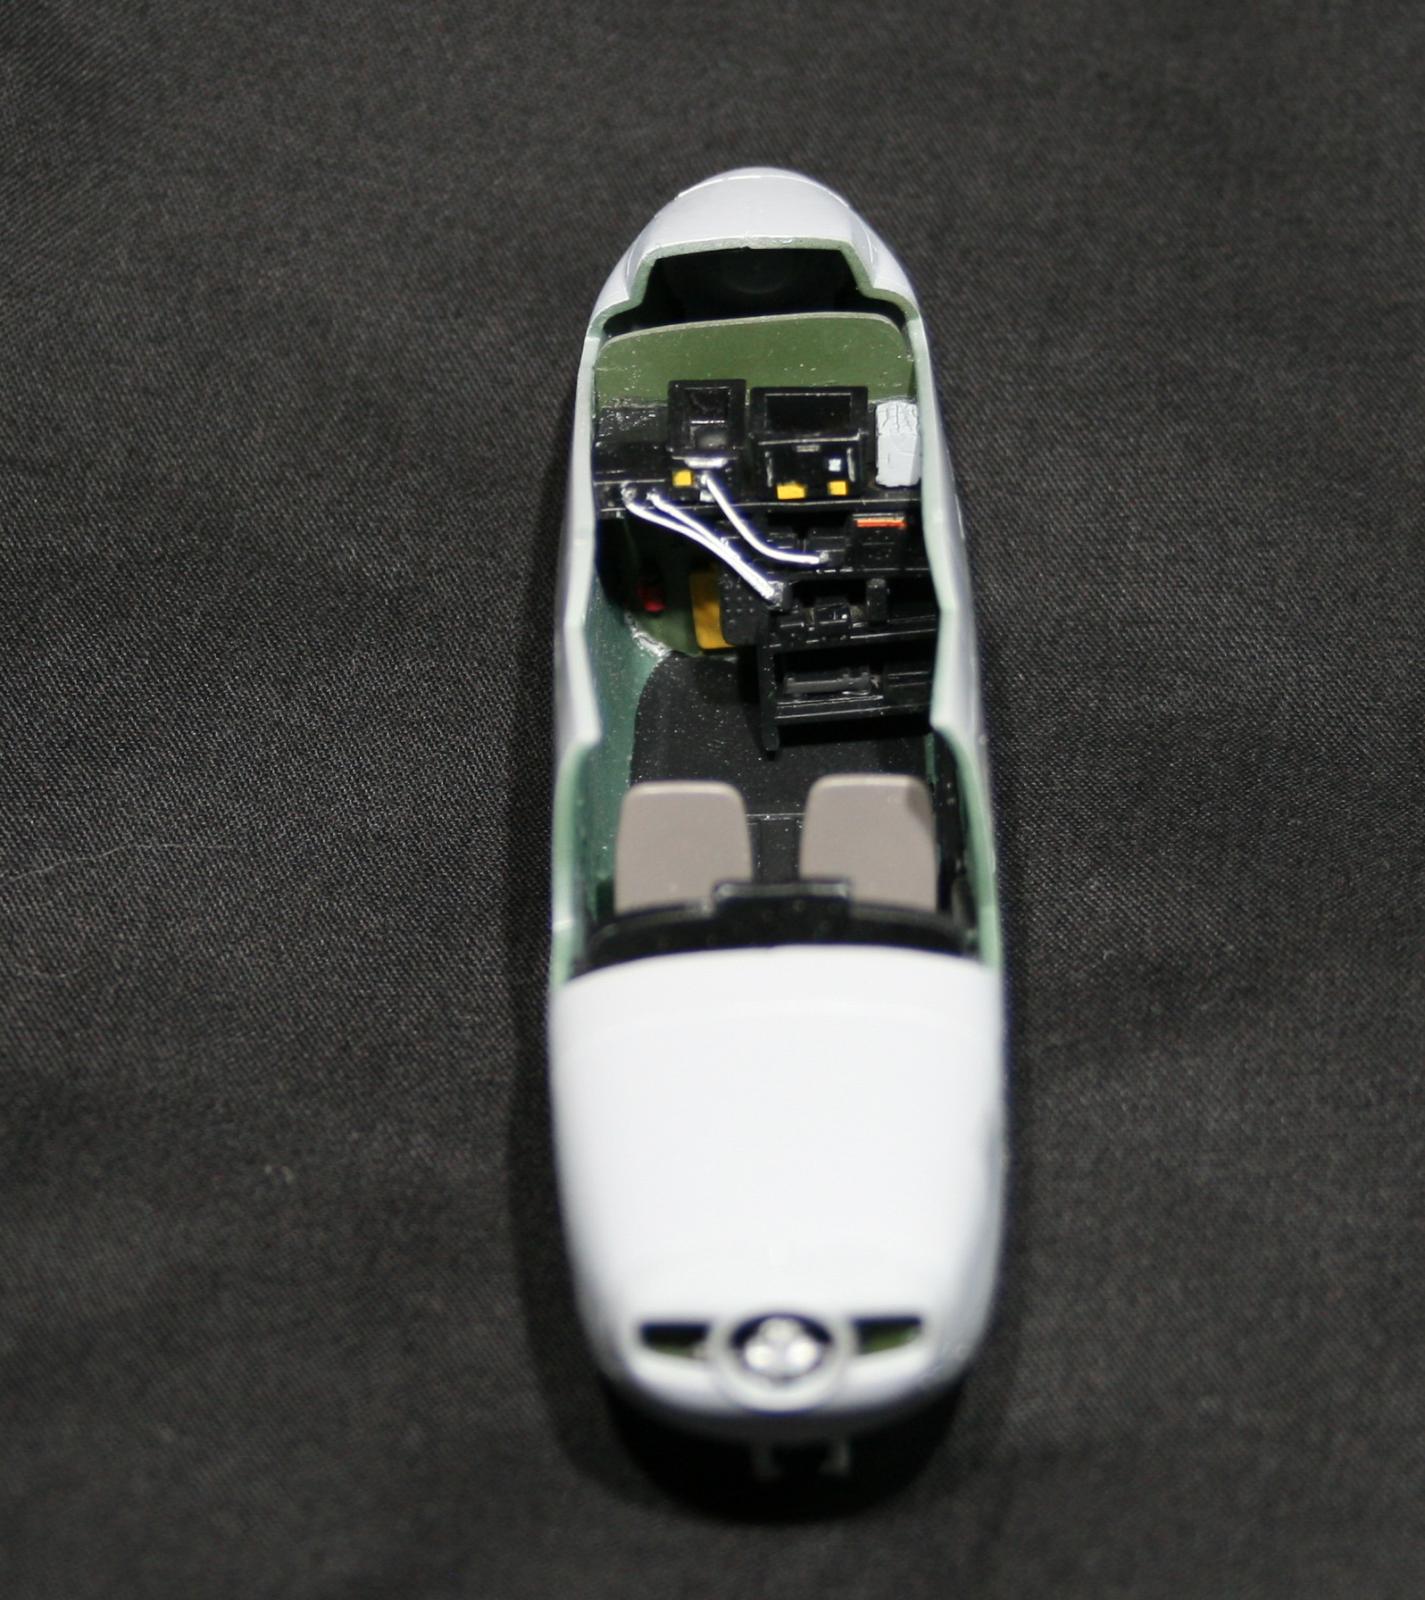
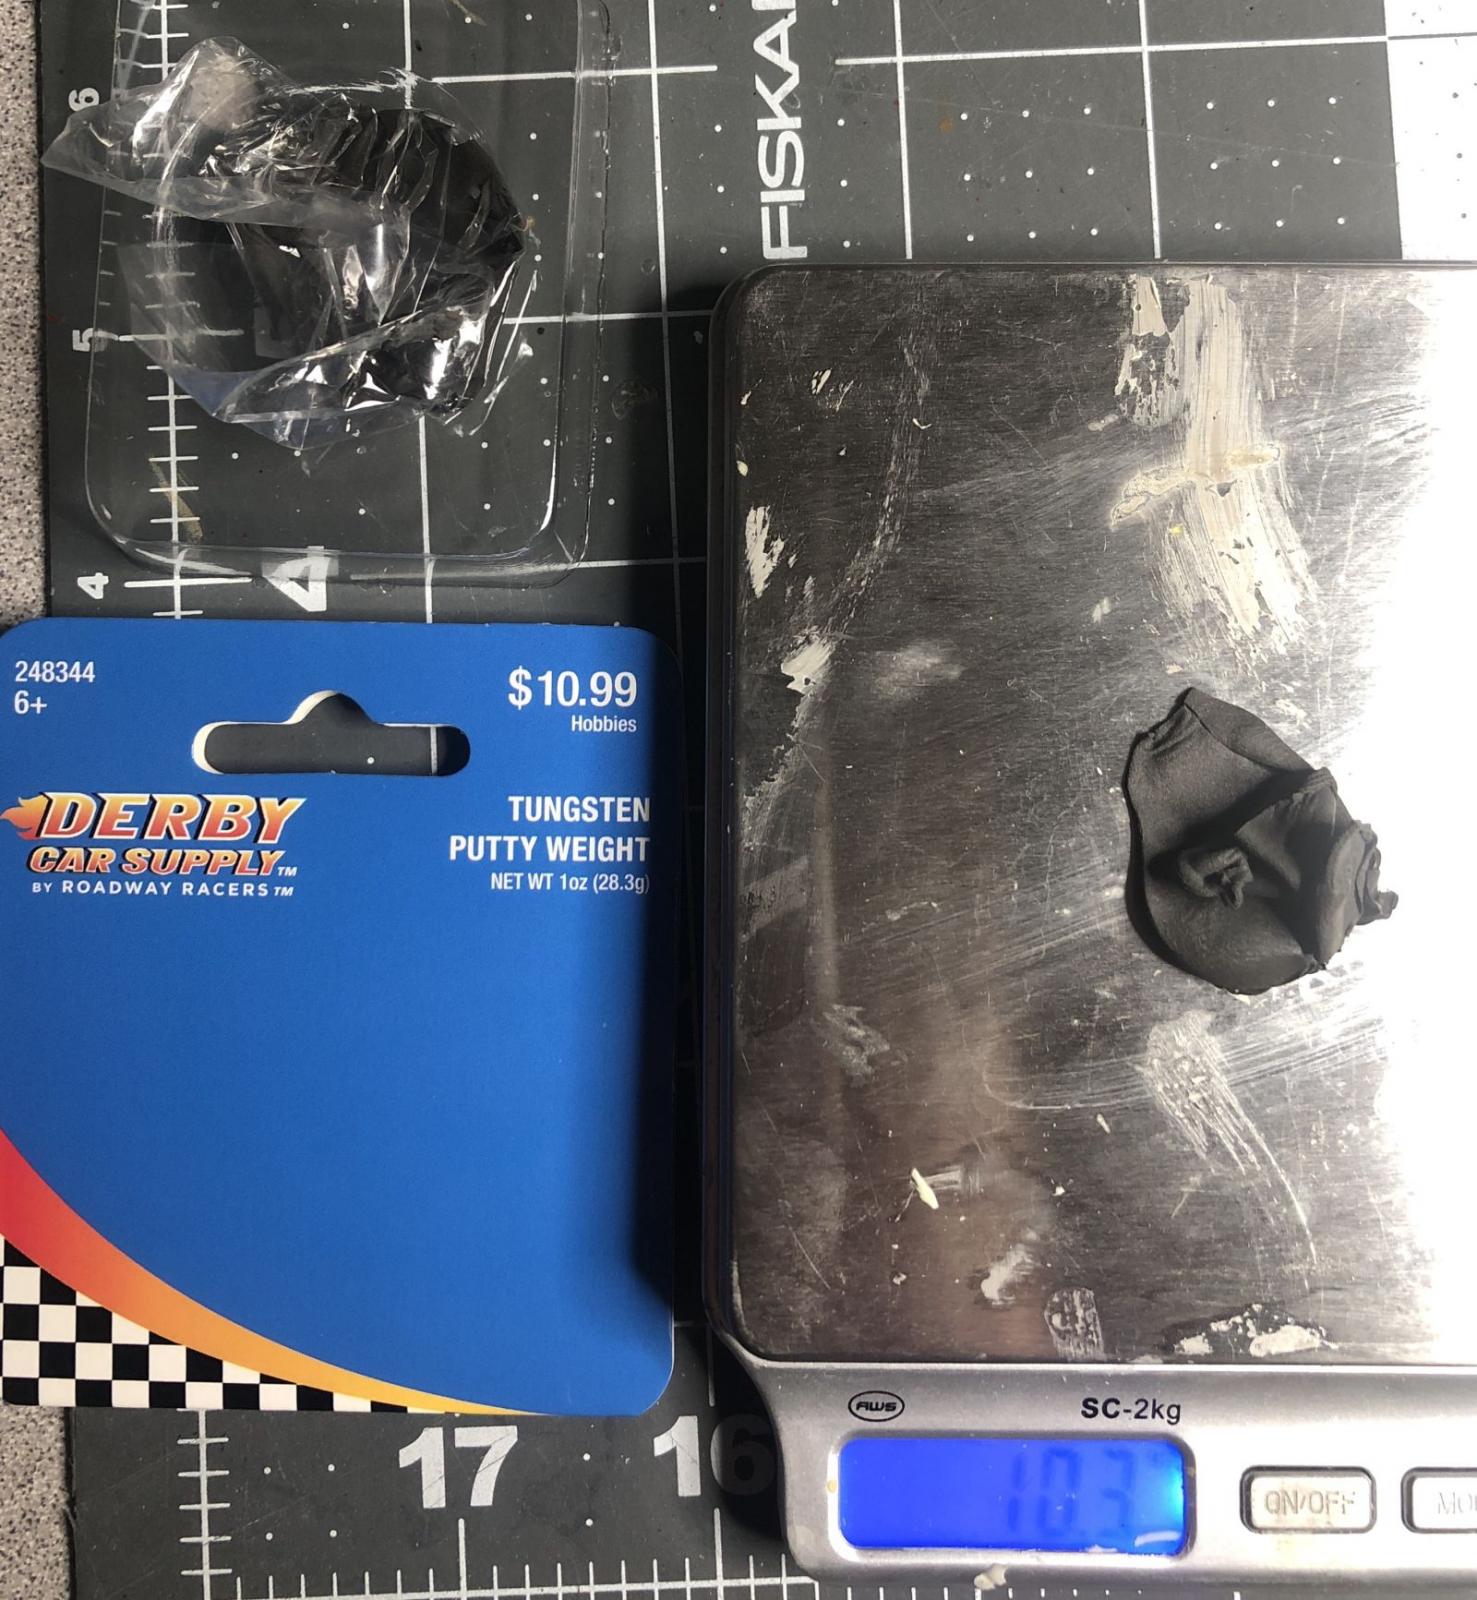
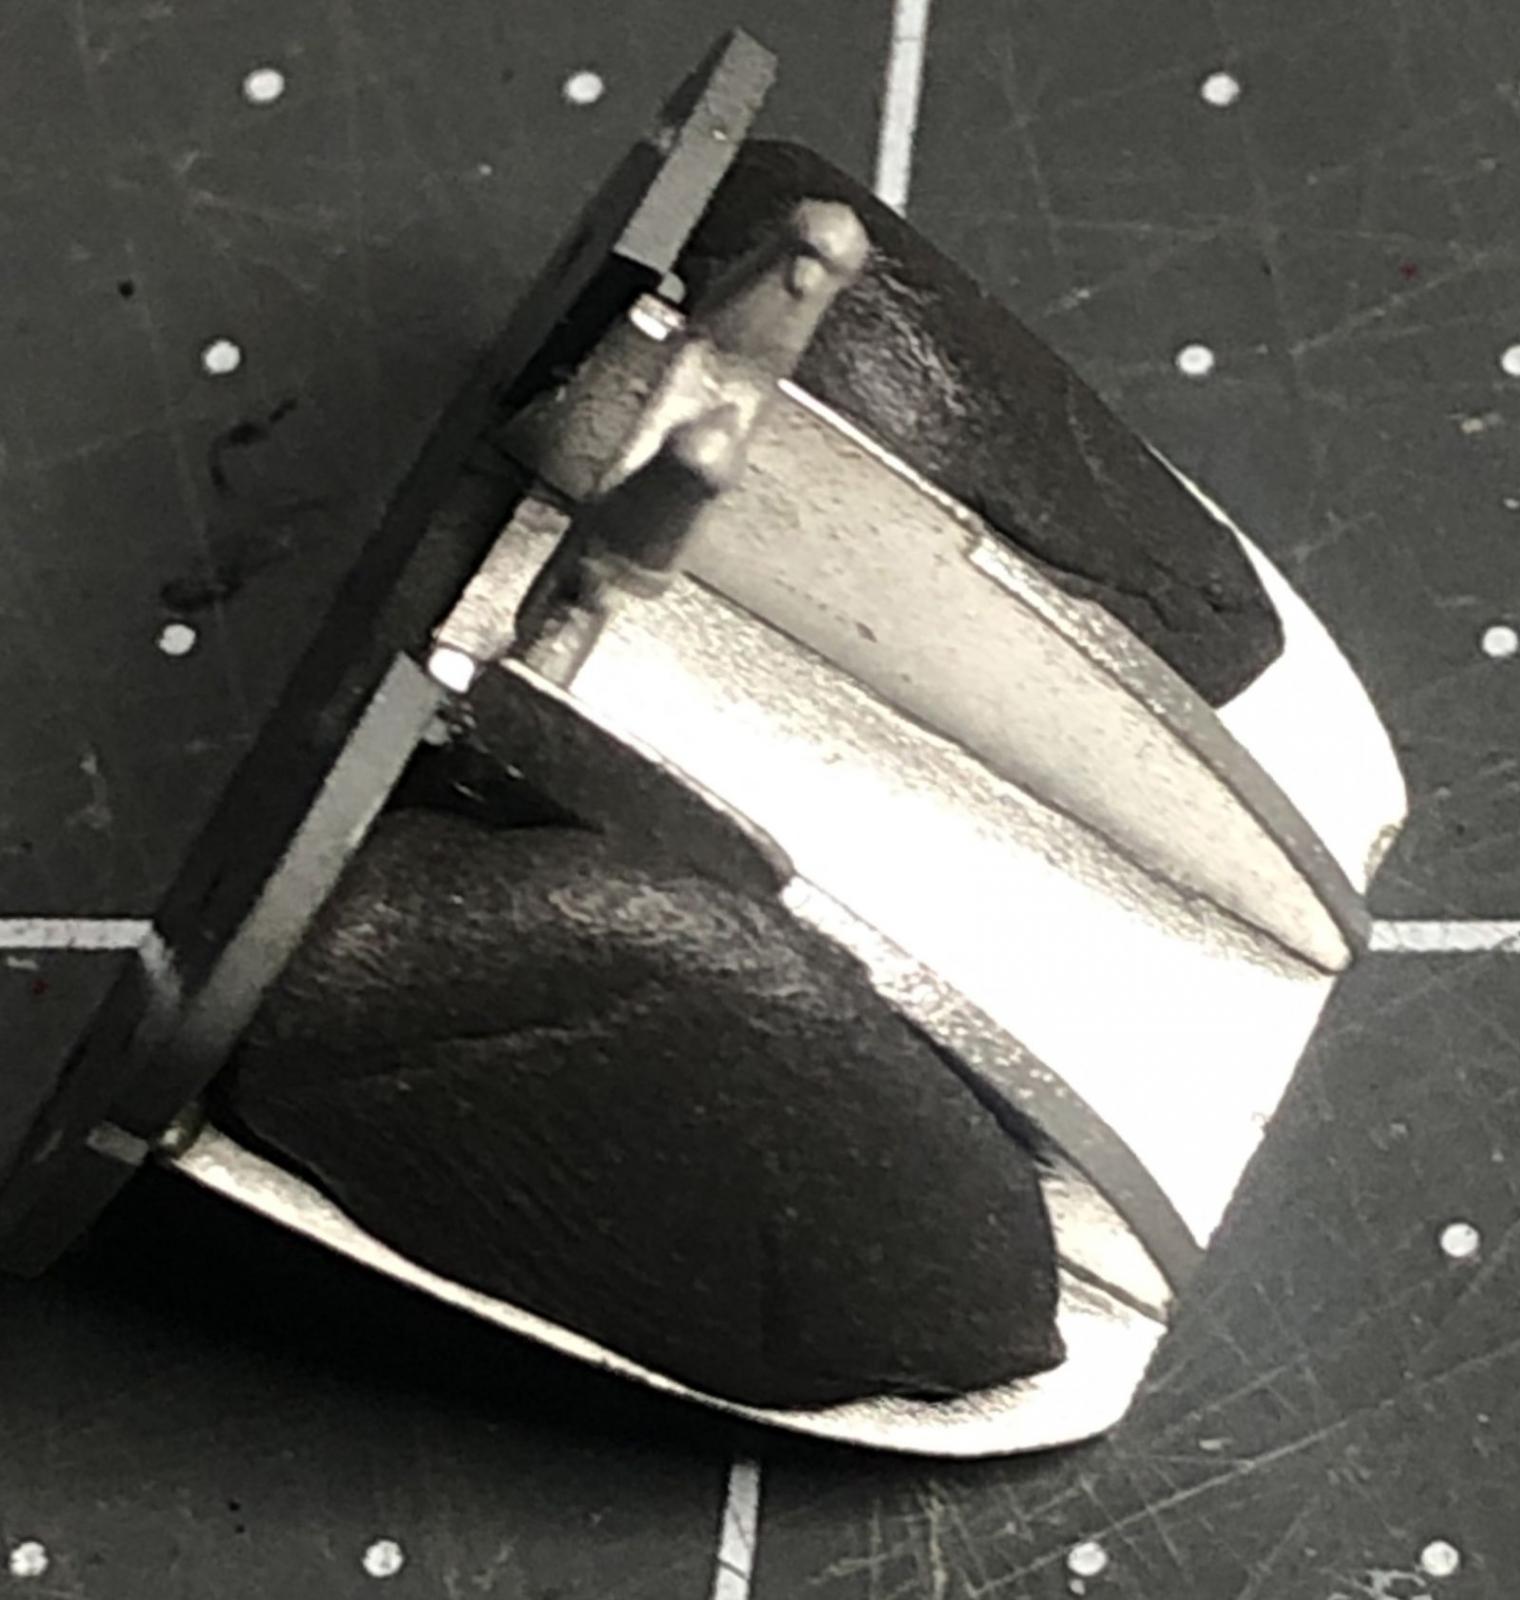
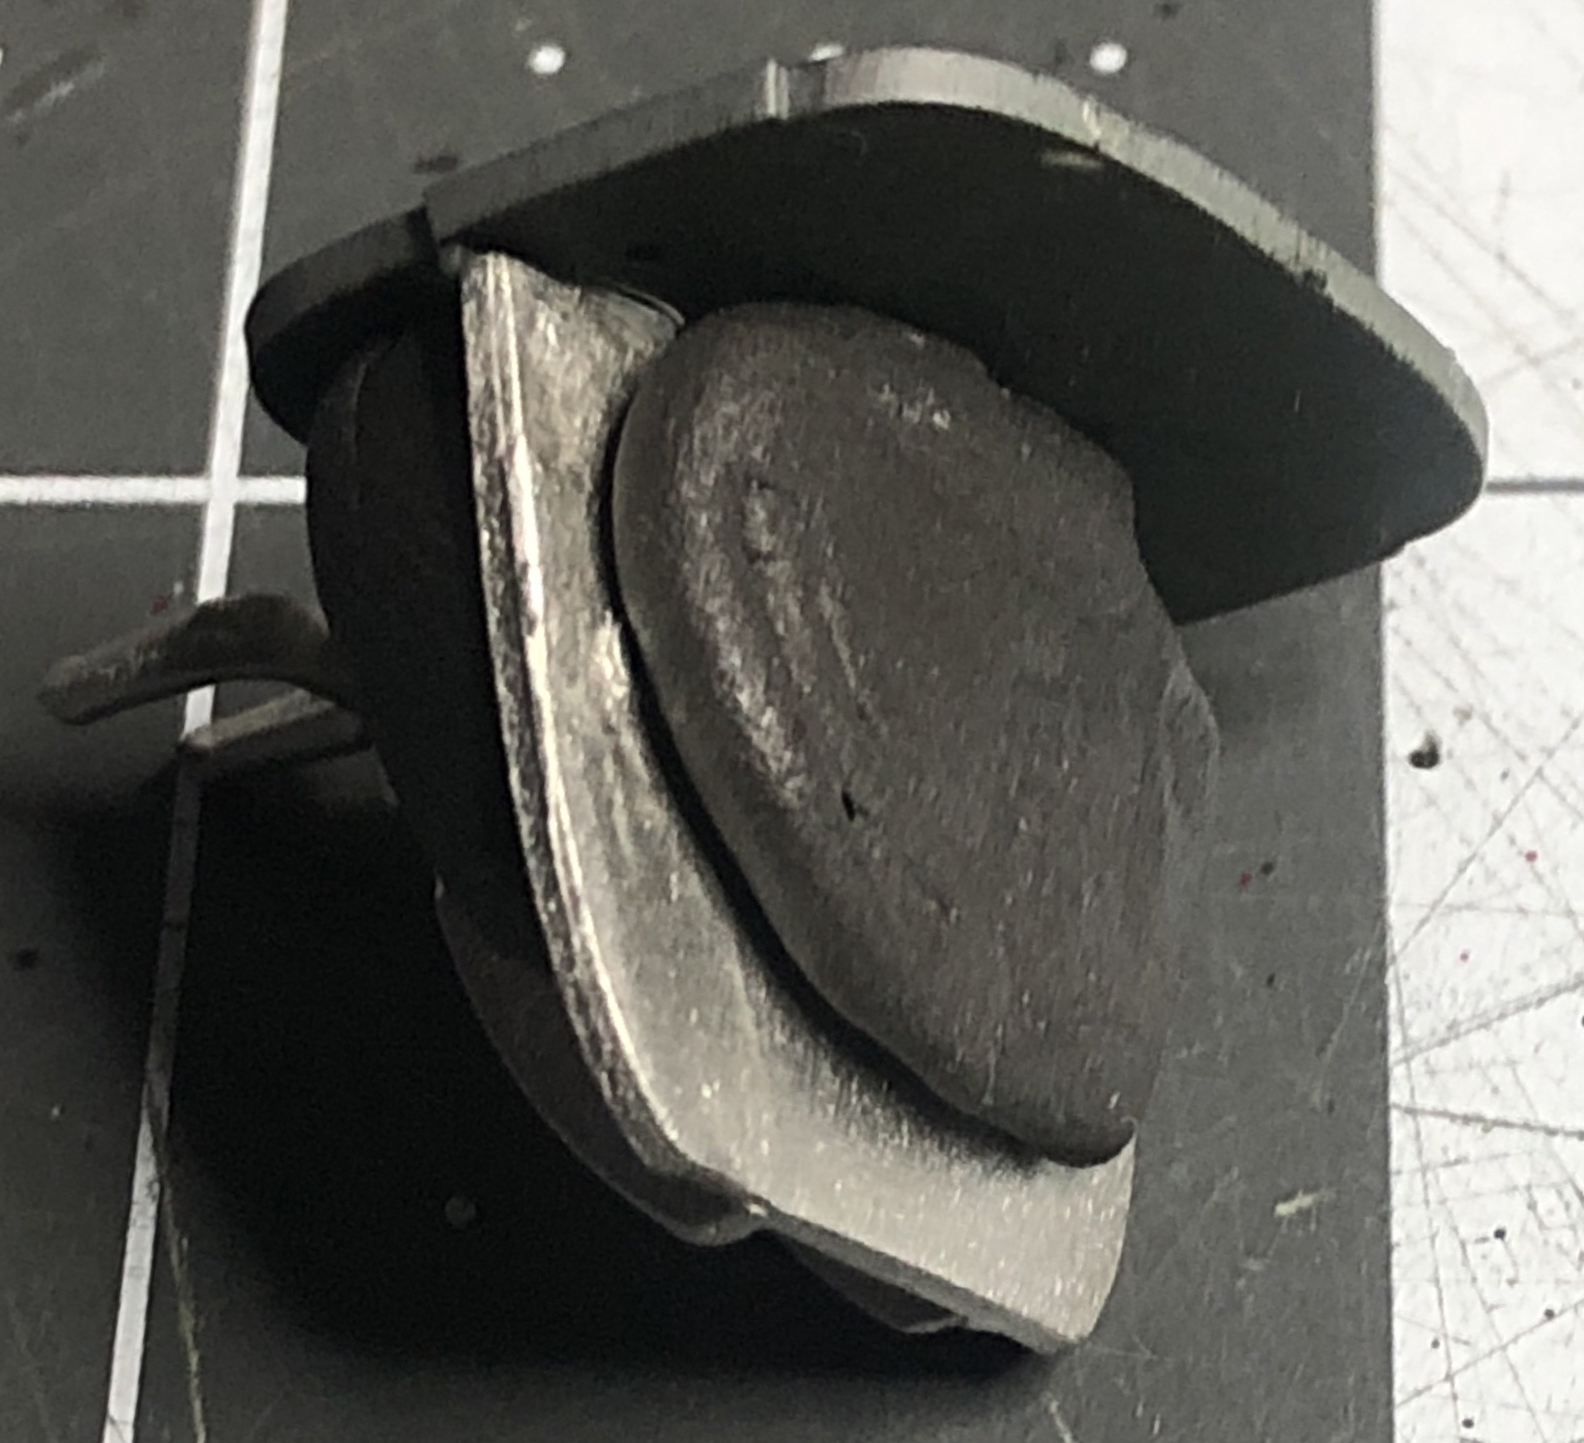
Starting off with the cabin, the first item to assemble is the electronics area in the aft cabin. There are 15 steps to assemble this area and the instructions logically break down each area. Since this review contains two other review items, one of them being Scale Aircraft Conversions (SAC) landing gear, there is a slight deviation in the cabin assembly from what the kit provides. If your build will use the kit, the nose landing gear bay is made up of four parts then the nose gear itself added to that. With the SAC gear, the landing gear top and side walls is a one-piece cast metal part and the landing gear cast metal as well. One advantage of the SAC landing gear is it adds to the necessary nose weight of 10 grams. While in search of nose weights, I stumbled across a product I have never seen before, Tungsten putty. The putty can be found where pinewood derby items are sold. The putty makes it easy to add weight in odd shaped pockets and other voids in the kit where traditional weights will not fit.
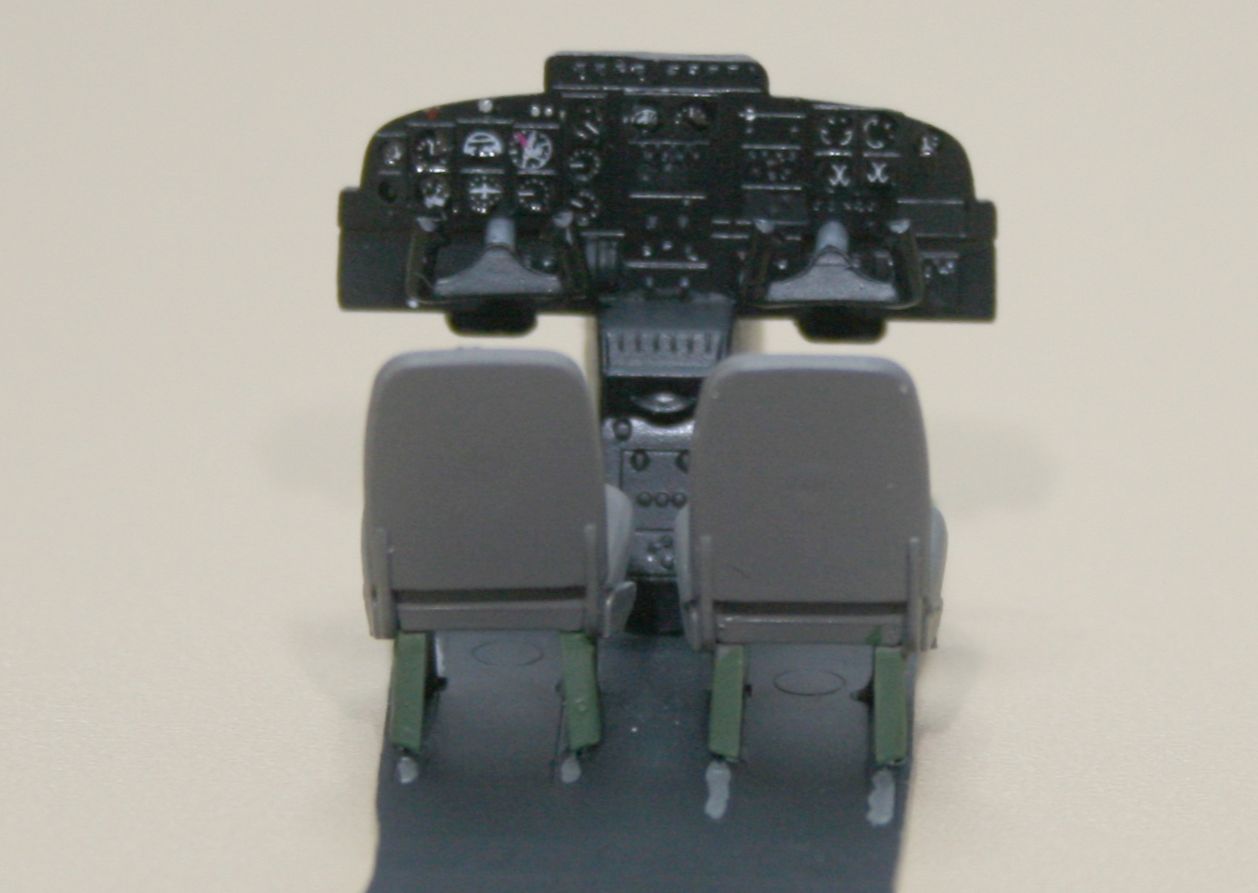
ICM did a great job of adding plenty of detail where it is seen, and they did not put detail where it will not be seen or in areas that would be difficult to see. The engine is a great example of this approach where you can only see the top of the engine through the air inlet so ICM provides what you can see in the small openings. With this approach, it frees up room to add the necessary nose weights. Moving back in the cabin and cockpit, the instrument panel is simple yet very detailed. Instrument dials are provided on the decal sheet, for which I used a small hole punch set to use just the dial sections. Seats and yokes are next to be made and installed, and detail is decent on these. There is one group of items that is not included, a small photo etch set that would have throttle/propeller levers and seat belts, that I would like to see from ICM in the future. Another nice detail in the cabin is a pair of M16 rifles that attach to the left side wall.
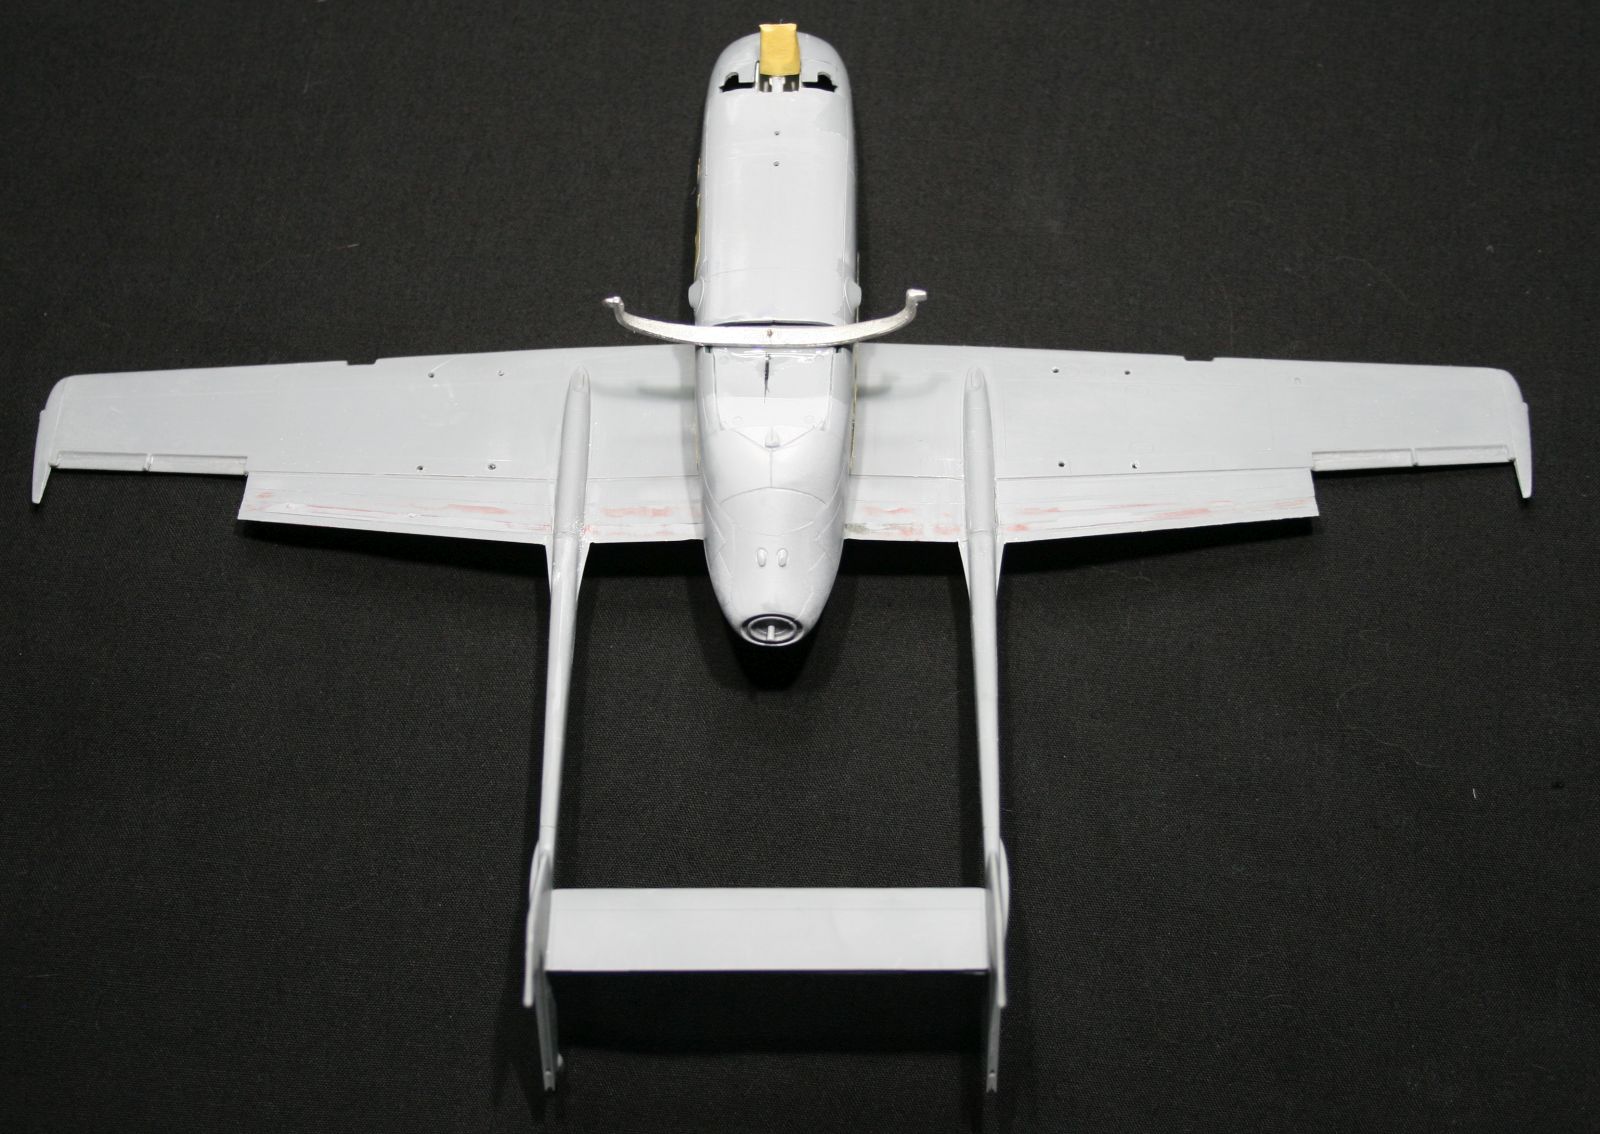
A couple of areas I skipped the build order specified in the instructions was installation of the main gear and wing installation. The reason I delayed installing the main gear was the risk of damage while I was cleaning up seams and general assembly. For the wing, I wanted to clean the seams on the leading edge without having to struggle around the fuselage. I did not have any issues assembling the wing halves before installing on the fuselage. Please note that you will need to drill holes on the lower wing halves for the hard points as indicated. There is one issue I had installing the wing to the fuselage as I did not set the aft bulkhead in far enough. Since everything was glued in, I was unable to lower the bulkhead enough and it pushed the aft portion of the wing too high leaving a gap. I trimmed some material from the top of the bulkhead and the wing rested where it should.
The remaining assembly of the kit is straight forward. A stated earlier, steps that were skipped and saved until after painting and decals were adding antennas, front engine exhaust pipes, and wheels.
Painting and Decals
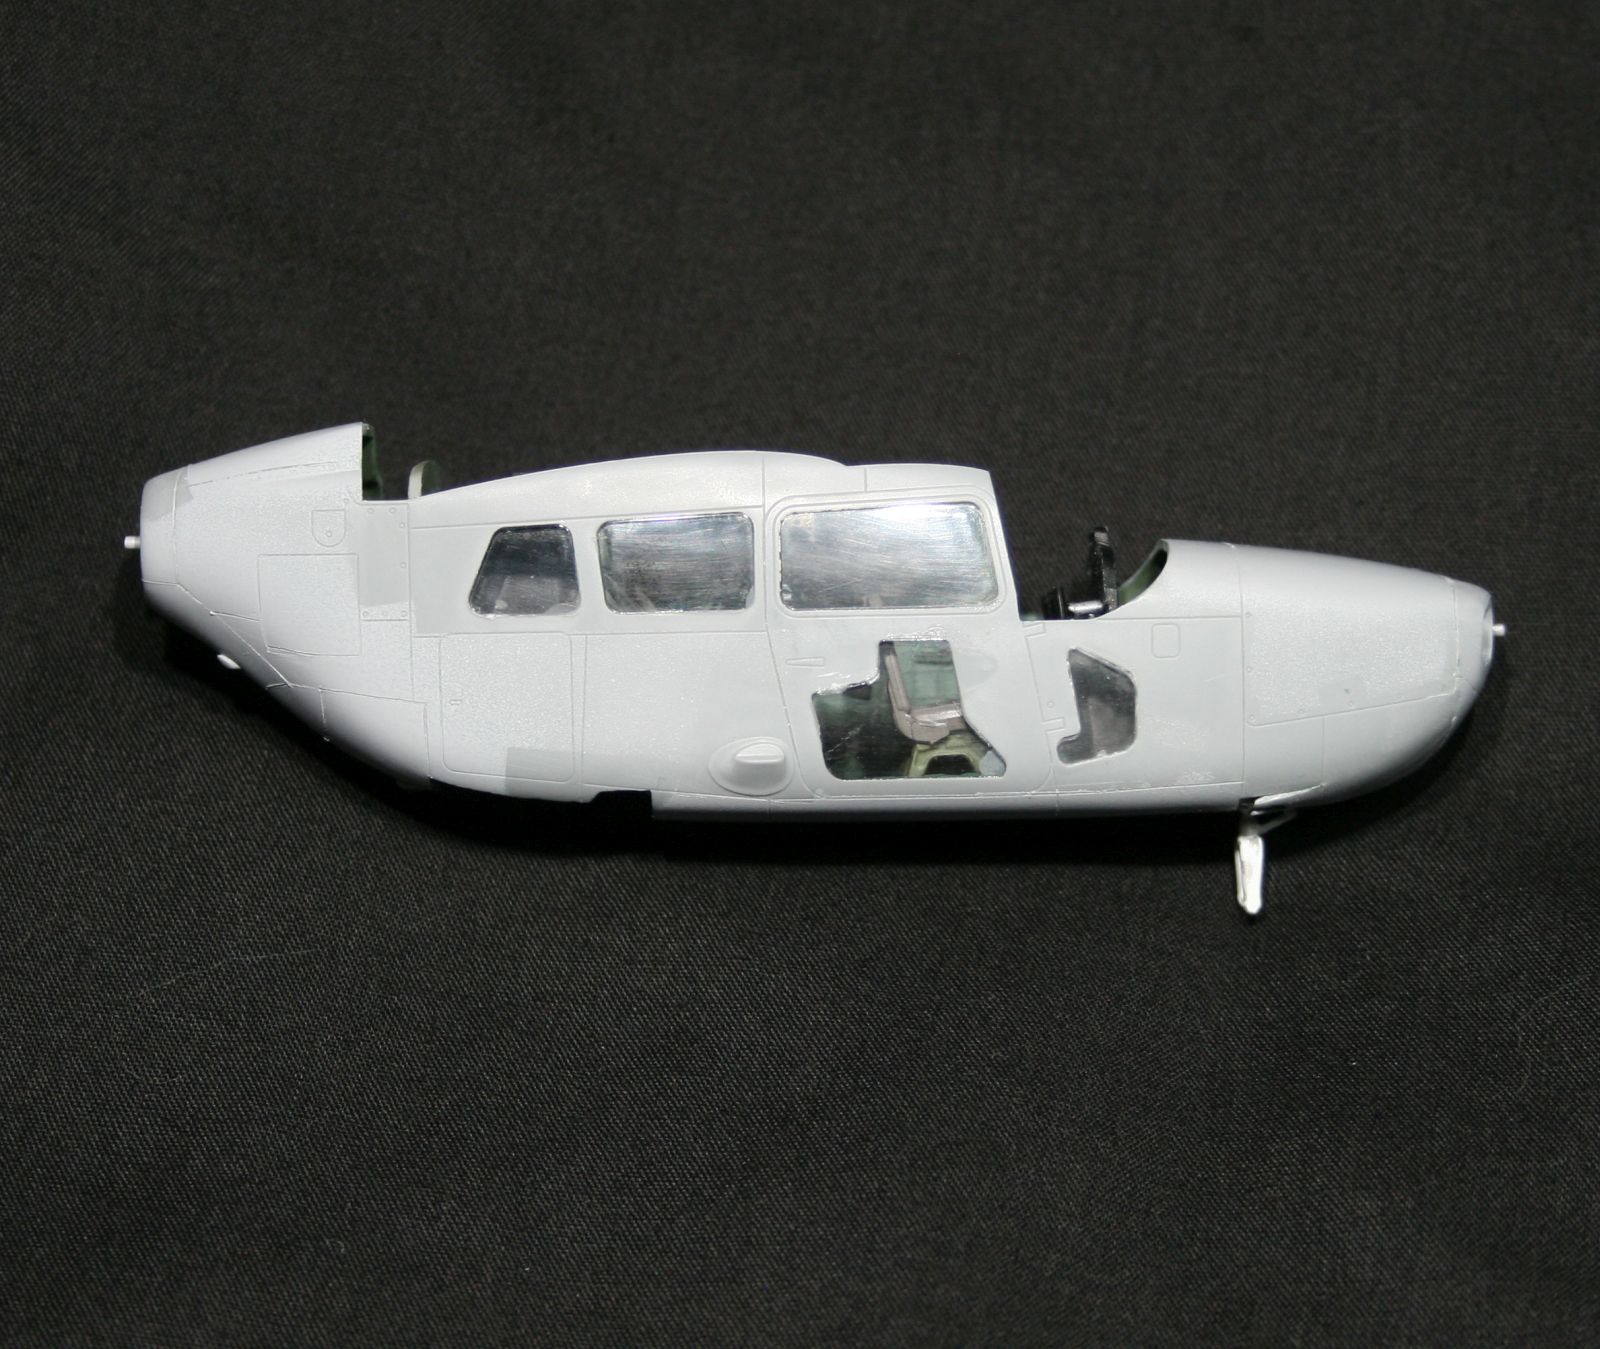
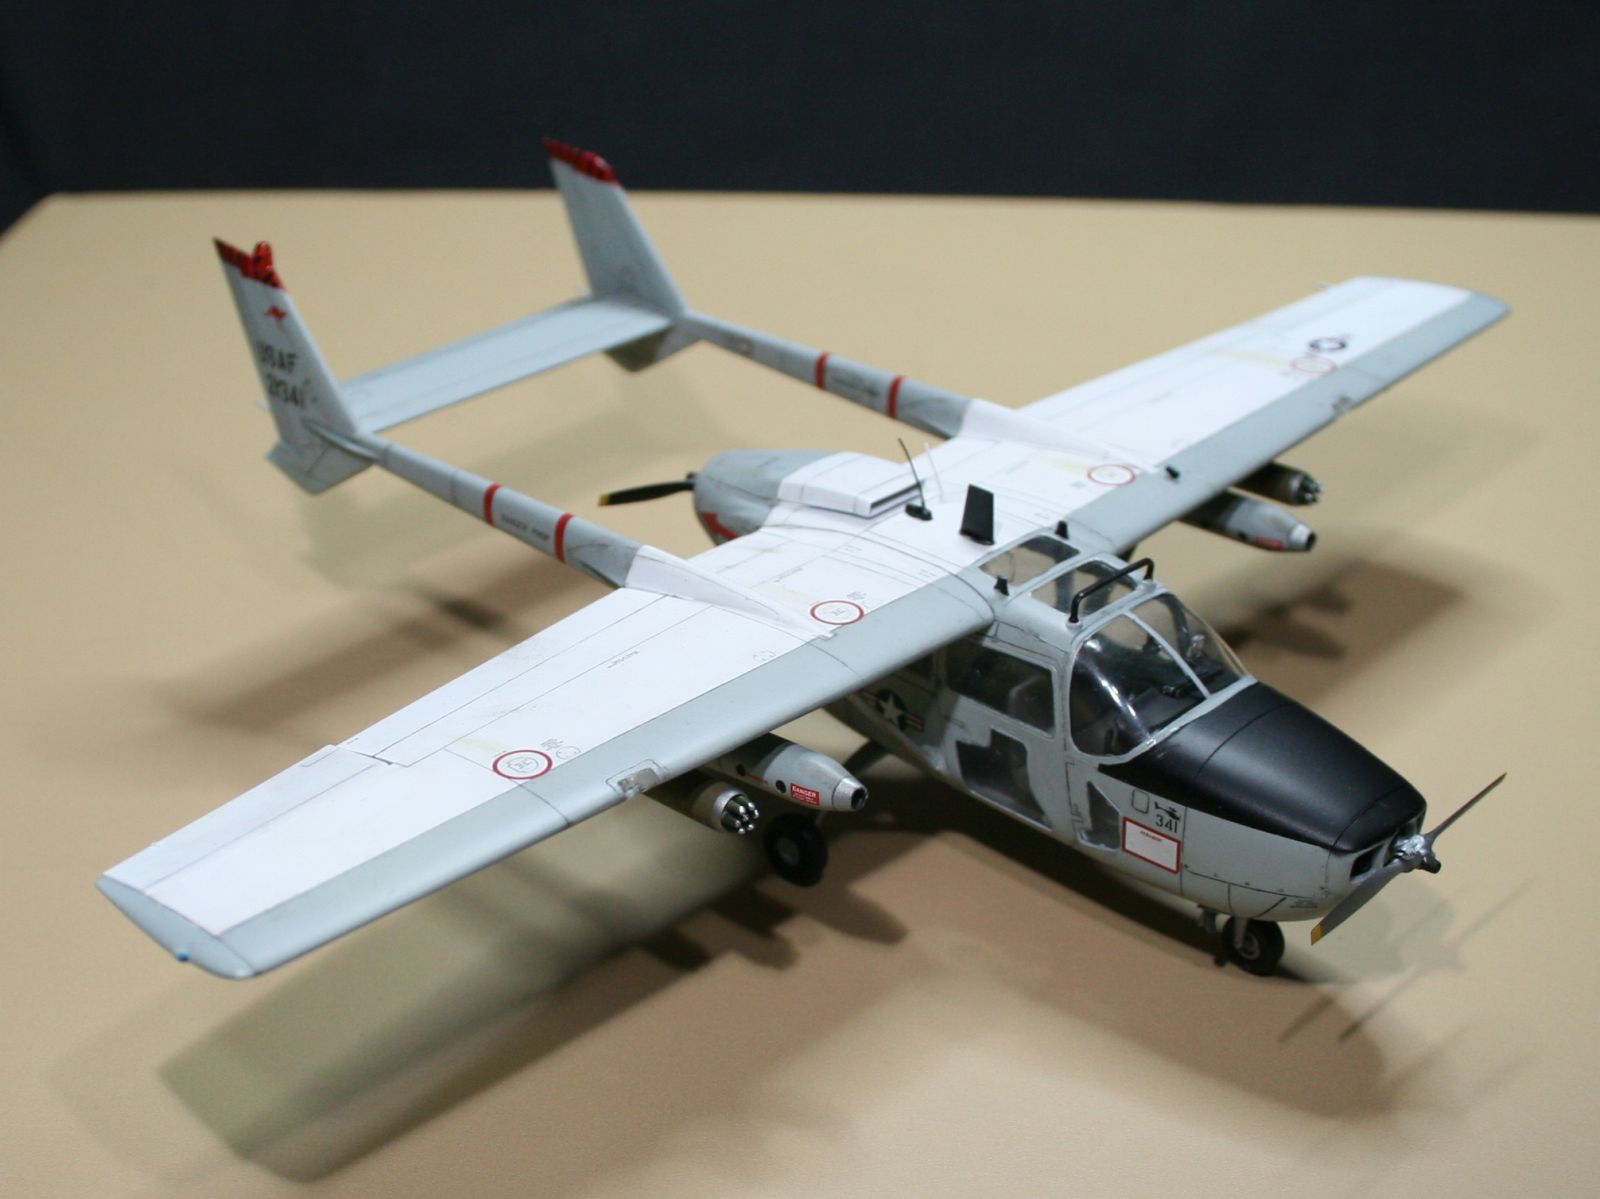
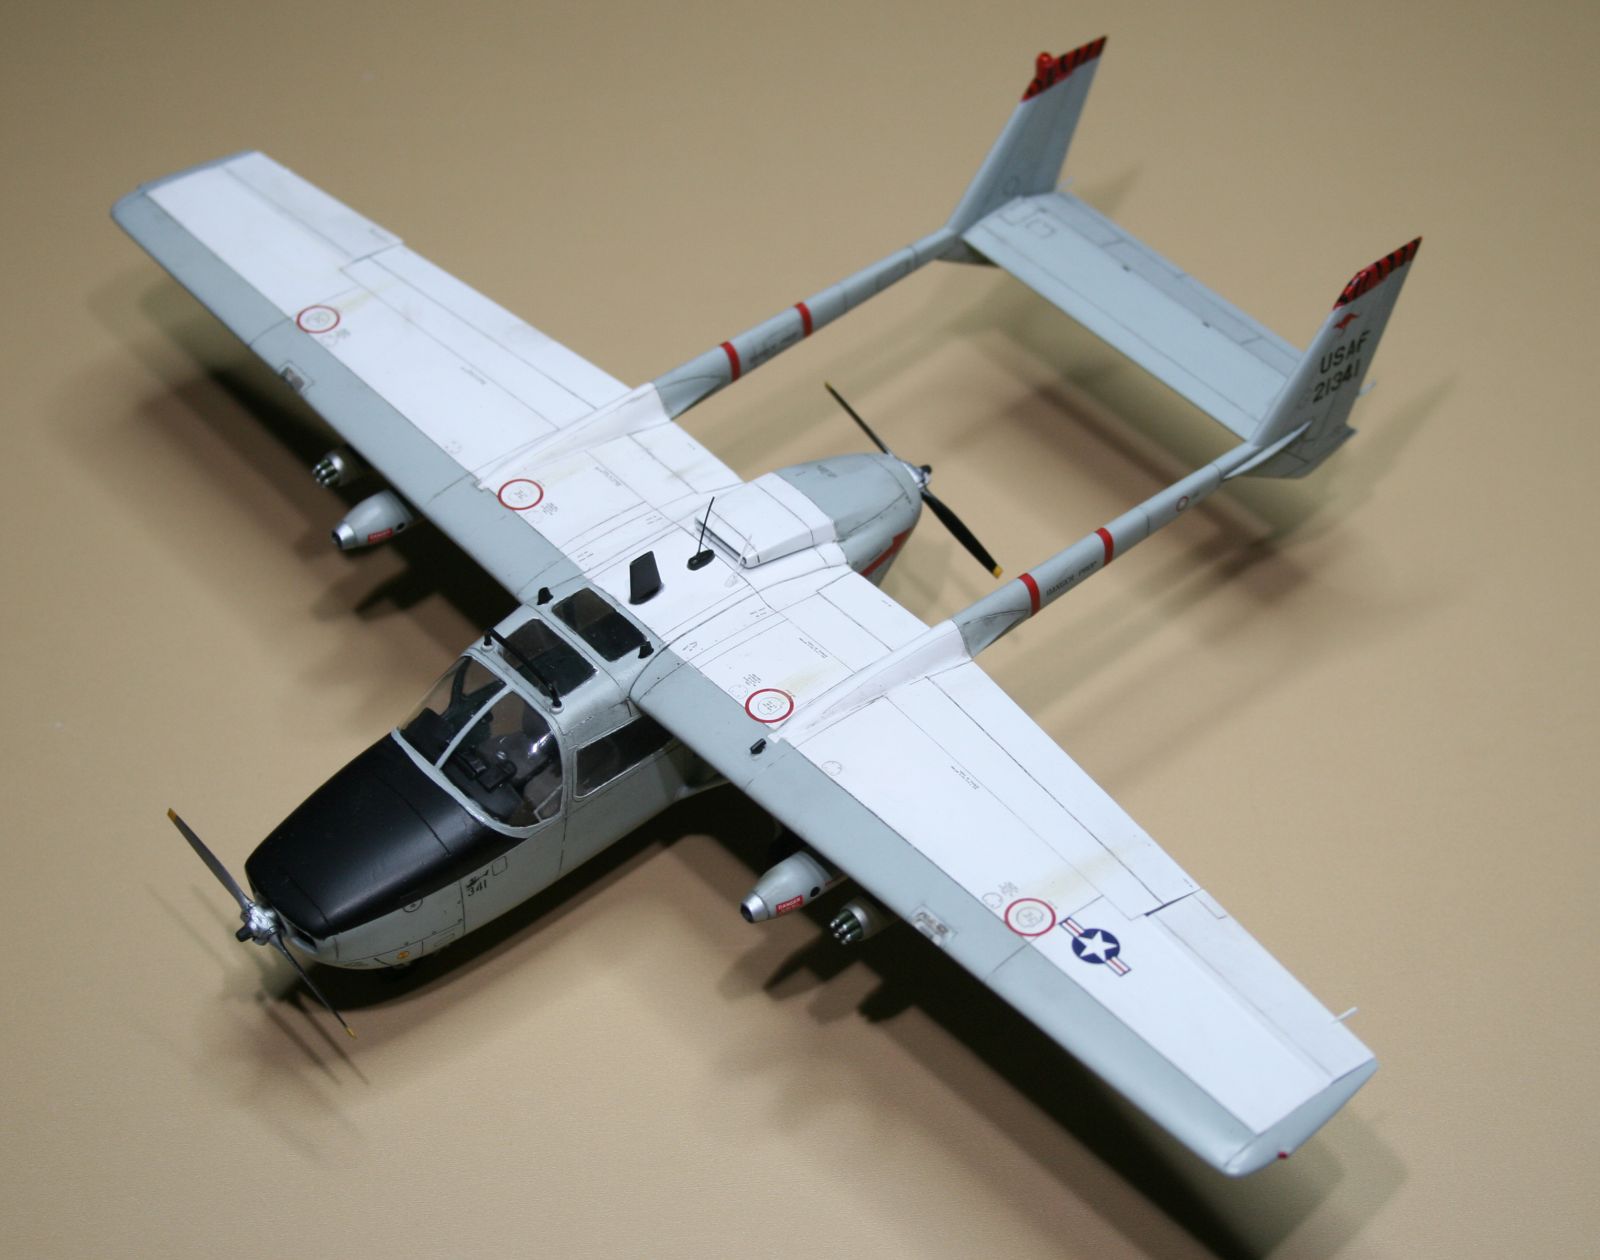
Overall, the O-2 is light gray, FS36473 with flat black anti-glare portion on top of the engine cowling per USAF TO 1-1-4. After the O-2 was sent to Vietnam, the upper surface of the wing was painted white to help give contrast over the jungle. Reference photos of decent quality are hard to find on which area the white and gray separate. As indicated in the kit’s instruction sheet, the white does not start until about 2 feet (on real aircraft) behind the wings leading edge. The warbirds flying today in the gray scheme are painted as indicated in the kit’s instructions. Since I painted this kit before I received the AOA decals, I painted the kit per ICM instructions. AOA decals recommends painting the entire upper wing white which is supported by a photo on an O-2 taken while on a mission in Vietnam. My recommendation is to first check your references before you decide on where to paint the white areas.
Although the kit does not have traditional masks for the clear parts, the instructions offer a set of templates you can use to mask the windows. Two portions show where to mask the three small openable windows, one on the pilot side of the windscreen, and the other two aft side windows. If you use the AOA decals, that decal set offers decals for the two aft openable windows. You should use those decals instead of masking those window frames. You will still need to mask the pilot windscreen window. When painting the propellers, check your references on color. Most propellers had the forward face gray or natural metal and the aft portion facing the pilot painted flat black. When referencing the aft propeller, from the pilot’s point of view, the propeller face would be black. Propeller tips will be yellow, however check your references.
Just a few of the kit’s decals were used in this build. Only the instrument dials and weapons decals from the kit were used. The remaining decals are from AOA decals which has a very comprehensive decal sheet. Please see that review on the IPMS web site reviews. Once painted and decals applied, all the small items were added which included a set of wire antennas and weapons electrical connections from stretched sprue. A final coat of matt finish was added than a few touches of weathering and time to call it completed.
Conclusion
Overall, the ICM O-2A is the best Skymaster in any scale in my opinion and was a joy to build. With just the right amount of detail and ease of assembly, this will be a joy to build. Many thanks to ICM plastic model kits for providing this kit to IPMS for review.


Reviewer Bio
David Horn

I have been building models since at least 8 years old and with a brief break after high school, model building started again late in college. My preferred subjects are aircraft of all eras and scales but a majority of my builds are 1/48 scale. I am the son of a USAF navigator who flew tactical airlift in Vietnam then his last 8 years he served at Altus AFB where he retired. My love of aircraft comes naturally and try to build subjects that I have a personal connection to. My day job parallels the hobby where I design full flight simulators ranging from small corporate jets, military fighter jets to the C-17. I hold a commercial pilot certificate and fly as a volunteer with the Civil Air Patrol. I really enjoy flying cadets, passing on the love of flight and inspiring future aviators.
Comments
Add new comment
This site is protected by reCAPTCHA and the Google Privacy Policy and Terms of Service apply.
Similar Reviews