
Centurion Mk. 3 Korean War
Bottom Line Up Front
AFV Club continues to rule the Centurion market with its latest offering. This is a very good kit overall. It comes with tasty value-added features like a turned aluminum barrel and photoetch parts. The detail is sharp and the fit is excellent. The kit is marred by some unnecessarily complicated moving parts that make two aftermarket part sets a must if the modeler wants to have a first-rate build.
History
The Centurion is one of those tanks that just will not fade away with time. It just missed major action in WW2 by a few weeks so it’s first real trial was in Korea. This kit faithfully represents the 20-pounder armed Mk. 3 which was fielded in that conflict. This was the version which was still in service (with some modifications to the gun barrel) with the British Army in 1956 during Operation Musketeer, the invasion of the Suez Canal Zone.
Vital Statistics and Scores
Detail: 4 out of 5
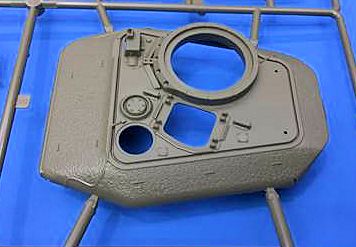
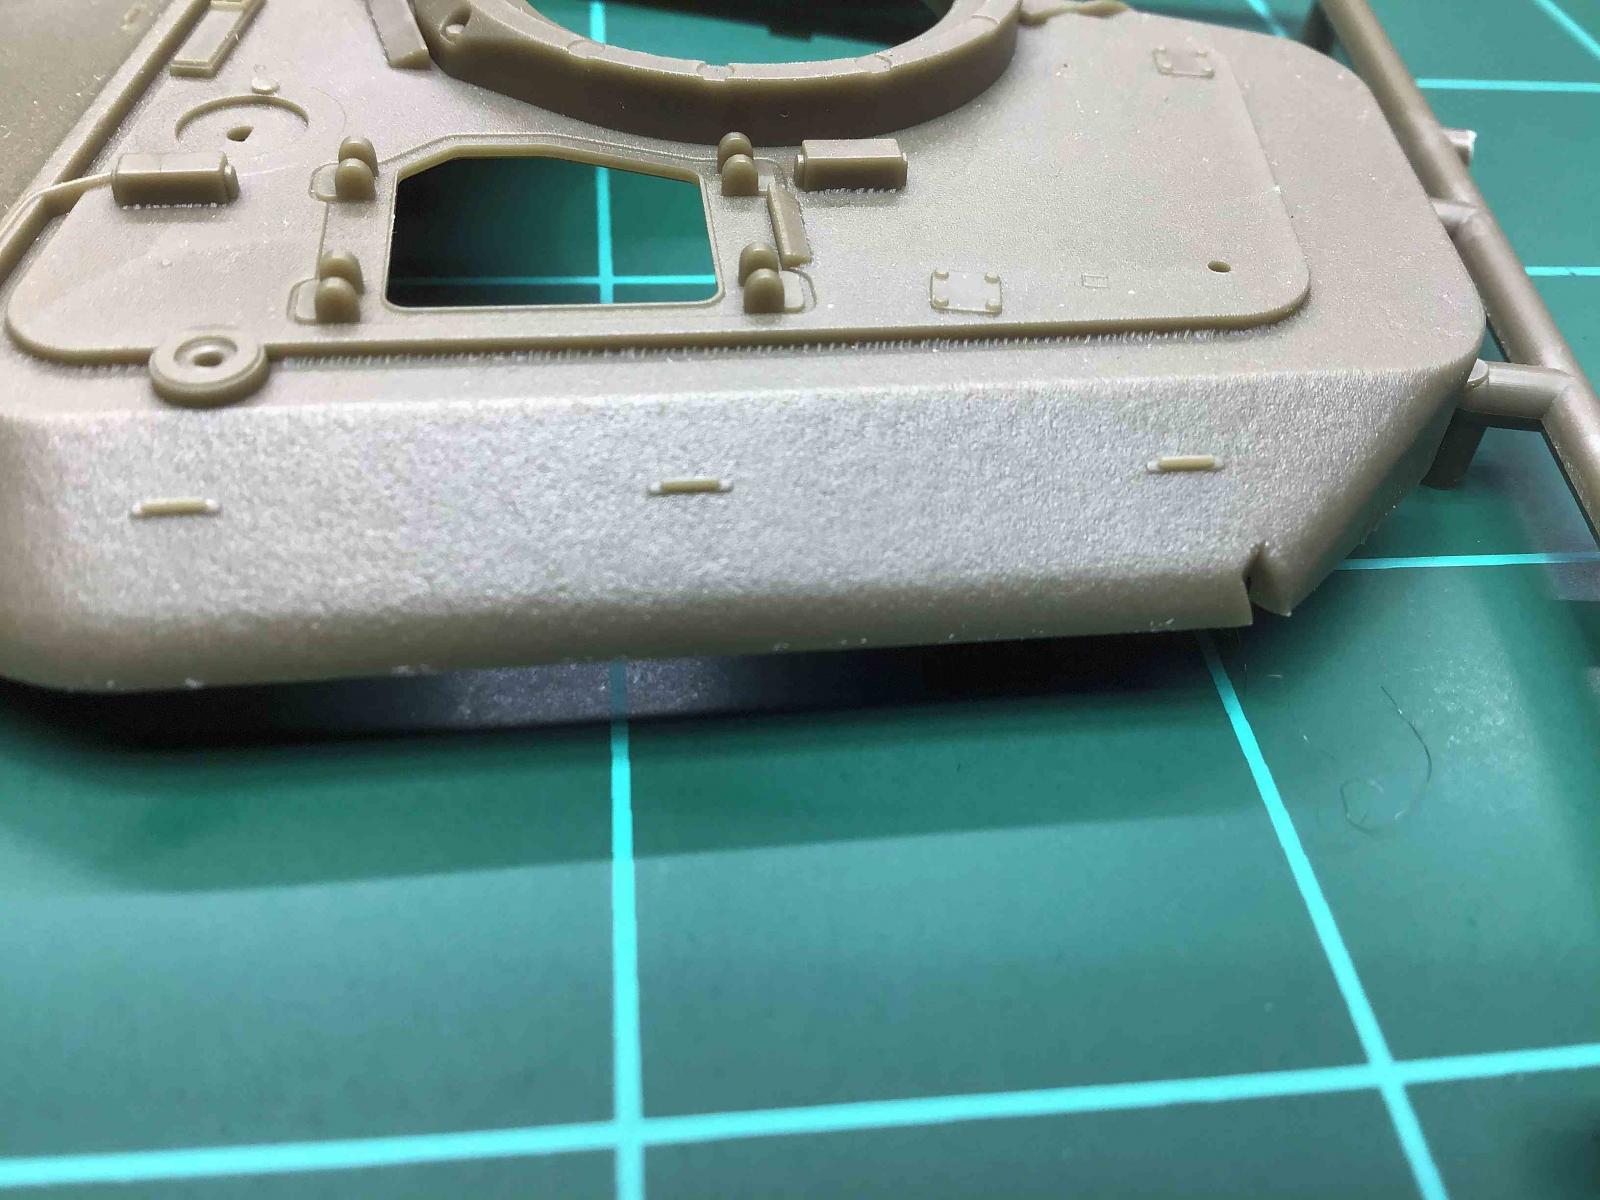
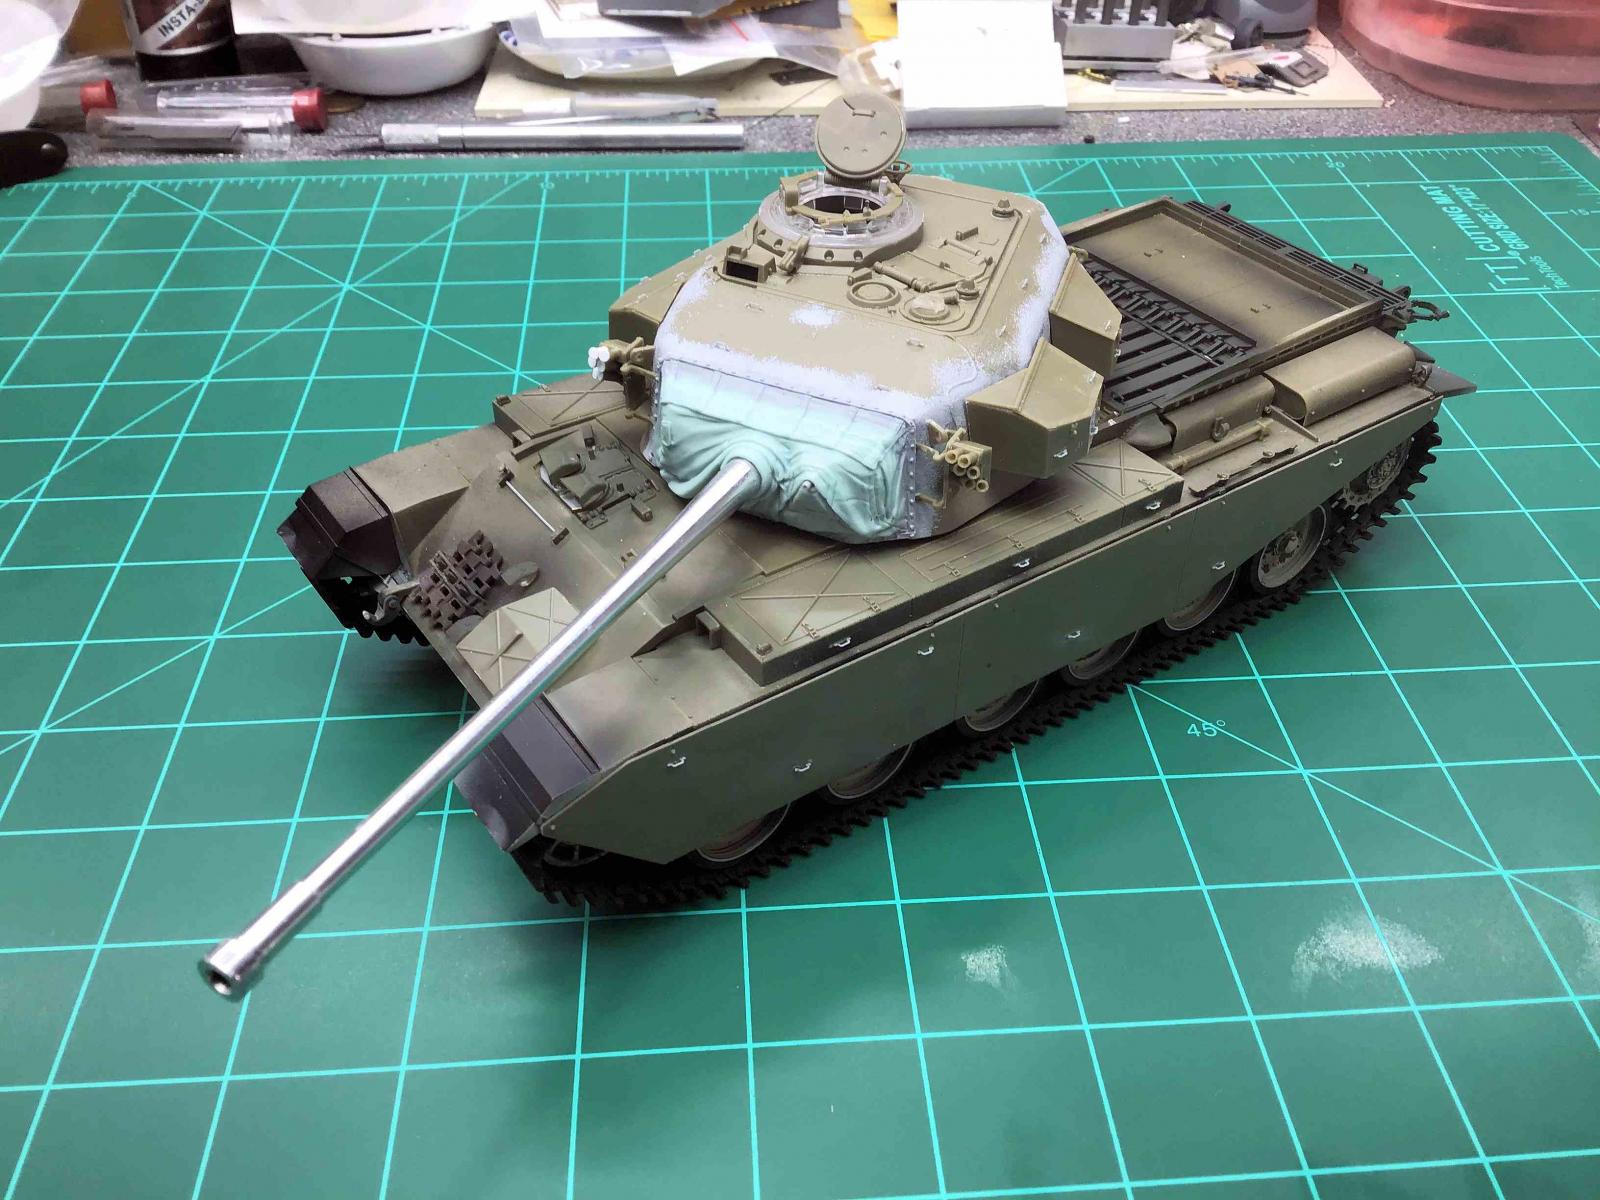
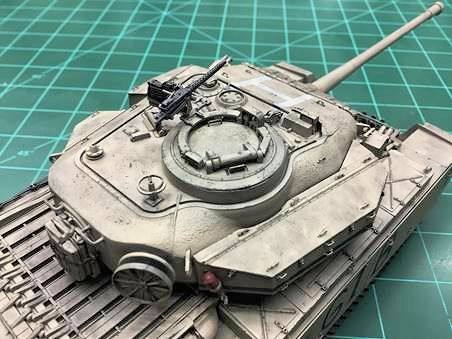
Detail on this kit is everything we have come to expect from AFV Club. There is a very nice casting texture on the turret, complete with casting numbers. Small details like the latches on the stowage bins are very cleverly molded so as to be very convincing without forcing the modeler to resort to fiddly photo etched parts. The road wheels, drive sprockets, and idler wheels all have the correct rivet detail. The turned aluminum 20-pounder Type A barrel has rifling visible in the muzzle area. There are lots of separate grab handles and molded springs on the hatch hinges.
The big disappointment in the detail area are the tie-downs. Centurions have about a million little tie downs all over the turret and hull. On this kit they are represented with a solid raised piece of molding that is not convincing at all, even from a distance. This is such a prominent feature that I felt the need to replace them with an aftermarket solution. Tiger Model Designs came to the rescue with their resin US Tie-Down Cleats Type 2 set (35-1-19) set. These resin tie-downs are beautifully delicate and fiddly. With a good pair of tweezers and a sharp No. 11 X-Acto blade they are surprisingly easy to work though. They are a bargain at $5 per set. I recommend you purchase several sets in order to 1) make it worth the shipping, and 2) be sure you have enough. There are 50 tie downs in a set but due to their being so small and delicate, some of the tie-downs are going to be unusable due to flash or short-shot molding defects. They are still well worth the money however and if you build armor, I guarantee you will find yourself wanting them for more than one build.
The kit includes a very nice M1919 machine gun for the commander’s cupola. It has a non-standard vehicle mount that I haven’t seen modeled anywhere else that is quite nice. I did substitute an Aber turned brass barrel set Turned U.S barrels for Browning M-1919 A4 (35L62), but other than that this is a nice little detail that really pops.
Engineering: 2 out of 5
I’m really not sure what AFV Club was trying to accomplish with some of their engineering choices on this kit. It’s like they were stuck between the concept of the model being a ‘toy’ that kids will build and then play with on the family room floor, and a static display scale model.
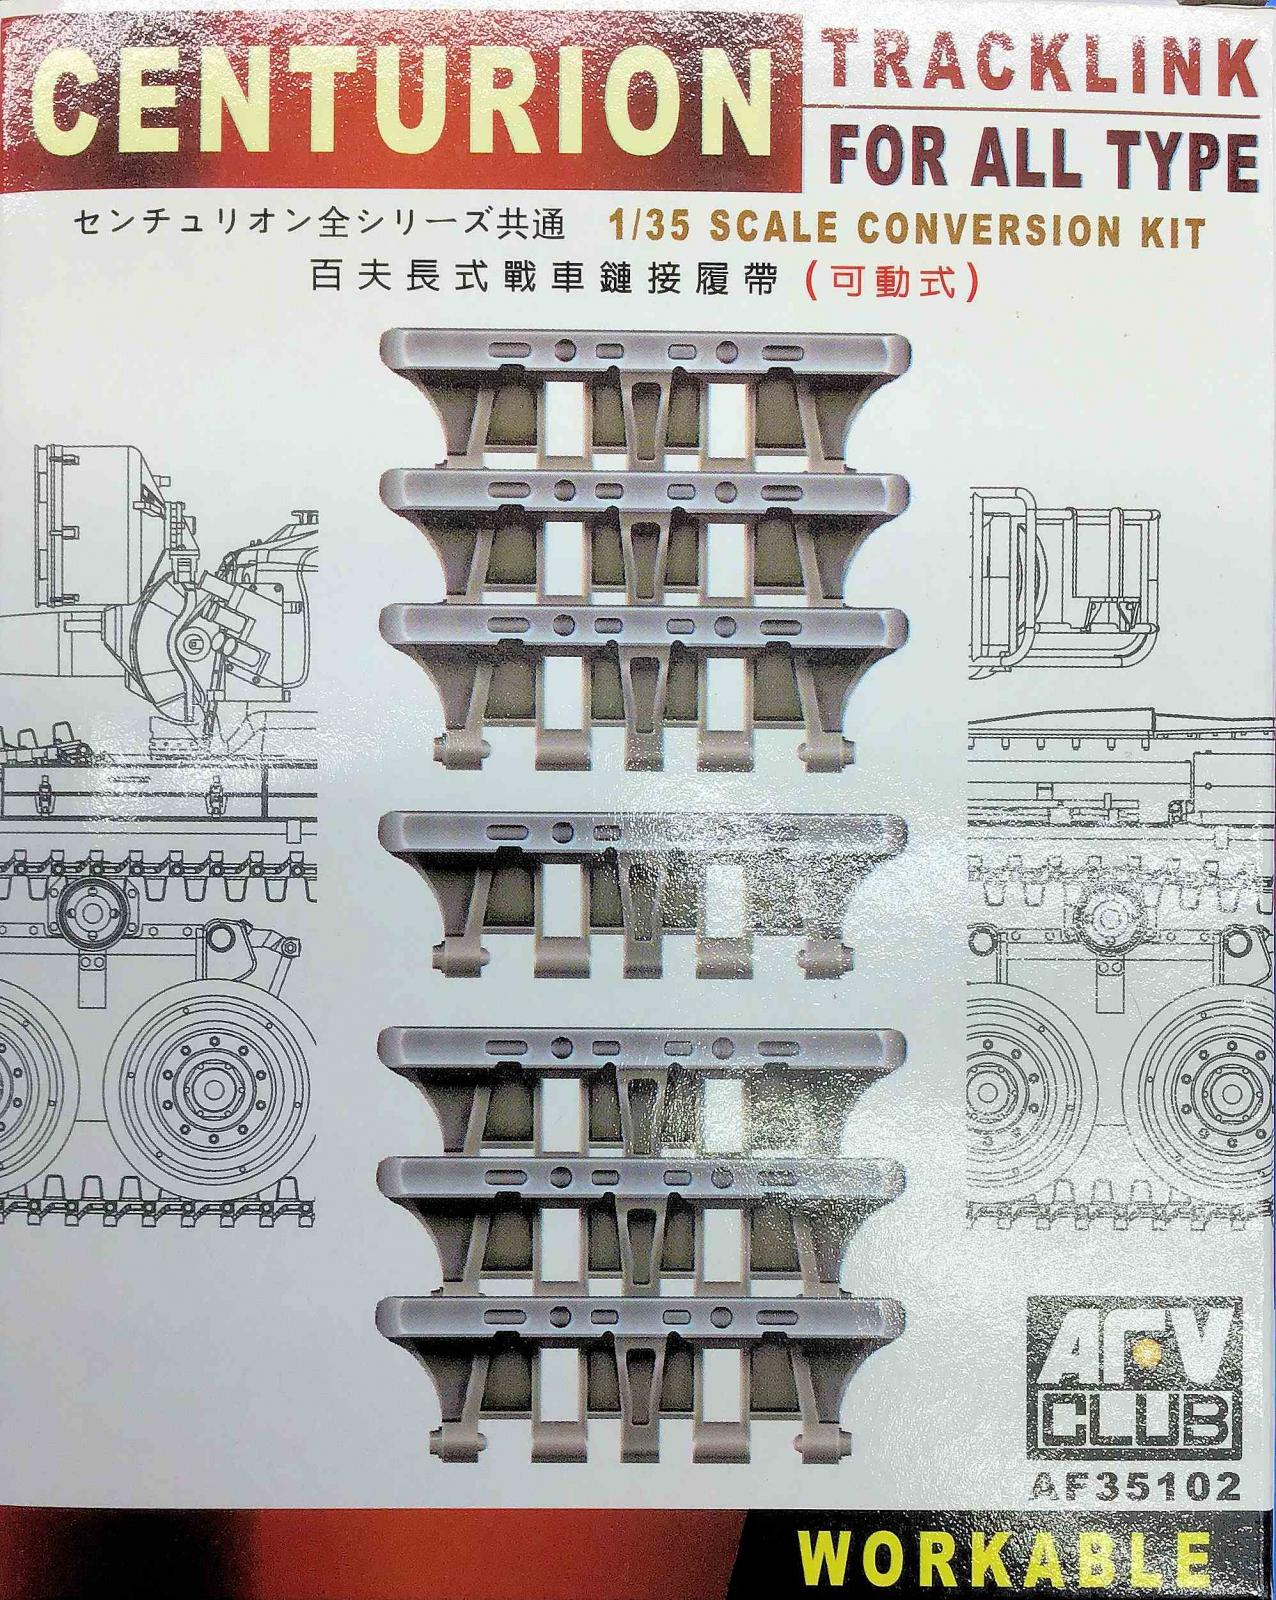
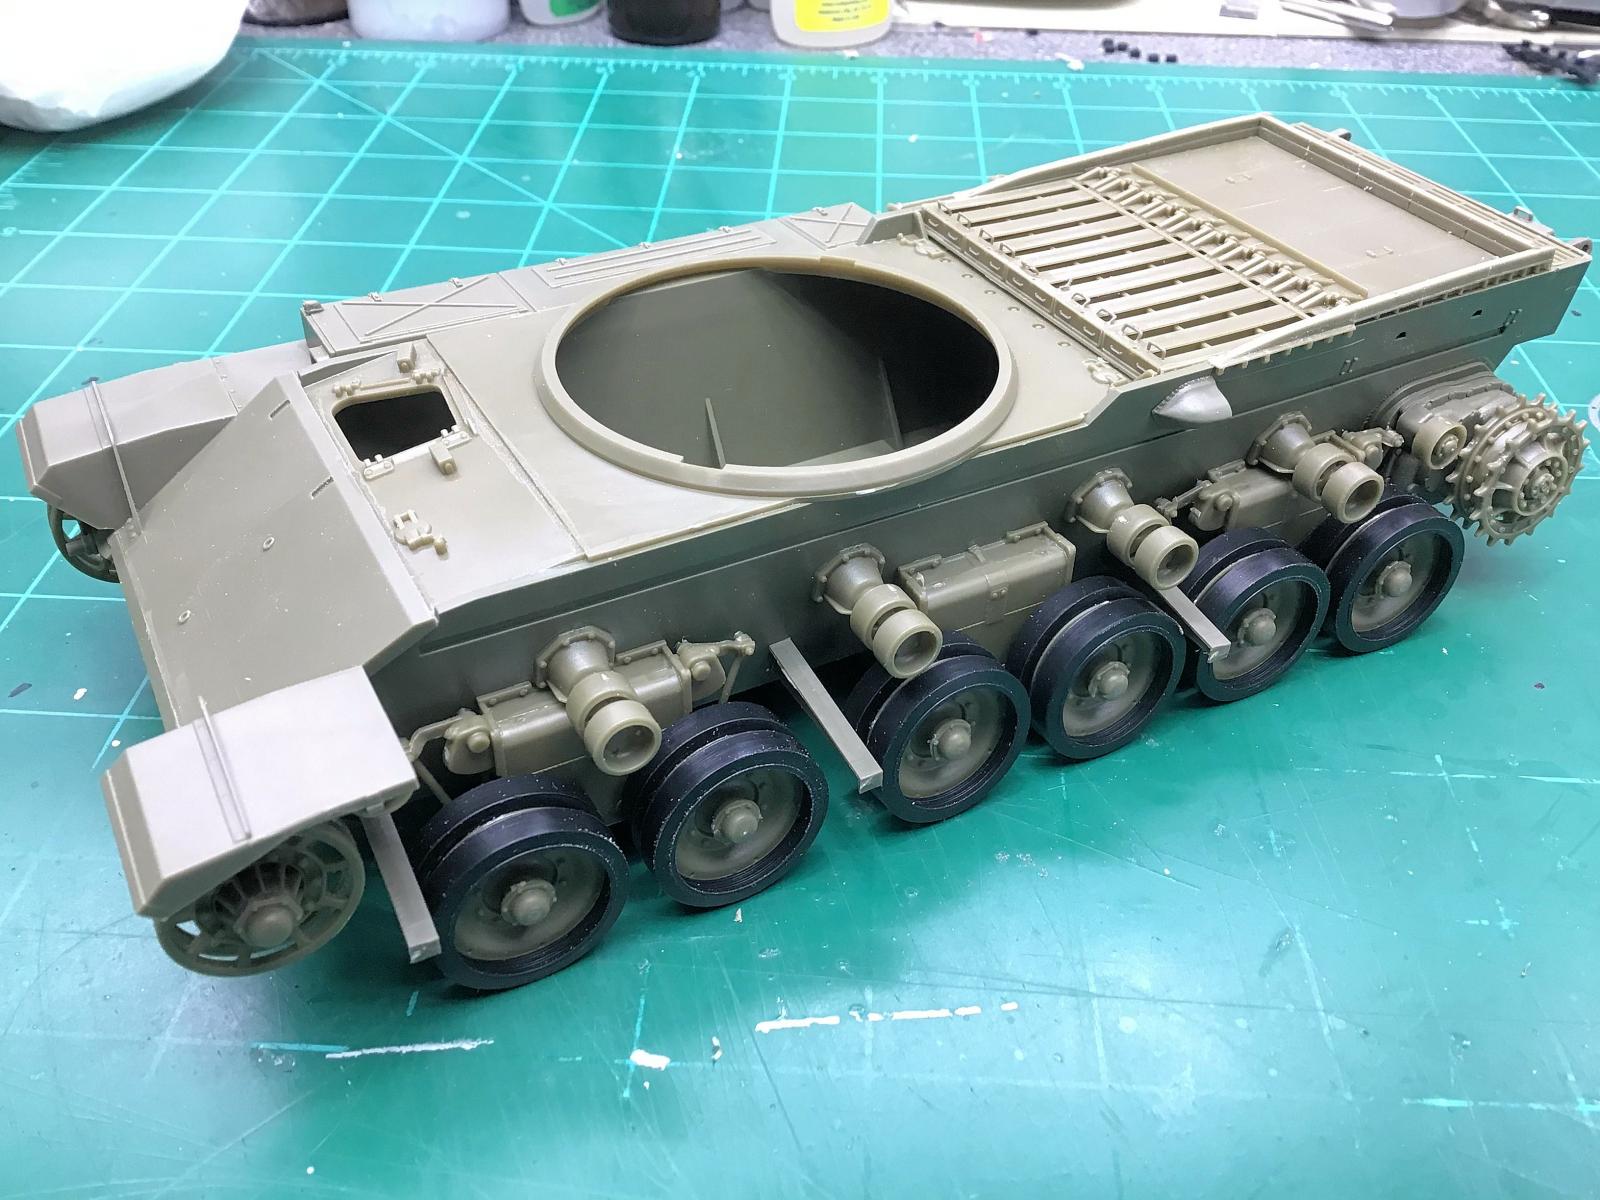
They make heavy use of vinyl parts and have a quasi-movable suspension, all of which I just can’t see any point to unless someone was thinking of making the kit motorized. The vinyl tracks are good, but they are still vinyl tracks. I opted to use AFV Club’s Centurion Track Links (AF 35102) set. This is one of the best indy-link track sets I’ve come across. The ejector pin marks are easy to remove and the links really do snap together.
The road wheels have black vinyl tires, which left me scratching my head. I could see putting these on a motorized tank back in the 1970’s but all they did for me here was complicate painting.
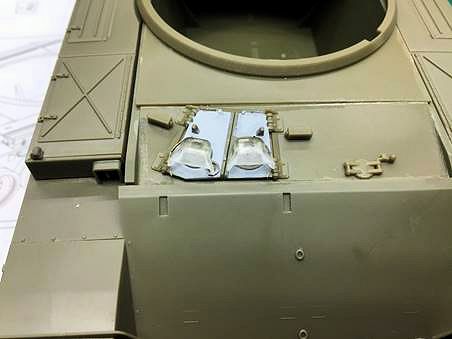
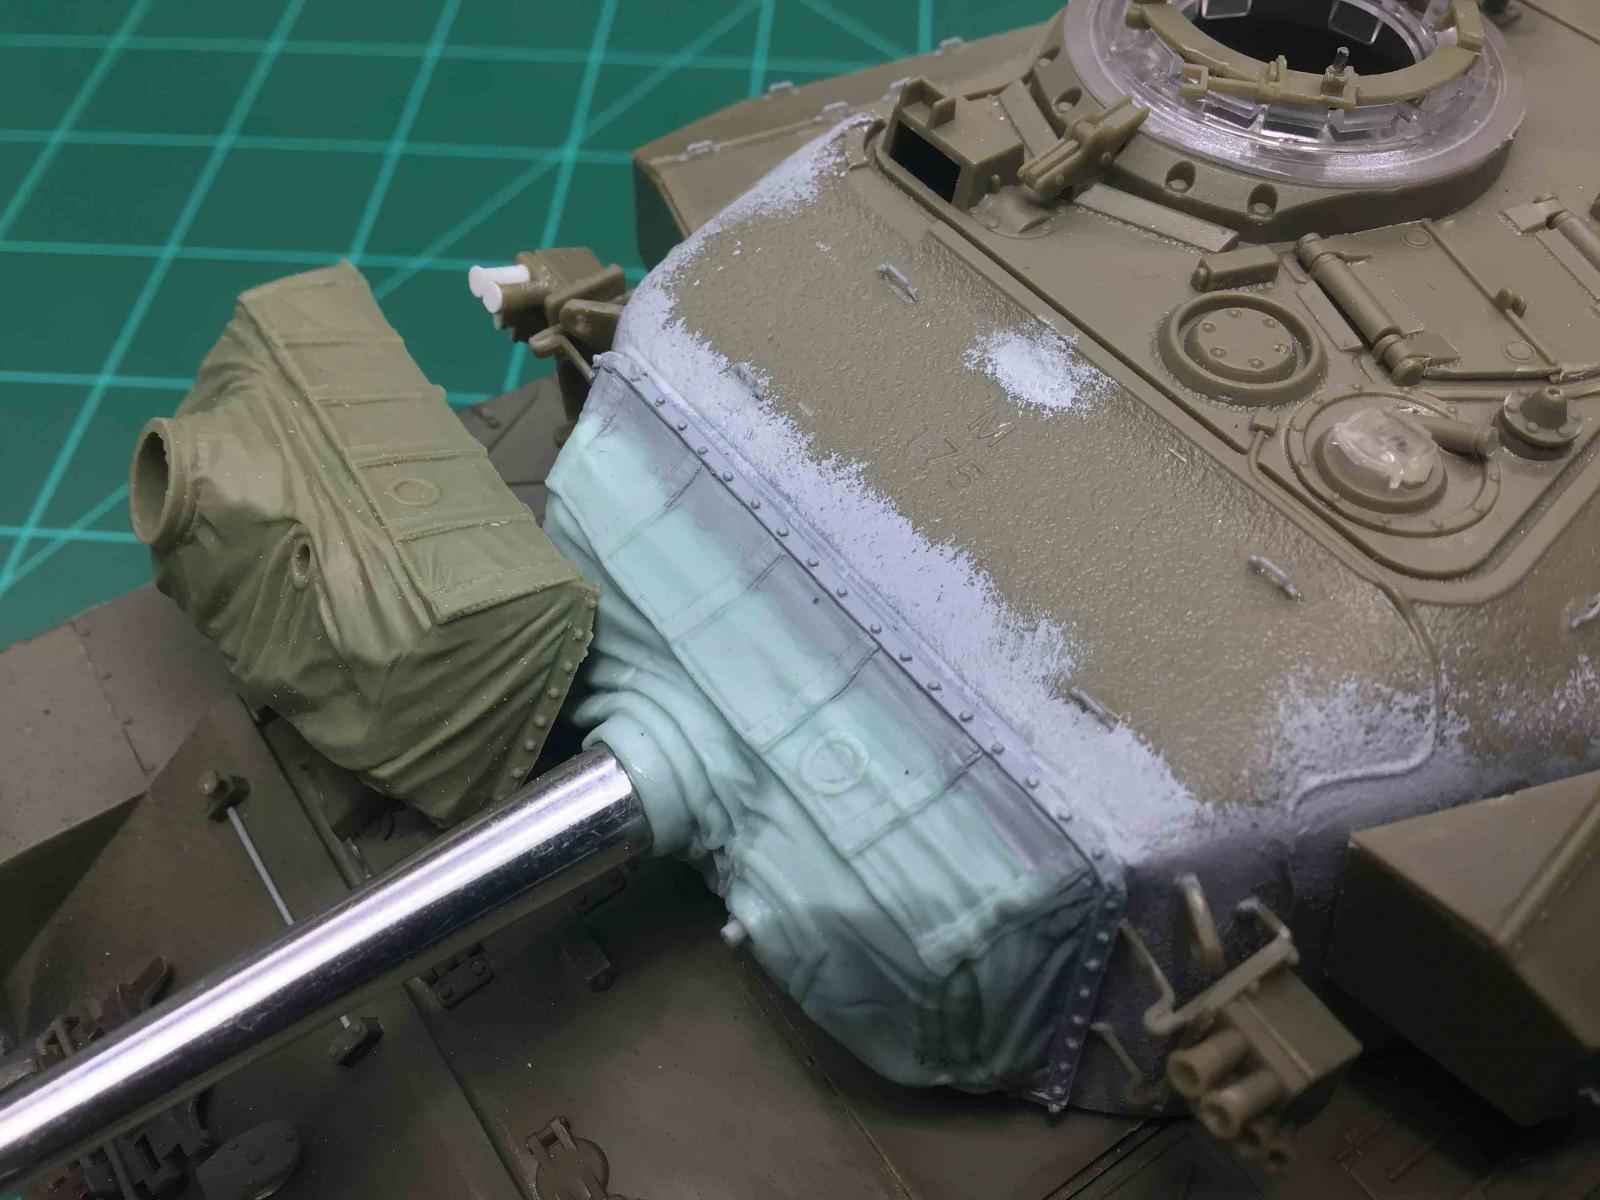
The biggest problem by far was the vinyl-rubber mantlet cover. It’s great that AVF Club included a mantlet cover. Their previous Centurion kits lacked this distinct detail. Sadly though, it did not fit over the plastic mantlet parts, and there was no clear way to glue it in place. Worst of all, there was no line of rivets on the upper part of the cover where it was attached to the turret on the real tank. I don’t know if this was a short shot problem or if it was an oversight. Either way it was aggravating since this spot is arguably the most visible place on the whole model. I speculate that AFV Club made this part from vinyl-rubber to allow the gun to be elevated or depressed on the finished model. If so, it was a really, really, really, bad call. To remedy this problem, I went with Def Models resin Centurion Mk.3 Mantlet with Canvas Cover (DEFDM35096) replacement part. The detail is gorgeous, it fits the turned metal barrel and the turret itself like a glove.
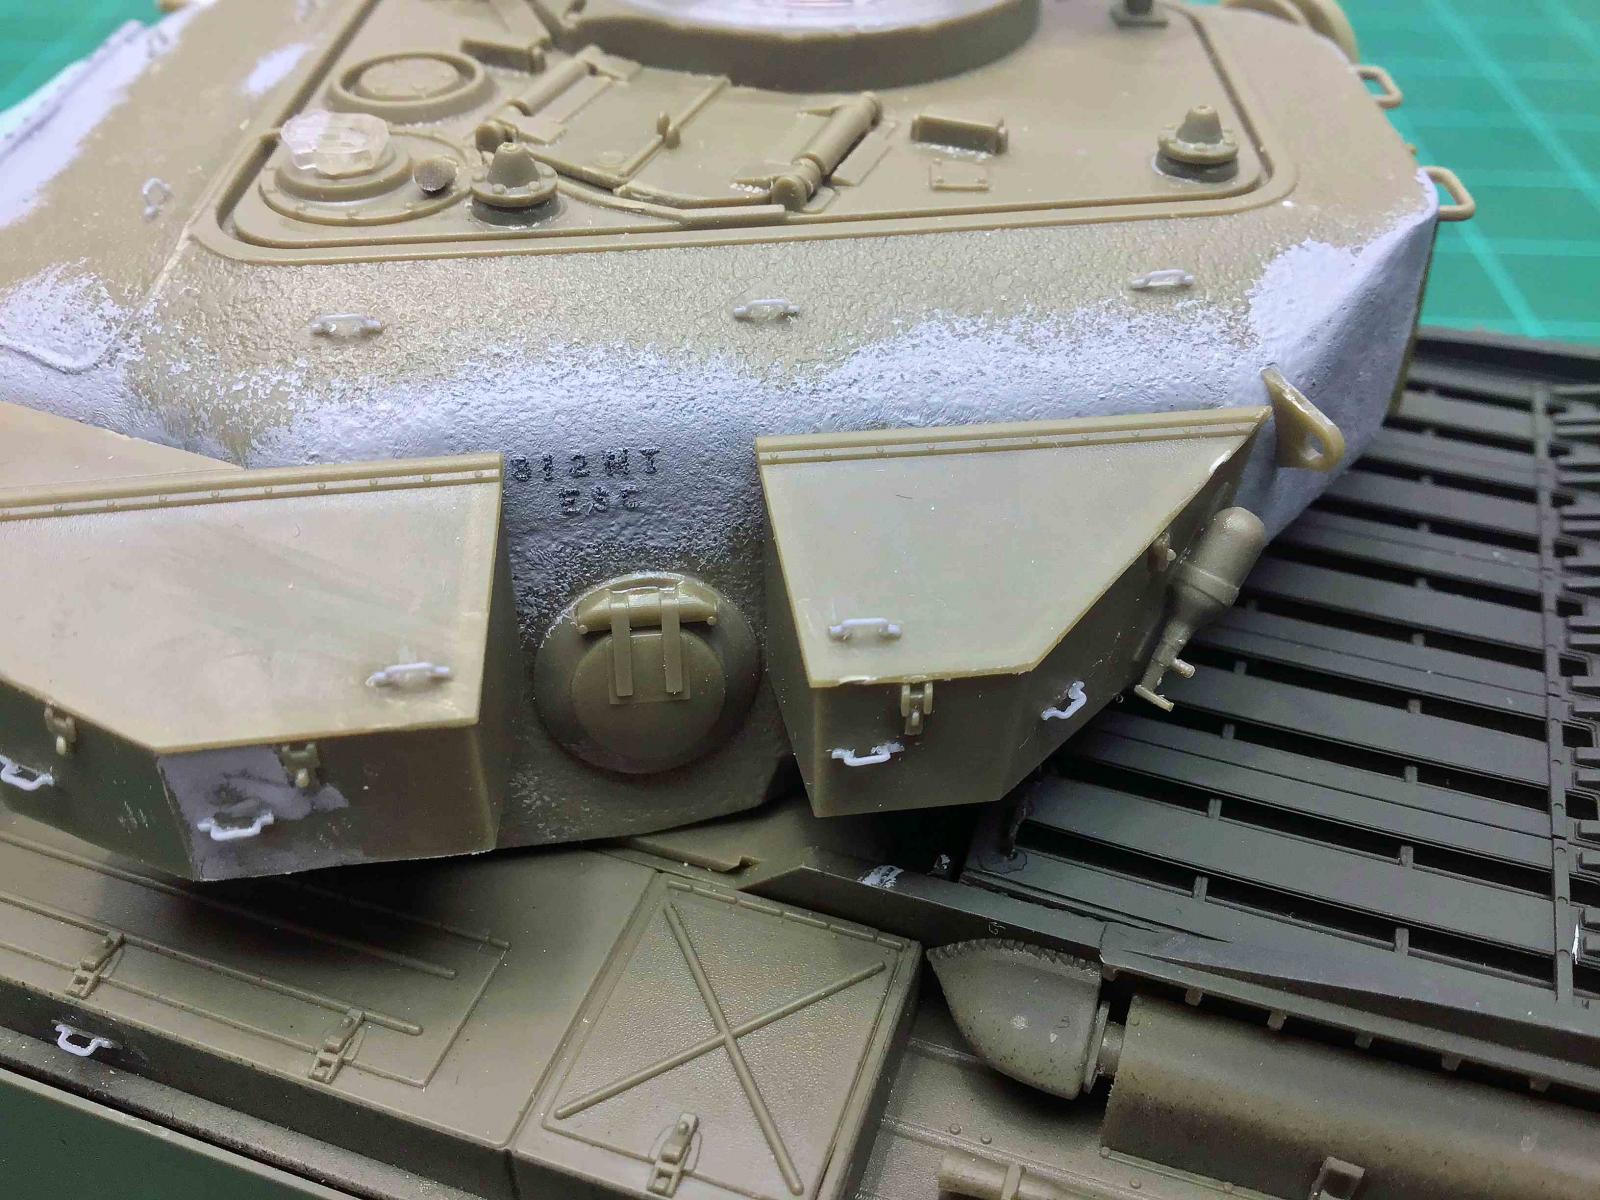
The turret comes in four parts, which is a shame. I understand that AFV Club did this to allow for production of different versions of the gun-tank Centurion, but they have the upper roof seam placed in just the right spot to force the modeler to sand off a good chunk of all that beautiful cast texture and the casting numbers. Luckily a generic sheet of raised casting numbers from Archer Fine Transfers allowed me to fix that problem with relative ease.
Some other problems to look out for are the particularly nasty ejector pin markings in the driver’s split hatches. They are located on the outside so you can’t get away with ignoring them by posing them closed. It took some work and a lot of Tamiya gray putty to get them to go away.
Another problem was the road wheel hubs. Each one had an annoying sink-mark right in the center. The sink marks were all so uniform that I wondered if this was some feature particular to the Mk. 3 Centurions. Some quick research showed this was not the case. I was able to fill easily enough, but this kid of thing should not happen.
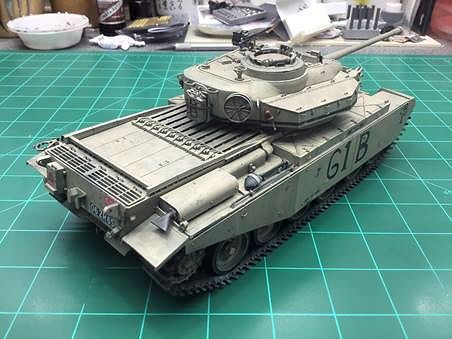
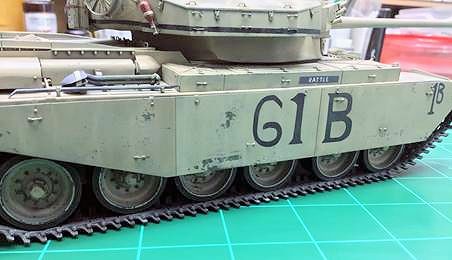
The side skirts are beautifully thin and fit perfectly. I was especially impressed by the delicate rivet detail on the attachment points of each skirt. Kudos to AFV Club for getting this detail spot on.
Fit: 5 out of 5
AFV Club uses vinyl poly-caps to attach the road wheels to the suspension. This is not a problem in and of itself, but the caps provided are were much too small. The first time I test fitted them I searched the box for another sprue of poly caps because I was convinced I had grabbed the wrong parts. They were really that bad. In the end I had to bore them out to get them to fit on the suspension assemblies without breaking the plastic parts. This got them in place but it made aligning the wheels very difficult. If I had it to do again, I would just glue the wheels in place and throw the poly caps in the bin.
The only other fit issue was the vinyl-rubber mantlet cover which I already covered in Engineering.
Despite the poly caps and the mantlet cover from hell, I still gave this kit a 5 out of 5 for fit. Everything else, and I mean everything, fit like a dream. Most of the major assemblies fit so perfectly that they held in place without glue.
Instructions: 4.5 out of 5
The instructions are standard AFV Club fare. The artwork is clear and don’t leave you guessing very often. The painting guides are fairly simple but tell you what you need to know. With this kit, the front glacis and smoke grenade clusters on the turret required attention though. The drawings of how the front glacis fitted with the hull roof in the instructions left me a little confused. I had to pull up photographs of that area on a real Centurion Mk. 3 before I was sure I was positioning it right. On the smoke grenade clusters there are definite left and right assemblies. A lot of the parts look alike and if you do it wrong, they will not align properly. These issues aren’t necessarily a huge deal, but in the end, I believe all instructions should be sufficiently ‘dummy-proof’. These made me work where I felt I shouldn’t have had to.
The other thing AFV Club includes that I absolutely love is a color print of the box art. Cruddy box art isn’t a deal breaker for me but I do appreciate a nice artist’s rendering of the tank I’m building. Having a print that you can actually hang on the wall in your workshop is a neat touch. Sending out a great big attaboy to whoever on the AFV Club staff who came up with that idea.
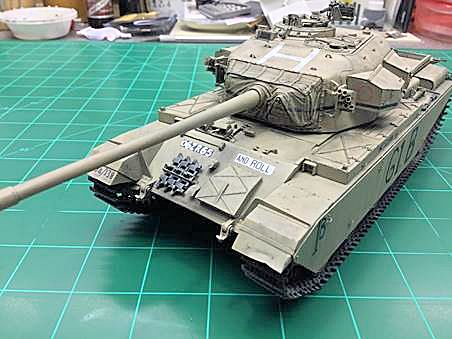
Markings: 5 out of 5
The decal sheet offers markings for five different vehicles; four from Korea in 1951 and one for Hong Kong, circa 1961:
- ‘Alacrity’, A Squadron, 8th Kings Royal Irish Hussars, Korea 1951
- Abbots Pride’, A Squadron, 8th Kings Royal Irish Hussars, Korea 1951
- ‘Colombo’, C Squadron, 8th Kings Royal Irish Hussars, Korea 1951
- ‘Beaufort’, B Squadron, 8th Kings Royal Irish Hussars, Korea 1951
- 17th/21st Lancers, Hong Kong, 1961
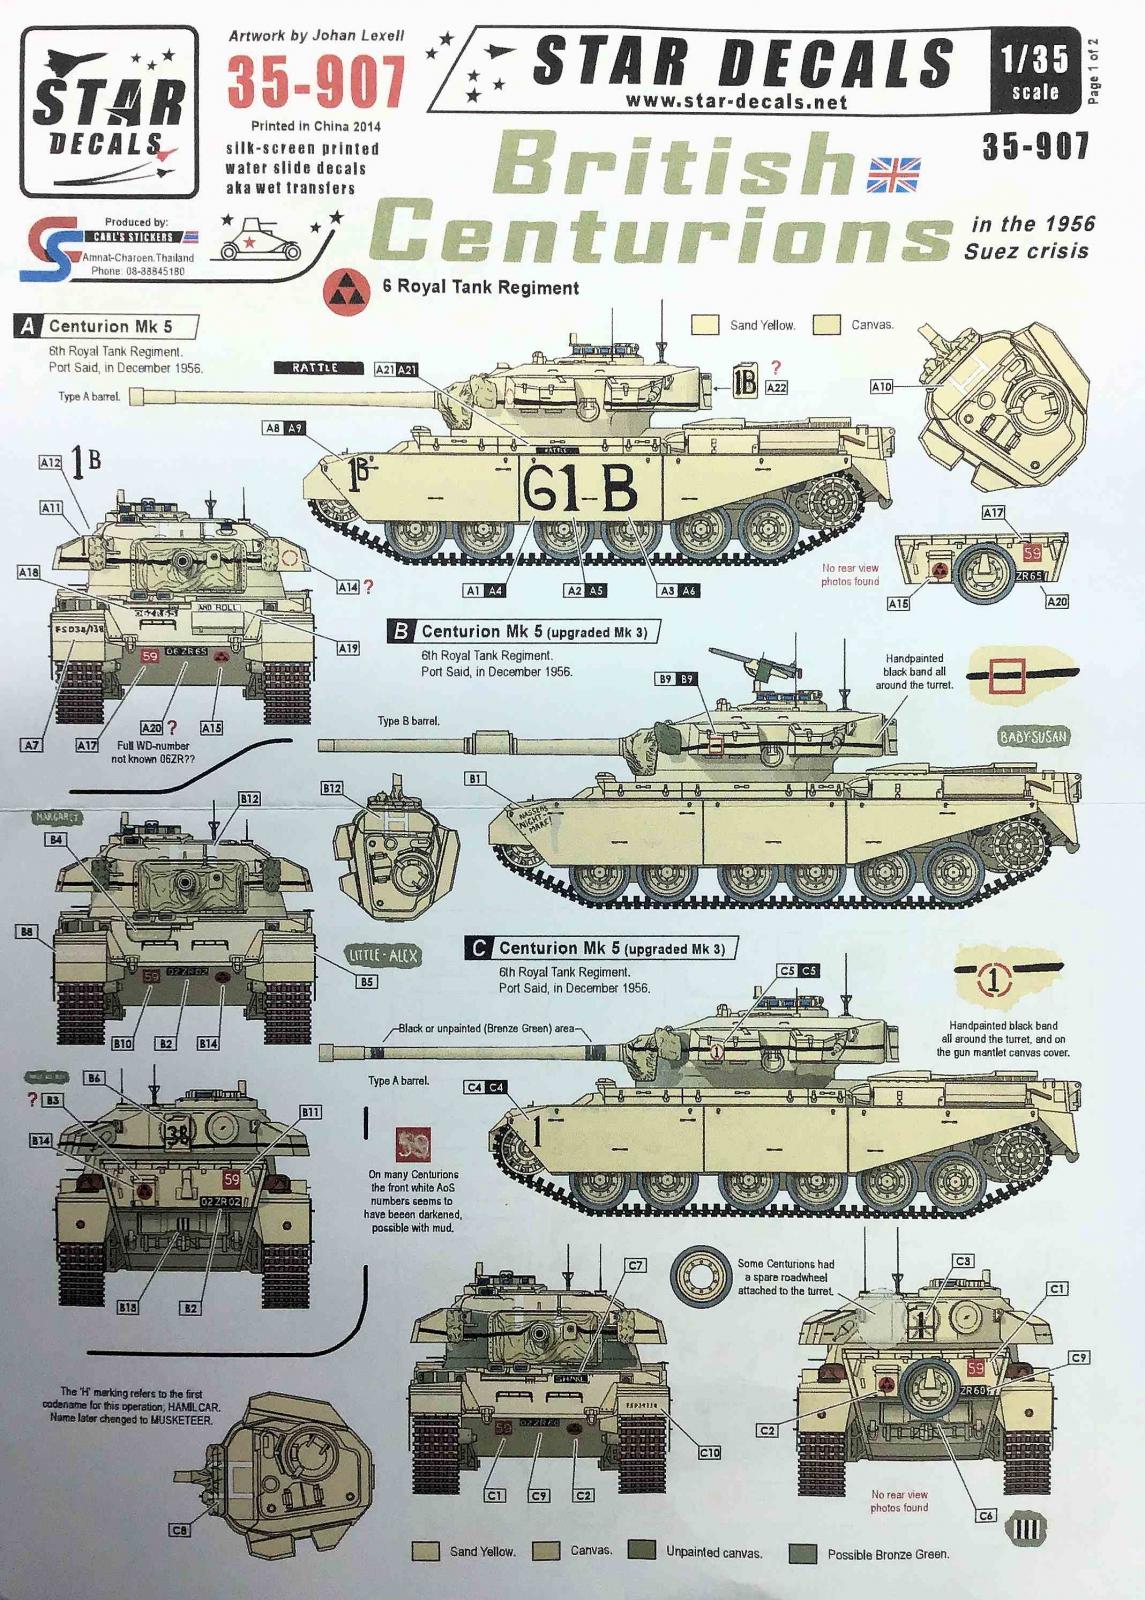
I was a little disappointed that of all the options AFV Club could have chosen for Centurion Mk. 3 markings they opted for a very bland Hong Kong garrison and left out the very unique and distinctive markings for the 1956 Suez Crisis. There is an aftermarket decal sheet produced by Star Decals however; British Centurions in the 1956 Suez Crisis: 6 Royal Tank Regiment (35-907) that fills the bill nicely.
Conclusion
This is no a shake-and-bake kit. There are lots of terrific features but you will need to pay attention to several corrections to get it done right. As always, it pays to do your research. There are plenty of walk-around photo galleries of Centurions on the internet that will point you in the right direction. This kit really does build into a striking model, but there are several aftermarket sets necessary to take this kit to its full potential. The critical sets you will need are:
- Tiger Model Designs - US Tie-Down Cleats Type 2 set (35-1-19)
- Def Models - Centurion Mk.3 Mantlet with Canvas Cover (DEFDM35096)
Happily, both of these aftermarket parts retail in the $5 range and are very easy to install. AFV Club’s Centurion Track Links (AF 35102) are very nice to have and retail for about $10, but you can get away with the kit supplied tracks if vinyl doesn’t bother you.
Many thanks to AFV Club and IPMS USA for the pre-release review sample. Many thanks to my wallet and my wife for allowing me to buy the aftermarket parts.

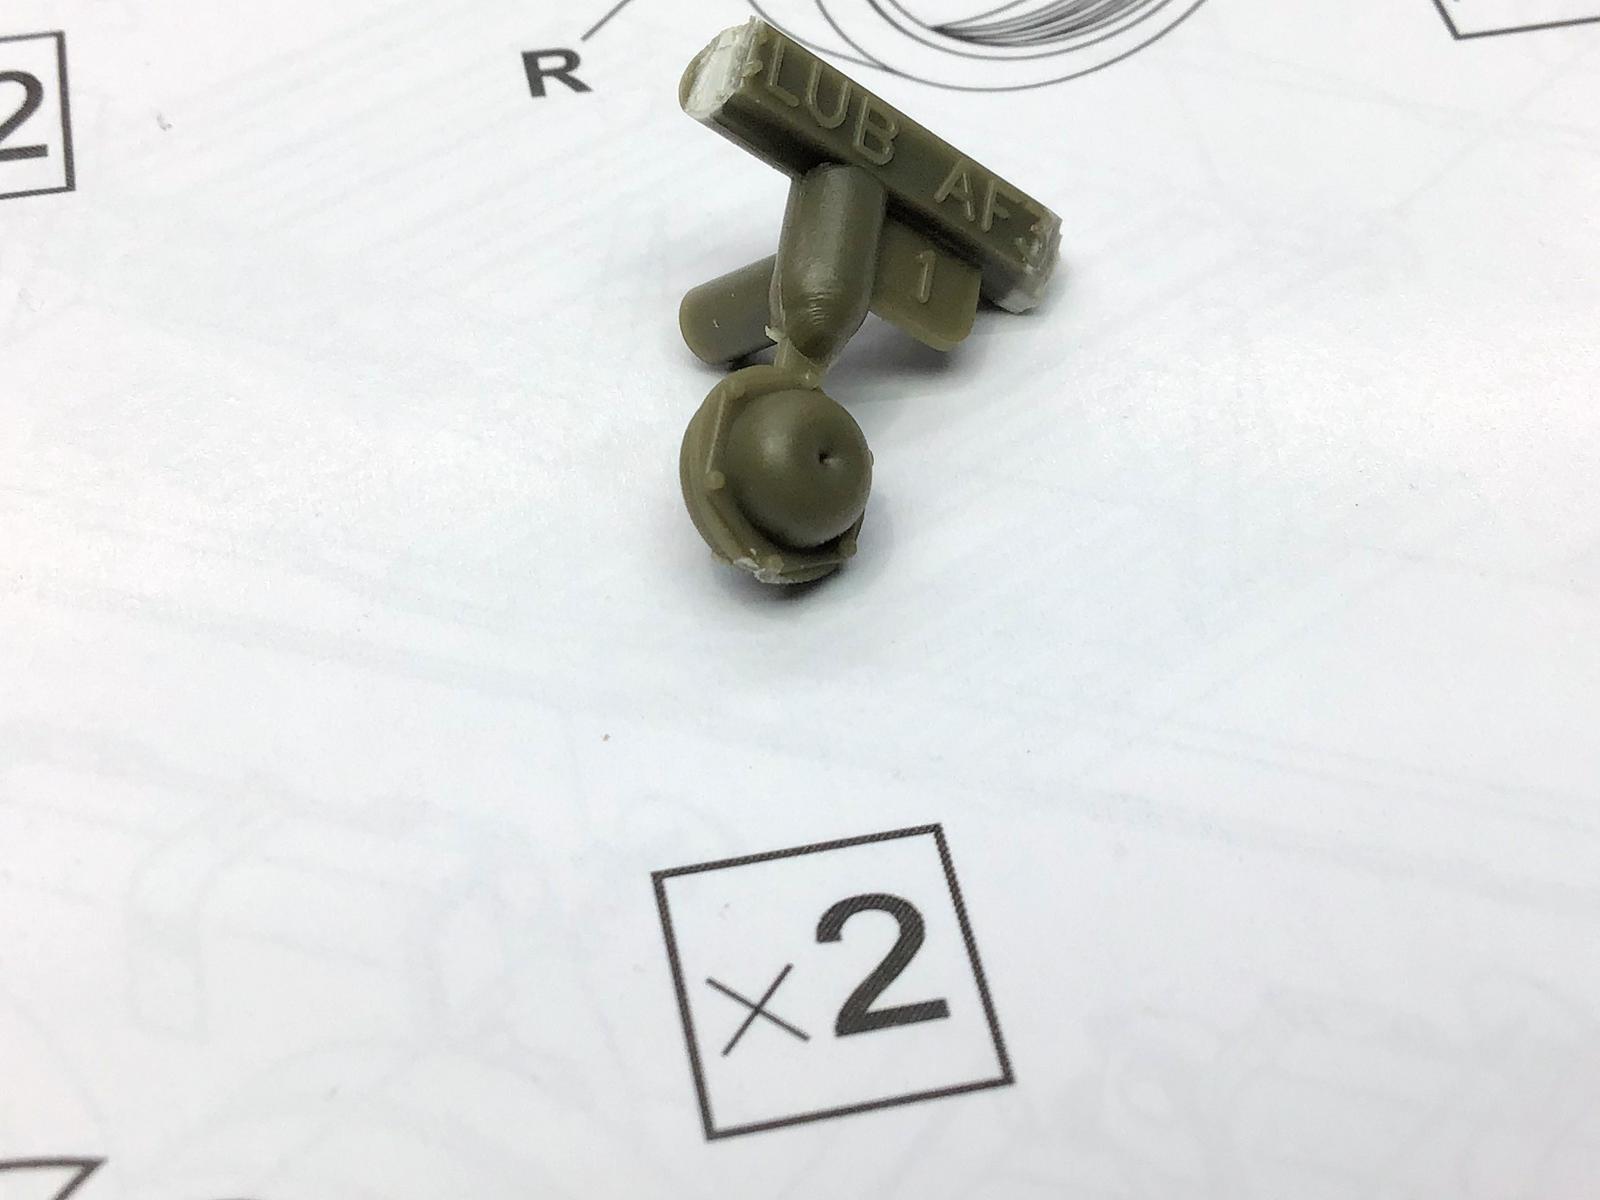
Tiny Parts
Star Decals
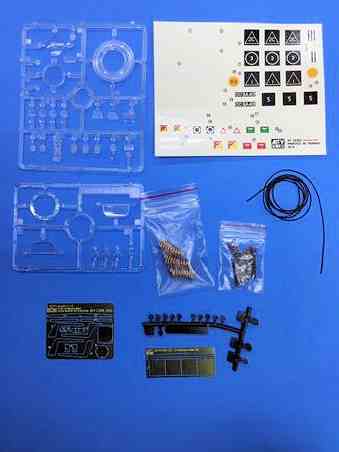
Photoetch Clear and Misc Parts
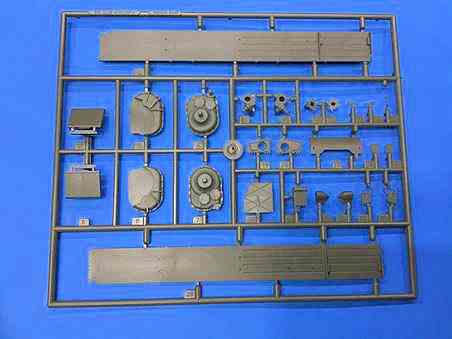
Hull, vinyl tires, aluminum barrel and tracks
Cast Texture on Turret

Resin tie down cleats from Tiger Models

Resin tie down cleats from Tiger Models
Workable Tracks

Resin Mantel Cover
Details
Close Up of Turret
Resin Mantle Added
Hull Numbers
Hull Assembly

Prepped for Paint
Prepping for Paint
Finished
Finished
Finished
Finished

Comments
Add new comment
This site is protected by reCAPTCHA and the Google Privacy Policy and Terms of Service apply.
Similar Reviews