
British Holland Class Submarine
Mikro Mir has releases a series of submarine models from the first submarines through the Cold War. Most of these are in 1/350 and are subjects not seen on plastic or at all. When the IPMS review list came out I wanted to try one, but it was overwhelming and a hard choice of which subject to pick. Fascinated with warships of the turn of the 20th Century I opted for the first British submarine – the American designed Holland Class developed by Mr. John Holland and his company Electric Boat. For such a small submarine, Mikro Mir chose 1/144 scale, which turned out to be a good size.
Mikro Mir’s British Holland is an injection molded styrene kit with a PE fret for the finer components. Also included are a display stand and a very small decal sheet, the majority of which is a Royal Navy Ensign to display the submarine upon commissioning. In the pictures I have seen of these subs underway, there is no ensign flying. While waiting for the kit, I did research on the subject since I was unfamiliar with the British Hollands – fortunately, one still exists as a museum in England; it was raised and preserved years after sinking. In my research, I learned that Mikro Mir used Computer Aided Design (CAD). The fidelity of the CAD matches the prototype and the kit components show it. The small parts are well shaped and petite, but somewhat brittle.
This was a very enjoyable model to build and went together quickly. The fit was very good. Before assemble I deepened the “panel lines” on the hull to better take a wash. The only challenge was the assembly of the control system and propeller. There is no construction sequence, just a clear exploded view with the parts identified. I found a few mistakes in the instructions. Plastic parts 13 and 27, which are exhaust pipes to the muffler, are reversed and parts PE 3 and PE 9 are reversed. Since I discovered the mistake with parts 13 and 27 to late, I cut the pipes into segments and added styrene rod to fix the mistake. I tried several ways to assemble the propulsion and control surfaces and none seem to be the right sequence. I think PE parts 3 and 9 are best replaced with styrene strip, which greatly eased assembly. I replaced the snorkel pipes – 14, 25 and 26 – with styrene rod. The PE bilge keels attached easily with no fit issues. I also opted to leave the conning tower hatch open, as I planned crew figures. Finally, I opted not to use the plastic grab irons, making replacements from brass wire instead.
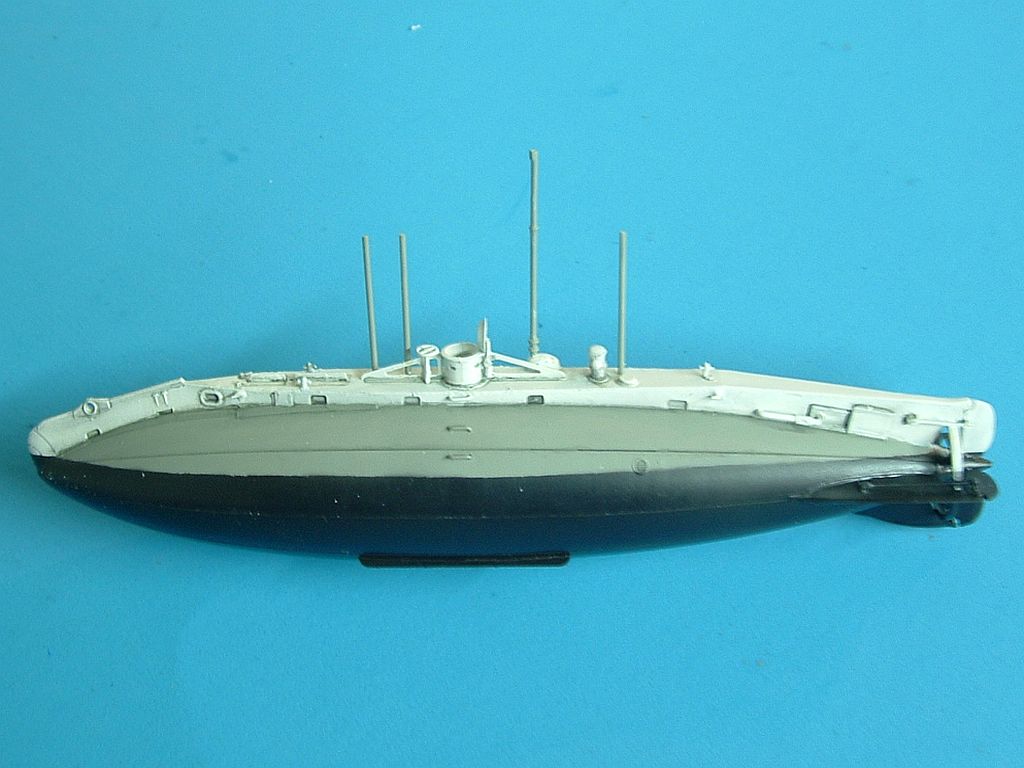
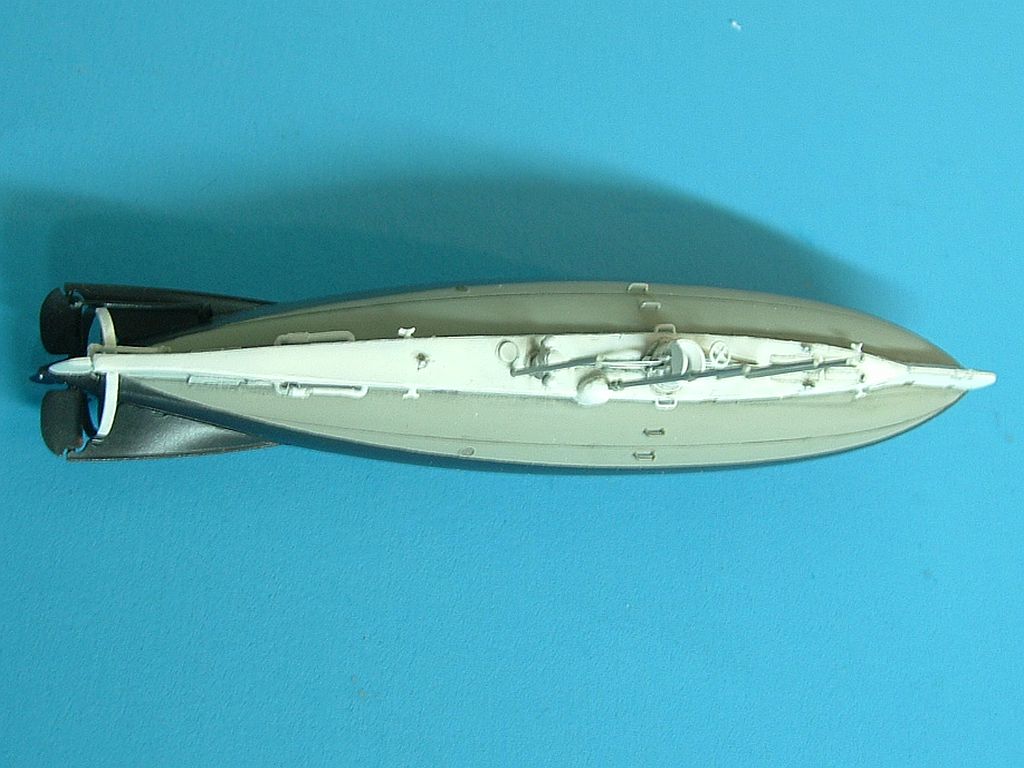
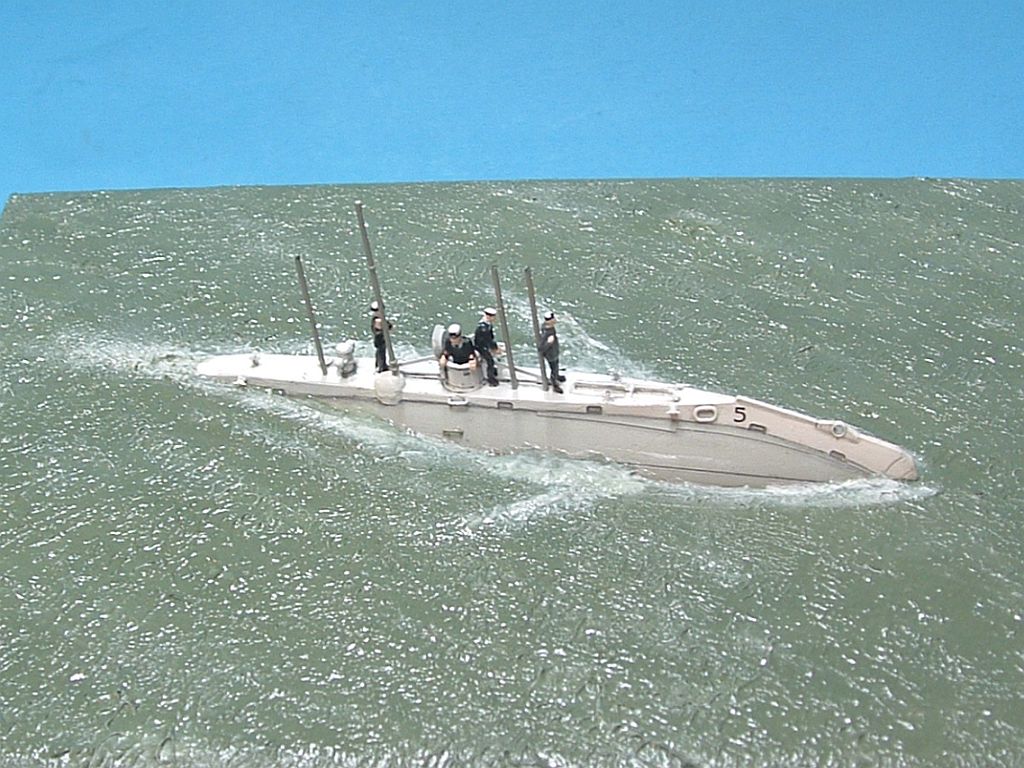
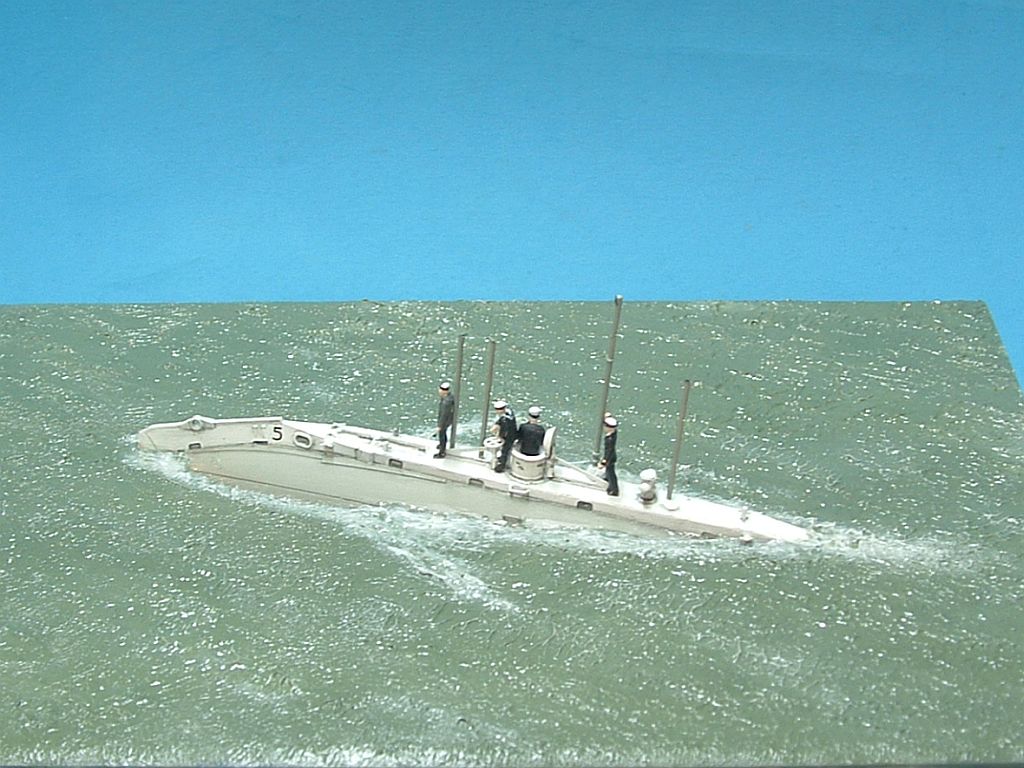
The subs operated in a variety of schemes, but Hull No 5 circa 1905 was the scheme I chose. I used Model Master enamels: Flat White, Light Sea Gray and Euro 1 Gray. The trick was getting the designed waterline straight. I eyeballed it, but with longer hulls a waterline gauge is a good tool. Once painted, I applied gloss for the decal and afterward to seal it. The decal was easy to use and settled nicely. I then applied a dark gray wash. I sealed everything with Testor’s Dullcote
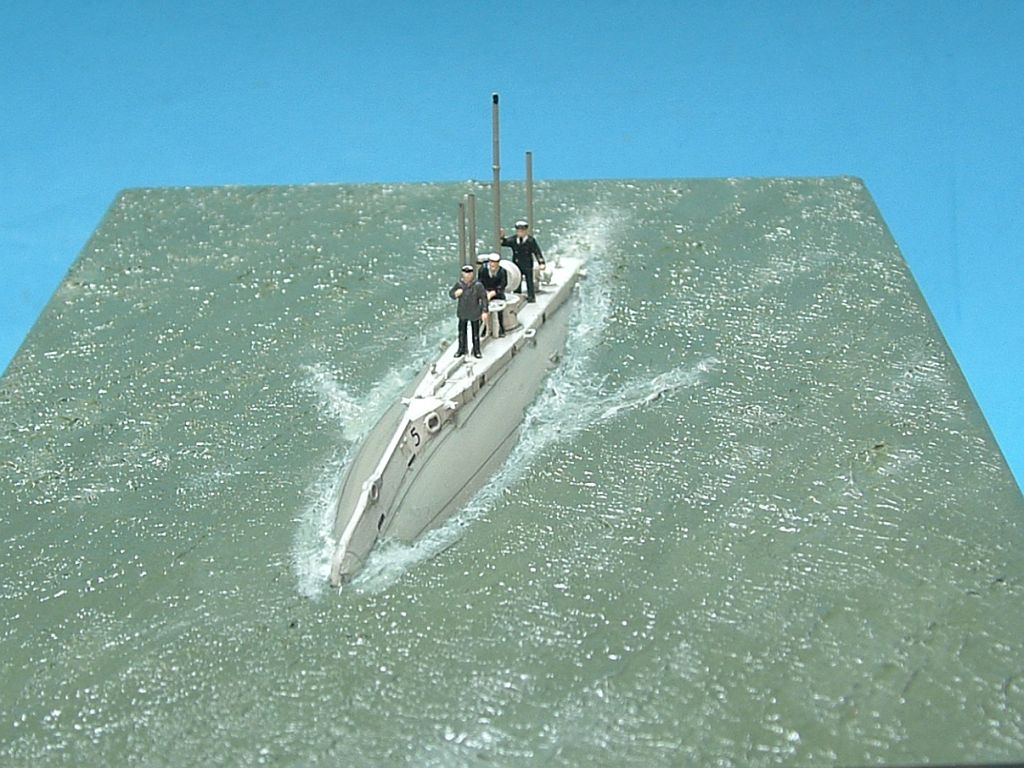
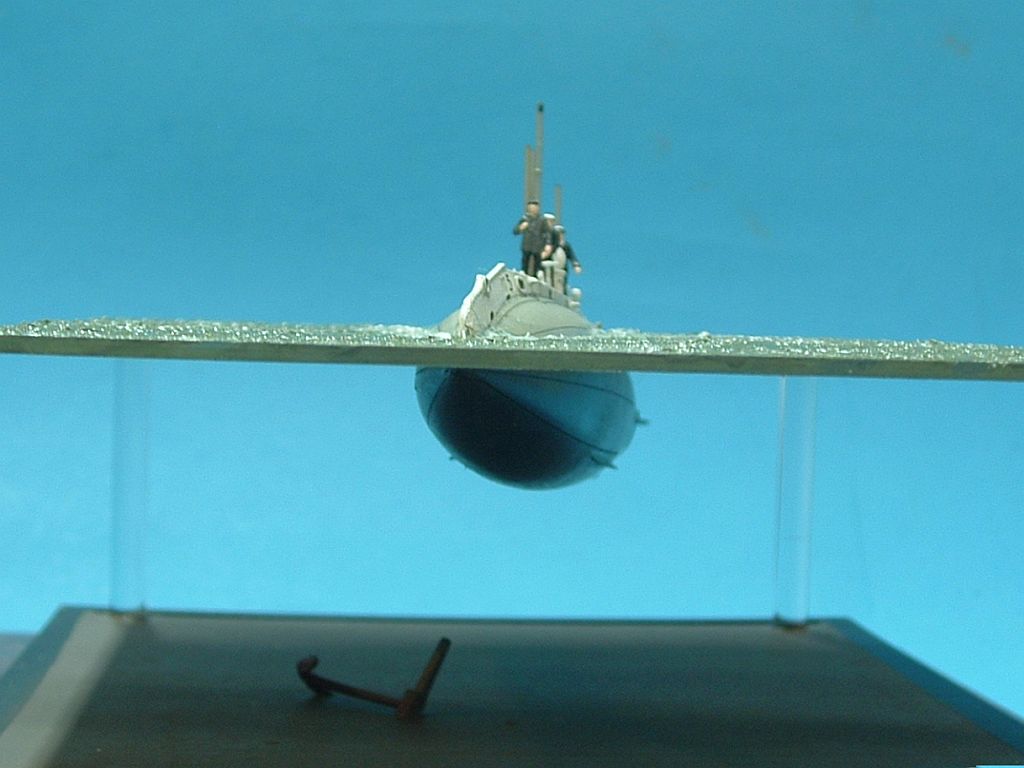
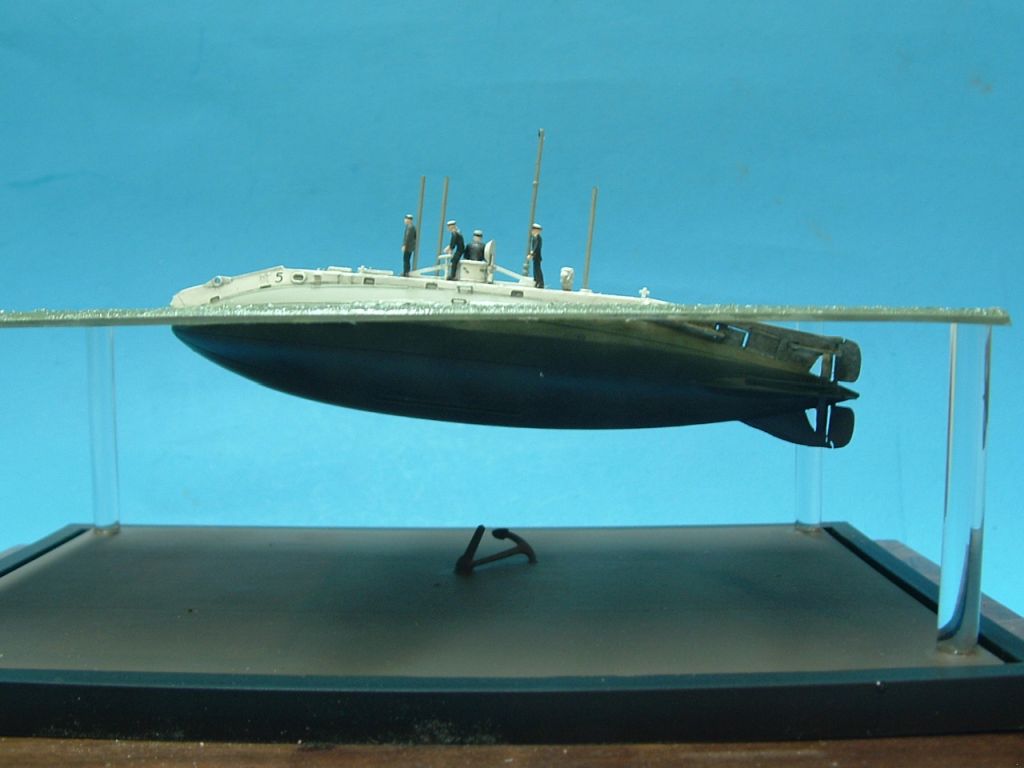
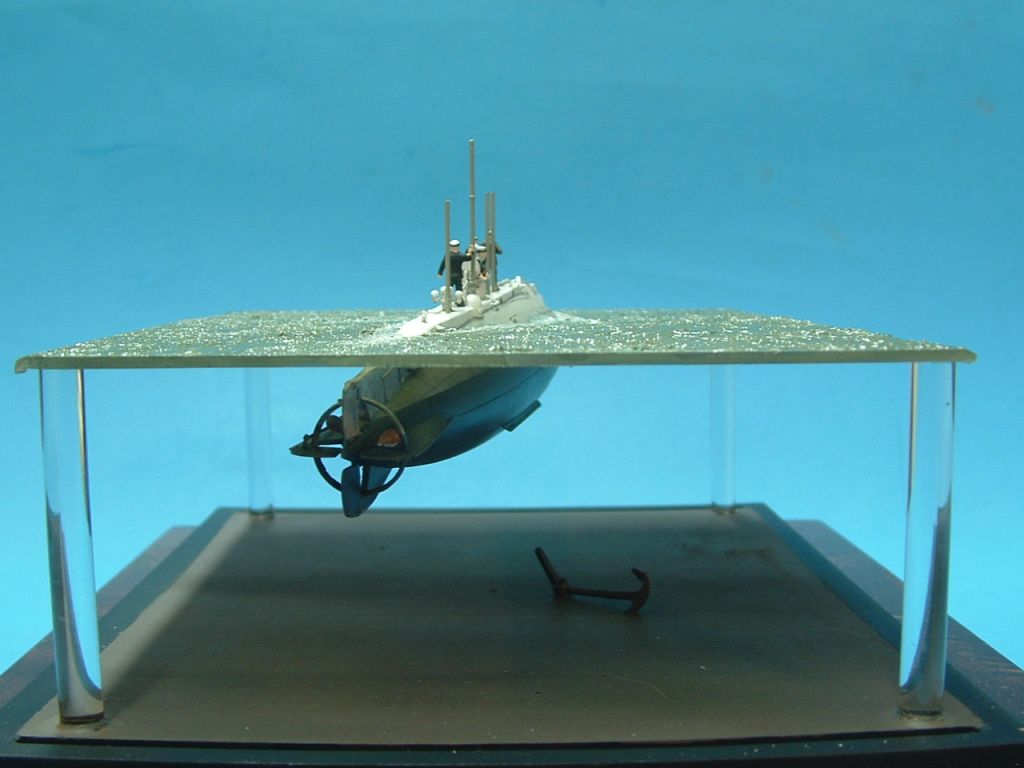
What took more time to build the model was the display I chose for it. Given its size and availability of figures, I decided to model the submarine underway with crew. I also wanted to show the bulk of the submarine’s underwater hull, so for the first time I tried to display a vessel so that you can see the full hull while underway. Studying period photos, you notice that most of the time the subs are trimmed by the stern with the control surfaced fully submerged. Plus, either out of caution of prudent seamanship, much of the crew is topside. Once I found the right display box and thin Plexiglas for the water, I used a contour gauge to figure out the natural waterline of the sub in this partially submerged condition. I then made a paper template and transferred the shape to the Plexiglas. I used a handsaw to cut the opening, trimming and filing to get a good fit for the sub. Once I had the desired angle, I used Gloss Medium Gel to “glue” the sub into place. Once dried I used the add wind waves and the wakes of the submarine. The water is Model Master SAC Bomber Green, applied diluted to allow light to filter to the base below. I used white to pick out the wake. The based was painted a mix of browns airbrushed to show variation in the bottom mud. The stocked anchor came from the spares box.
The figures are N scale railroad figures painted to resemble Royal Navy crewmembers with the Commanding Officer wearing a slicker. The figure operating the horizontal ship’s wheel, had its arms reposition for a more natural pose. The figure climbing out of the hatch harkens backs to the iconic image of John Holland.
This was a great kit to build and I look forward to building some of Mikro Mir’s other submarine kits; it has my strong recommendation.


John Phillip Holland
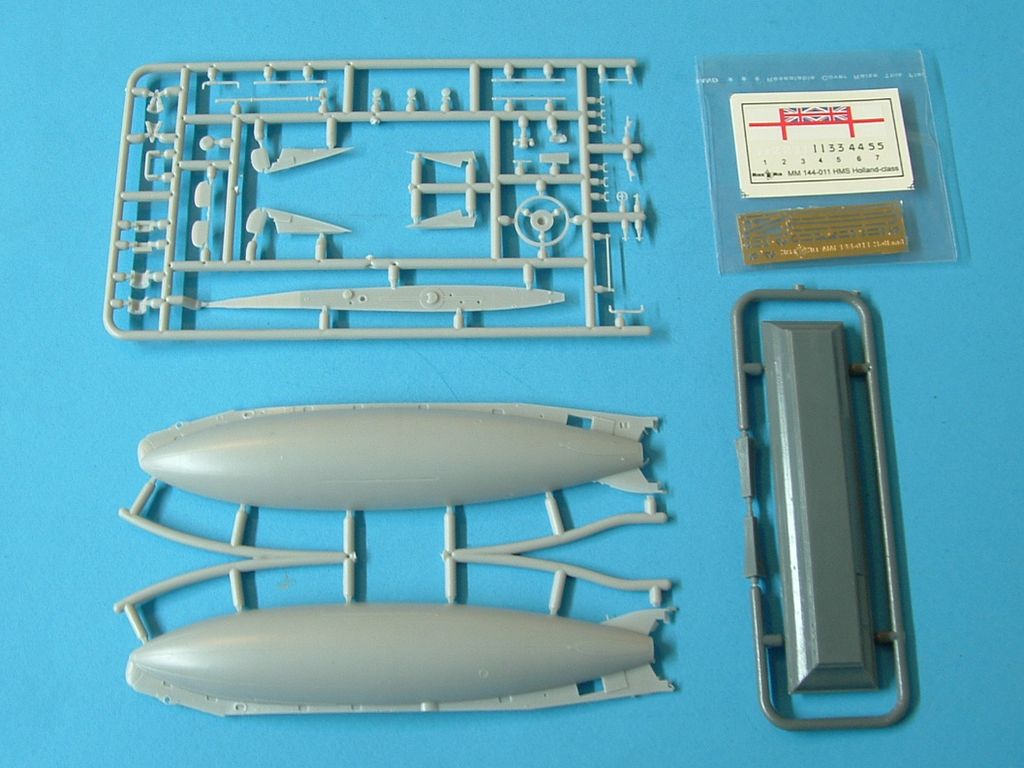
Kit contents
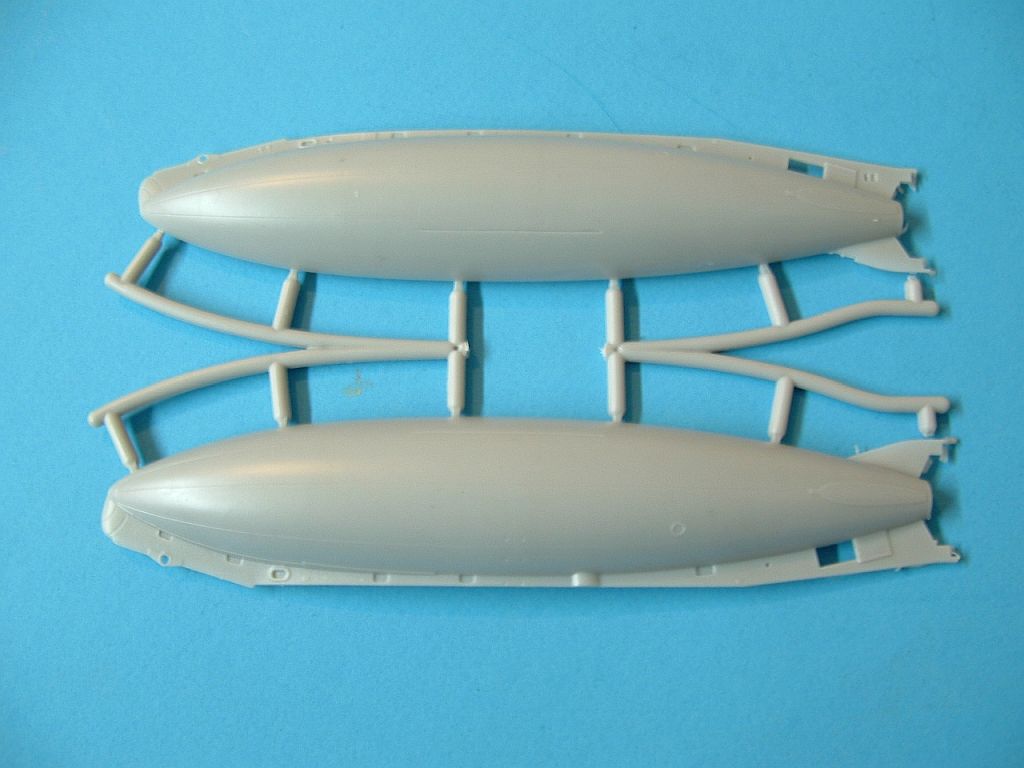
Hull parts
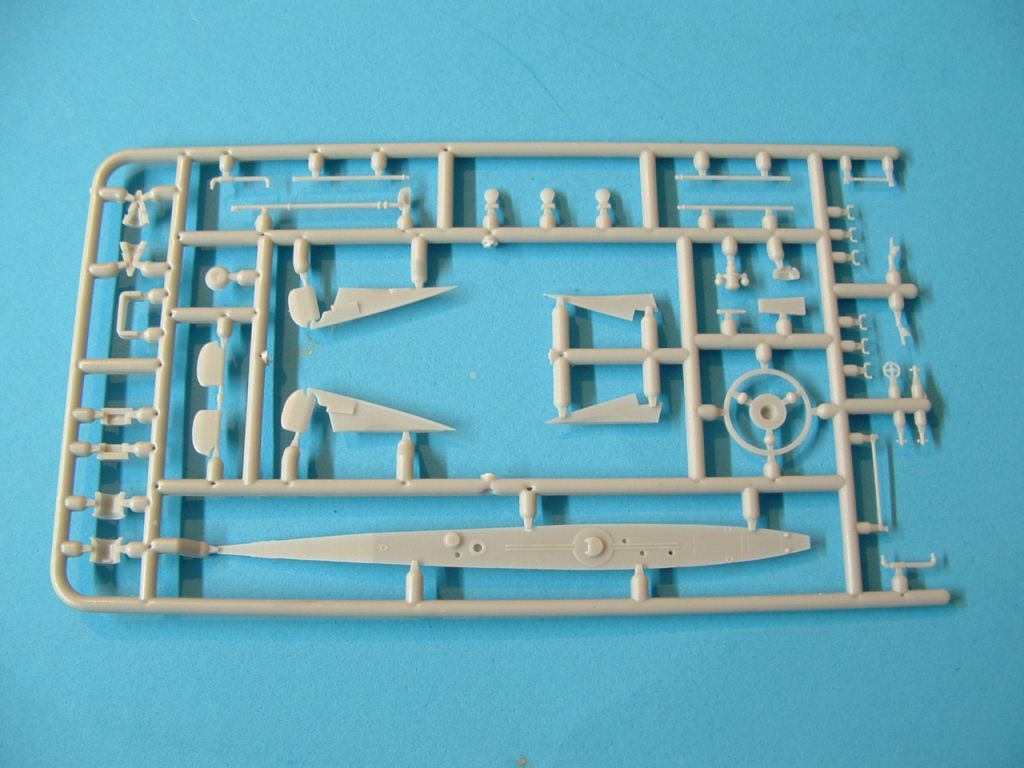
Sprue
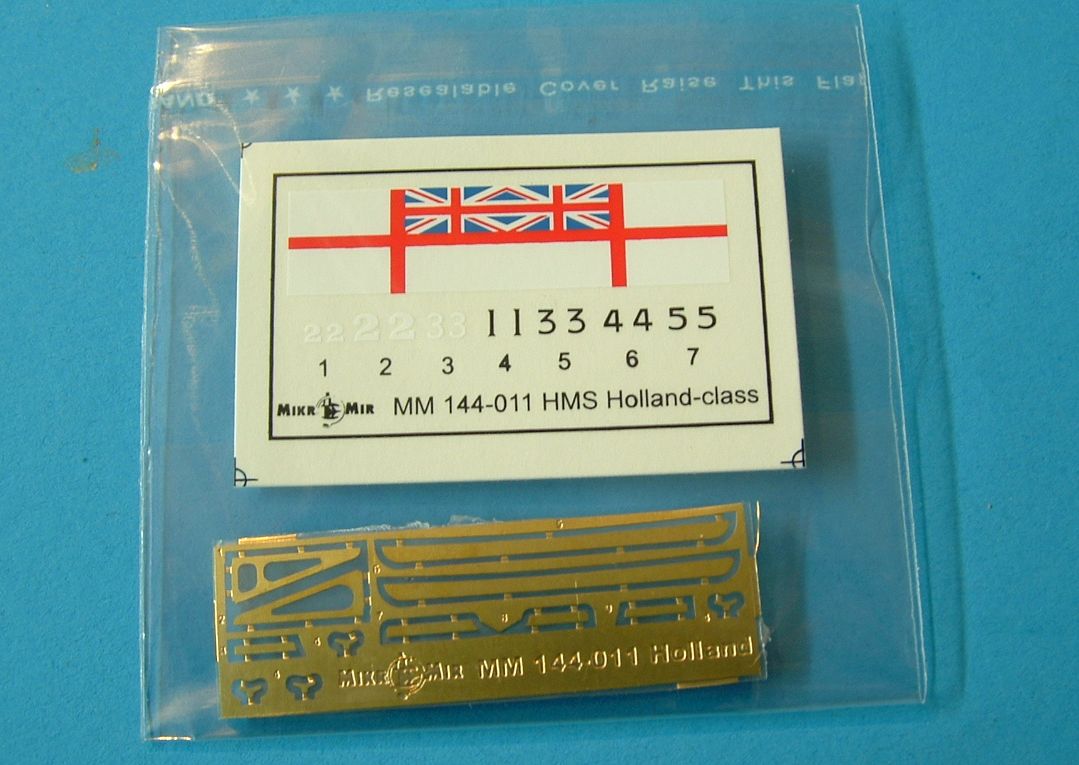
Photoetch and decals
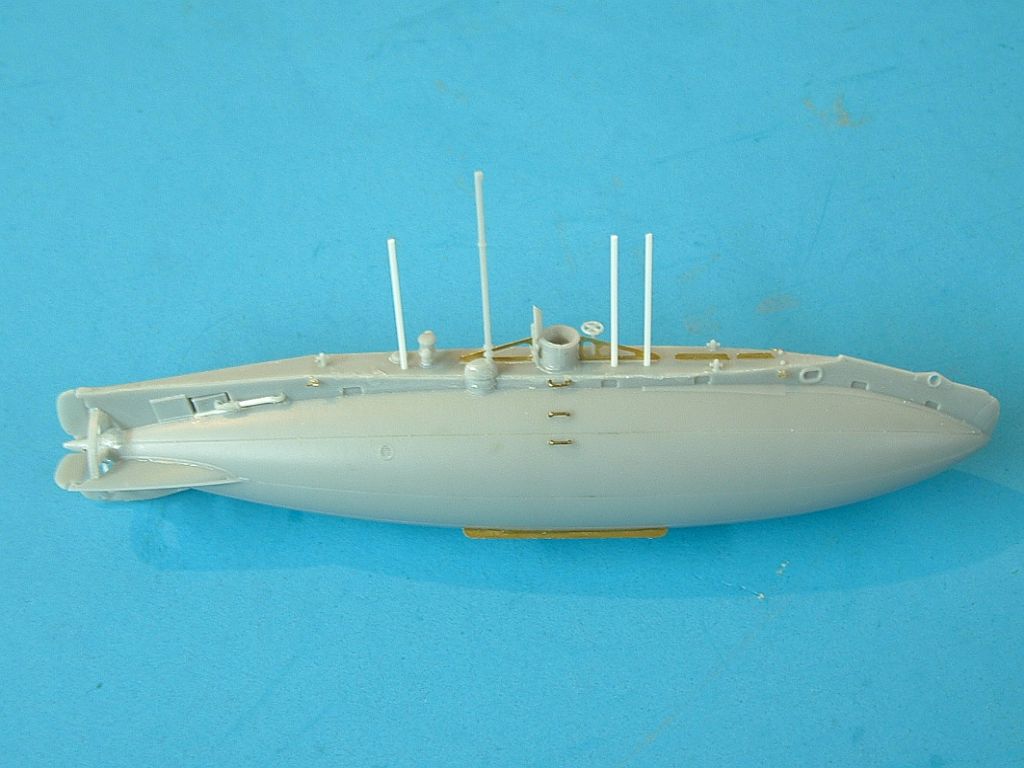
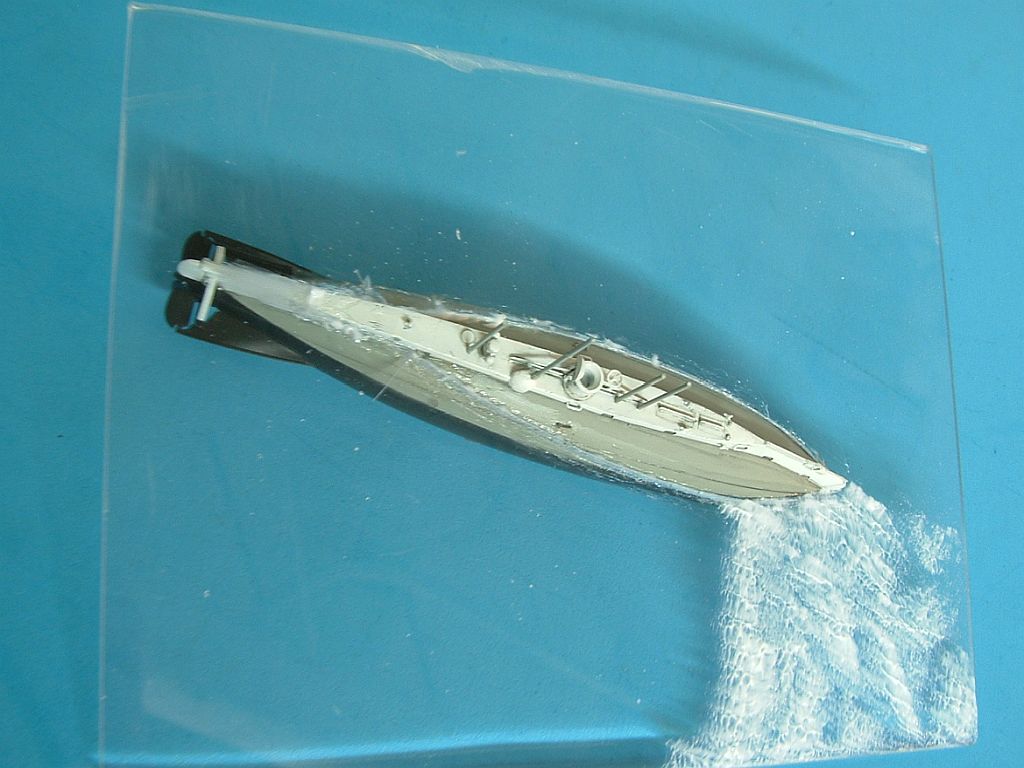
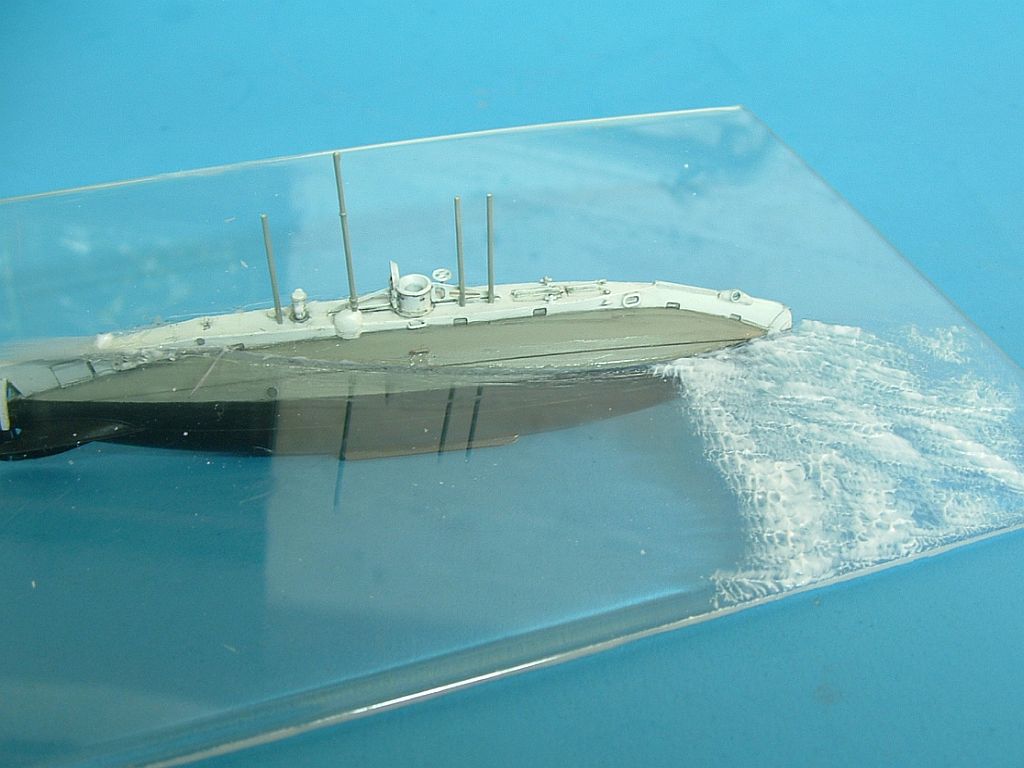
Finished hull
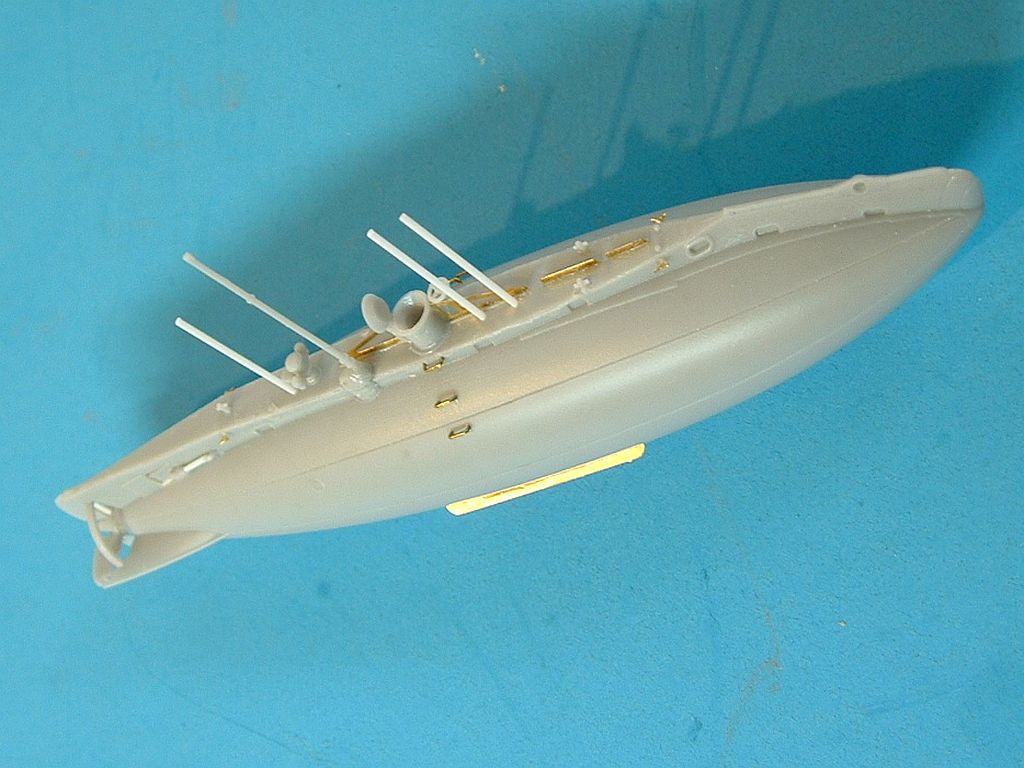
Finished hull

Finished hull

Finished hull
Finished hull
Finished hull
Preparation for display
Preparation for display

Preparation for display

Finished model
Finished model

Finished model
Finished model
Finished model
Finished model
Finished model
Finished model

Comments
Add new comment
This site is protected by reCAPTCHA and the Google Privacy Policy and Terms of Service apply.
Similar Reviews