
Bristol Beaufighter TF.X
History
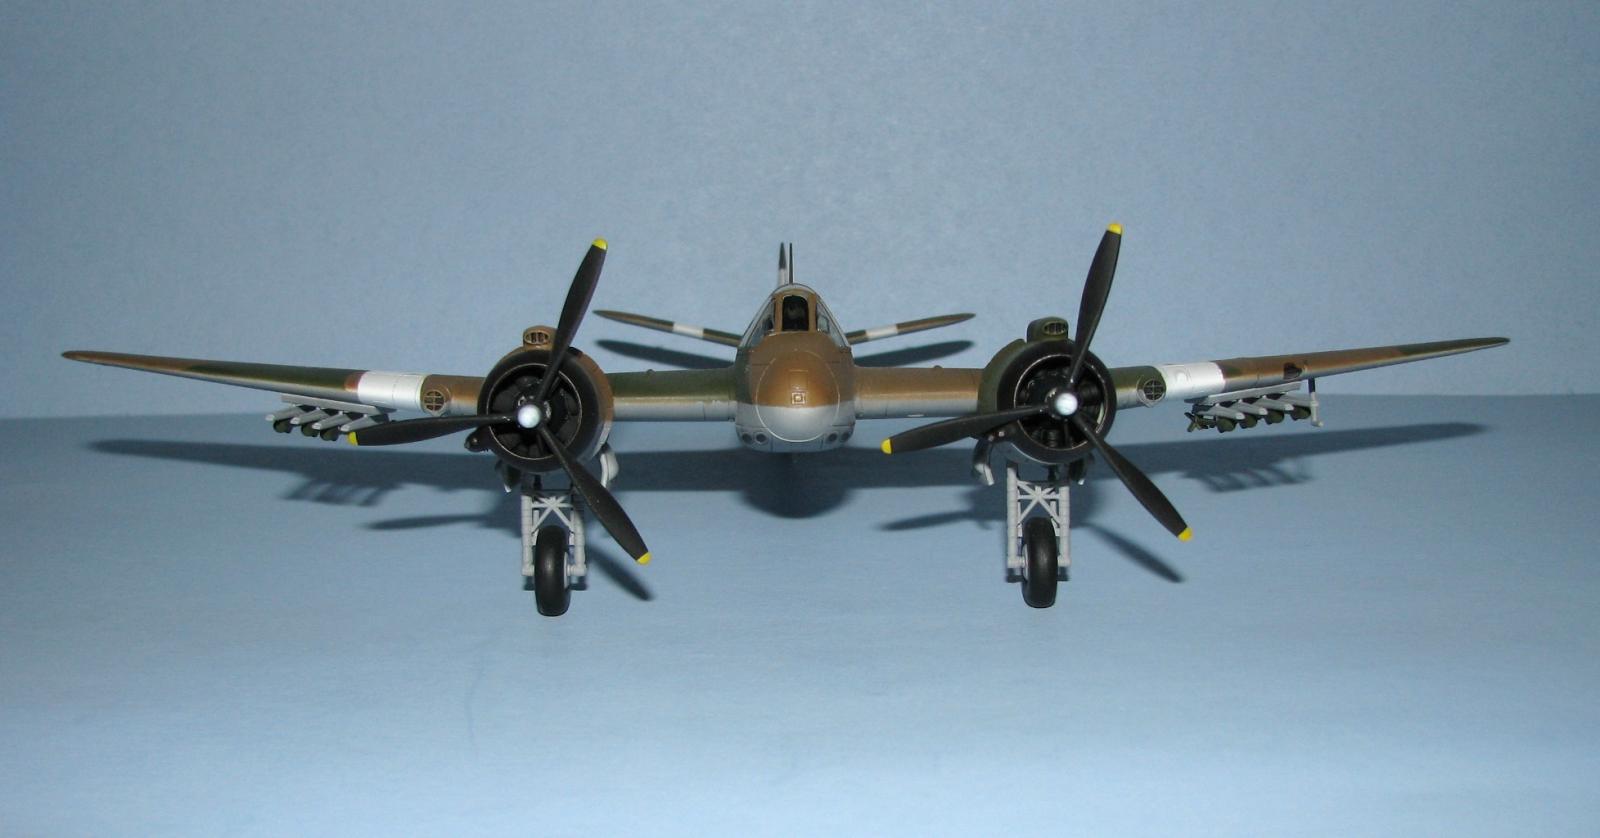
The Bristol Beaufighter was a British long range heavy fighter, developed from the earlier Beaufort design. Featuring two Bristol Hercules engines, the aircraft gained a fearsome reputation for being both fast and able to deliver a powerful blow from its four 20mm cannons and a choice of either Torpedo or Rocket projectiles. Although developed to be a fighter, and used successfully as a night fighter, it was the Mk.X Coastal Command version that was most successful; its range and power enabling it to take a heavy toll of Axis shipping. The Royal Australian Air Force also used the type, finding it to be very suitable for the Pacific war, where the Japanese called it ‘Whispering Death’ due to its quiet engines. After the war Beaufighters continued to serve until the early 1950s.
The Kit
Upon opening the box you will find: 4 sprues of light grey, 1 clear injected molded plastic sprue, a decal sheet, and a 12 page instruction booklet. The plastic is crisply molded with raised and recessed detail, with no noticeable sink marks and no heavy pin marks. The clear parts look very nice with no distortions and the decals are printed cleanly and in register.
Construction
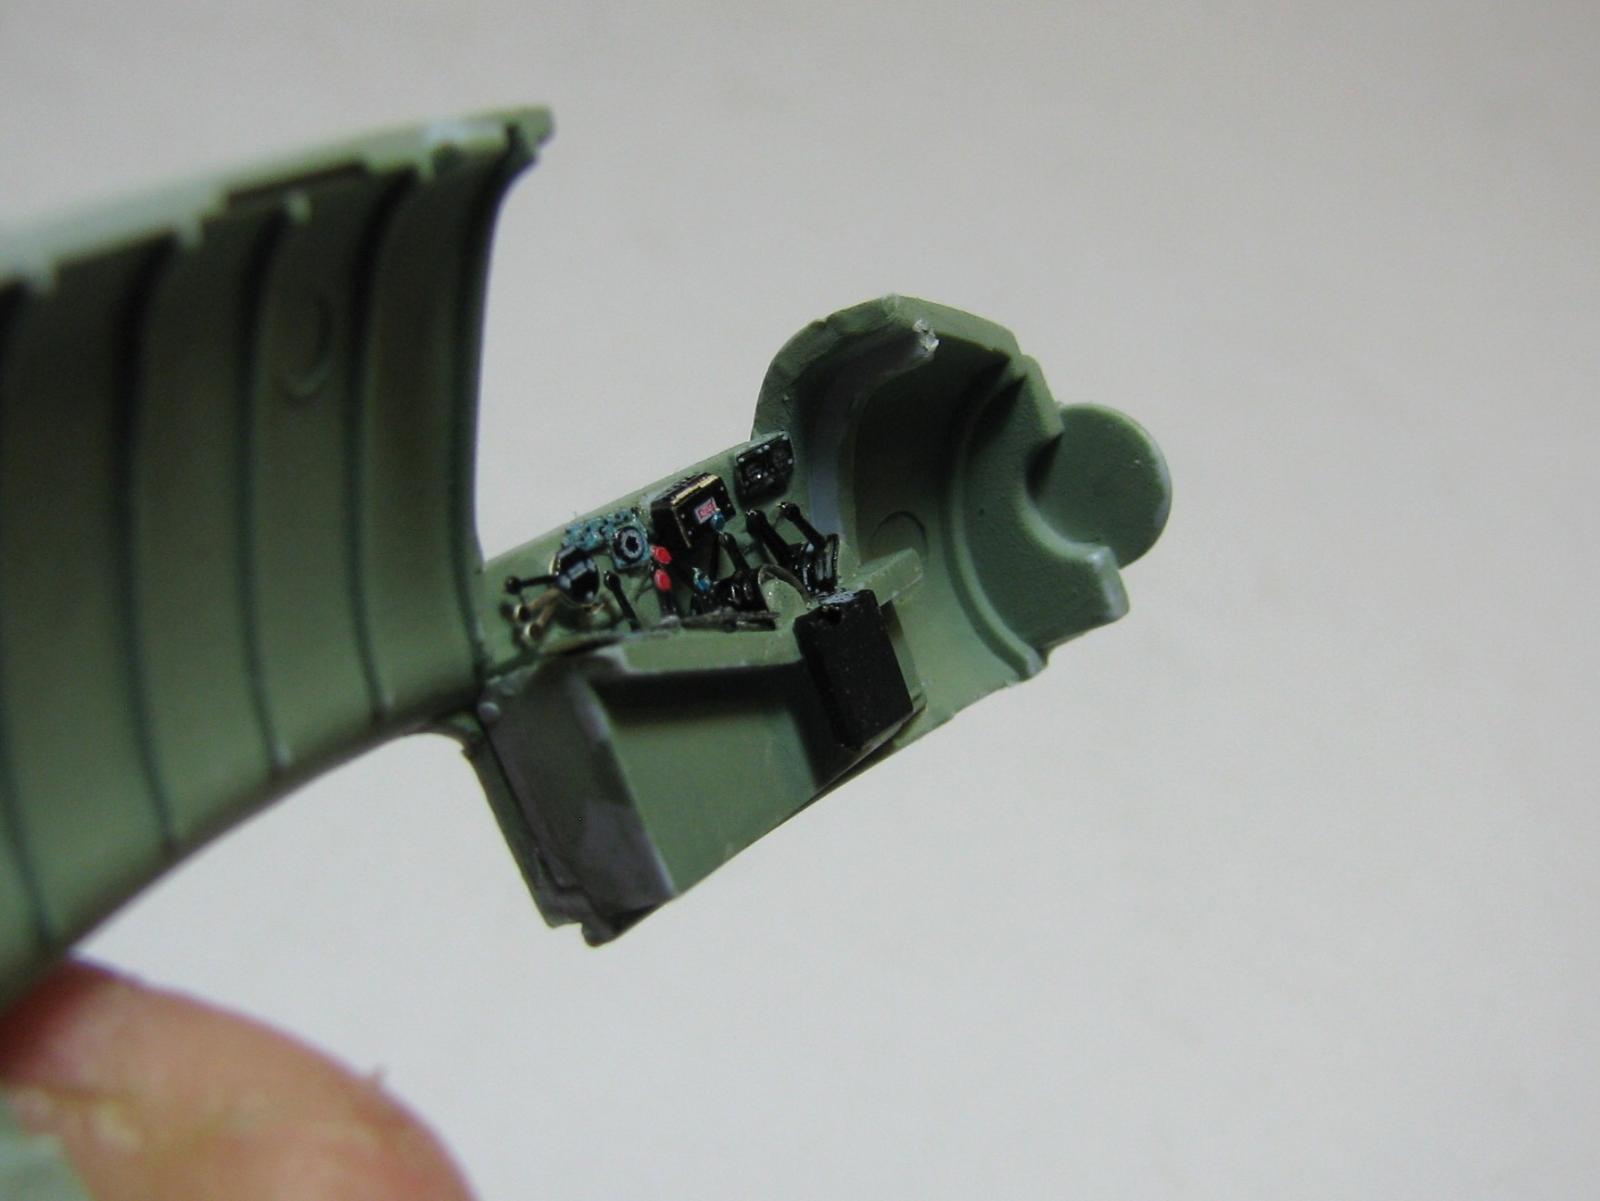
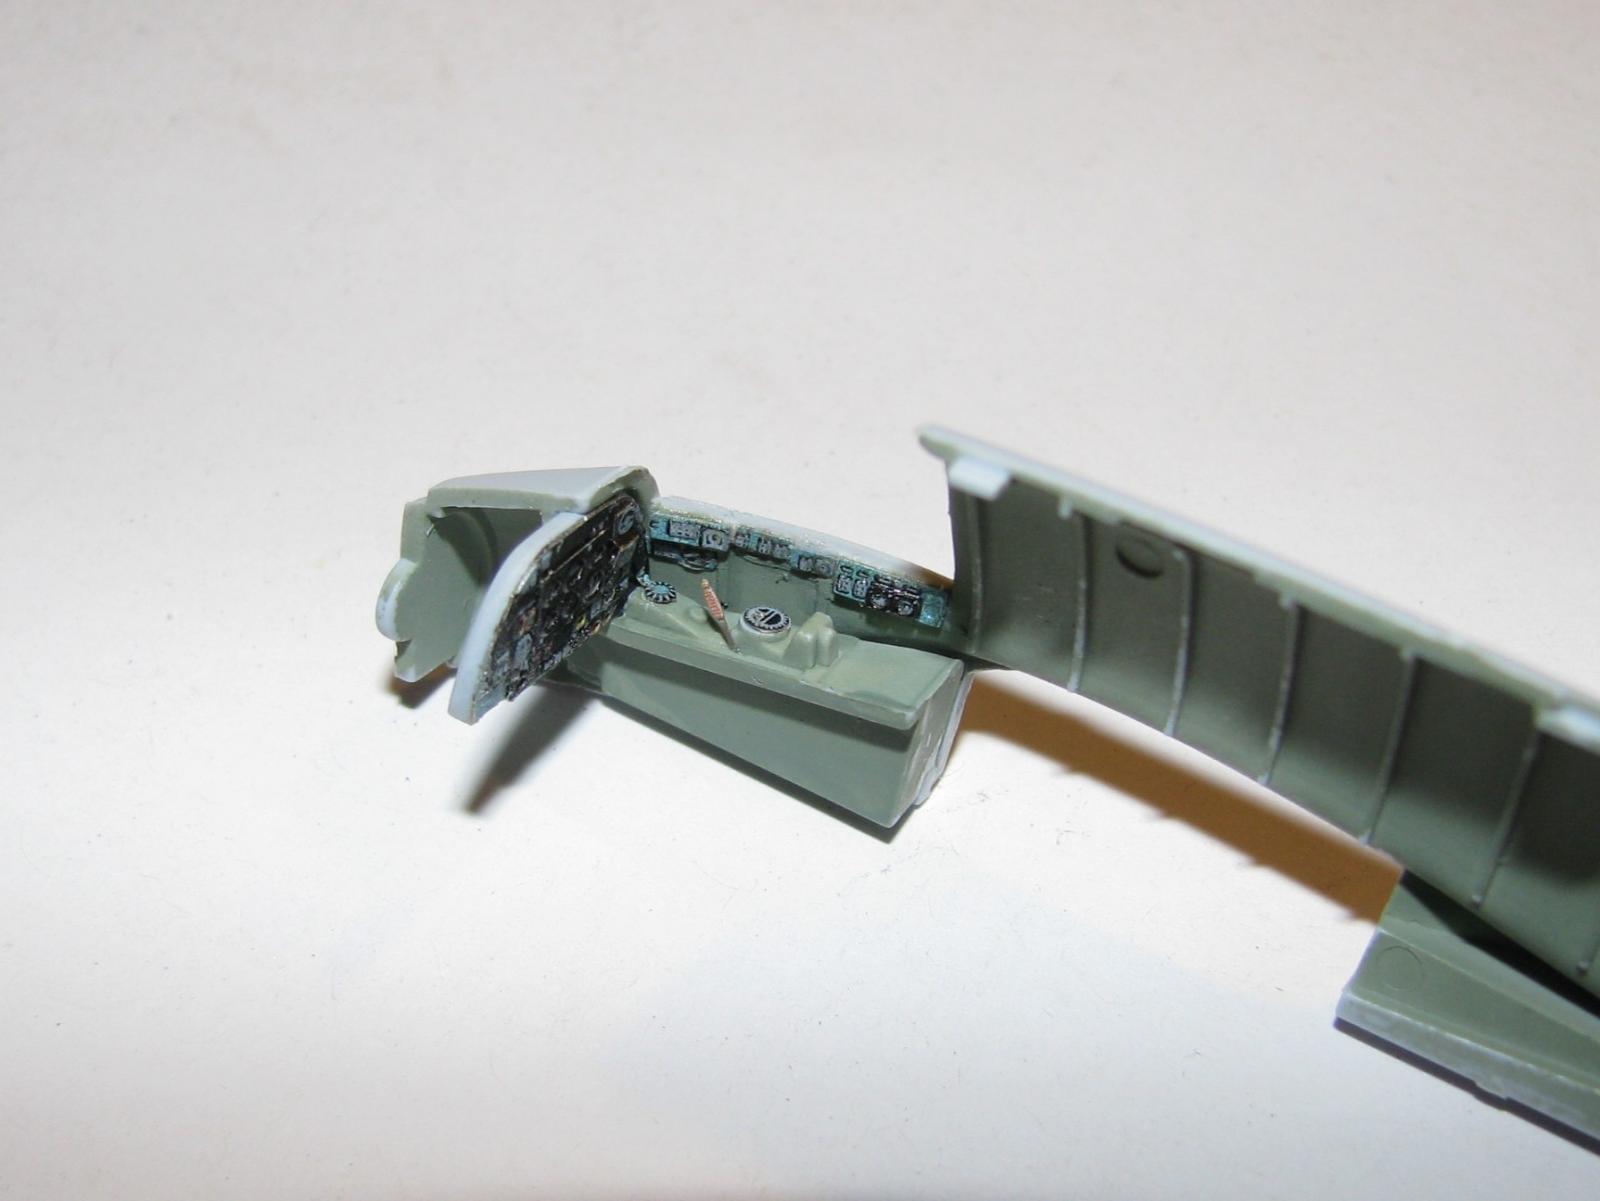
Starting with the cockpit and interior (I’ll bet you’re surprised at that!), the first 6 steps cover this. One item to note here is that the detail in this kit is a bit softer than previous new Airfix releases, therefore I opted to use the Eduard Zoom Set (SS 526) to help make it look a little busier. Only 14 pieces make up this assembly and it is all fairly simple (there are more photo etch parts from the Zoom set on the left console of the cockpit than the kit has for the whole interior!), and one nice thing that Airfix has done is the use of wing spars that run through each side of the fuselage, which makes attaching the wings a lot easier I think. You are also provided with two tail wheels; one posed retracted and one lowered and you also get two sets of main gear doors, one for closed and one open. After closing up the fuselage you need to add part A2 (make sure you decide which version now because you need to drill holes for the torpedo mounts in this piece), which is the lower part of the fuselage, and I was worried about a long seam line, but it fit pretty well, and the seam looks like one of the panel lines.
Once the Fuselage is finished, it’s on to the wings, and again, depending on which version you want, there are some small holes to be drilled in the lower half of the wings. Cement the wings together, then slide them on the spars and you’re done. Wasn’t that easy?! The two versions have different horizontal stabilizers, so make sure you use the right one. The rudder is a separate piece from the rest of the tail, and I must say that all of the tail pieces fit perfectly.
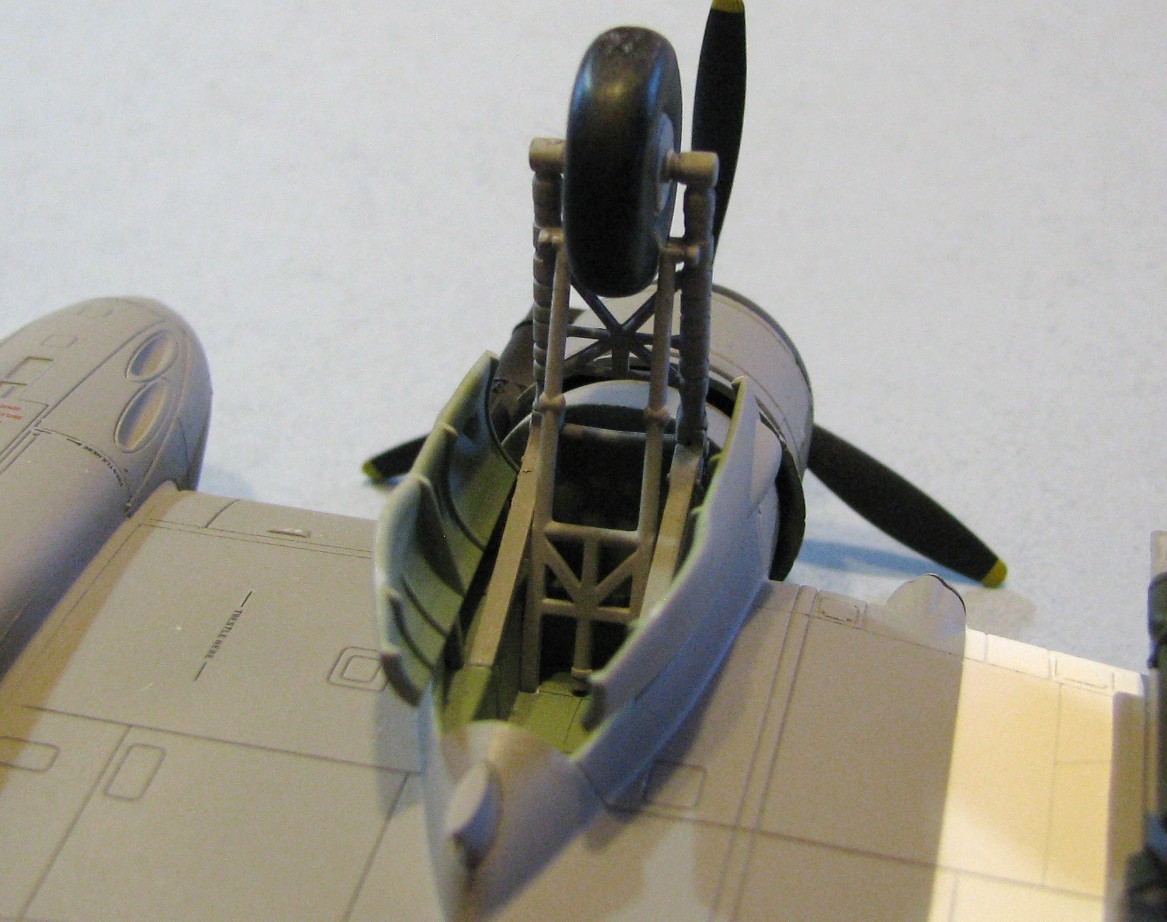
Next up we have the engines, and I was kind of surprised that the engine detail is a bit soft, but after it’s painted in this scale you have to look really close to notice it. Each engine is a nine piece affair, with the cowl using 5 of those, and it all went together smoothly. Now to the landing gear, and this area is a little more complex. The main struts are made up of 4 pieces, with B18 & 19 being the first two that go in the wheel bay. If you don’t get these set right you’ll have problem with the rest of the assembly so take your time. The wheels are pretty nice in that the tires are two halves fitting over the wheel making painting these real easy.
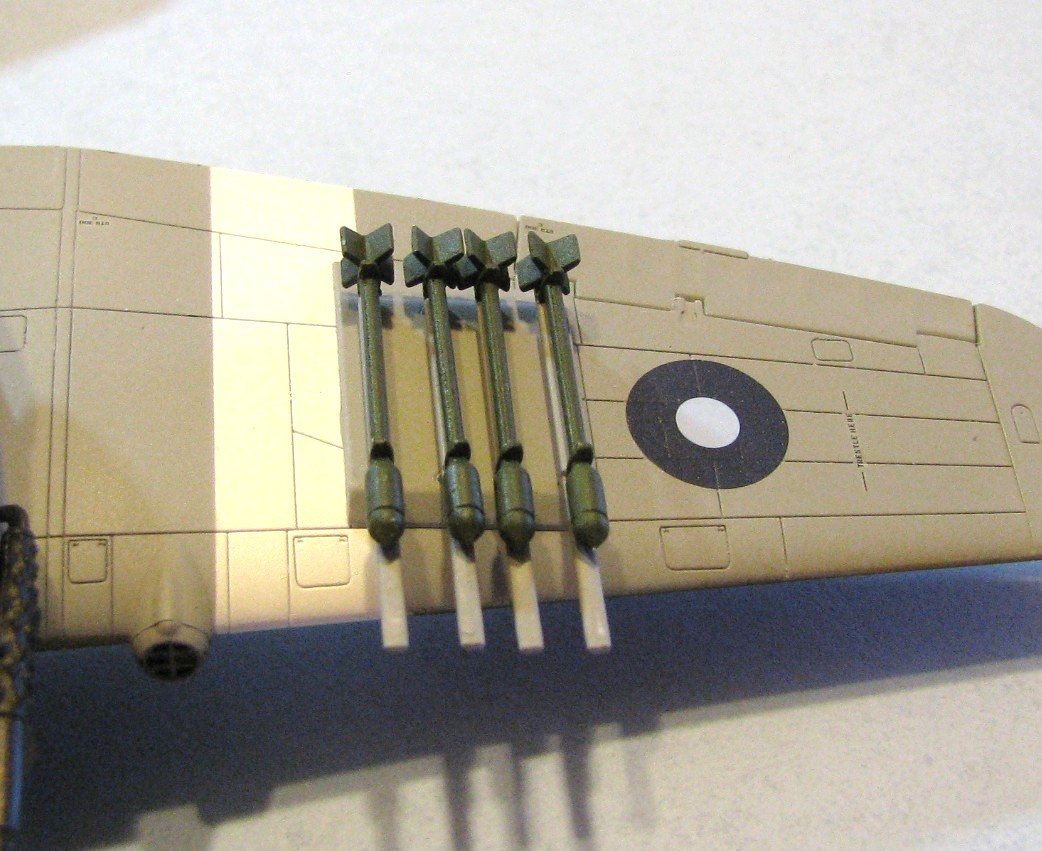
Next up is your choice of weapons (rockets, or torpedo), followed by wing lights, canopy, and propellers. As far as landing and formation lights go, there are different parts for each version, so pay close attention as to which ones you need. The propeller assembly is made of 3 pieces that once together basically snaps into the engine.
Finishing
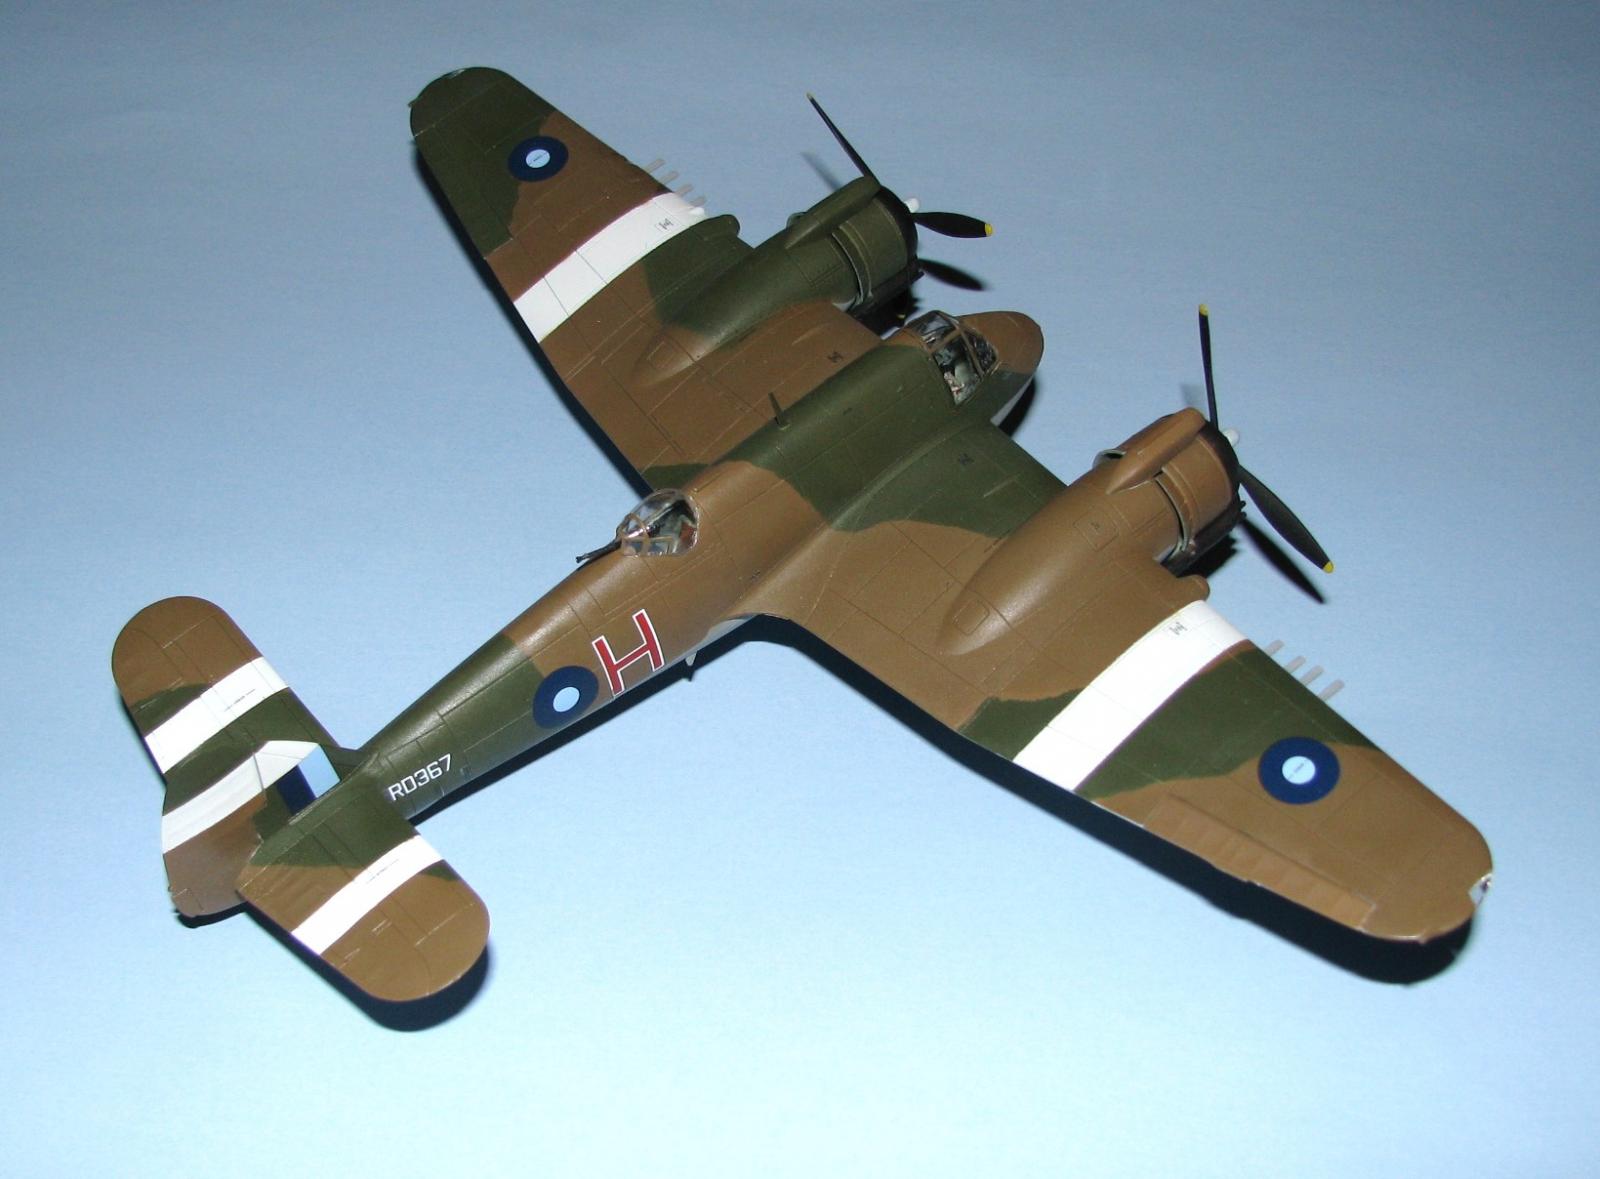
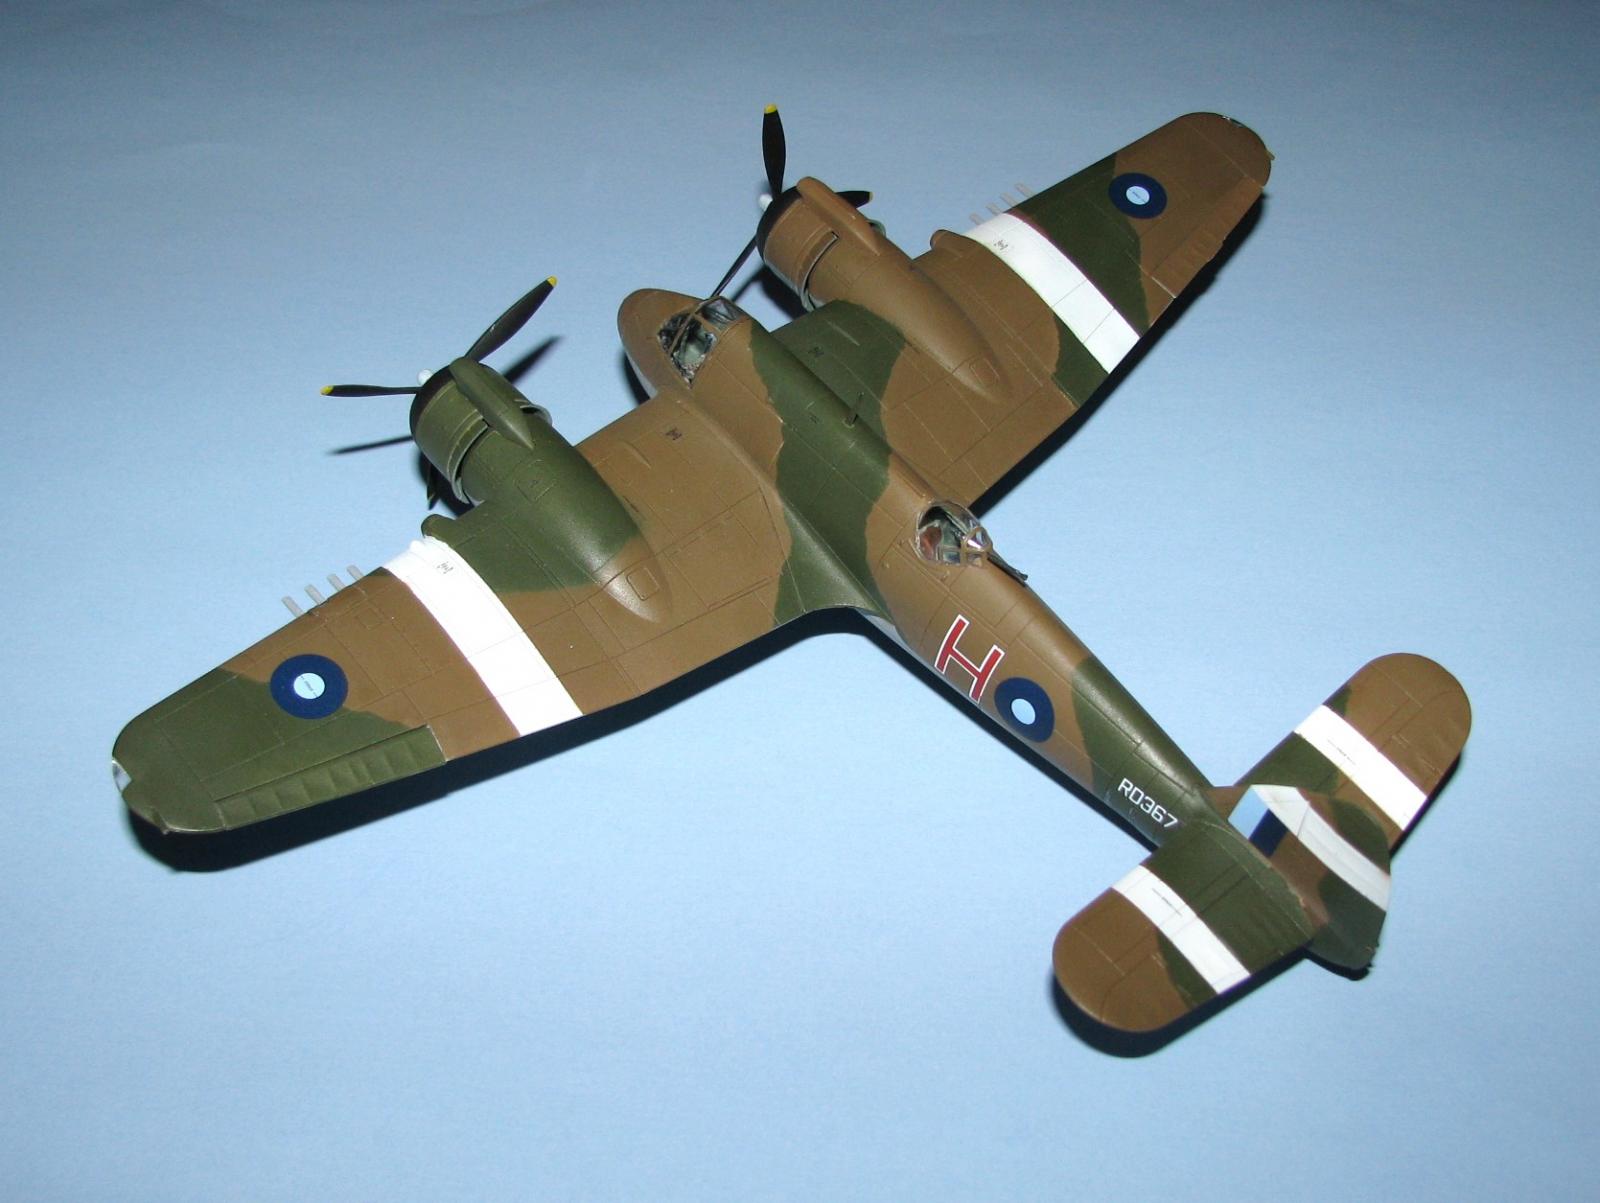
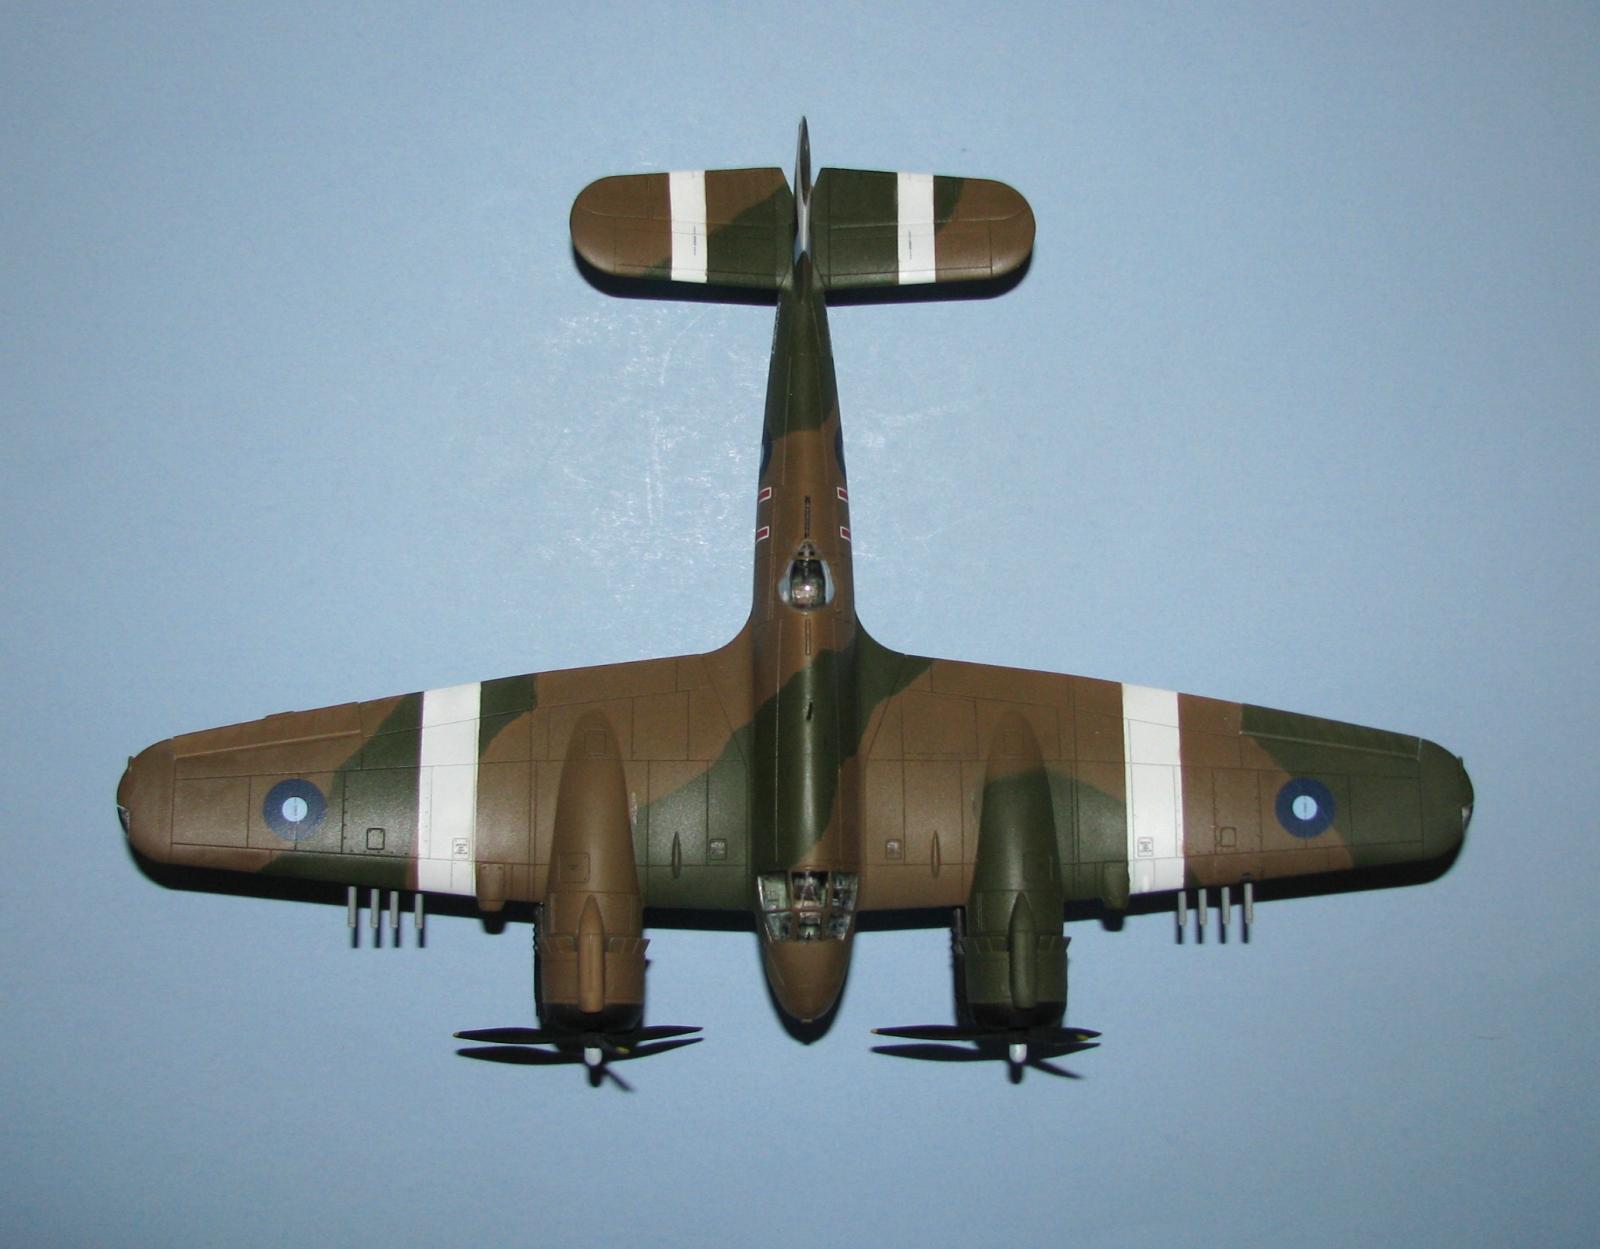
I used Testor ModelMaster Dark Green & Dark Earth for the upper surface and a mix of Tamiya XF-19 & XF-54 for the lower surface. The many decals (am I the only one who dislikes stencils?), went on and settled down rather easily with a little help from Micro-Set. You get markings for two aircraft:
- Aircraft flown by Flying Officer Maurice Exton DFC, No. 144 Squadron, Royal Air Force Banff, Aberdeenshire, Scotland, 9 October 1944.
- No. 27 Squadron, Royal Air Force South East Asia Command, Burma, June-August 1945.
Conclusion
Airfix has itself another great kit at a very good price that builds easily and looks great. I recommend this kit to all modelers but beginners should have some help from mom or dad.
I would like to thank Hornby USA for providing this kit, the review corps for letting me build it and all of you for reading this….MODEL ON!


Comments
Add new comment
This site is protected by reCAPTCHA and the Google Privacy Policy and Terms of Service apply.
Similar Reviews