
Boeing E-3 AWACS, NATO
The Aircraft
The E-3 Sentry is a logical follow-on to the earlier US Air Force EC-121. Of course the Sentry has better radar, more room and a more reliable aircraft. The basic airframe is the Boeing 707-720 with the JT-3D engines. When NATO decided they needed an airborne command and control system, they bought 18 Sentries. It’s of interest to modelers that the 17 remaining NATO Sentries are registered in Luxembourg, which has no other aircraft. In fact they don’t have an air base, so the NATO aircraft are based at Geilenkirchen, Germany.
The Kit
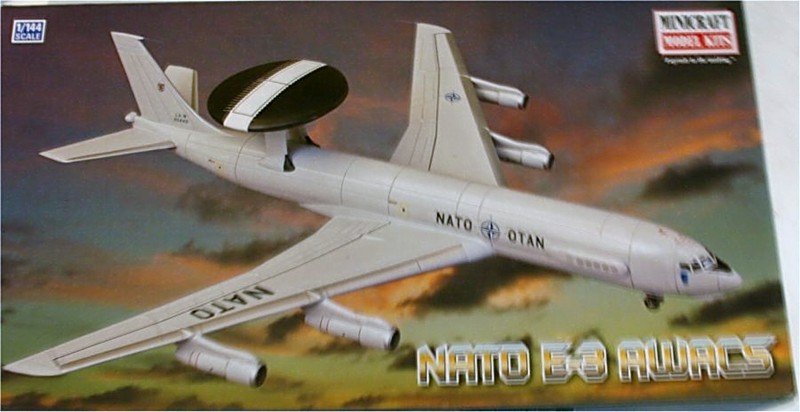
This is the third issue of the basic E-3A from Minicraft, along with their Boeing 707s, C-18 and E-8 JSTARS. The mold is several years old, but it has been well maintained, with crisp edges and almost no flash. All sprues are in separate plastic bags which reduces lost parts, breakage and scratches on the clear parts.
There were a couple of problems with this particular kit, both of which were fixable. The first one was that when I did the inventory of the kit parts, I found that someone had put the wrong clear part bag in the box. The clear part is for the C-97/Boeing Stratocruiser. The easy fix was to contact Minicraft. They were more than happy to offer to send a new clear part. The second problem was a slightly warped fuselage. In my experience, this happens when the parts are boxed before they are completely cooled.
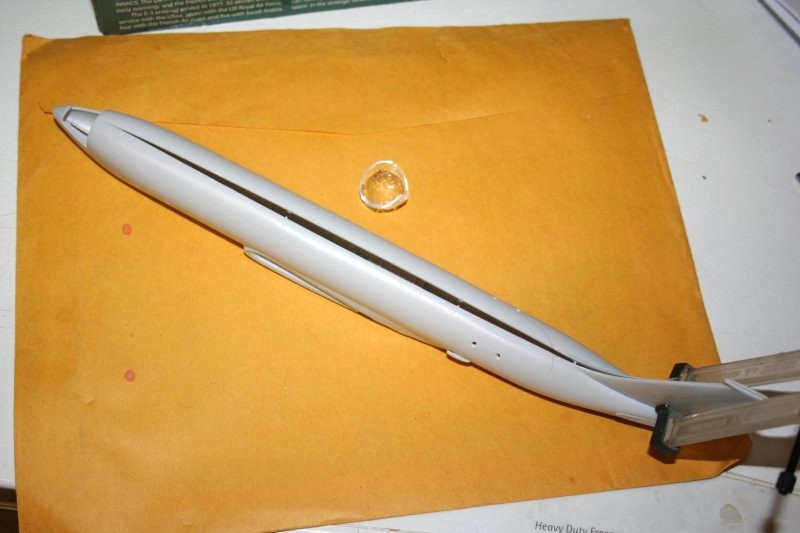
I fixed both problems with a single solution. I used the 2 Mikes resin nose section. This also solved two other problems with this kit. The third fix is the requirement for ¾ ounce of weight in the nose. The resin part more than fixes this. The fourth fix is that the windscreen shape of the 707 based series isn’t quite correct. The decals don’t fit right. The new nose section fixes this problem too. No need to wonder why I bought 4 of the 2 Mikes noses.
The really big problem with assembly was when I pooched the cut on the fuselage to put in the resin nose. I didn’t get it perfectly straight, and the required putty job was entirely my fault.
Assembly was pretty straightforward. The wings fit together neatly, with only a touch of the sanding stick to clean up the leading edges. The horizontal stabilizers go in neatly and wind up with the correct dihedral even before the glue is applied.
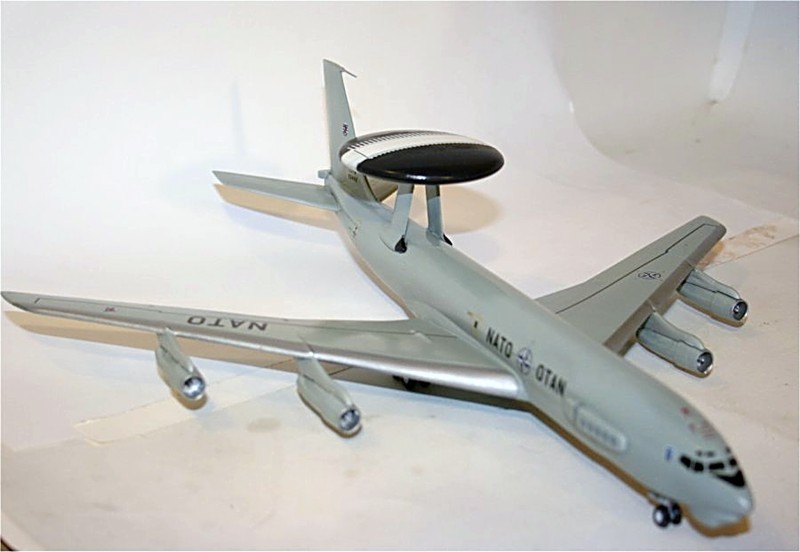
The engine assemblies are easy to assemble, but the bottom seam requires some finesse. The top seams on the engines are covered by the pylons, which all come to the front of the engine, obviating any need for scraping, sanding, puttying or cussing. Another kudo to Minicraft for the pylons. The 707 has one pylon which doesn’t go all the way to the front of the engine. The AWACS has all 4 the same length. The short pylon is included in the kit, but is not used, as there’s a fourth long pylon on the same sprue as the “flying saucer” antenna.
The problem with the instructions is still there. You have to put part 15 in when you assemble the fuselage halves in Step 1, or it can’t be installed. Well, it can, but not without cutting off the ends, making it less strong. Also, the instructions indicate that the main gear center doors are open when the gear’s down. No, they’re closed.
Painting and Decals
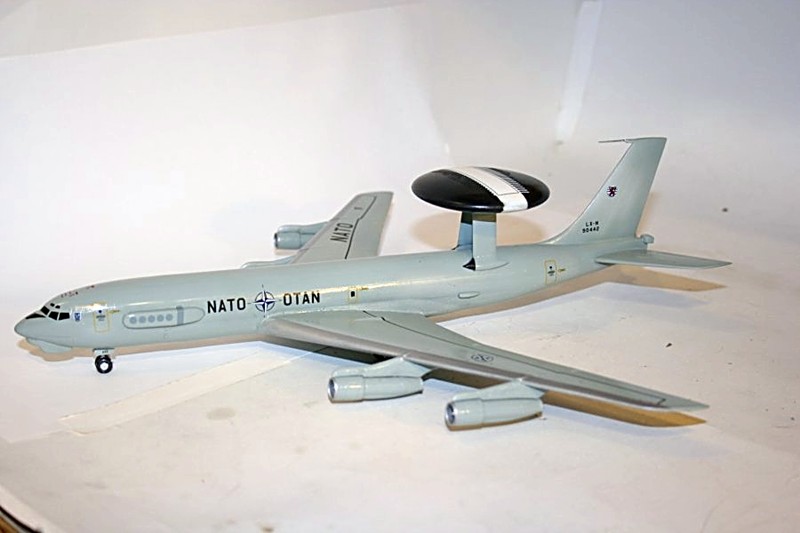
Painting was no real challenge. I had to buy a new bottle of ADC Gray, FS 16473, as the paint in my old bottle had morphed into something resembling rubber. After that, just put the airbrush on full, and paint everything gray. The leading edge of the wing is silver/aluminum, as are the engine intake lips, and there’s a small black area at the base of the antenna mounts.
The model on the box top has silver leading edges on the tail planes, but the photo of 442 on Airliners.net doesn’t show this. [Editor's Note: If you look closely at the enlarged photo, it does appear to show silver leading edges.]
The top antenna was also pretty easy to paint. The instructions call for a ½ inch white stripe, the rest black. Yep, easy. Paint the white, cut a piece of ½ inch tape, and mask it. Then black.
A coat of Future and it’s ready for markings.
The decals are wonderful, state of the art Cartograf. The windscreen decal fit the 2 Mikes conversion perfectly, and almost everything else went on with zero problems. I have a problem with the engine decals. Those red stripes would be about a foot wide. And then I noticed that the photo of 90442 on Airliners.net didn’t have red stripes, just narrow black ones. So that’s TWO questions they’ve answered for me, both requiring zero work. Ya gotta love it.
Another coat of Future to seal the decals, and then I can put on those parts I leave off lest I break them off.
Final Assembly
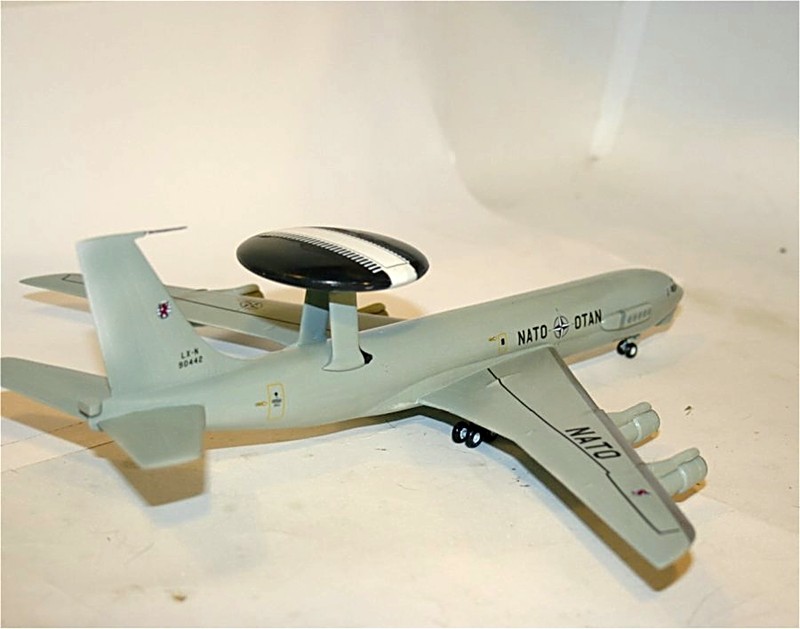
I had previously painted and assembled the landing gear. The main gear goes in quite nicely, and is strong. It’s also easy to get it square and straight, so all the wheels sit on the ground. This time I didn’t cut off the pins on the nose gear, so it fit the resin part correctly.
The top antenna is a great piece of engineering. The top and bottom fit together cleanly, no putty or even scraping required. I had put the antenna supports on the fuselage before painting. I used tube glue to put them on, and used the bottom of the antenna to get the spacing right while the glue set.
The final step was the probe on the top of the tail. I had to drill a hole for it, and have only knocked it off once………so far.
Overall Evaluation
Recommended. This is a very good kit, although the cockpit shape leaves some room for improvement. But that’s what the aftermarket stuff does for you. It builds into a very nice NATO AWACS. Now if Minicraft would just put some CFM 56 engines and RAF/French decals in one of these kits, it’d be really cool.
Thanks to Minicraft for the review kit and IPMS/USA for letting me review it.


Comments
Add new comment
This site is protected by reCAPTCHA and the Google Privacy Policy and Terms of Service apply.
Similar Reviews