
Boeing 737-400 / US Airways
The Aircraft
The Boeing 737 was developed in the 1960s as a low-cost development of the 707 and 727. It’s the only Boeing “narrow body” airliner still in production. There are 9 versions, ranging from 85 to 215 passengers. While not approaching the Bf-109 in numbers, the 737 is the best-selling jet airliner in history, with 6638 delivered, with 2186 more on order as of December 31, 2010 (Editor: Boeing source).
The 737 in this kit is the -400 version, with CFM-56 engines. Because of the low wing and large diameter of the engines, the lower side of the nacelle is flattened, giving a distinctive “hamster pouch” look. The -300 and -500 versions differ from the -400 in fuselage length, with the -400 being 10 feet longer than the -300 and the -500 is 8 feet shorter than the -300.
For the military modeler, there are 22 air forces that fly or have flown a version of the 737. Unfortunately none of these are -400s. The 737, in its 9 versions is operated by over 500 airlines world wide.
The Kit
This is about what we’ve come to expect in a 21st century plastic model kit. Engraved panel lines, minimal flash, and parts that fit. There is a clear plastic part for the cockpit which includes the cockpit roof and part of the nose. There’s no interior for the cockpit or passenger section.
Construction
I assembled the engines, and had no problem getting everything to go where it belongs, with no gaps, and only light attention with a sanding stick to get clean seams.
This may seem premature, but with the fuselage and wings assembled and the engines together, it was time to paint.
Painting
The reason for painting before assembly is more complete is that the really complex and time consuming part of this project is the decals. And the horizontal stabilizers would prevent or greatly increase the difficulty of putting on the fuselage decals.
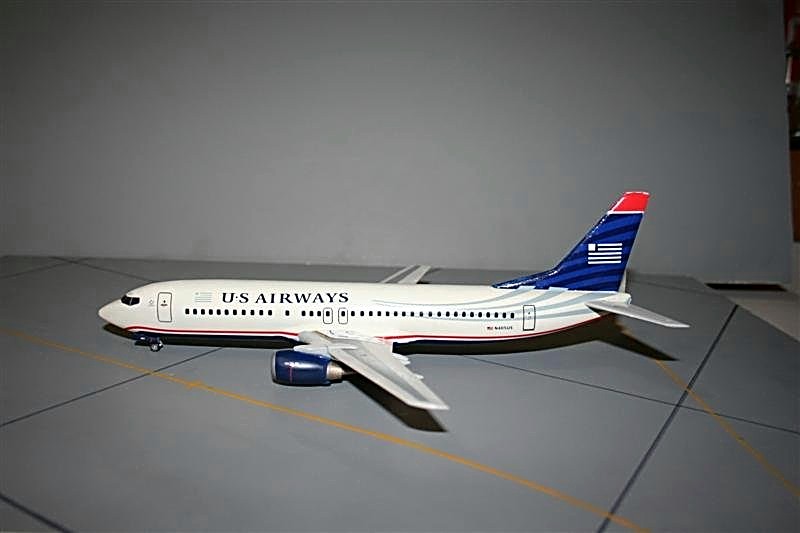
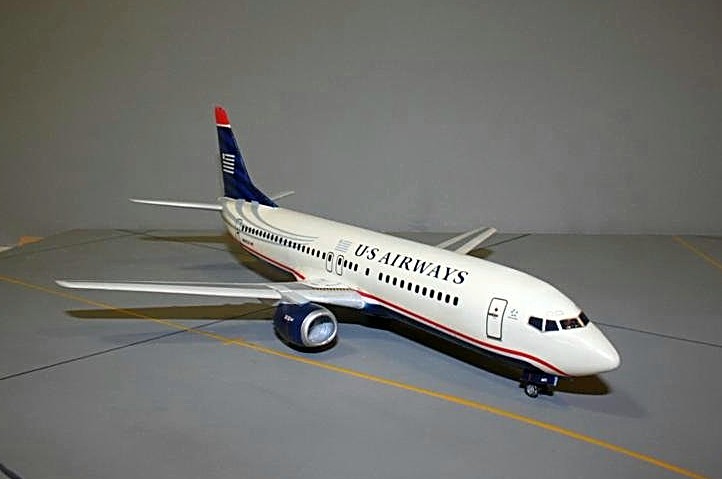
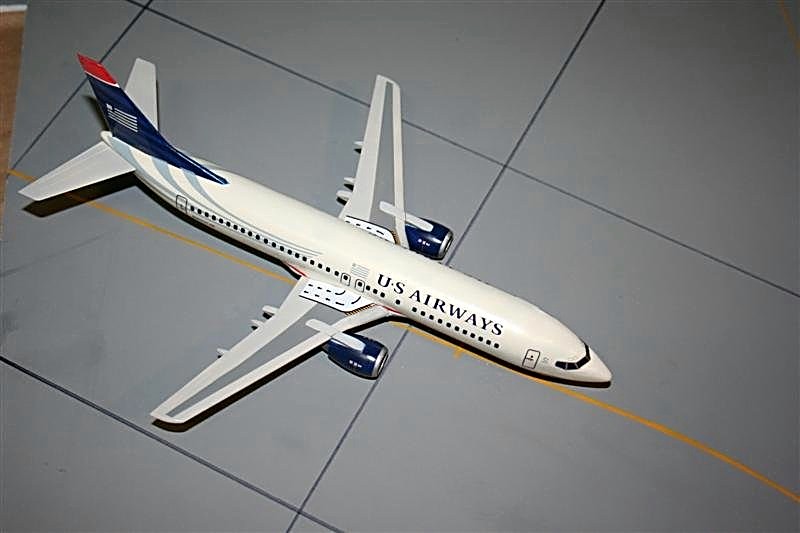
The basic painting is to paint the fuselage Floquil Reefer White, the wings Testors FS16515 Voodoo Gray, the bottom of the aircraft and the engine bodies are dark blue to match the decals; then add the Corogard on top of the wings. I lucked out on the dark blue. Floquil’s Dark Blue is pretty much a dead match for the darker blue on the tail decal. The engine interiors are silver in front, with a silver lip on the intake, and burnt metal in the back. The engine pylons are the same gray as the wings. I do wish the instructions had included a bottom view of the paint job, as it’s difficult to really determine where the blue/white demarcation goes on the bottom.
Decals
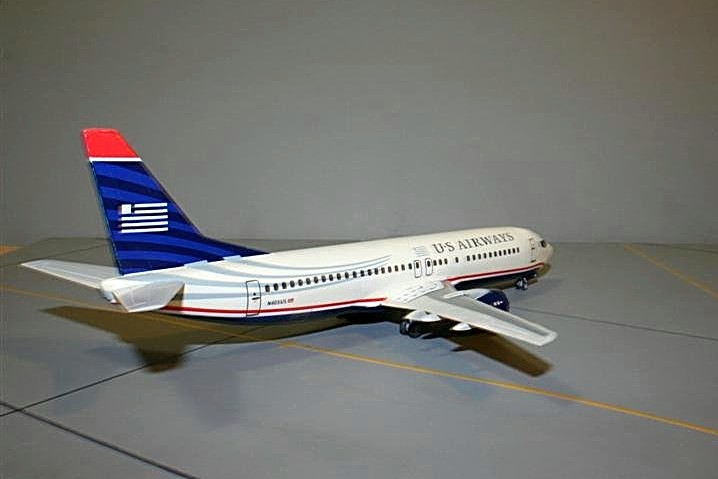
The decals really take this kit from ho-hum to a real eye-catching model. The sheet says “Printed in Italy”, and if they’re not Cartograf, they’re close to that brand in quality. The vertical stabilizer decals are one on each side, and the film has to be tough enough to stand up to the inevitable handling as the modeler tries to get them aligned, but thin enough to conform to the shape and allow the rudder edges to show through. The decals on the sides of the fuselage which include the windows go from the tail cone to the front doors, again requiring toughness and delicacy. It’s also necessary to cut the fuselage side decal to install the horizontal stabilizers.
The other question I had about these decals was accuracy. A while back I built Minicraft’s AWACS, and had to find a replacement decal for the American Flag on the tail, as USAF always puts the blue field toward the nose. The US Airways “flag” on the tail has the field to the left on both sides, which means that on the right side it’s toward the tail. Yep, that’s how US Air does it. The decal’s right. They also get the little US Flags on the lower rear fuselage correct, with the field to the front.
Another good decal fit was the windscreen, which not only fit, but had the little “eyebrow” windows.
Final Assembly
With the decals on and a second coat of Future to protect them, it was time to put on all those parts I know I would have destroyed during the decal process.
The horizontal stabilizers are particularly noteworthy. Because that big honkin’ decal sits between the inner edge of the stab and the fuselage side, there’s only the tab and slot for glue application. Fortunately these parts fit snugly, and the parts fit with no gap.
The instructions are a little vague about how the gear doors are supposed to go on the gear legs, but a little test fitting and guesswork left me with identical left and right sides, if not 100% correct setup.
Overall Evaluation
Well recommended. The plastic goes together well; especially if you test fit all parts before trusting the instructions. The decals are just outstanding, and the US Airways color scheme is very attractive.
Thanks to Minicraft and IPMS/USA for the interesting model project.


Comments
Add new comment
This site is protected by reCAPTCHA and the Google Privacy Policy and Terms of Service apply.
Similar Reviews