
BMW M6 2018 Macau GP GT3 Race Winner with BMW M6 GT3 Upgrade Set
Platz Models has a large and extensive line of plastic model kits: everything from small scale (1/144) aircraft to military ships. They do partner with smaller, niche manufacturers of plastic model kits. That symbiosis provides both Platz and those other kit manufacturers with market access and diversity of product. One of those relationships is with another Japanese manufacturer: Nu Nu Model kits.
Nu Nu Model kits is principally involved with manufacturing modern 1/24th scale racing cars, notably Grand Prix GT3 cars. For those that may be unfamiliar with sports car racing, Wikipedia's Sports Car Racing page has more than enough information to join in any conversation about the sport.
One of Platz/ NuNu Model kits recent offerings is the BMW M6, 2018 Macau GP GT3 Race Winner. This is actually a re-release of a 2017 kit of the BMW M6 that features updated decals and new parts to faithfully reproduce the 2018 Macau race winner. The updated decals provide all the badges (sponsor logos, etc.) and the color panels featured on this car. Additionally, there is a decal for an on-car 'shout out' to long time team principal Charly Lamm.
This is a curbside model and as such has no engine but there is a complete interior with all driver controls, detailed suspension bits, and a nicely molded safety/roll cage. This kit is molded in several colors (white, gray, black, clear bits, and some chrome plated parts) and I suppose you could build this kit without painting.
For the serious car modeler there is a companion up-grade set available, also from Platz /Nu Nu. The up-grade set has a fret of photo-etch that includes disc brake pads, mesh for some air intakes, safety netting for the roll cage, replacement uprights for the rear spoiler, replacement wind shield wipers and blades, and all the bits (buckles, latches, seat belt material) you'll need to fashion a realistic, five point safety harness.
There are also three, small sheets of carbon fiber decals for the lower chassis included with the up-grade set. There are more carbon fiber decals than are called for in the placement instructions so I just went with the obvious ones. Nevertheless, those decals go down nice 'n easy.
All of this may seem daunting to some but the provided instructions are well drawn which makes using this up-grade set simple and easy. The photo etch bits are either direct replacements for the kit part or simply overlay the existing part.
Assemble of the “Beemer” begins with the lower chassis to which are attached the front wheel spindles, brake/rotor assemblies, and portions of the exhaust system. Exercise some caution while assembling the front suspension as those bits are positionable.
Again, as this is a curbside model all you get are the exhaust outlets as opposed the the whole system. A word of caution: the exhaust tips protrude a tad from the car body and might cause some fit issues when you get to mating the car body assembly with the chassis. Might be prudent to leave those exhaust stubs off until after everything is buttoned up?
Rear suspension bits go on next as do the radiator and air outlet assemblies. Assembly graduates to the driver compartment with seat, foot pedals, and a detailed dash panel. This is the area of building where you get to put the roll/safety cage together. The roll/safety cage is quite visible. As such this area, with minor flash, mold seams, and visible ejector pin marks, really should be removed. Nothing horrendous but it will be noticeable if you don't deal with it. It should also be noted that after cleaning all those bits, the cage parts go together easily. I used the roll cage locating holes, located on the driver's compartment (part # B14) as a jig to aid assembly.
The dash and instrument panel assembly gets added to the roll cage before both are attached to the driver's compartment. Don't concern yourself with gluing it (dash panel assembly) as there are pins on either side of the dash panel that fit into slots on the driver compartment side panels. Do concern yourself with attaching the photo etched safety webbing from the upgrade set at this stage. You will need to consult some references (search BMW M6 GT3 interior) to find the proper location for that webbing as the instructions are vague on the subject. I added some spare bits to the ends of that webbing to represent the attachment buckles.
You can elect to replace the seat belt decal with a more realistic version using the upgrade set. That set has all the metal bits and strapping material that you will need. Curiously neither the kit nor the upgrade set provide a separate manufacturer's decal for the safety harness. The 'Sabelt' logo is printed on the decal version of the seat belt so I suppose you could do a bit of surgery and add it that way.
If you are new to after market seat belts, you will need to check references for the attachment points on the chassis for the safety harness. Those attachment points are somewhat intuitive but the assembly instructions are void of that information. I did find a short (5:14) 'How To' video on YouTube that you might helpful if you're new to aftermarket safety belts: https://www.youtube.com/watch?v=J3xcOjW-69k .
There are some other driver compartment pieces that may require care when installing; particularly parts # A24/#B6/#B7. Those pieces represent portions of an air intake, cooling system on the prototype. Parts #B6 and #B7 ( connecting flanges) attach to a large pipe that mate up with air inlet detentions on the body of the BMW. The engineering on the kit is such that that isn't a huge problem but it is something to be aware as you assembly your own BMW M6.
The roll cage gets attached to the lower chassis/driver compartment. Additional suspension (shock absorbers, etc.) bits go on next as do the wheel/tire assemblies The tires and wheels are separate parts which will facilitate painting. The vinyl tires are well molded but do have a pronounced taper. That taper doesn't affect the end look but seems to be an engineering 'trick' to aid sliding the tires onto the rims. Decals are provided for the tire labeling (Pirelli). The upgrade set includes fronts for the disc brakes that simply overlay the kit part.
Details (rear view mirrors, antenna, etc.) are the next items added to the car body. This step is more about the window glazing but windshield wiper assemblies are also in the mix. Those wiper blade assemblies can be replaced with some photo etched version courtesy of the upgrade set. I went with a hybrid approach with the wiper blades on my model. I used the plastic wiper arms and replaced the blades with the photo etched version.
Platz/NuNu provides decals for the weather stripping that surrounds the window components, saving you the need to mask and paint some difficult areas. [Fun Fact: The sheet with the weather stripping decals are identified with numbers, the assembly/placement instructions identifies them with letters. :) It isn't impossible (think jigsaw puzzle) to figure out which one goes where, just use the illustration (Step 14) in the instructions to identify the correct position of a particular decal.] But in their defense, the window parts do fit just so.
Before mating the body to the chassis you attach the headlamp/taillight bezels (chrome plated bits) as well as the glass that covers same. Several screens are replicated by cutting a piece of mesh, included with the kit, or you can use the handy metal replacement part from, you guessed it, the upgrade set. I'm beginning to think it would just be foolish to build this kit without it.
There is a feature on the real BMW M6. That is the darkened headlamp bezels. This aspect is faithfully reproduced by the kit manufacture and much appreciated. As with any model, your own expertise will dictate how you go about assembling this kit. I would advise leaving some of the fiddly bits (exhaust tips, wiper blade assemblies, rear spoiler, etc.) off until final assembly and decaling is all said and done.
Having mated the body to the chassis, the last step is placing all the decals on your BMW M6 GP racer. That step is made easier with the placement guide in the assembly instructions. Note that some of the larger color panels need to be placed before adding the smaller logos and such. Don't fret. Platz/ NuNu makes all this perfectly clear on the decal placement guide.
Something that I missed is that a portion of the rear car body needs to be painted black before you begin applying all those decals. It could just be a language problem (remember I don't read or speak Japanese) but that step wasn't that obvious, to me, from the assembly instructions.
It might help you to note that the artwork (decals) follow the panel lines on the car. You might also find it helpful to view the finished model on Platz's website. This will give you a good idea how all the decals work in concert with one another on the car.
This BMW M6 GP G3 race winner from Platz/Nu Nu Model kits is a grand model. Assembly is not much of a chore. There is more mold line clean-up than what one would expect but nothing that approaches a deal breaker when it comes to getting one of these kits for your very own. Matting the body to the chassis can be fiddly. Begin that process at the rear and bringing the body down toward the front of the car worked best for me. And, maybe leave the tires/wheels off 'til the last.
This model will make a beautiful, colorful addition to your collection. Besides, having the model in your collection will help with imagining yourself in the car as you watch a short, on-board video of Augusto Farfus (a BMW team driver) taking a lap at Macau. Note the circuit map taped to the dash.
I've watched this video clip several times and it's kinda fun to try and figure out where on the course the driver is in relationship to that map. (A copy of the map is included on the decal sheet). Besides watching it is also a good way to pick up some ideas should you wish to add more detail to the driver’s compartment. Enjoy!
https://www.youtube.com/watch?v=_VsjUsrfORA
My thanks to Platz/NuNu and IPMS/USA for the review copy.

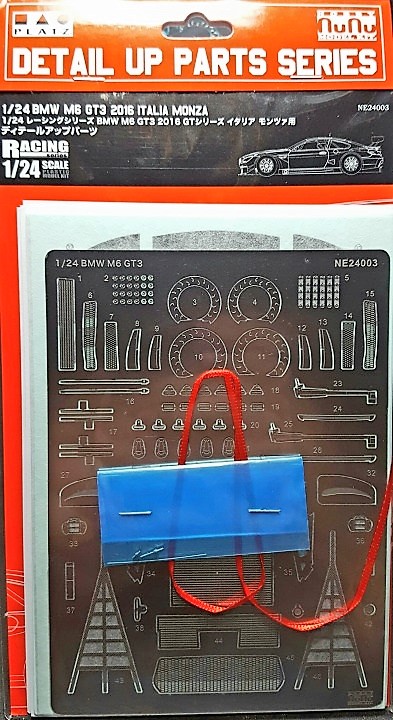
Detail set Package

Box Contents
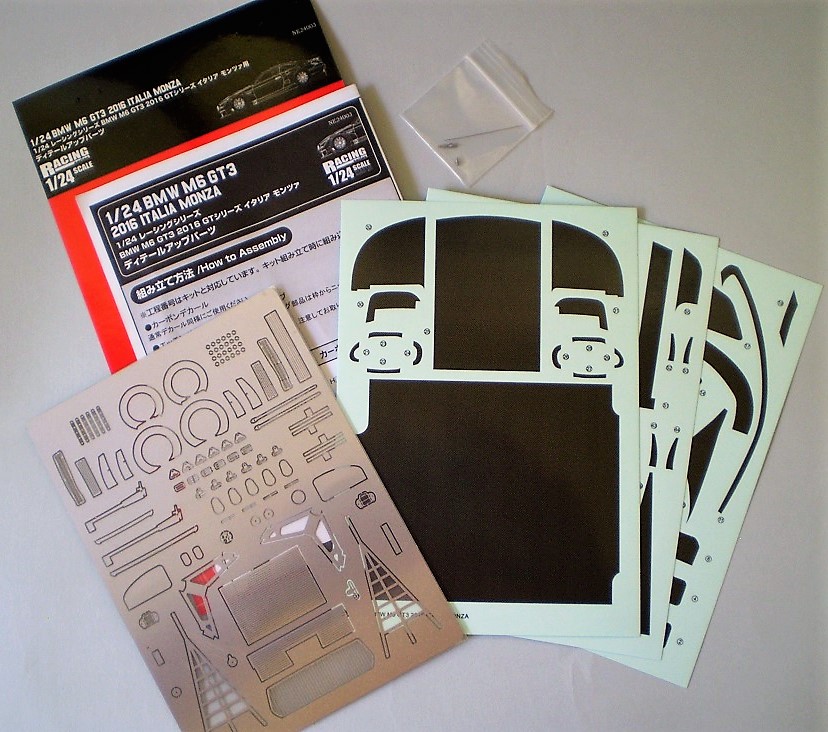
Bag Contents
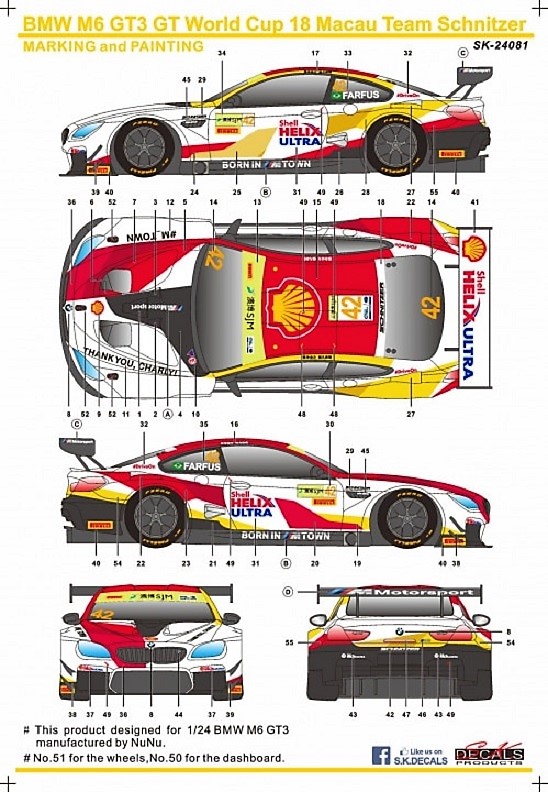
Painting Guide
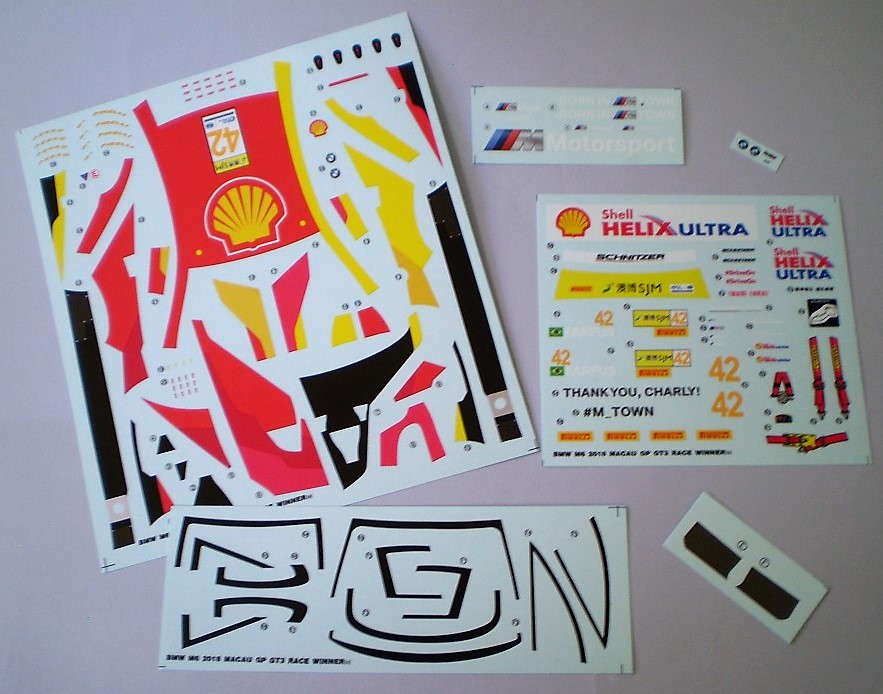
Decals

Detail up Parts

Tires
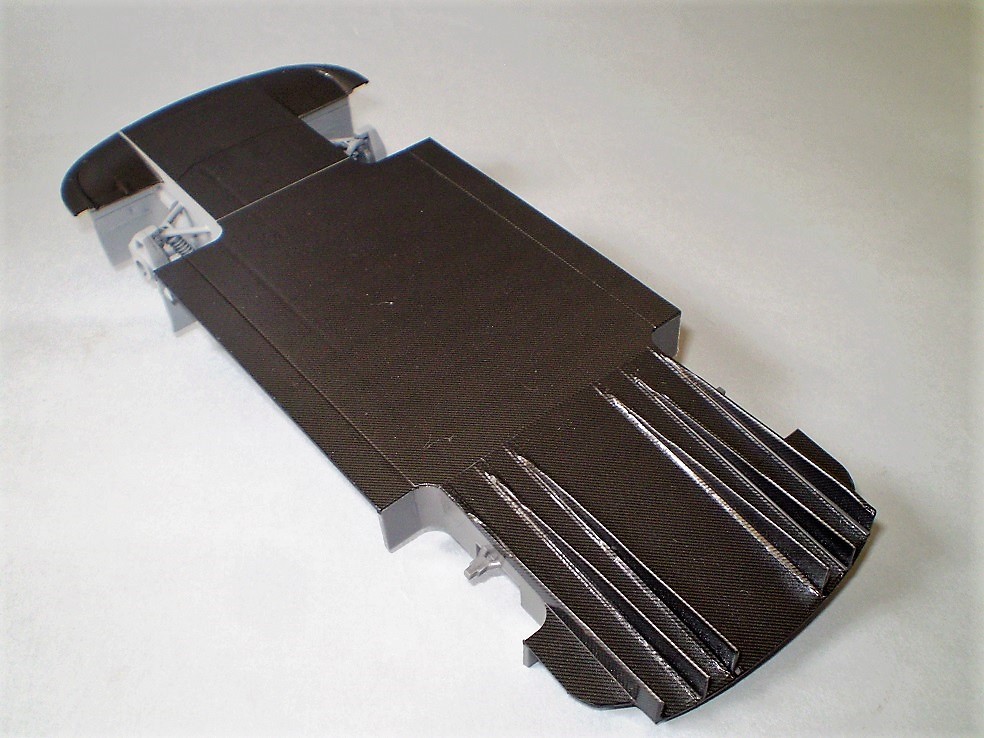
Carbon Fiber Decals Applied
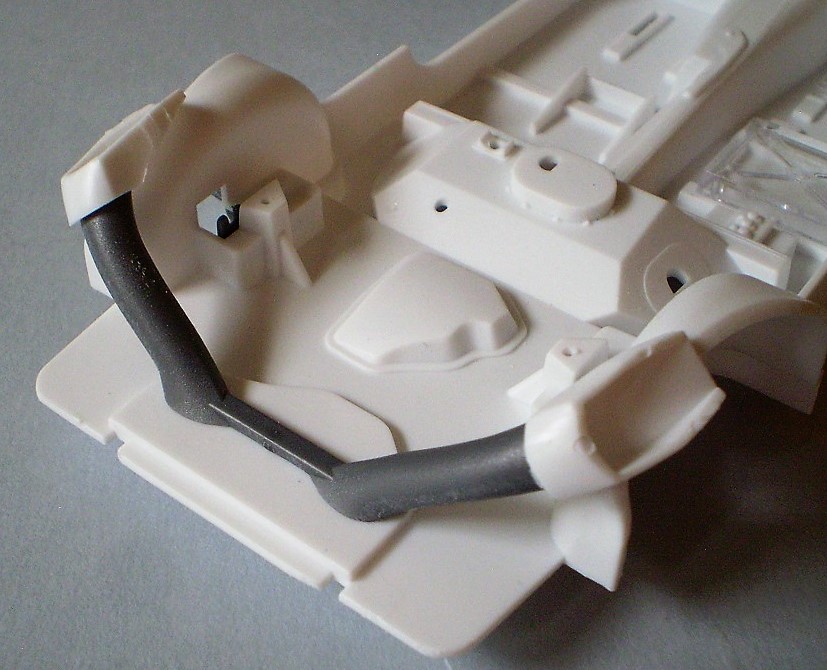
Front Air Intake Parts A4, B6 & B7
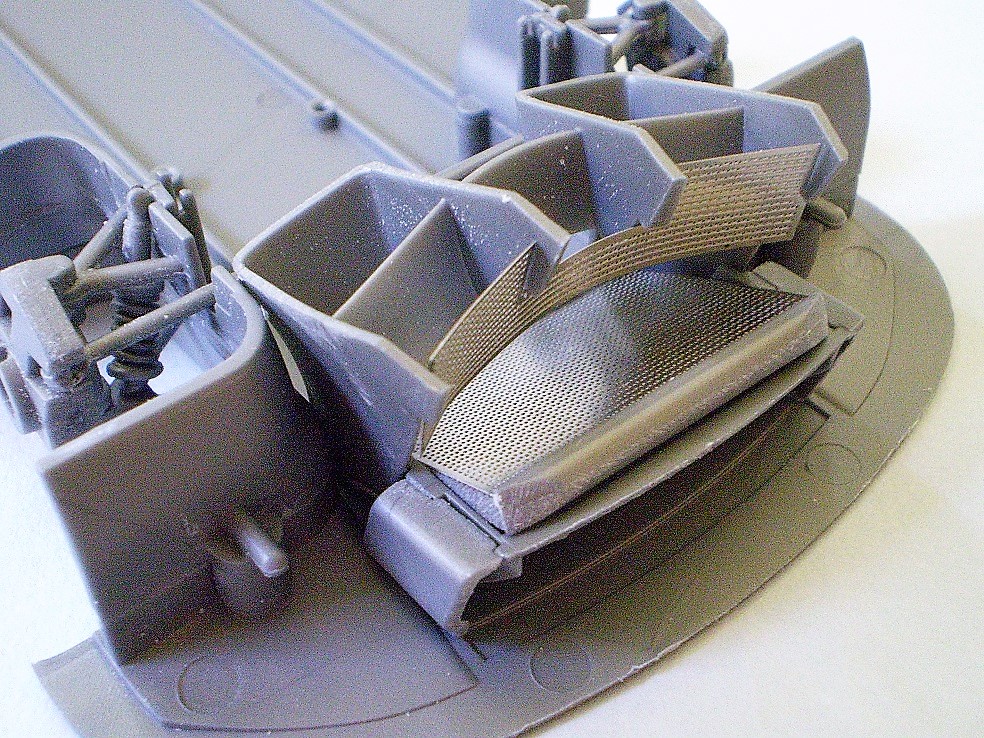
Upgraded Front Air Intake
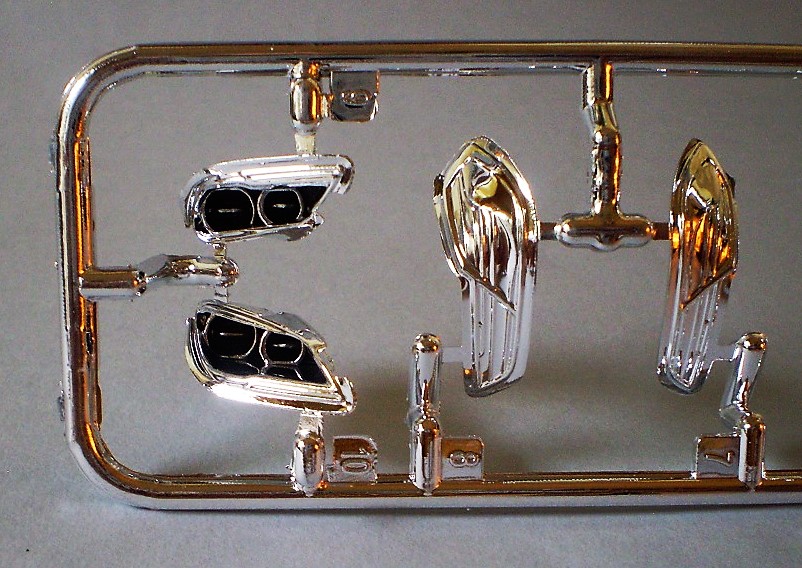
Blackened Headlight Bezels
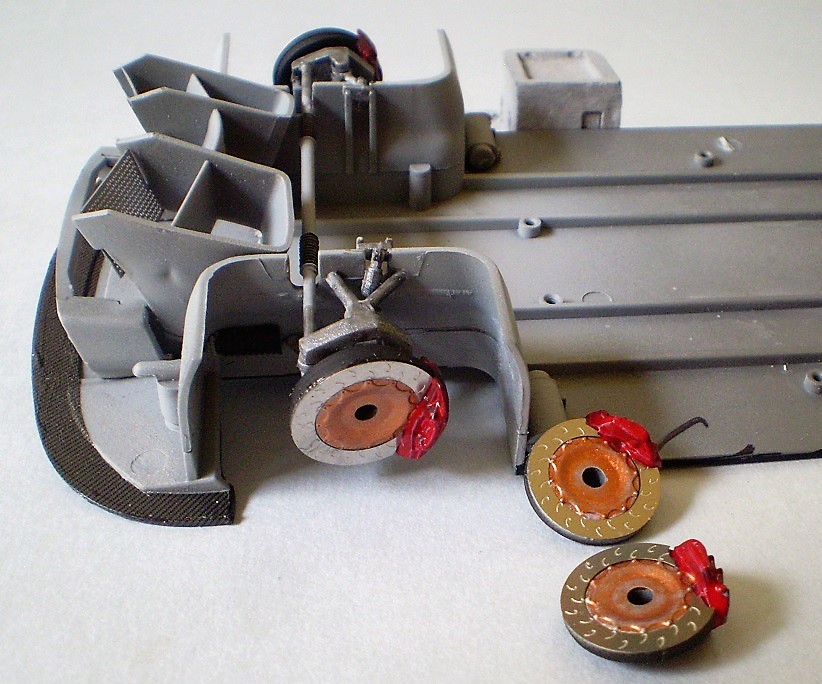
PE Disc Brakes & Calipers
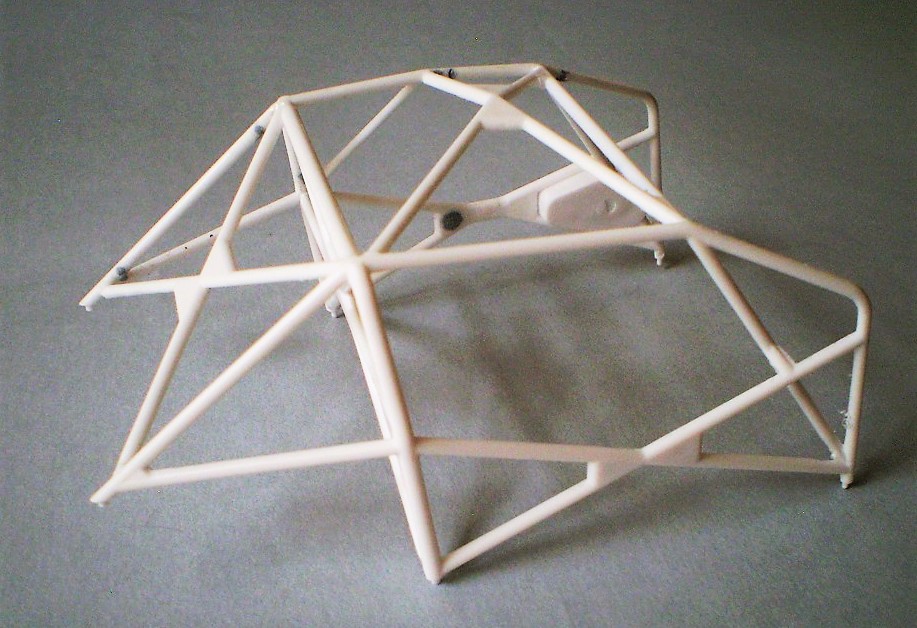
Roll Cage
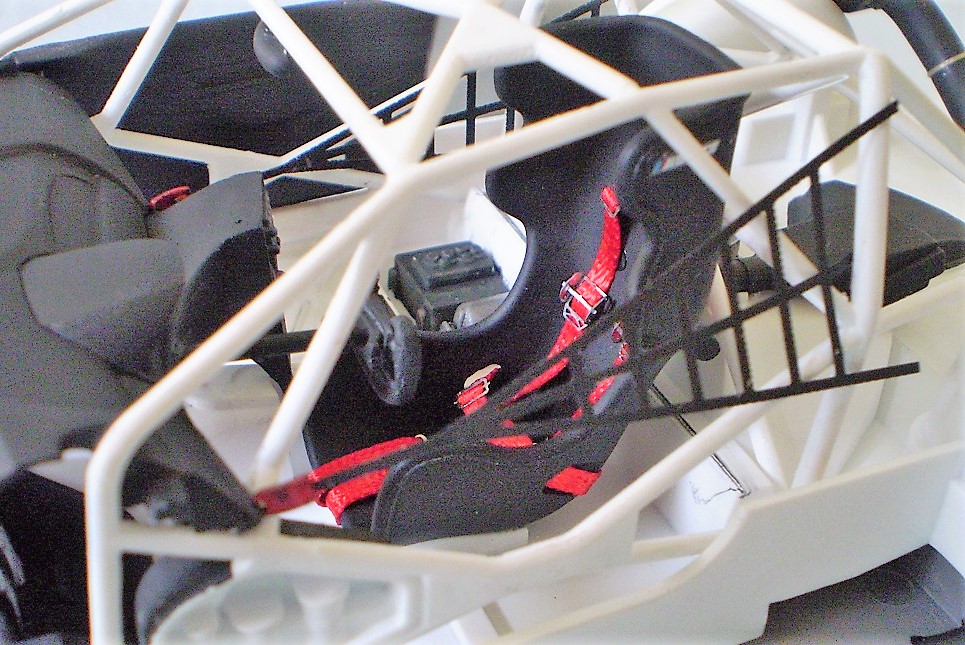
Roll Cage with Safety Webbing
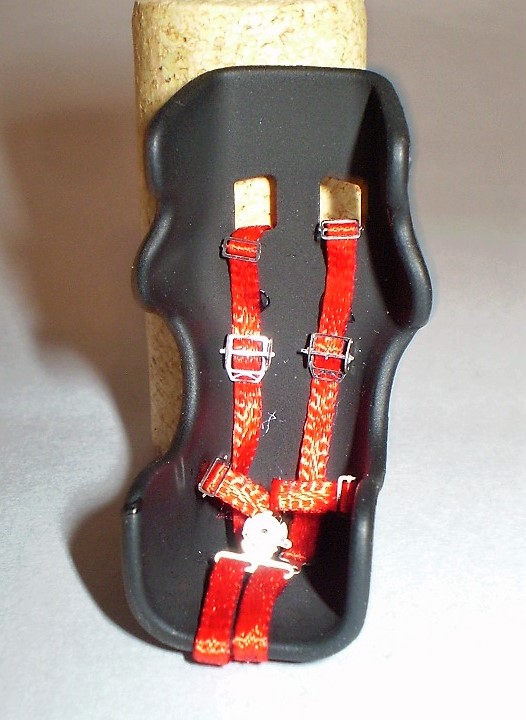
Upgraded Seat Belts
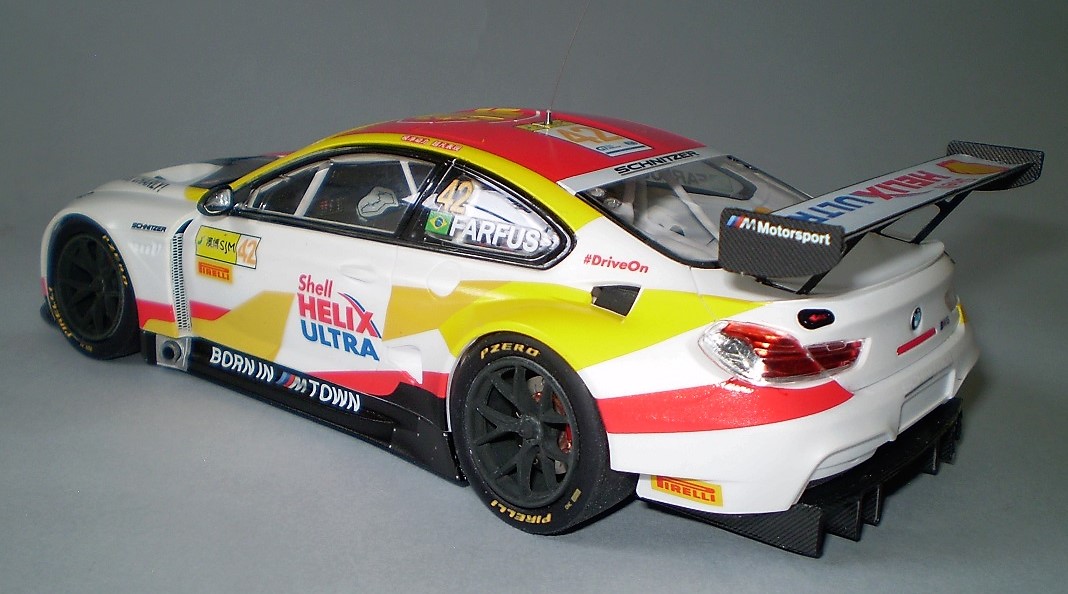
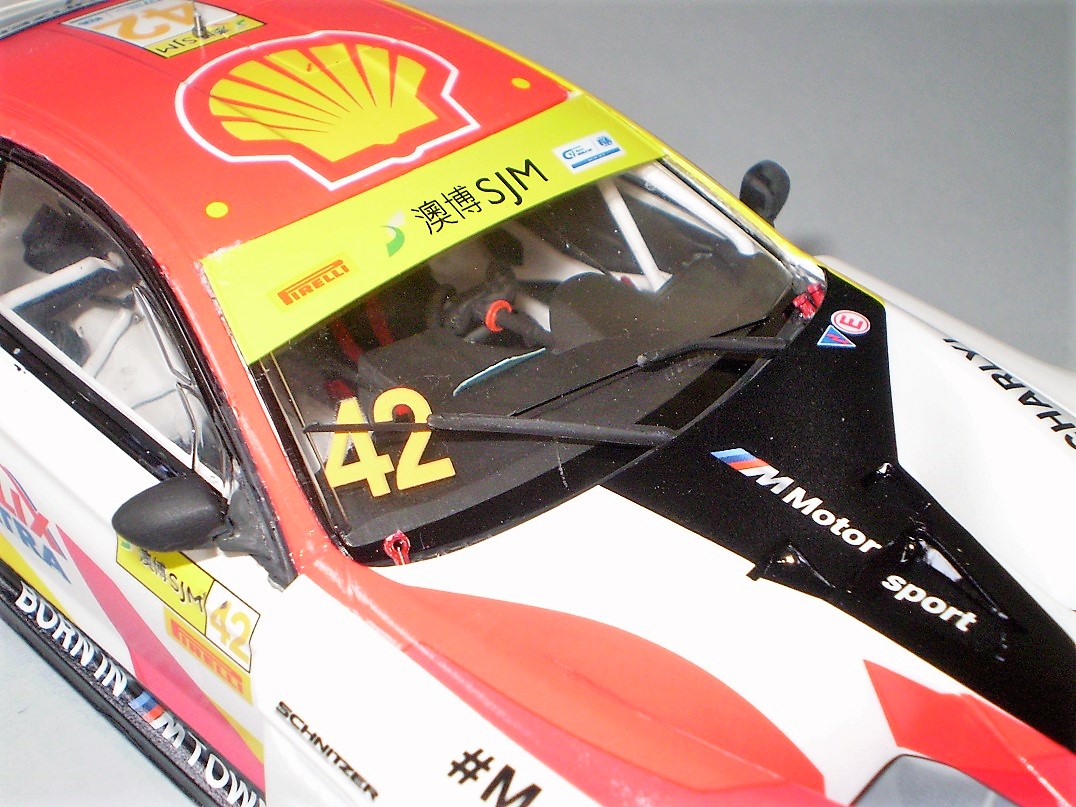
Finished 1
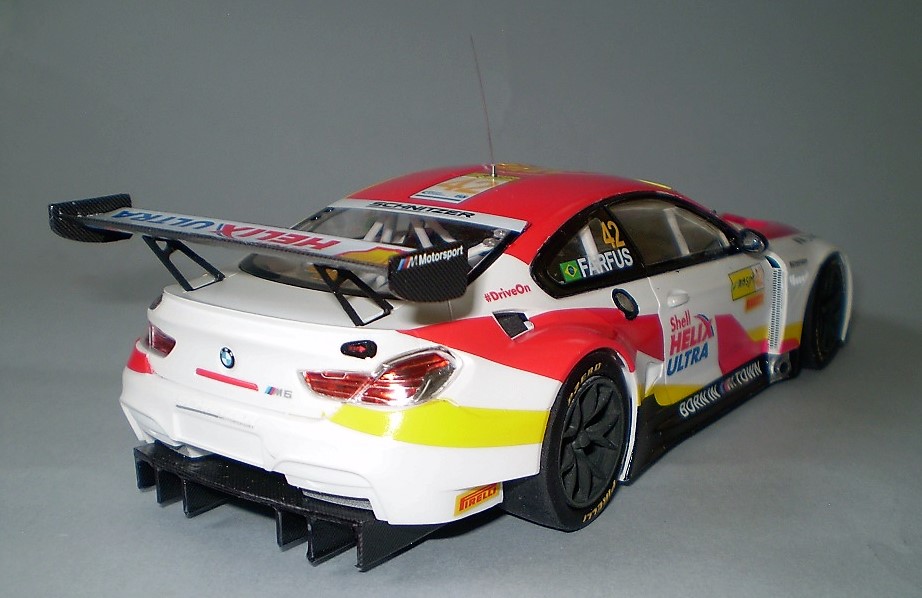
Finished 2
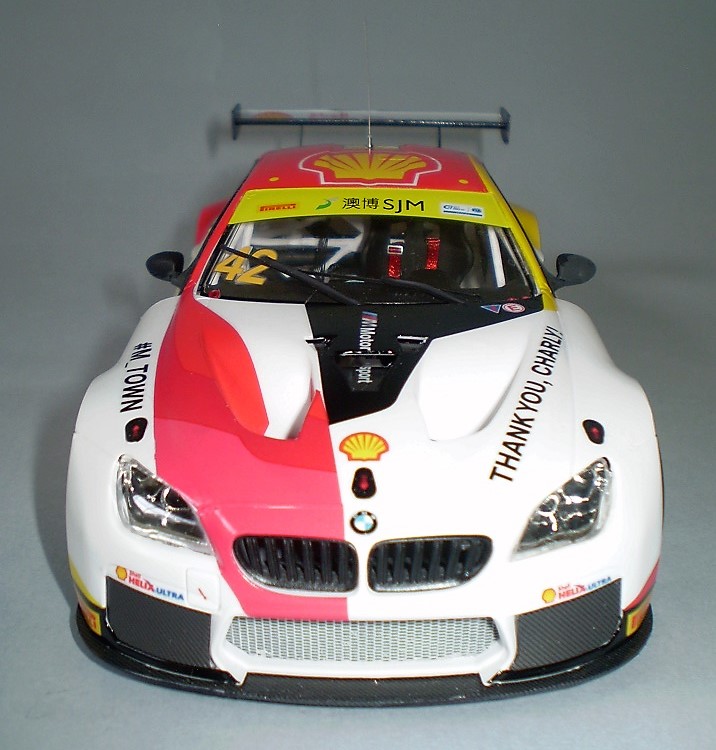
Finished 3
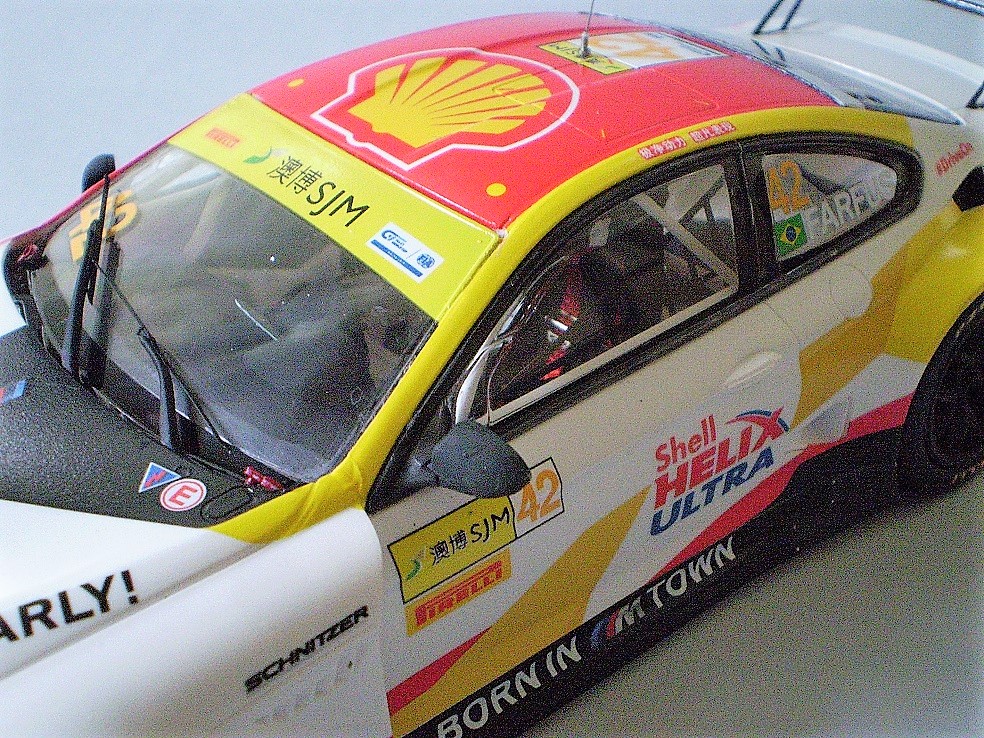
Finished 4
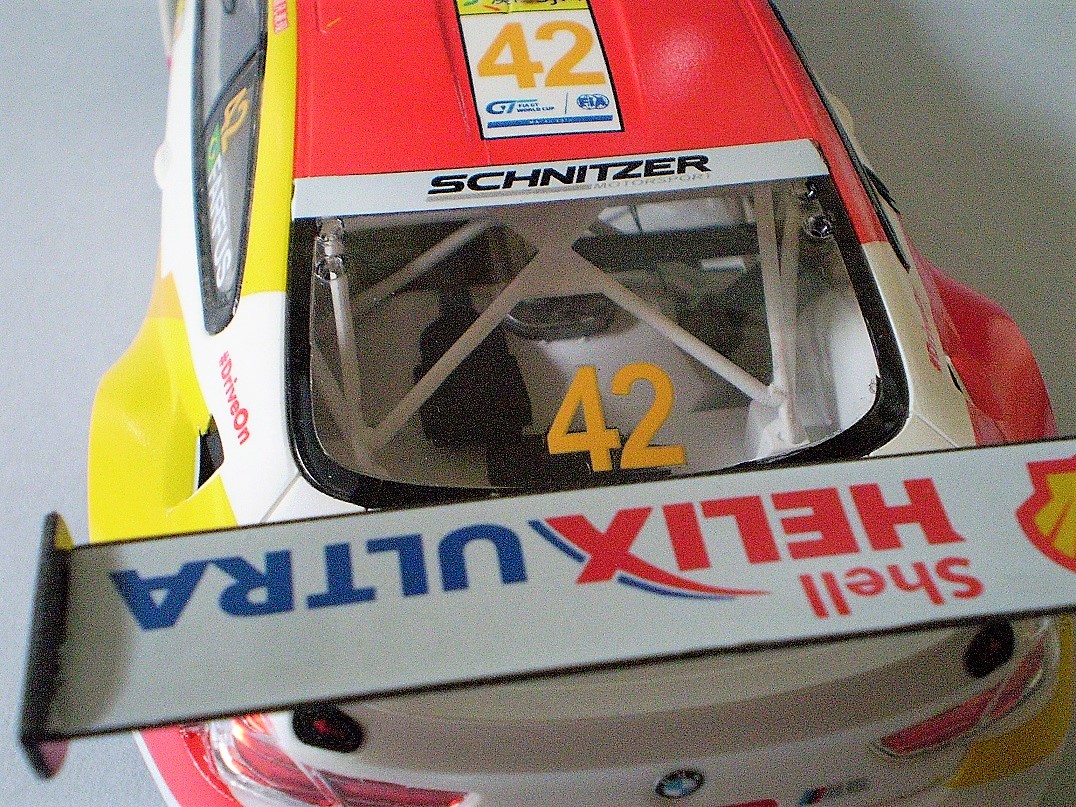
Finished 5
Comments
Add new comment
This site is protected by reCAPTCHA and the Google Privacy Policy and Terms of Service apply.
Similar Reviews