
Big Ed Set for the F-16I Sufa
The Contents
You get a heavy duty envelope with 4 plastic sleeves inside. You get:
- 73366 PE, one self-adhesive mostly cockpit, and a really big PE fret for interior and exterior detail
- CX264 Canopy and Wheel mask
- 72493 Boarding Ladder
- 73380 Remove Before Flight Tags (Israeli)
You also get 2 full pages of instructions, folded so that you have 7 separate half pages of instructions, plus a half page instruction each for the ladder and the masks.
The Aircraft
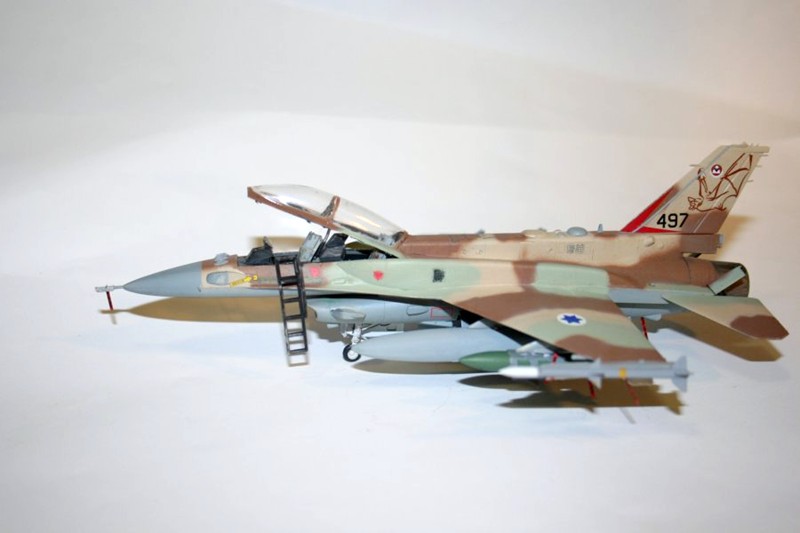
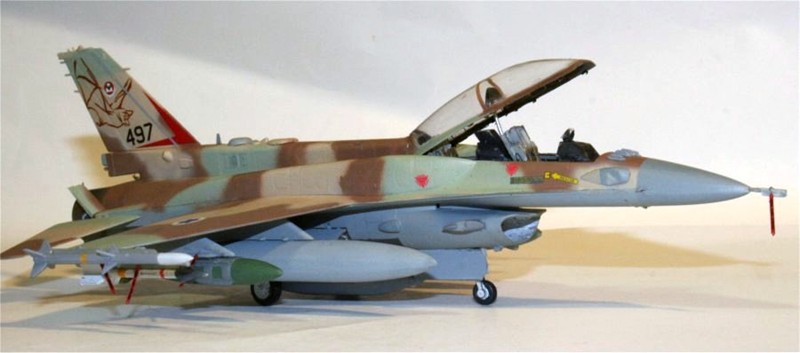
The F-16I Sufa (Storm) is basically a Block 52 F-16, but there are additions and changes. Most of the changes are internal, with Israeli-built electronics and systems, but there are those 2 conformal fuel tanks, built by IAI which really change the look of the aircraft.
As far as available models, Academy now has a 1/32 Sufa, and Kinetic and Hasegawa both have 1/48 and 1/72 kits available. When the Eduard Big Ed set was announced as available for review, I jumped for it, as I had just bought the Hasegawa 1/72 kit, and this was motivation to rapidly move it from stash to shelf. Well, rapidly really failed to describe it, as the Hasegawa kit is fairly complex, and the Eduard add-ons make it a much more technical build.
Cockpit Assembly
I started with the seats, as this is Step 1 on the Hasegawa instructions. It’s on page 4 of the Eduard sheet. Because the Hasegawa and Eduard assembly procedures don’t match up, it’s necessary to jump back and forth between steps in each instruction. I’m still not certain I got all the parts from the Big Ed set installed, and if so, if they’re in the right places.
But the seats are straightforward, and I had no problems with them.
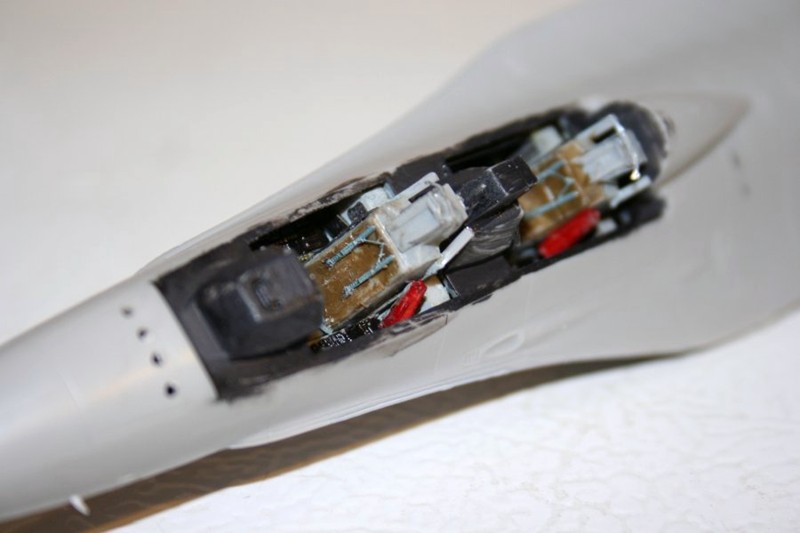
The cockpit interior is a real work of art. Each of the areas on the instrument panel has two PE parts, one with the gauges, and another with holes for the gauges to give the panel depth. Far superior to a decal.
I wasn’t able to take photos of the cockpit before it was mounted in the fuselage, as part of the Eduard assembly there are side panels which mount to the fuselage interior, and then are attached to the cockpit sides. Yes, FAR superior to a decal.
Note also the HUD which mounts to the top of the pilot’s panel. I painted it and installed it, but didn’t put in the clear part. I was certainly glad of this later, as I managed to knock this part off on three separate occasions, even though I left it off for most of the build after the first time.
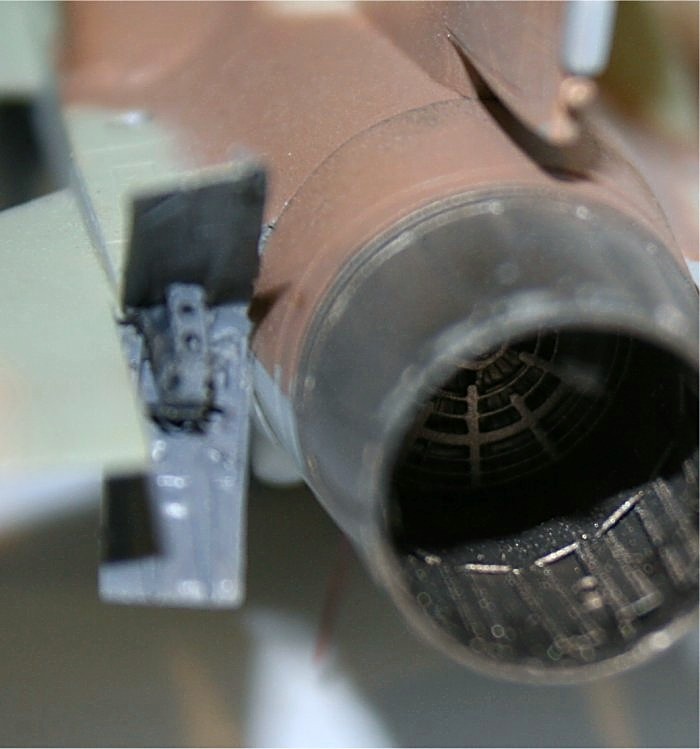
Exterior Details (and Interior too)
There’s a good deal of stuff to add to the outside of the aircraft too. Well, the greatly improved exhaust area, the wheel well details, which even include the brake discs on the main wheels are actually inside the aircraft. The corrected panels on the sides of the fuel tanks static eliminators, antennas and the opened speed brakes are external, and certainly show. The addition of the internals on the speed brakes certainly looks great.
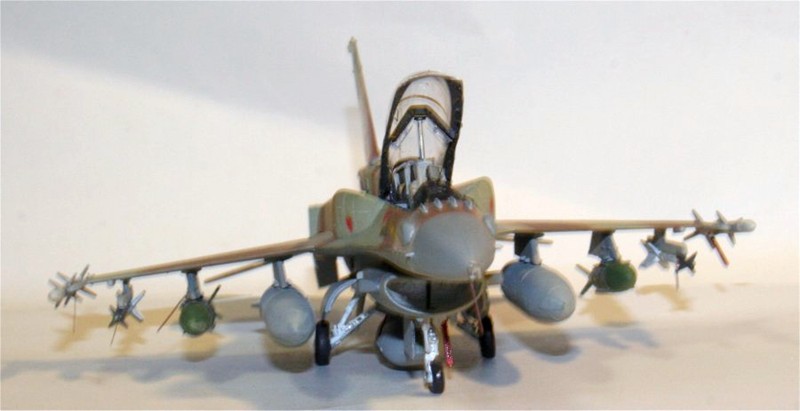
One thing that didn’t make the grade was the new fins for the missiles. Eduard supplies a guide for installing the fins, as well as PE fins. I stripped the plastic fins off of one of the supplied Sidewinders and an AMRAAM. The Sidewinder was OK, but the hole in the AMRAAM guide was smaller than the missile body. A great idea, but it’ll need some work.
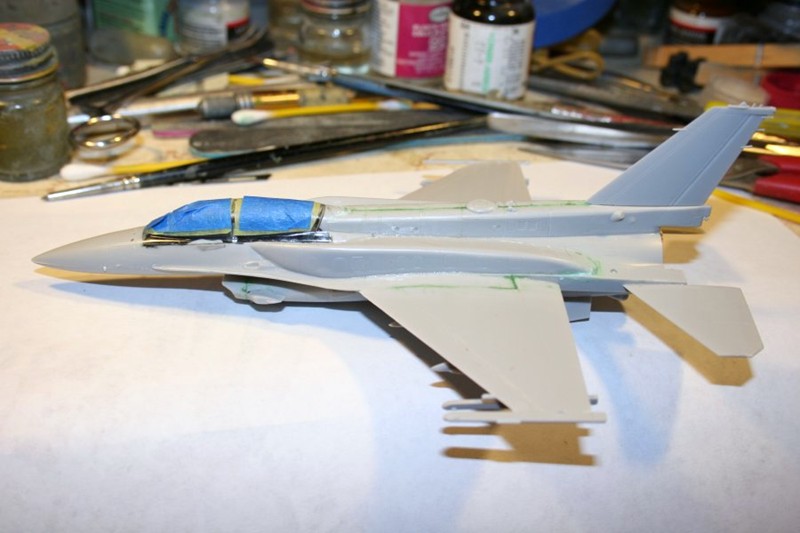
Canopy Mask
This is an exquisite piece of work. I put the mask on, using a #12 scalpel blade, used some blue tape to fill in, and attached the canopy temporarily, to allow the whole thing to be painted in one pass. The paint didn’t happen that way, but it was sure nice not to have to worry about painting that really nice interior.
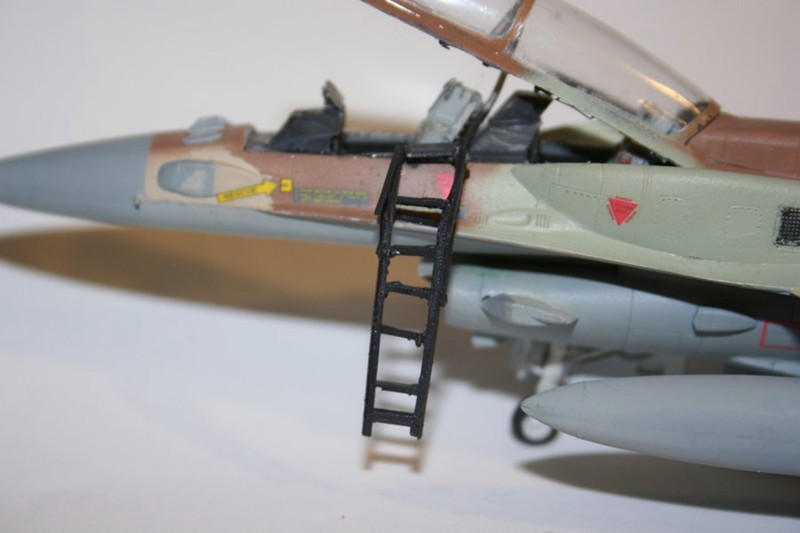
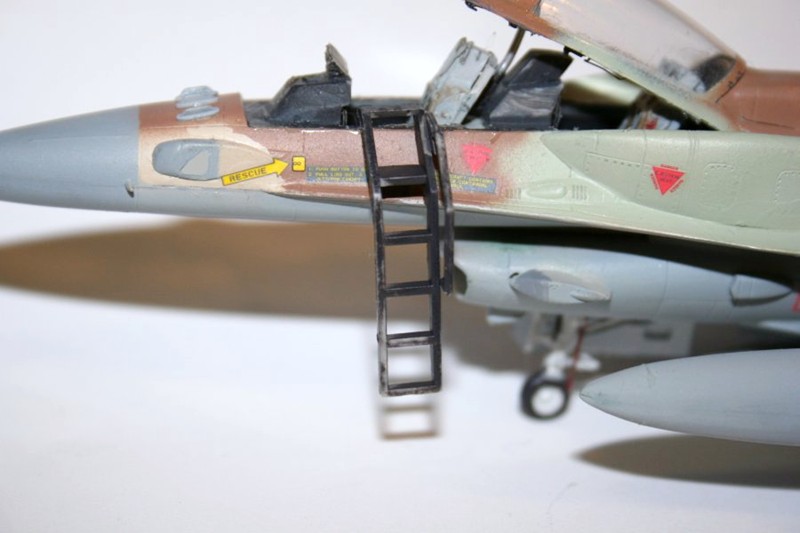
Boarding Ladder
I had trouble getting this assembly together. I thought this was strange, as I did the boarding ladder for the Canberra PR.9, and it was a piece of cake. When I analyzed it, the problem is that Lockheed-Martin has designed a ladder where the rungs don’t come out even with the edges of the vertical sides, and it can’t be made in one part like the Canberra’s ladder. With the small size of these parts and the limits of my vision, even with a magnifier, I couldn’t get the rungs to line up precisely. Although I did have a couple of the rungs ping off the tweezers, I didn’t lose any parts.
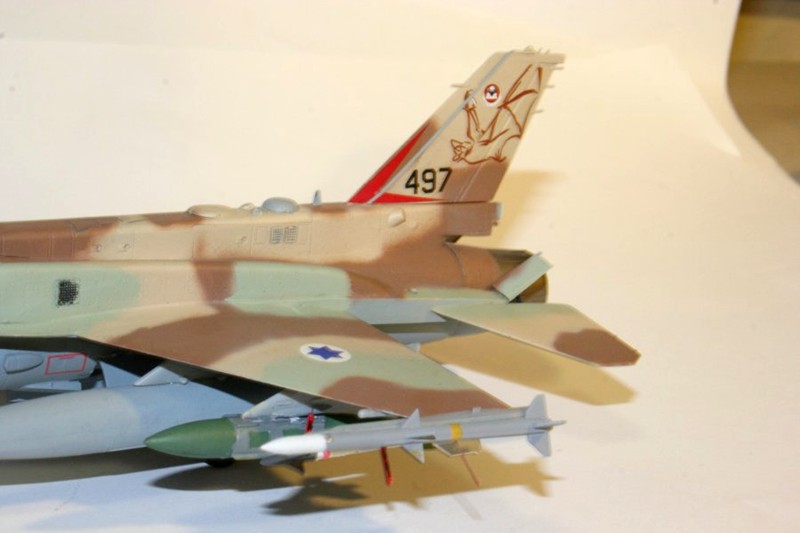
Remove Before Flight Tags (Israeli)
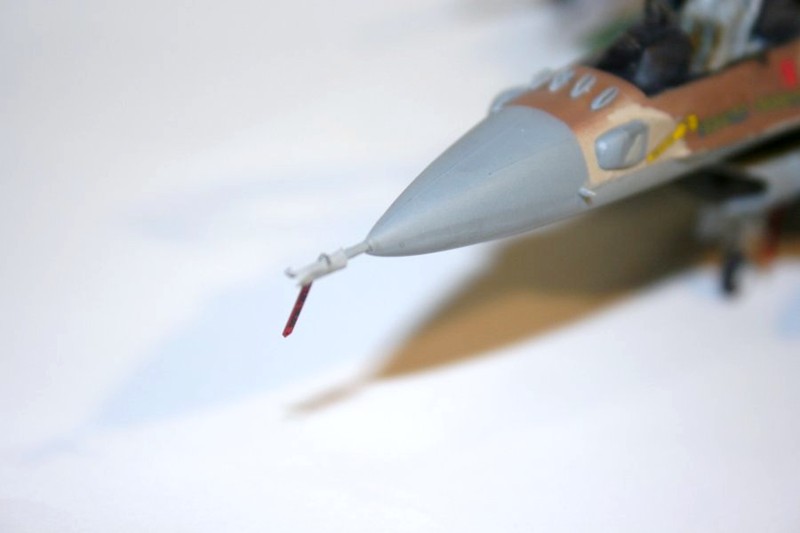
These are little gems. They’re far better than many of the other RBF tags I’ve seen. The print is in Hebrew, and the tags have a long thin wire that can be used as a ring or hook, making it far easier to put the tags on. I asked Steve Collins, who works for Lockheed Martin at an F-16 base where to put these. He replied that they’d go on all the weapons, the landing gear, the arresting hook and the nose probe. I did find a photo of a Sufa on Airliners.net which showed many of these. Nevertheless, I really needed Steve’s help. There isn’t much out there on this sort of thing.
The cover for the nose pitot is just a piece of printer paper cut to size and painted Ghost Gray.
Overall Evaluation
Recommended. There’s a lot to this set, and 90% of it is excellent. Eduard couldn’t help it that Lockheed-Martin’s boarding ladder is so difficult, and the missile fins must be a fluke. The add-ons make a very good kit into an excellent project.
Thanks to Eduard Model Accessories for the upgrade to my F-16I, and to IPMS/USA for the chance to do this set.


Comments
Add new comment
This site is protected by reCAPTCHA and the Google Privacy Policy and Terms of Service apply.
Similar Reviews