
Bf-110D-3 Zerstorer
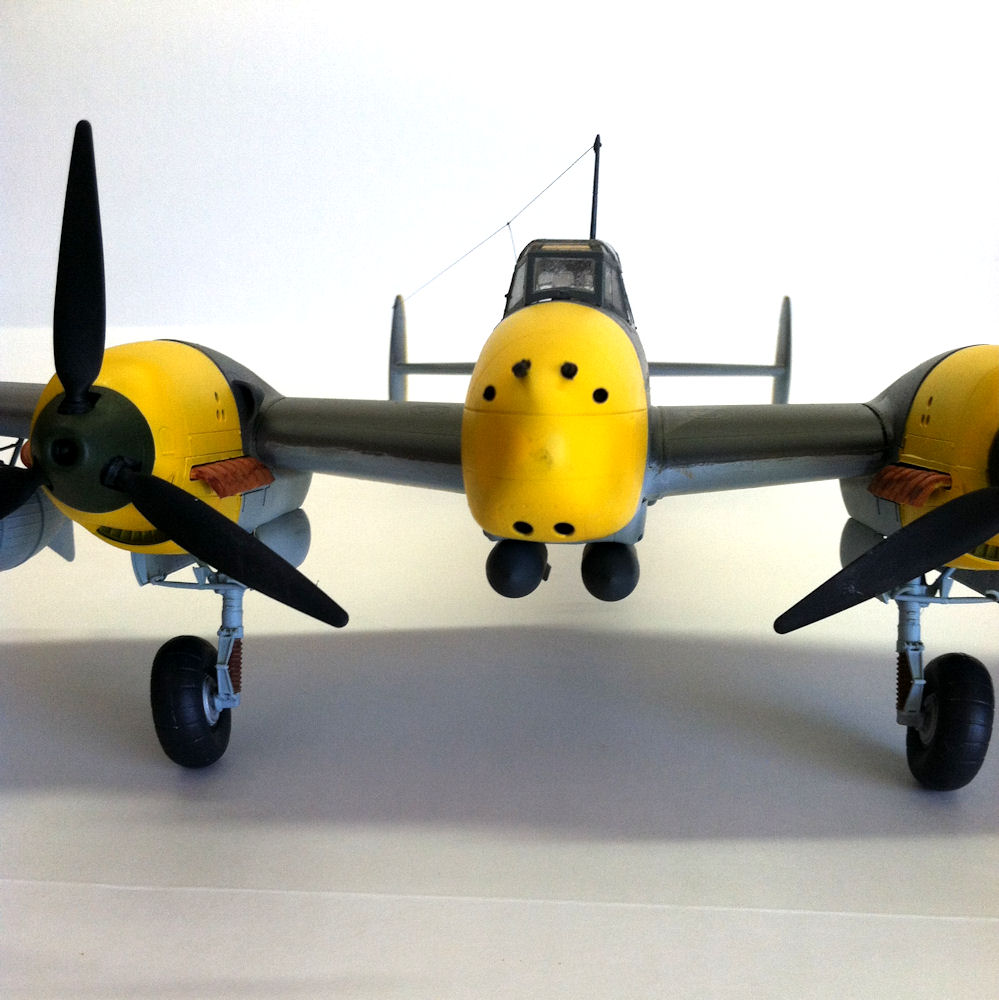
The Messerschmitt Bf-110, often called the Me-110, was a twin engine heavy fighter (zerstorer – German for destroyer) in service of the Luftwaffe during WW II, armed with four 7.92mm machine guns in the upper nose and two 20mm cannons in the lower nose. It was also equipped with a 7.92 mg15 defensive rear-mounted gun and could carry up to 4410 lb in bombs. The D-3 version was a long-range zerstorer with a lengthened tail for a rescue dingy, and either two 80 gal or two 240 gal drop tanks.
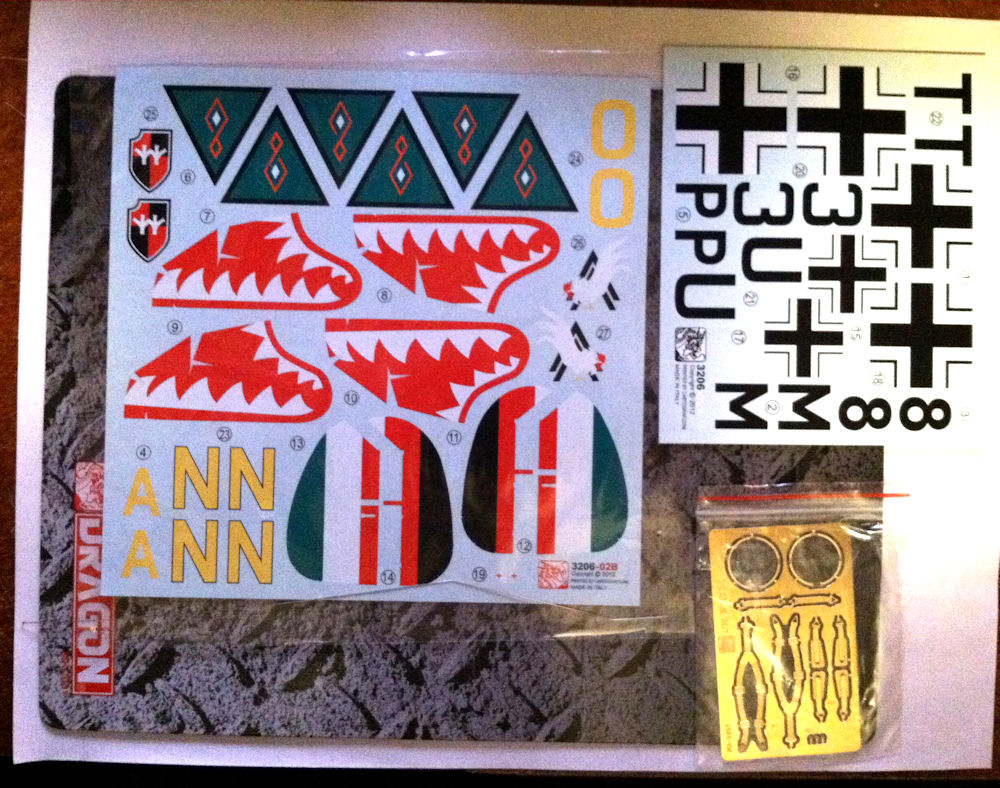
Upon initial inspection, the kit is very impressive in size and scale. At the same time, I have never built a 1/32 scale aircraft and found it a little overwhelming. The kit has great box art and standard Dragon instructions along with a decal sheet, 430+ parts on 17 plastic sprues, and a PE fret. The canopy sprue has 11 pieces for two different variations. At first glance at the decals, they are really crisp.
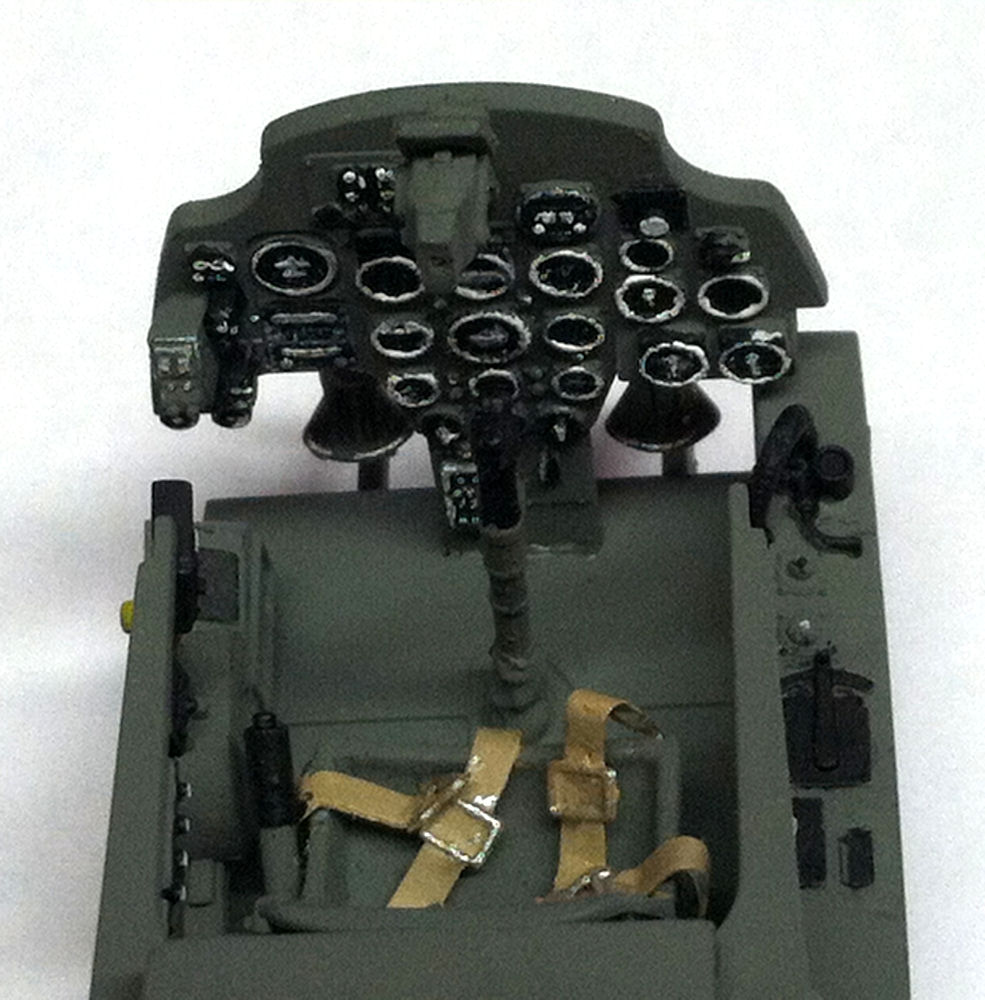
Cockpit/Canopy Assembly
The Dragon instructions are quite vague on coloring for the cockpit, so I had to use outside references to find a few color variations. I referred to the Eduard 1/48 Bf-110E instructions for color variations.
- Step 1A – Build 6, not 4, 20mm drum magazines. Part E9 (radio) is hollow on the backside and plastic sheet stock should be used to hide this.
- Step 1D – You will need two part D20’s, one for each side of the floor, to be installed in step 2. The extra two magazines built in 1A will mount to part D20 (see picture).
- Step 1E – Rudder pedals and linkage, D22 and D26, are labeled in the instruction but are shown as one piece where as they are two separate pieces.
Lap and shoulder seat belts are on the PE fret and are thick and difficult to bend.
Canopy construction in step 3 – part H15 is misprinted in the instructions. It should be marked H5. Masking time for the canopy was very consuming. Overall, construction was easy. The cockpit/canopy assembly took quite a bit of time, approximately 12 hours with painting and detailing. Overall, the assembly went smoothly with the parts fitting into place nicely.
Fuselage/Wing and Engine Assembly
Construction was very straightforward with no major hang-ups. In step 4, A2 (center bomb rack) has locator pins that fit into part A9. Part A2 needs to be drilled so that it fits into A9, or the locator pins in A9 need to be removed, which I did. Step 5, the engines were very detailed and went together nicely for something that is not seen. In the cowling construction (step 6M), parts F38 and F8 were assembled as an upper left cowling. This is correct, but this is for only one engine. The right wing gets cowl part F39. Part F 39 is not shown in the instructions. Step 7 for the wing assembly has large drop tanks. Part P6 and P8 are swap-labeled in the instructions. Other than these minor inconsistencies, the fuselage and wings went together well.
Final Construction
Step 11 – Rear stabilizers and rudder gave no problems in assembly. When attaching the wings to the fuselage, the underside of the wings gaped 1/32 to 1/16 in. at the fuselage. Some evergreen strip styrene and Squadron putty took care of that issue.
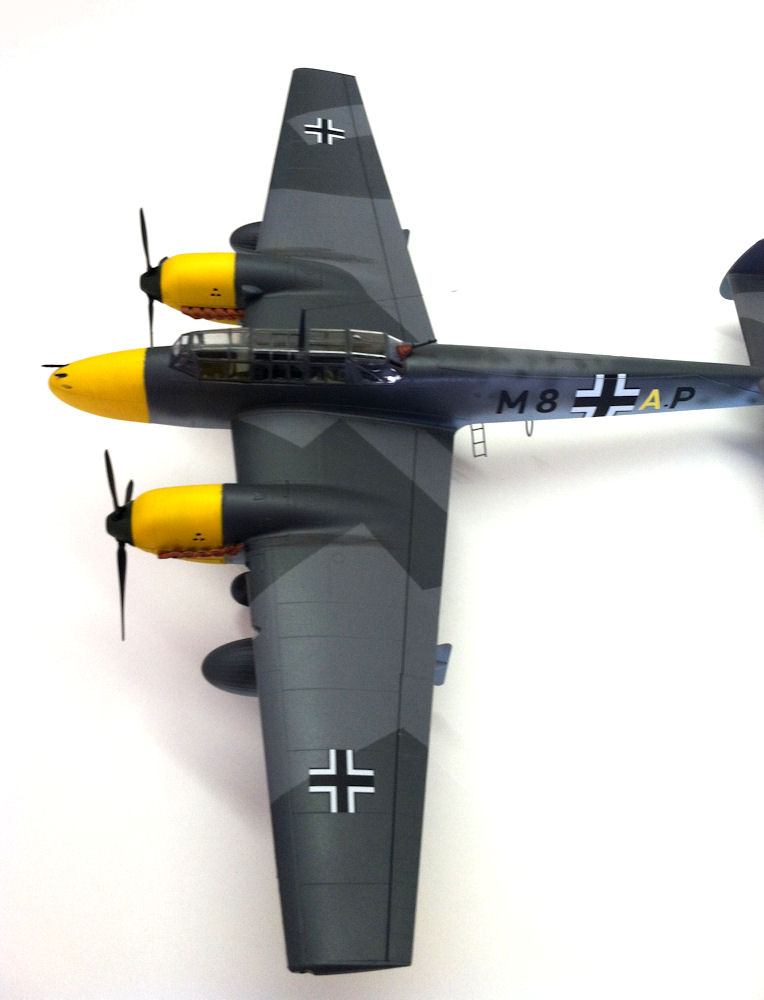
Painting and Finishing
Painting was done with Testors acrylics and enamels, along with Tamiya acrylics. Future for the canopy and Testors gloss coat, then dullcoat to finish it off. The decal options gives the builder four choices: 9./ZG 26, Sicily 1941; another aircraft from 9./ZG 26; 6./ZG 76 Greece 1941; and a neat Iraq one, 4./ZG 76, Raschid, Iraq 1941 from the Anglo/Iraq conflict. I chose the 110 from 6./ZG 76 Greece 1941. The only problem was the shark mouth decals were unusable after spending about an hour trying to work them into place. Both halves of the shark mouth decals would not line up properly. The fronts and backs would line up to each half, but there was a 1/8 in. gap in the center. This was unacceptable to me, so I removed them. Otherwise, all the decals went on fine without any setting agent.
Overall, the kit was a challenge to my time, but not too complicated. This piece is a welcomed addition to one’s collection if he likes larger aircraft.
I would like to thank Dragon, Dragon Models USA, and IPMS/USA for the opportunity to review this kit. I hope it was informative as well as resourceful.


Comments
Add new comment
This site is protected by reCAPTCHA and the Google Privacy Policy and Terms of Service apply.
Similar Reviews