
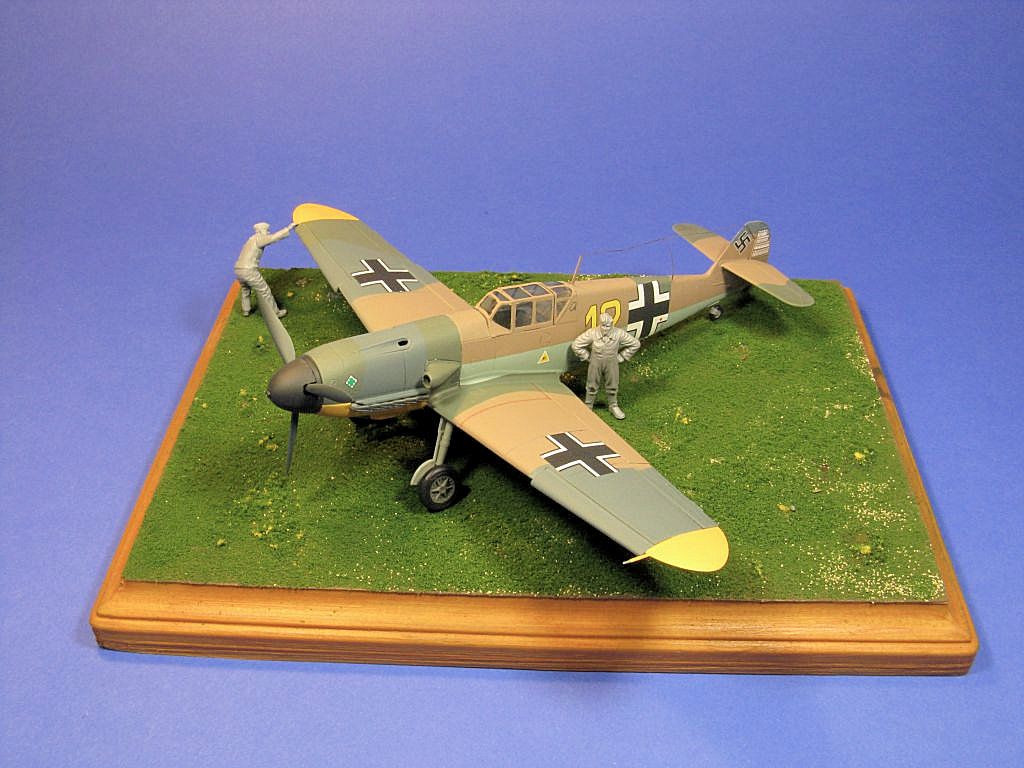
Bf 109F-4 with German Ground Personnel
ICM Holdings has re-issued their 1/48 Bf 109F that has been around since the mid 2000s. After these years (review is written in 2020) the molds are showing their age a tiny bit. There is some minor flash in some parts, but nothing that a few minutes with a blade and a sanding stick cannot correct.
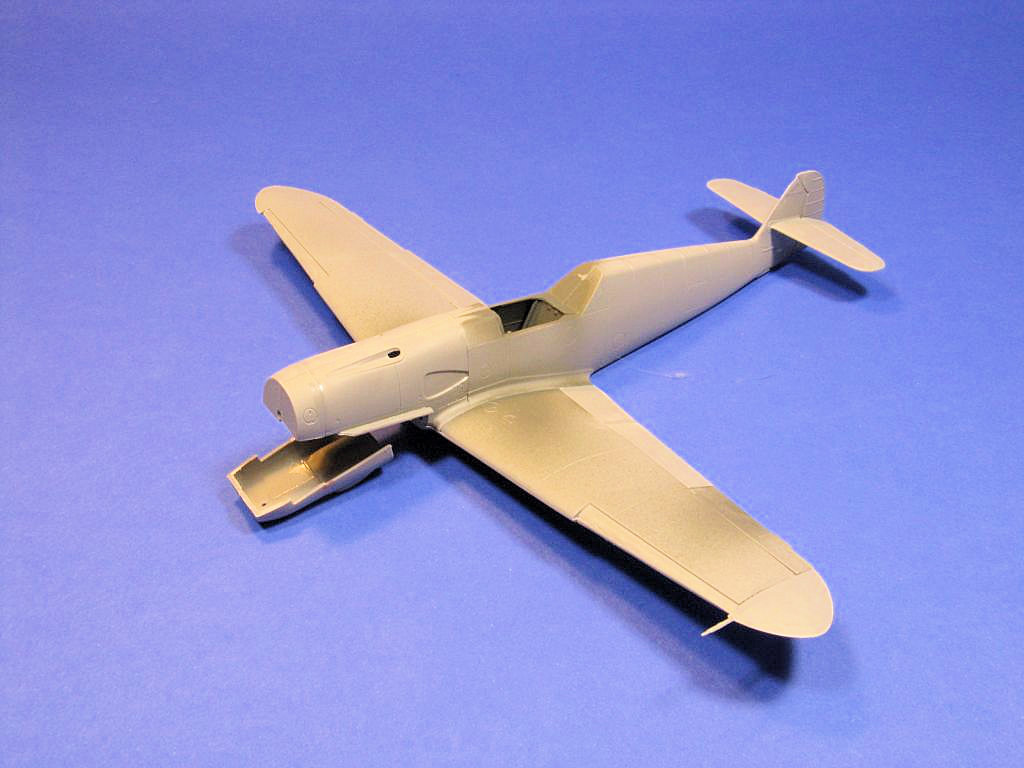
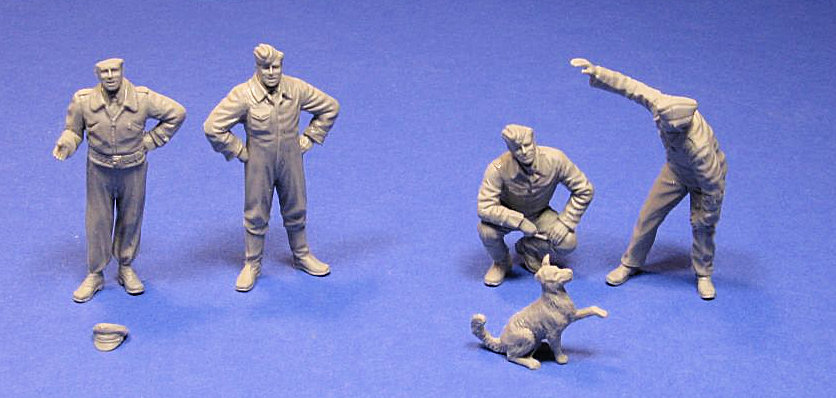
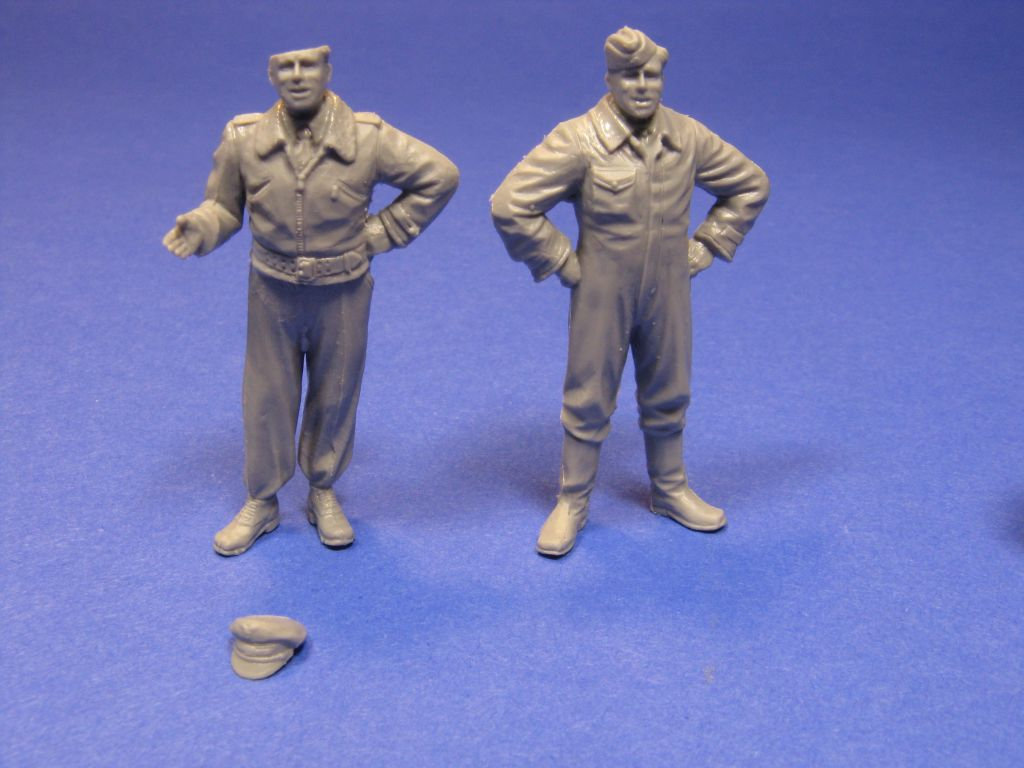
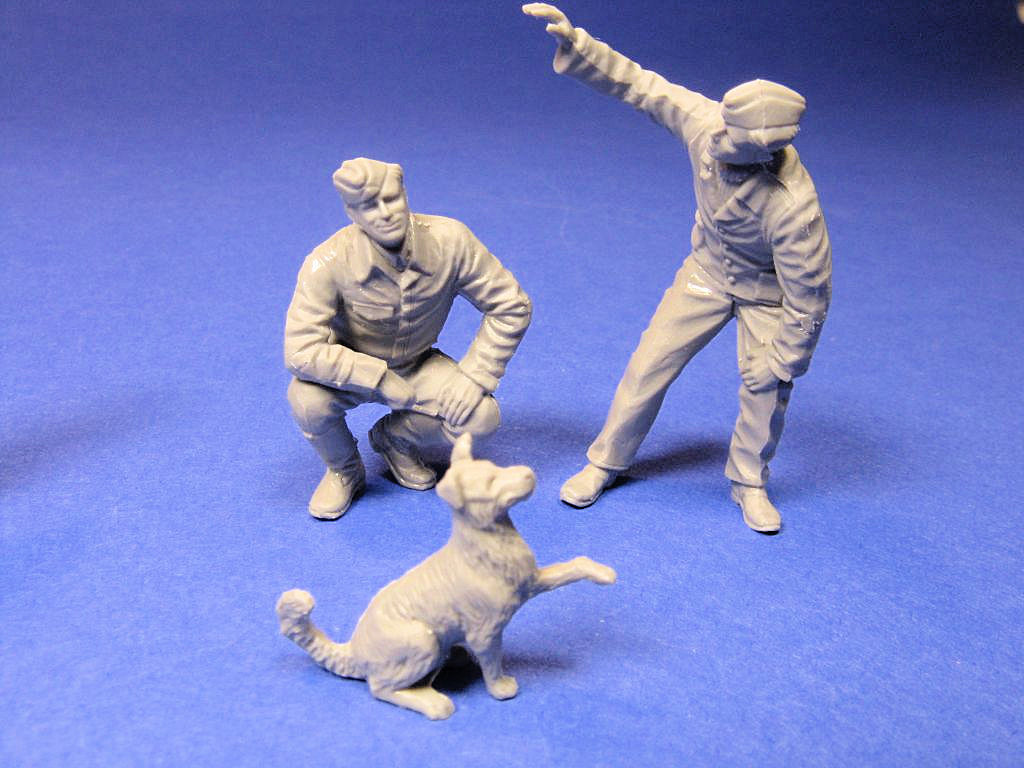
The airplane itself comes in 3 grey sprues plus a clear sprue and it includes a full engine and a cowling that can be displayed open. In addition, this particular boxing includes a set of 7 figures in summer uniform plus a dog. I believe this is the first time this figure set has been released and the sculpting of the figures is outstanding. I’m not an expert on uniforms, but I think you get 3 officers and 4 enlisted personnel.
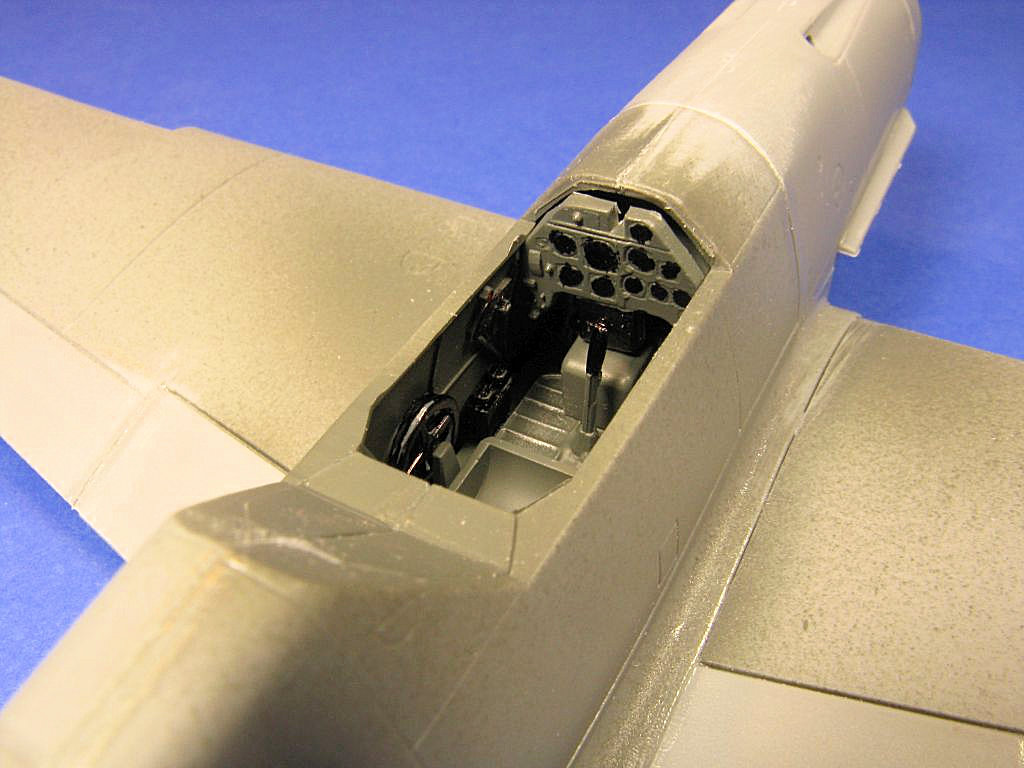
The assembly of the model follows a typical process for an airplane, starting with the cockpit. The cockpit itself is simple, but reasonable for the scale and acceptable if you have the canopy closed. There are no seatbelts molded nor provided as a decal.
One thing I’ve found out when dry fitting the cockpit to the fuselage is that the cockpit itself is a bit wide for the fuselage sides to close properly. I had to sand off the front of the cockpit subassembly (ahead of the instrument panel) to get a good fit of the fuselage sides.
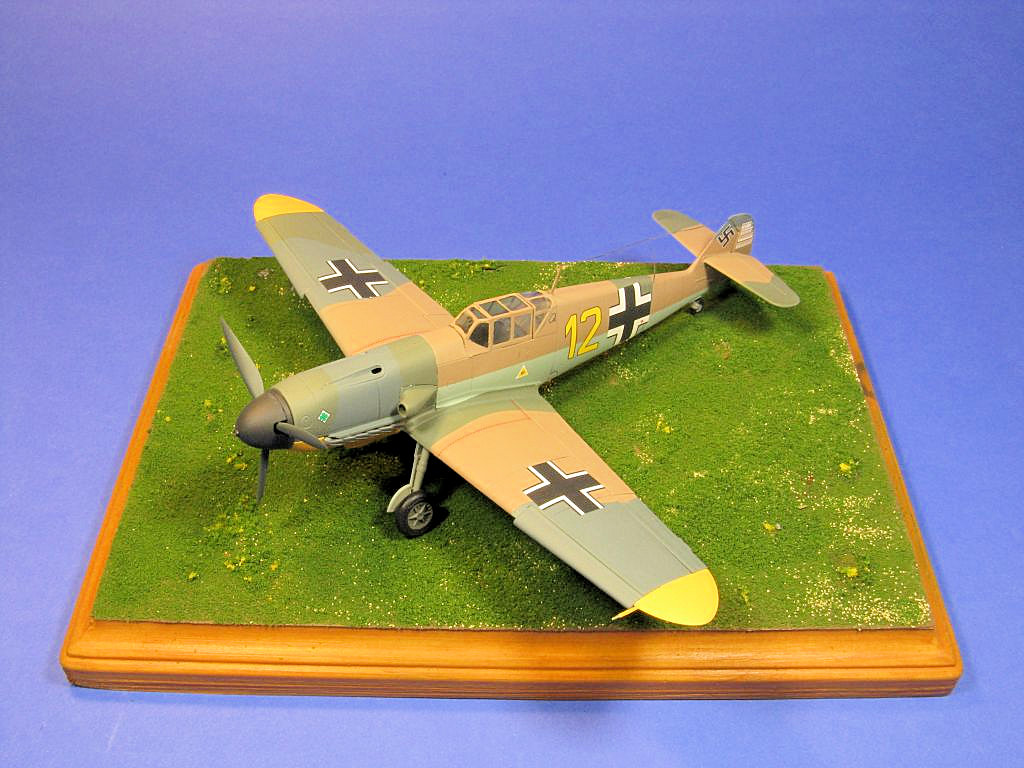
Another thing I decided to do was to modify slightly the nose. I wanted to show the smooth lines of the “-F” (the prettier of the all 109s!) so I decided to not assemble the engine and I glued the nose cowling panels to the main fuselage sides. After running a bit of liquid glue I reinforced the parts from the inside with extra styrene.
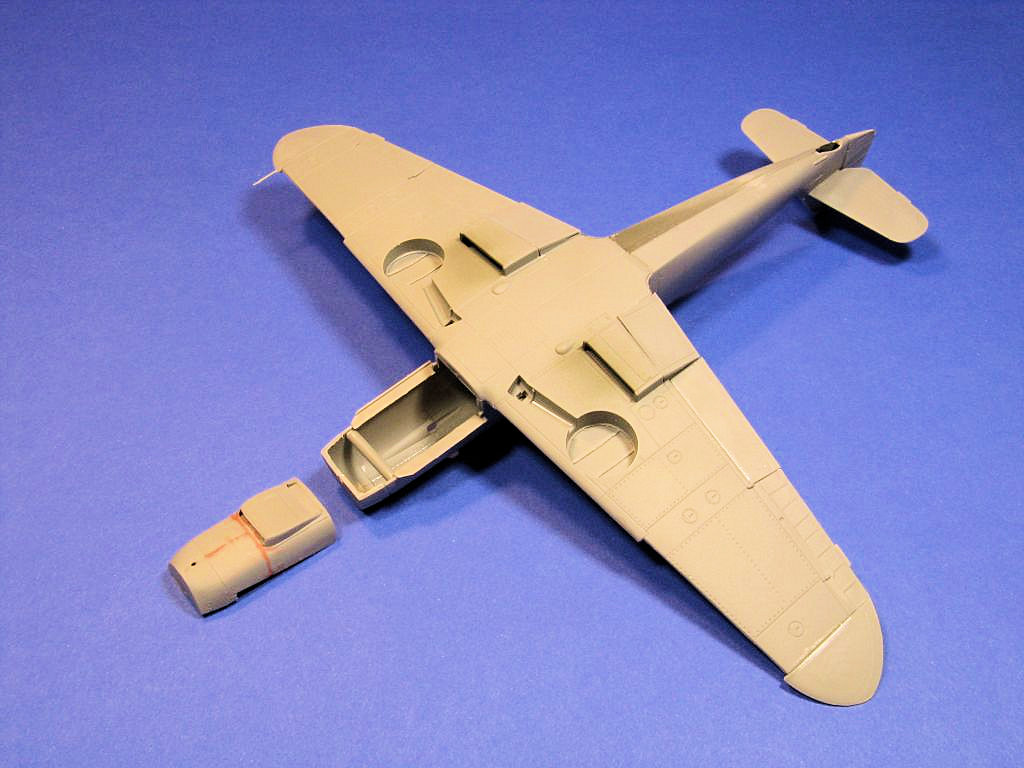
At this point I thought that the original engineering of the lower nose parts was a bit too complex and I created my own subassembly. I basically decided split piece #5 and piece #6 and glued them with piece #10 to be able to create an independent part for below the exhaust line and then I glued the remaining part of piece #5 and #6 to piece #4 and #3 to create a full nose. While that might sound complex, it was very simple. Just look at the images and you will see how simple it is. I did have to add a piece of sprue across the nose to reinforce the area and set the proper distance between the side nose panels.
A secondary advantage of this modification is that simplifies painting. You can paint the exhaust and lower nose independently of the main camouflage and glue those subassemblies after the main painting is completed.
Next up were the wings. The rounded wingtips fit was a bit off. I had to sand down the “tongue” of wing-tips that is meant to fit into the slots of the main wing. Same with the flaps. Fit of the wing-roots to fuselage was pretty good.
The model was approaching the painting stage fast. There was minimal need for filler, just a bit around the nose cowling area, but some overall sanding of the seams, plus sanding of specific parts (as described) to improve the fit was needed.
Painting was accomplished with Model Master Enamels. After the painting was completed, I applied a coat of Gloss from the Tru-Color line that I have reviewed elsewhere in this website. As I mentioned in that review, I’m very impressed with that clear coat and the overall paint line.
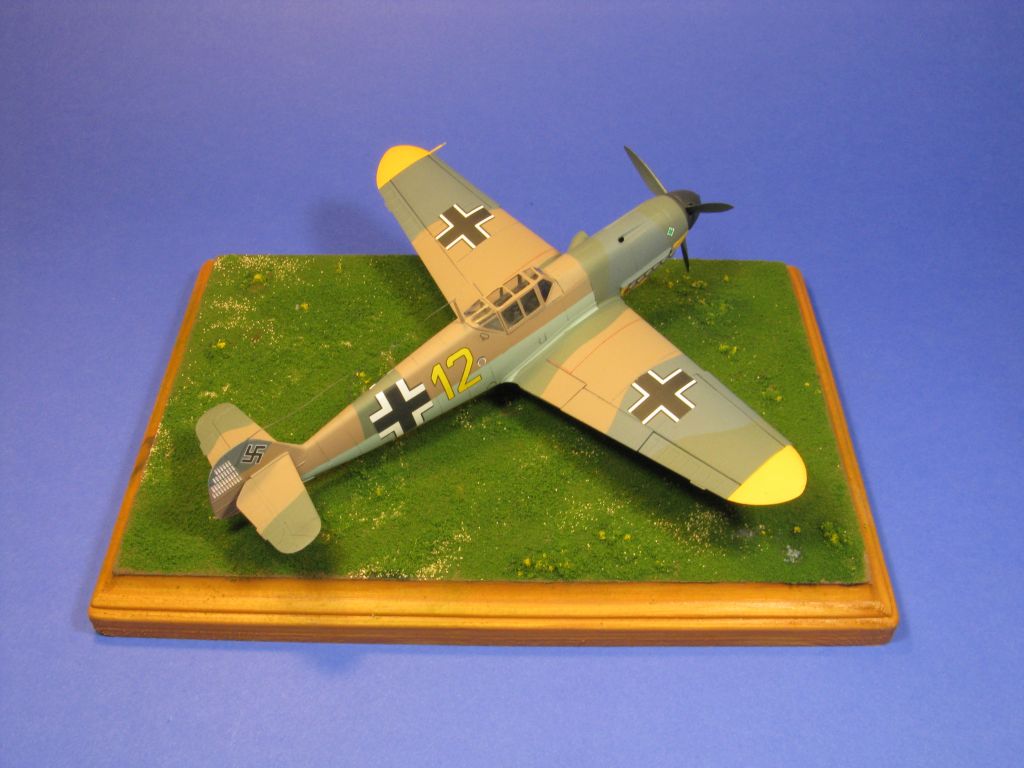
Once the gloss coat was cured, I applied the ICM-printed decals. I would say that they are not the easiest decals ever, but they have improved a lot since the earlier decal sheets.
What I’ve found out is that you need to use very hot water to release them from the backing paper and that they need to be underwater longer than other decals to release. But if you do it that way, you will have few problems to apply them. They are even sturdy enough that can withstand gentle handling for final positioning. I did have one of the decals to become brittle after it was dry and peel off a bit. Oh well, that is what I call “weathering”.
The decals themselves have good color density, good registry and they conformed to the shapes of the fuselage and panel lines without the need of any setting solution.
The model was approaching final assembly. The landing gear fits pretty well and the parts are handed, so you cannot mix left and right. At this point I presented the (already painted canopy) to the model and found out a small gap between the windshield and the fuselage. In hindsight I should have glued the windshield, filled the gap and then painted the model. The other parts of the canopy fit well, without gaps.
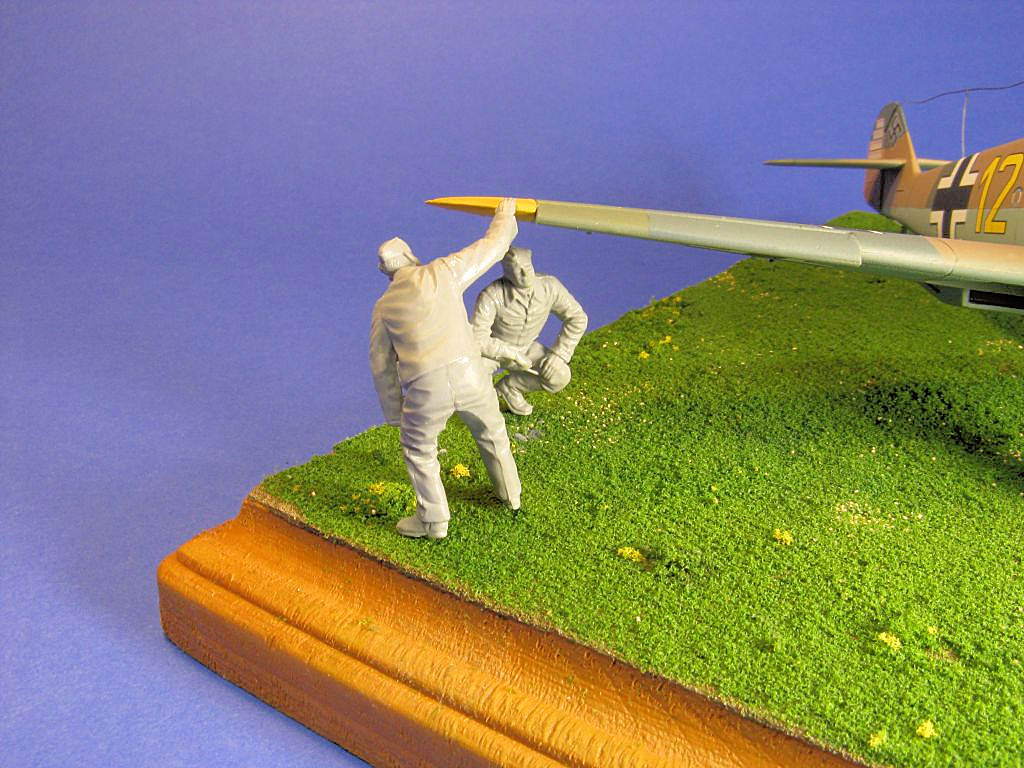
Regarding the figure set you can see how well sculped they are in the pictures. As the molds are likely very new, there is no flash or any other issue with them. Even the mold lines are very faint and easy to remove with a sharp blade. The gates attachment points are also small and easy to clean. When the figure is assembled, they are well balanced and can stand upright on their own without having to glue them to a base.
My figure painting skill is not up to par, hence I’m just showing a few of them, assembled but unpainted around the airplane.
I would summarize this build as below average in terms of fit for 2020 standards but nothing in this kit is makes it unbuildable. If you consider that the molds are 15-yr old and that you get a brand-new set of figures with it, it is a reasonable offering. If you think of it, you get a “vignette in-a-box”.
Recommended for the budget-oriented modeler looking for a vignette in-a-box.
I would like to thank to ICM Holdings and IPMS/USA for the review sample.


Comments
Add new comment
This site is protected by reCAPTCHA and the Google Privacy Policy and Terms of Service apply.
Similar Reviews