
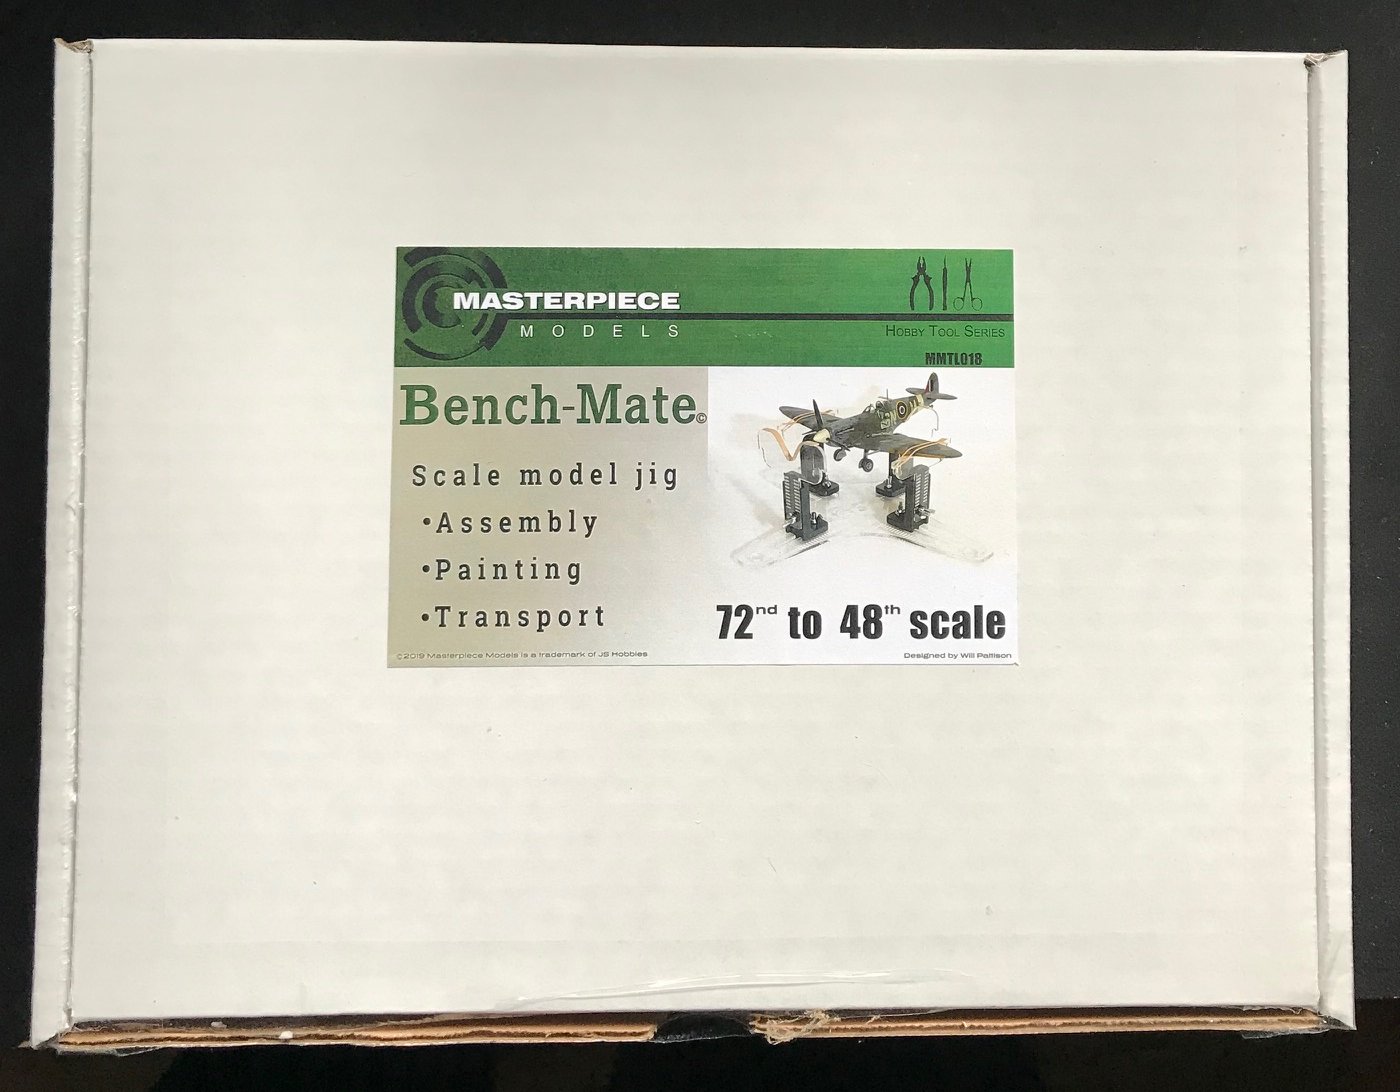
Bench-Mate Aircraft Jig for 72nd and 48th Scales
Copied from the Masterpiece Models website, About Masterpiece Models, “Masterpiece Models manufactures and sells the highest quality resin assembly kits on the market today. Featuring kits for a variety of interests including WWII, Vietnam, Sci-fi, and aircraft bases. We have acquired the rights to a large selection of the Custom Dioramics line that are now available through us as resin assembly kits. Our kits are manufactured at our Vancouver, Washington, USA fabrication and casting shop.”
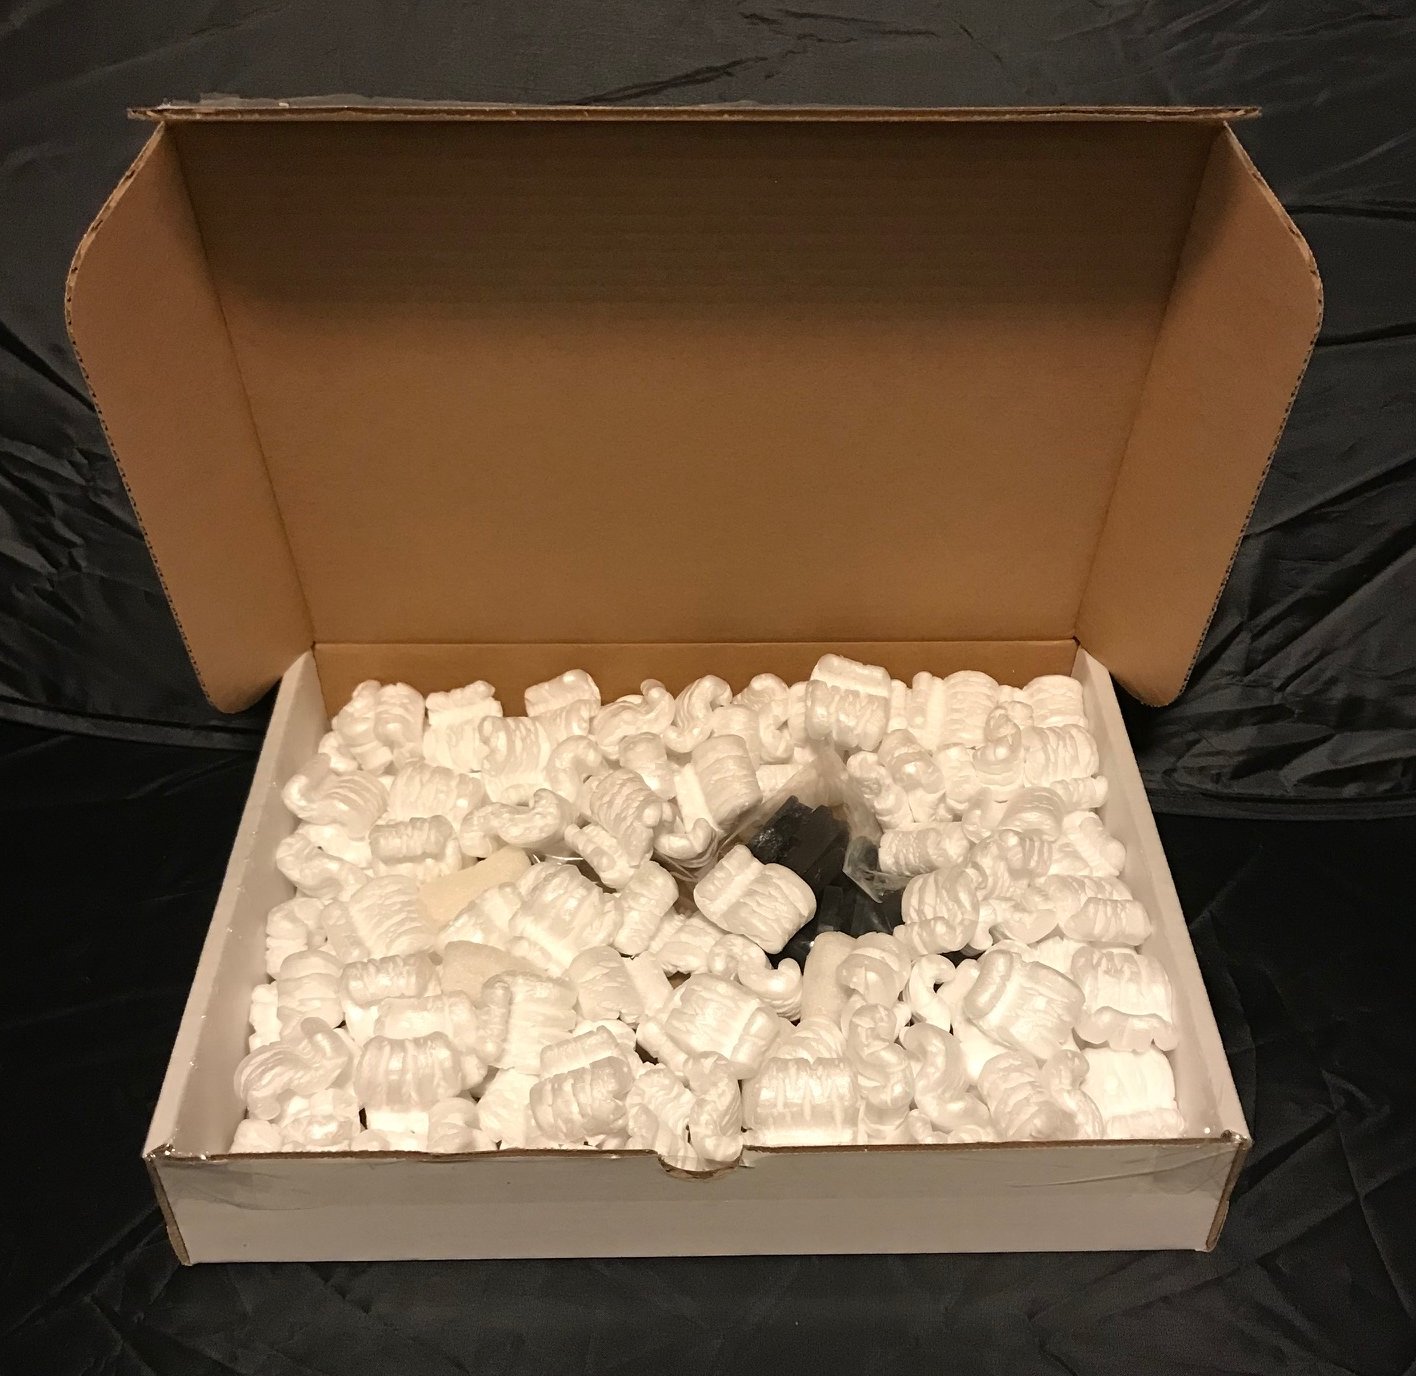
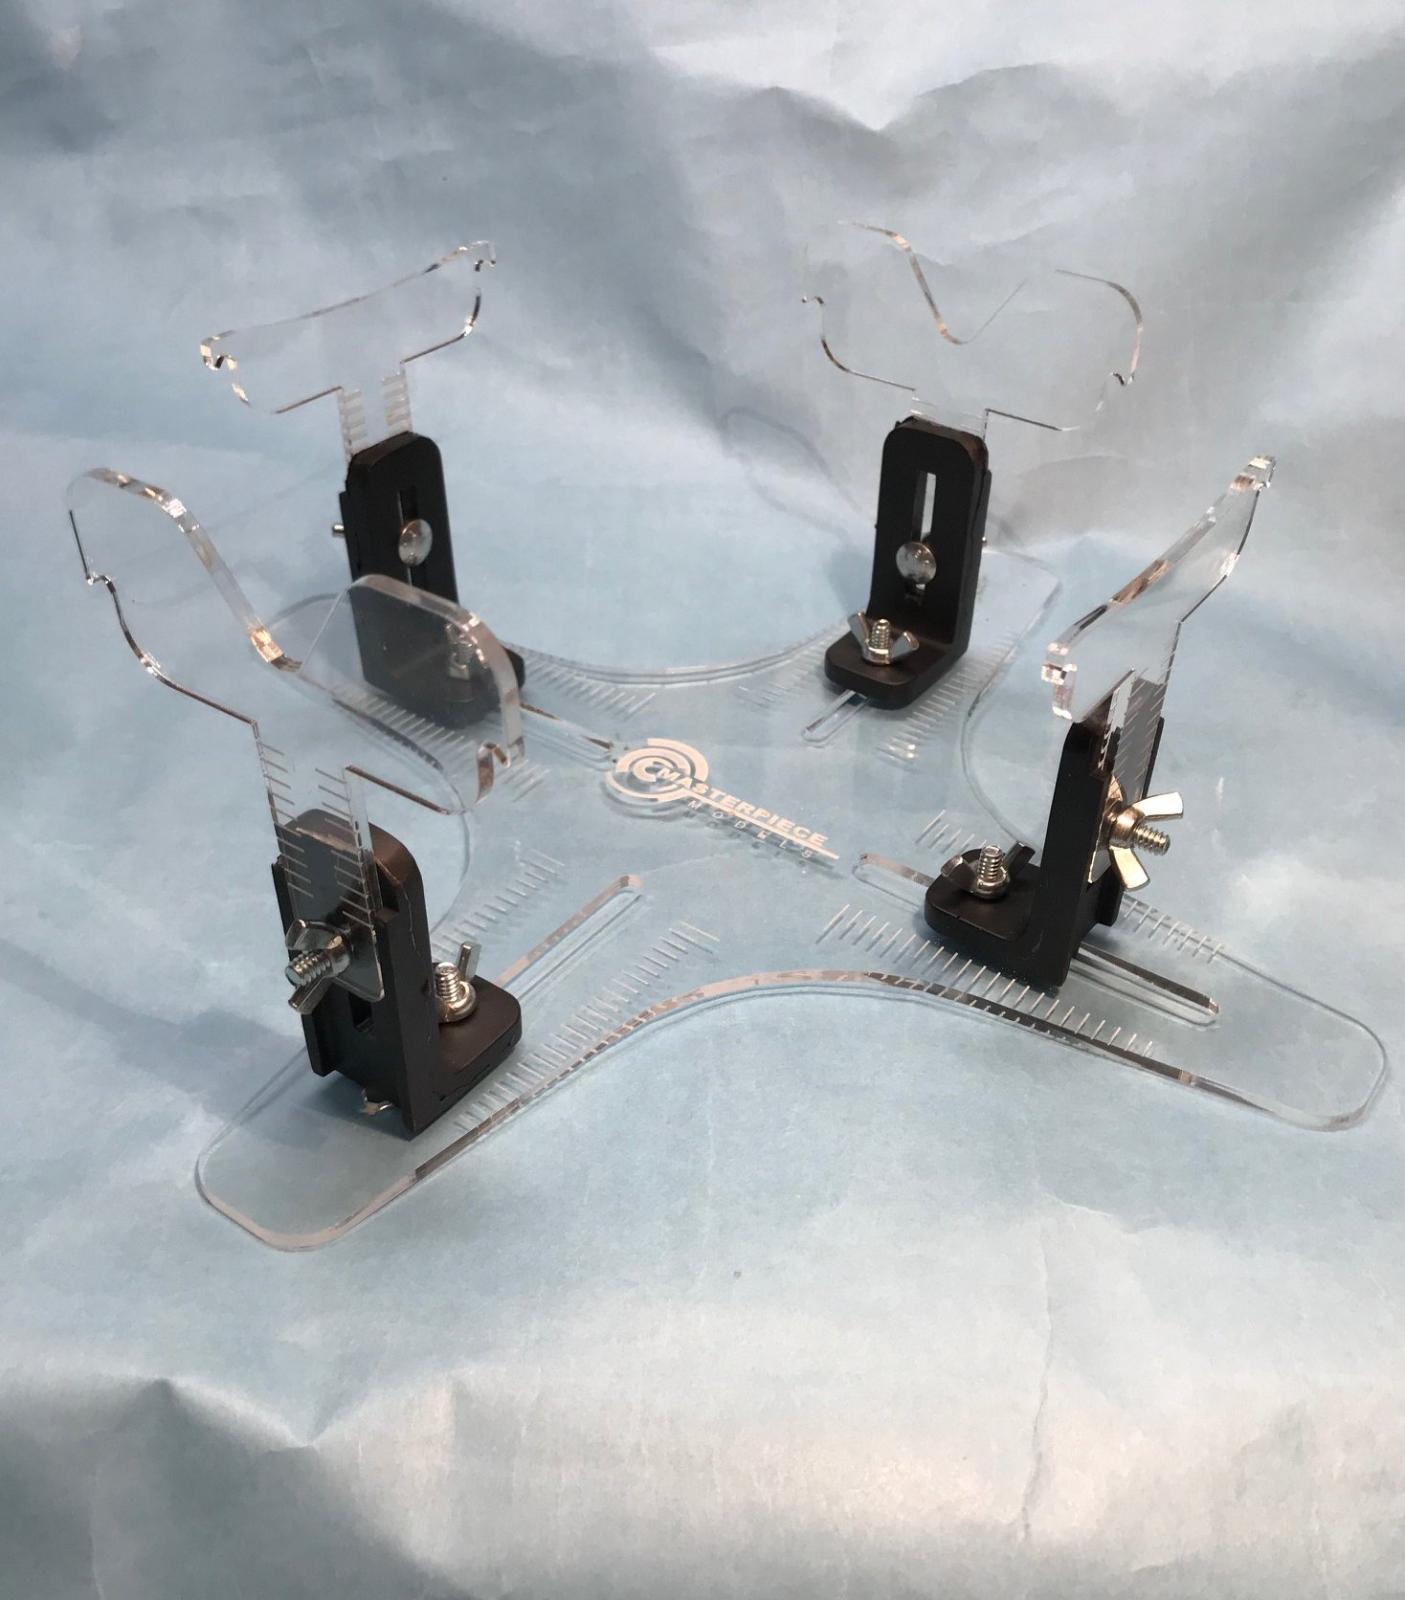
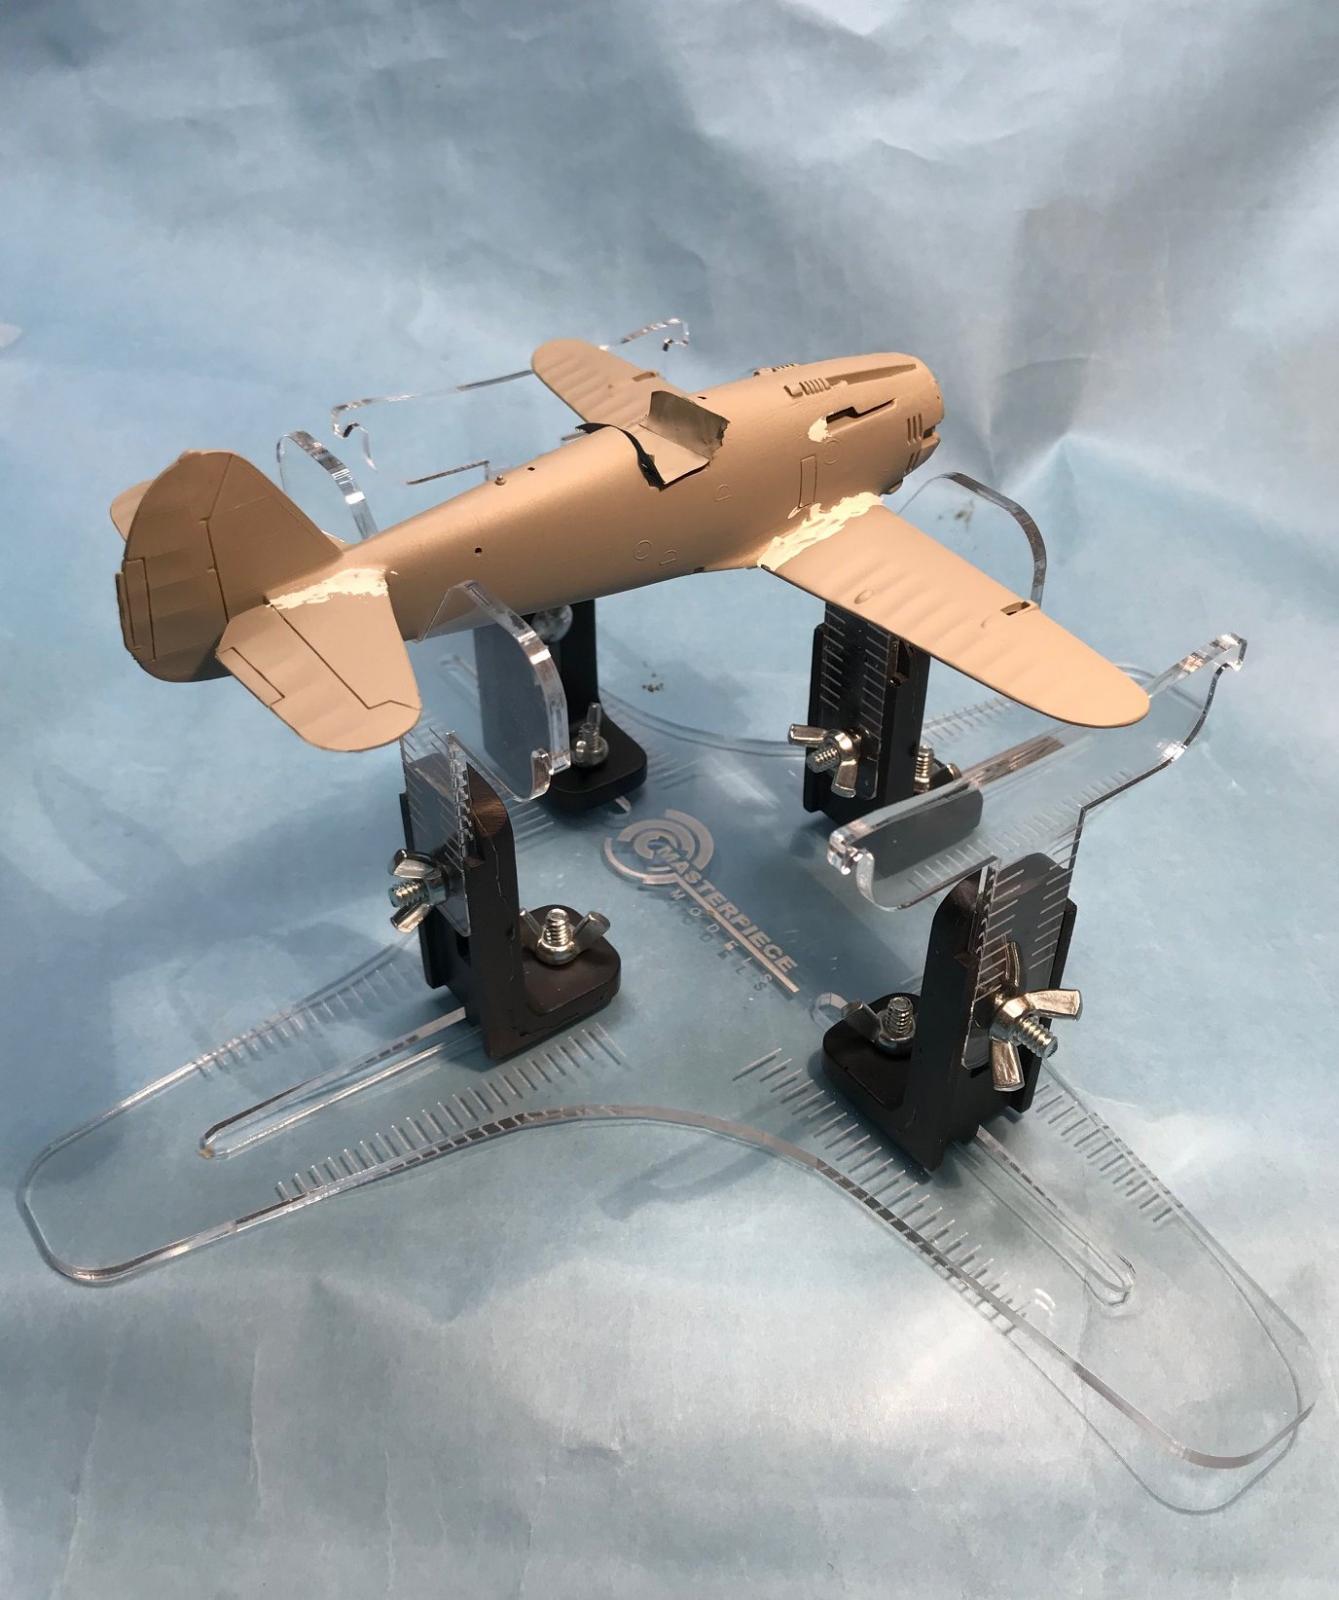
Among the items that Masterpiece Models offers is a jig, sized for 1/72nd and 1/48th scale models. There are no assembly instructions, per se, but that is not a problem. There is a 3x4 inch piece of paper included in the box and all that is required to assemble the jig is to reference that picture. If, for any reason, that slip of paper is not present then one can visit the Masterpiece website and find an image there. Or, just view the image of that slip of paper that shows the assembled jig that is included with this review.
Some notes on assembly of the jig:
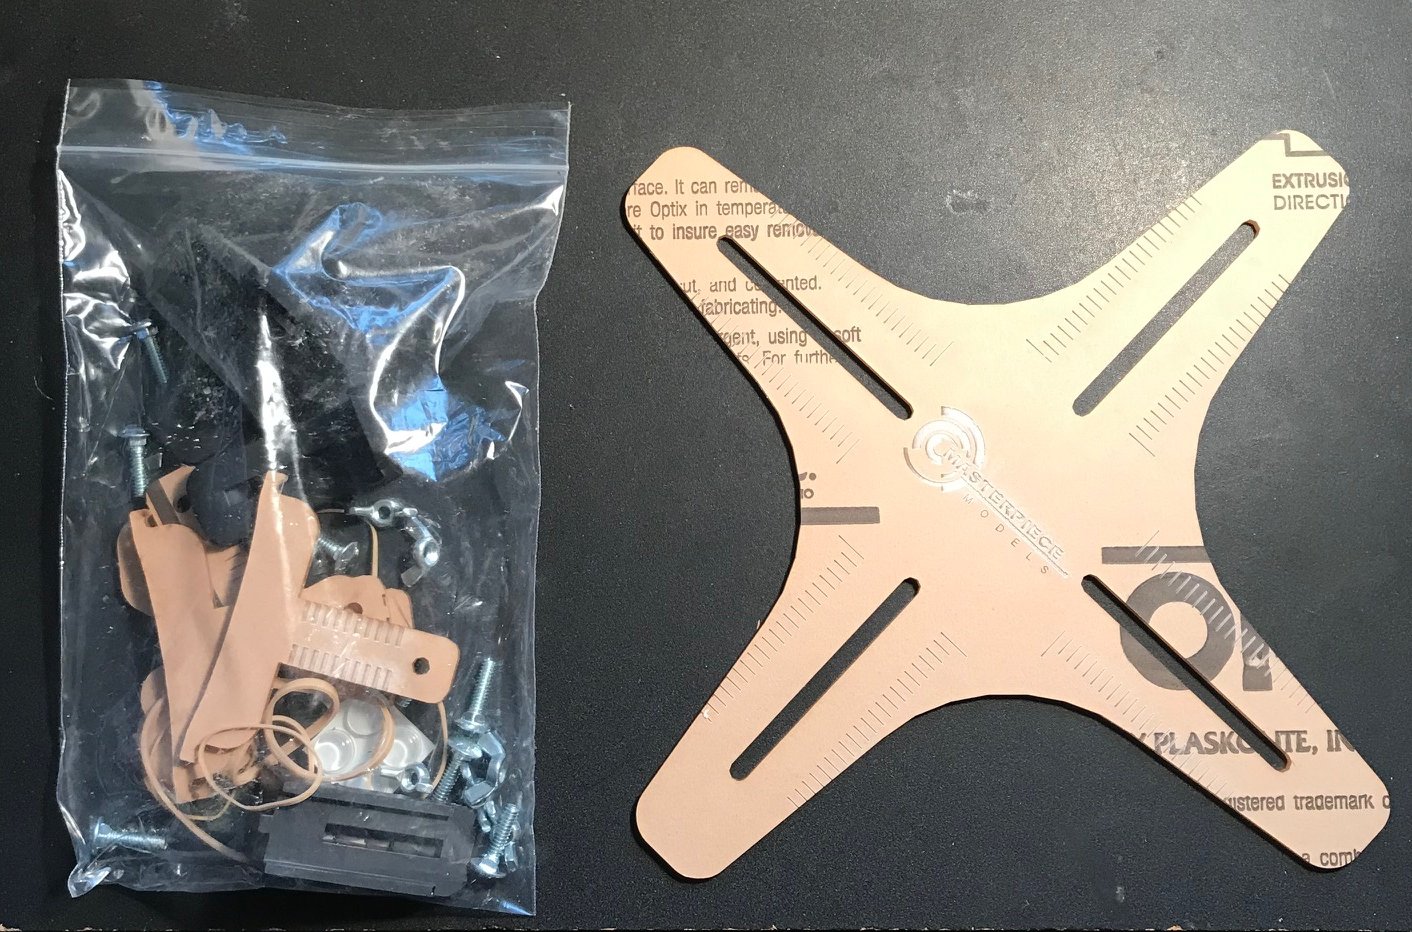
Remove the brown protective paper from the clear jig parts. It will take as long to do that as to assemble the remainder of the jig! Removing the protective paper is not required. The jig parts will fit together even with the paper left intact, but it is recommended to remove it.
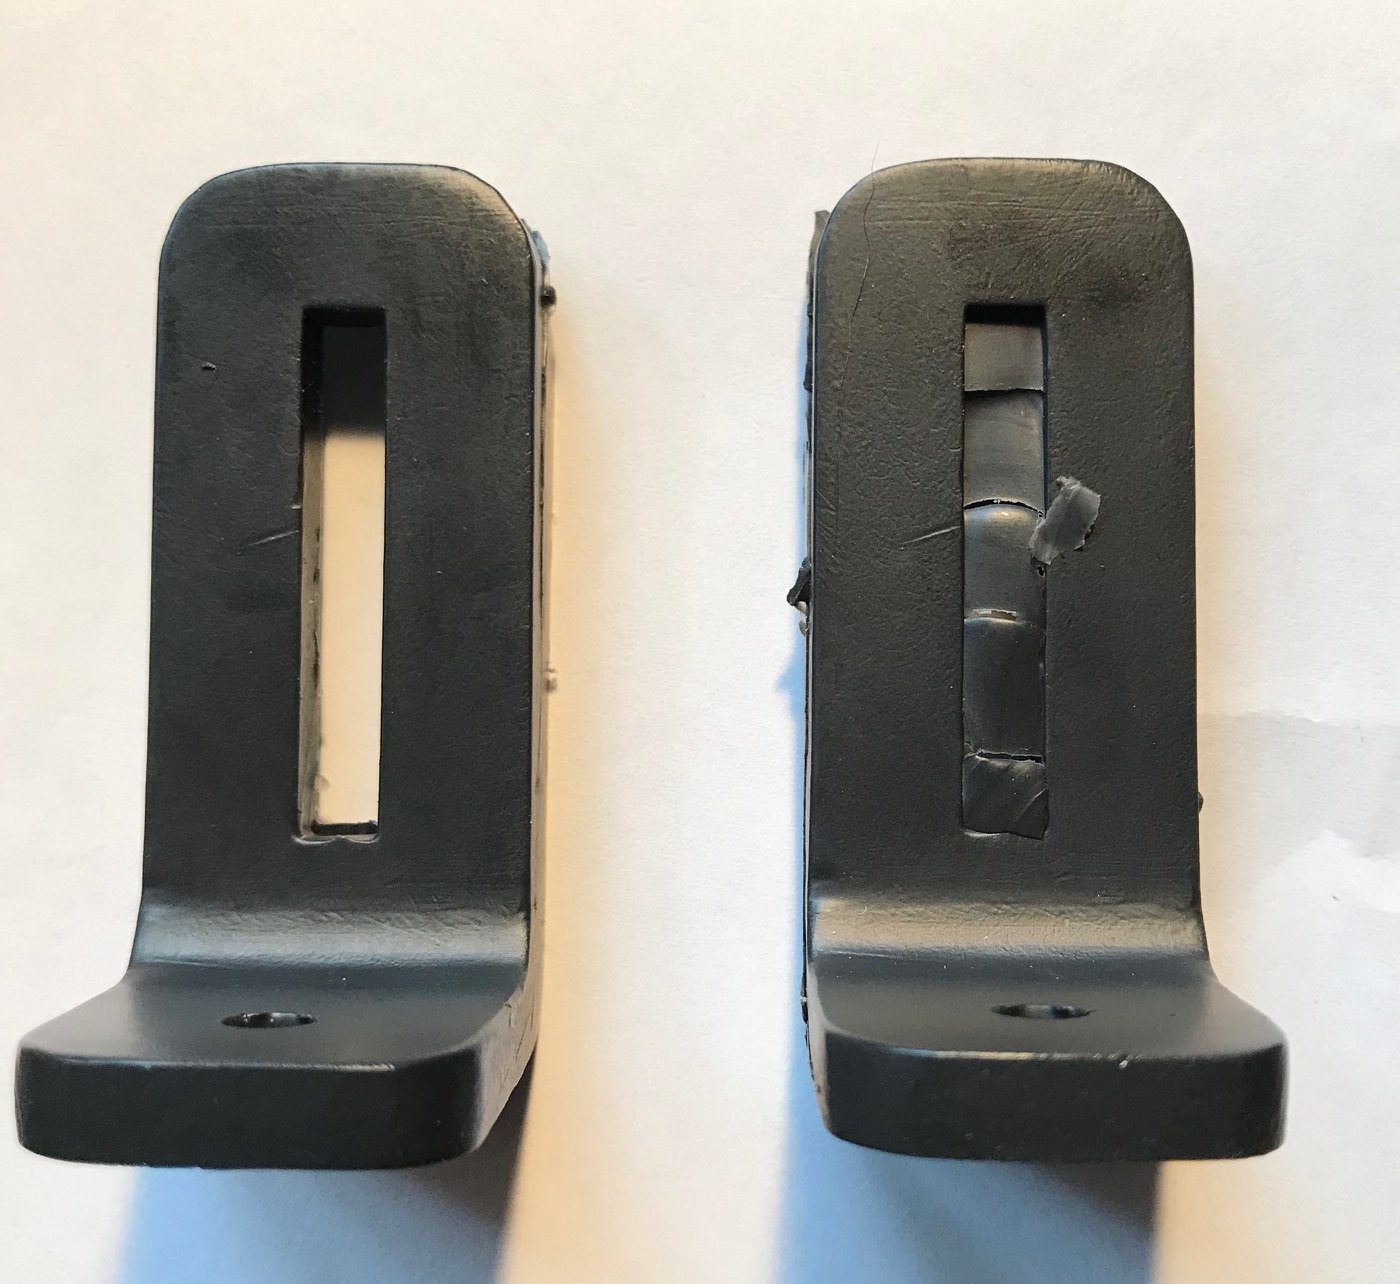
Each of the right-angle black brackets have a slot through which the adjustment bolts will be inserted. On this review item, partially covering those slots was a very thin layer of what might be termed as “flash”. It is recommended to remove that flash prior to assembly. The flash will fall out by itself or be removed by the adjustment bolts as one slides the jig’s T-bars up and down. The reason for the suggestion to remove that flash prior to assembly is to keep the flash from cluttering your workspace or “sticking” to your modeling project. You don’t need a special tool to remove that flash. Just insert one of the kit bolts into the slot and move the bolt from one end of the slot to the other until you see that the flash has fallen out.
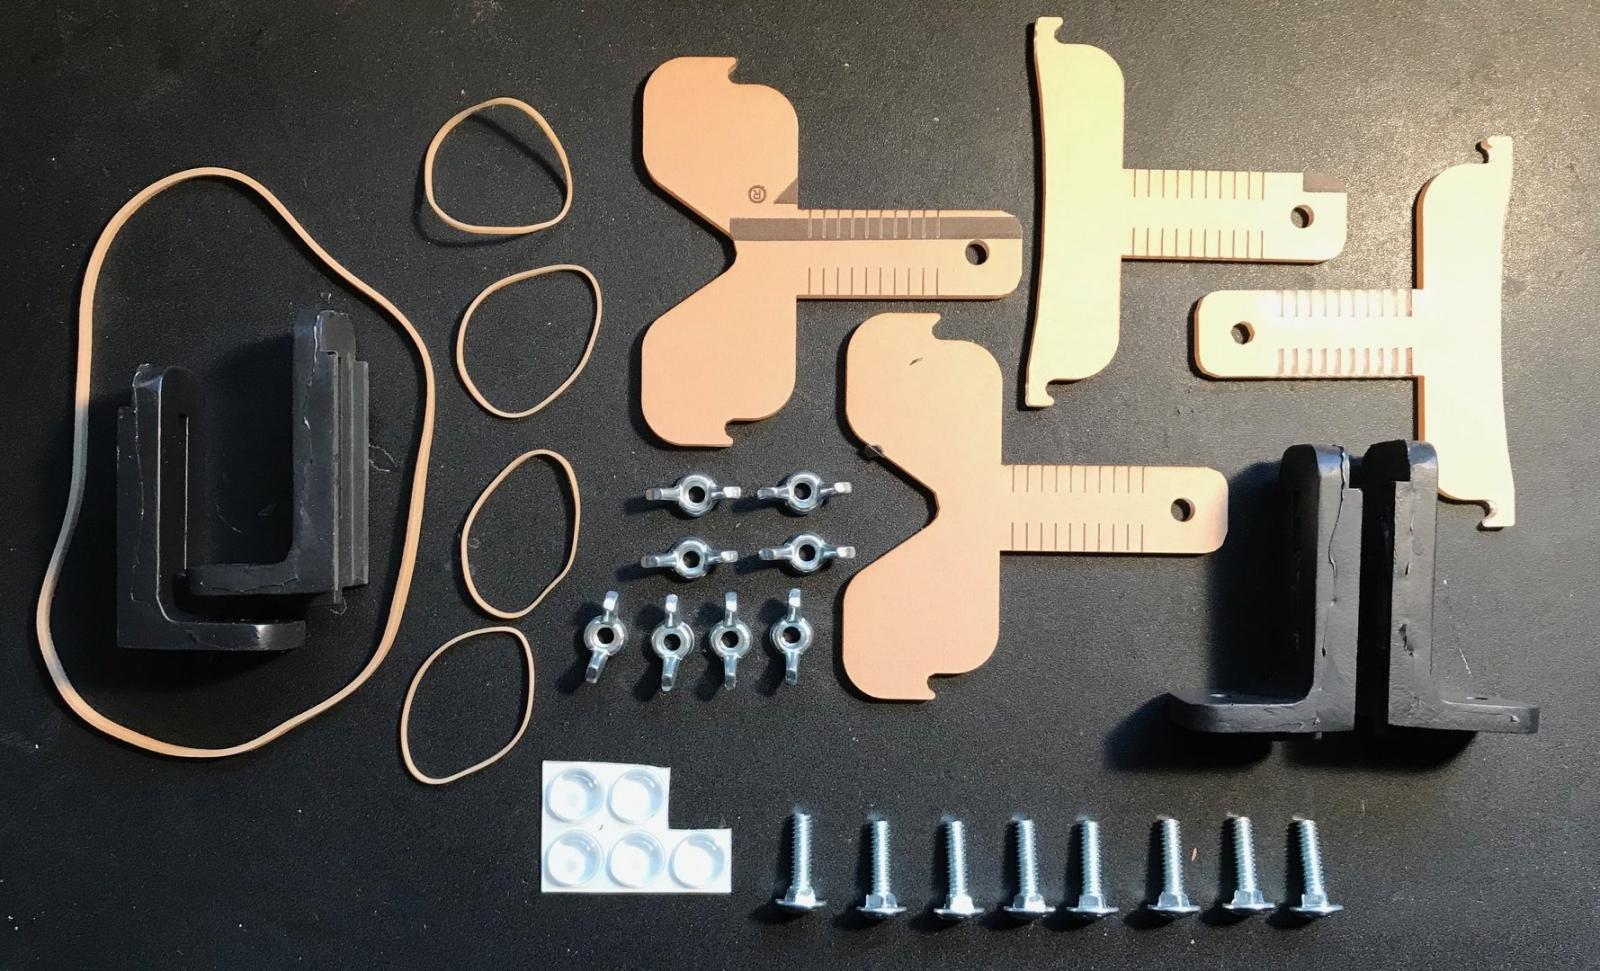
Be sure to attach the clear T pieces with the deep V shapes opposite each other when attaching the T pieces to the black right-angle brackets. When assembling the review sample, all four of the T pieces were attached to the right-angle brackets with the engraved markings on the outside of the jig. There is no reason why that is important, but standardization of assembly procedures does not hurt.
There are five small “pearls” that are meant to be stuck to the underside of each of the four legs of the jig’s base. The fifth pearl can be placed in the center of the jig’s base, providing a little more stability. I chose not to attach the pearls. The rounded heads of the screws serve as reliable and sturdy points of contact between the jig and your workbench. Additionally, while one of the pearls may fall off at some point, the bolts will not. And, if ever required, the bolts can be replaced with ease whereas the pearls may get lost.
This product is highly recommended due to the sturdiness of the jig, ease of assembly, adjustability to hold a wide range of models, and reasonable pricing. Thanks to Masterpiece Models for providing this review sample to IPMS.

Comments
Add new comment
This site is protected by reCAPTCHA and the Google Privacy Policy and Terms of Service apply.
Similar Reviews