
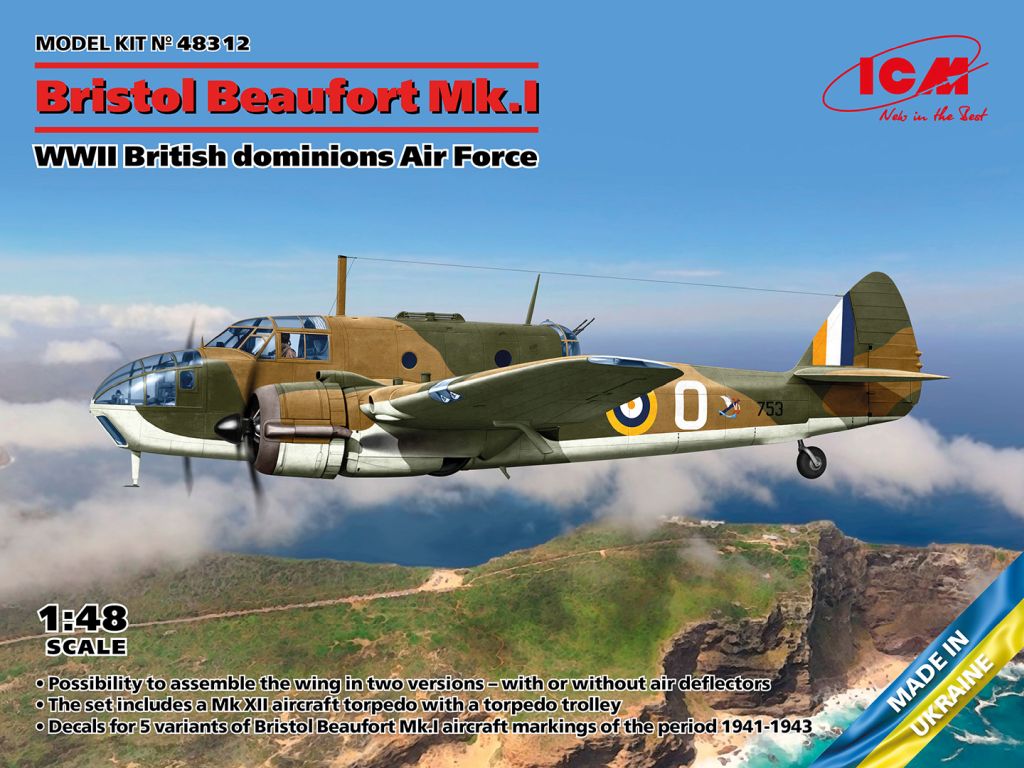
Beaufort Mk.1 – WWII British Dominions Air Force
ICM from Ukraine has reboxed its Bristol Beaufort Mk.1, this time for service with the British Dominions. In the box you get their already known Beaufort, including a torpedo and torpedo cart. There are markings for Royal New Zealand, Royal Canadian and South African Air Forces. The New Zealand aircraft -one marking- was based in the UK, as well as one of the two from the Canadian forces. The other Canadian aircraft saw service in British Columbia. The South African options (two) saw service in Cape Town and, while not explicitly listed in the instructions, they also saw service in Operation “Ironclad” (the Madagascar invasion).
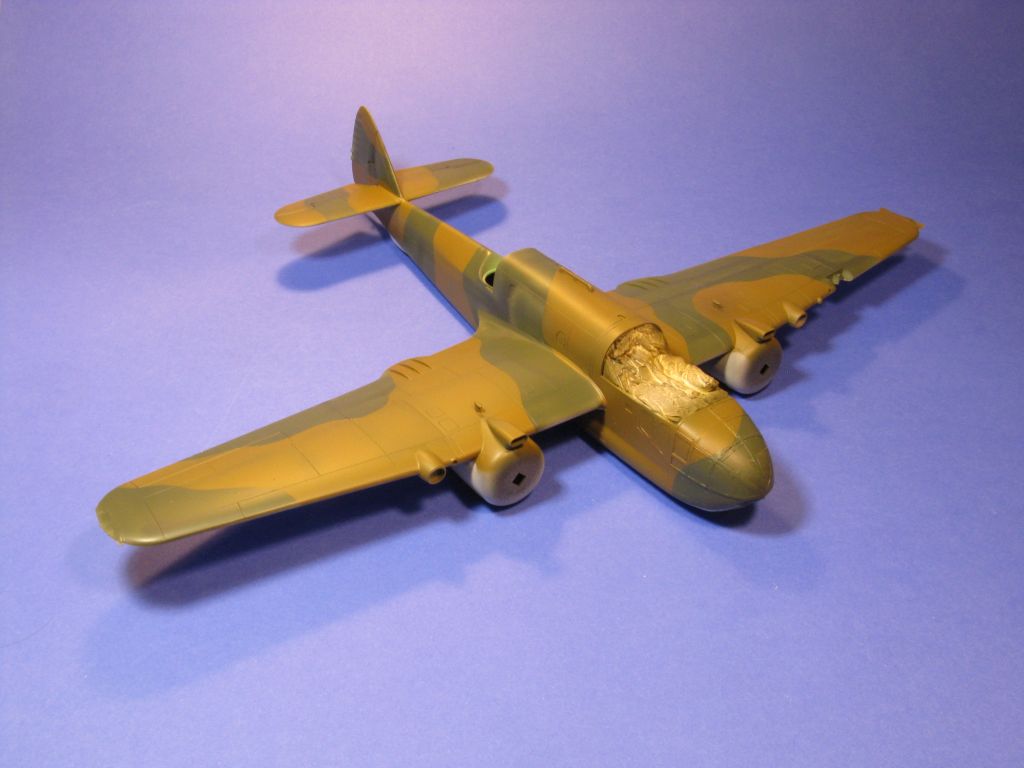
Being brand new molds (released in 2023) the overall fit and surface detail is excellent. Construction is relatively simple, but with the high part count, it takes time. Don’t get me wrong, each hour I spent building this model was highly enjoyable and I was glad to have so many hours of construction. But this kit is not a quick weekend build.
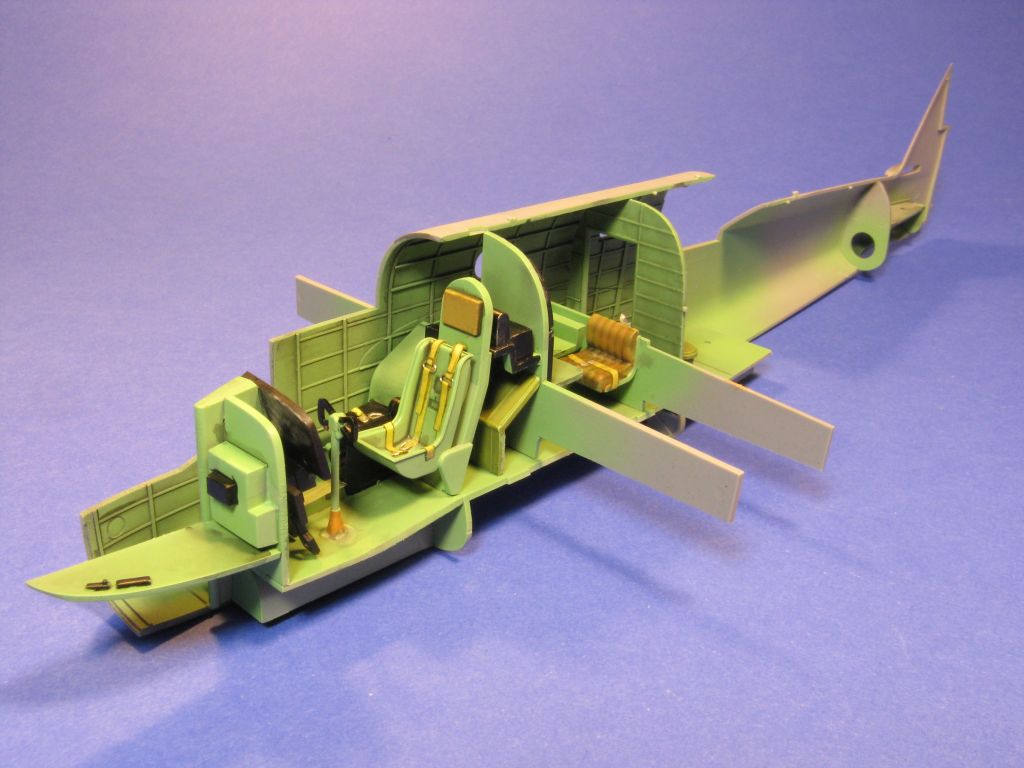
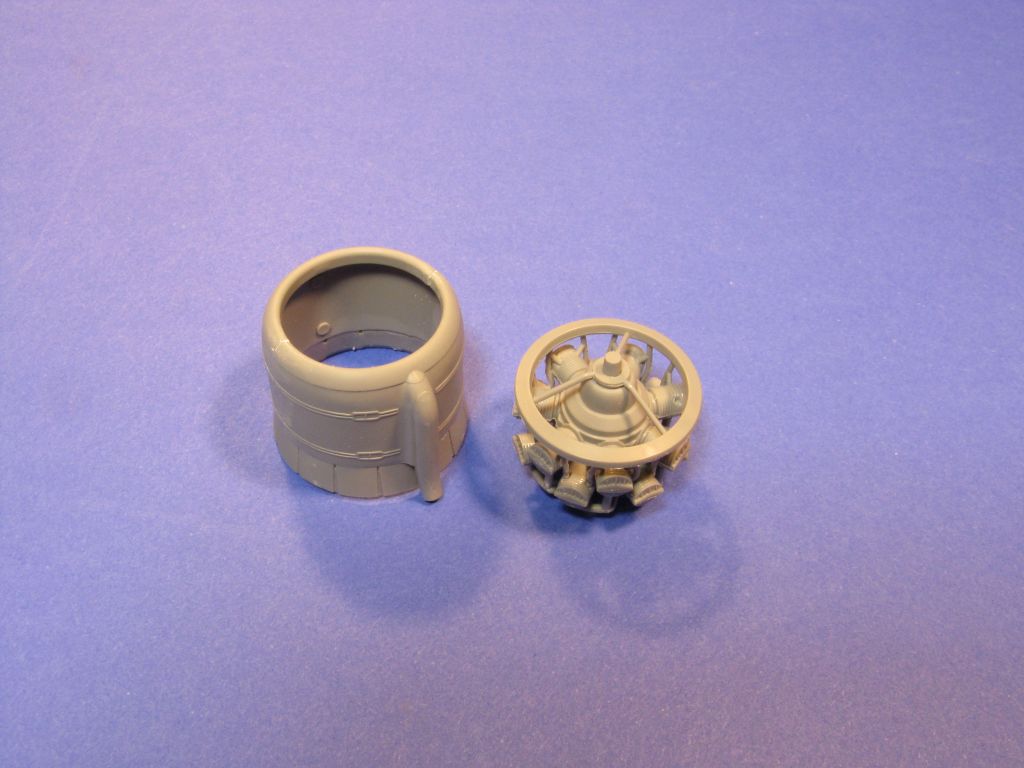
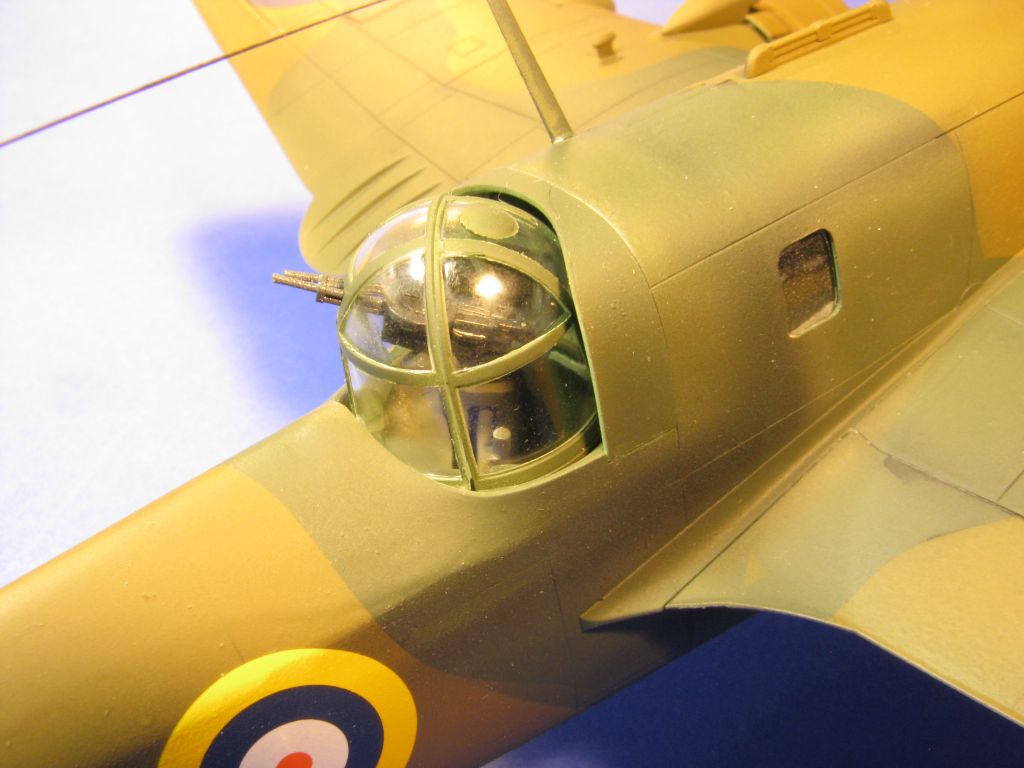
Construction started with the full interior. It has a nicely detailed pilot and navigator position, an excellent radio operator position -sadly almost nothing of it is visible- and a well detailed turret. The seat belts you see in the pictures are scratchbuilt. No seat belts are provided (not even as decals). The engines are also well detailed but most of them are not visible upon completion. Still, it was very enjoyable to build, paint and detail them.
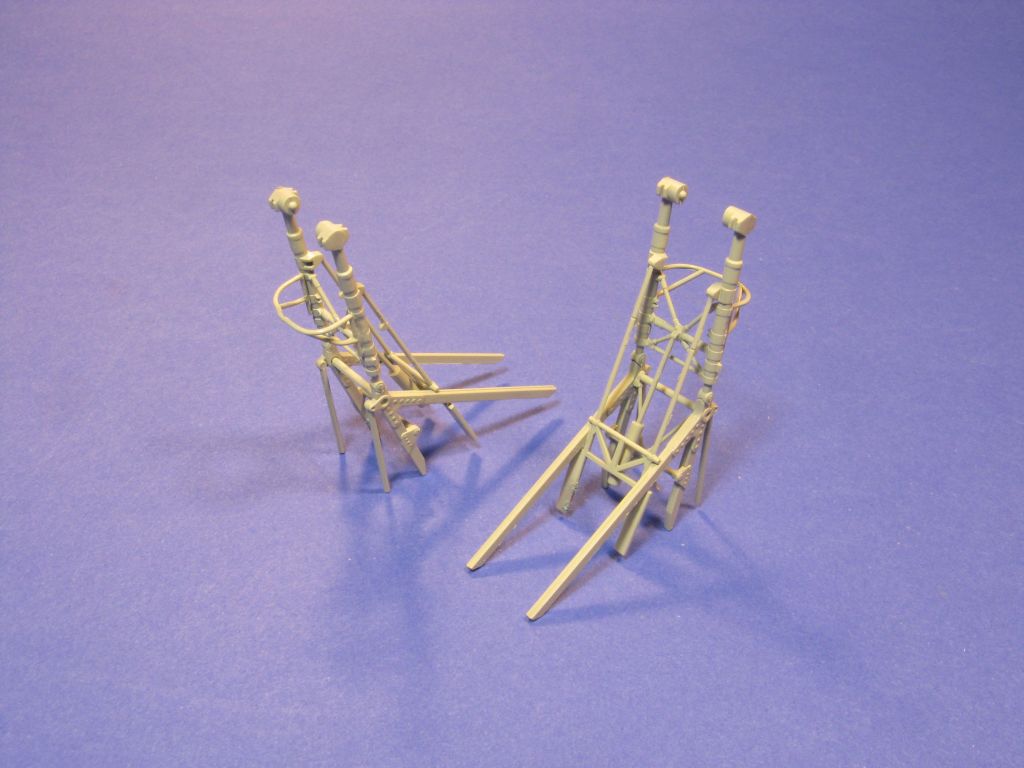
The landing gear is somewhat complex. Cleaning of the parts took some time and alignment of them did too. Not that is difficult but rather it is a process that deserves attention and care.
Closing the fuselage and “sandwiching” the interior required a tiny bit of sanding in the navigator position bulkhead. Perhaps I miss-aligned a part somewhere. It was taken care of with a few swipes of a sanding stick, so nothing to worry about.
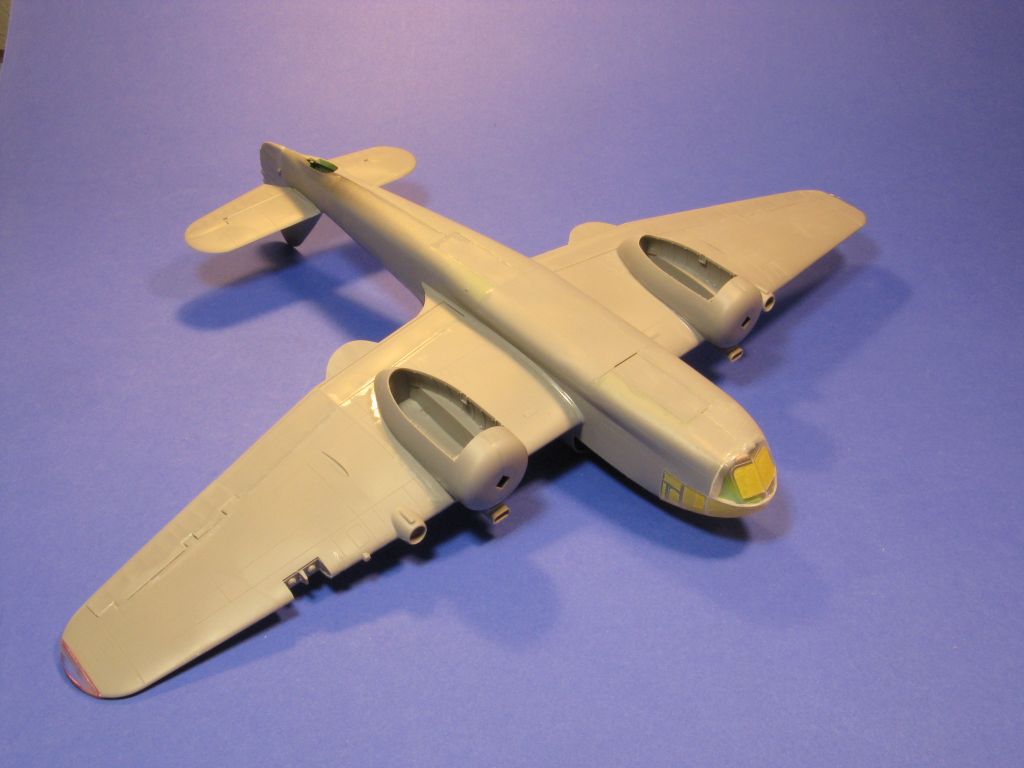
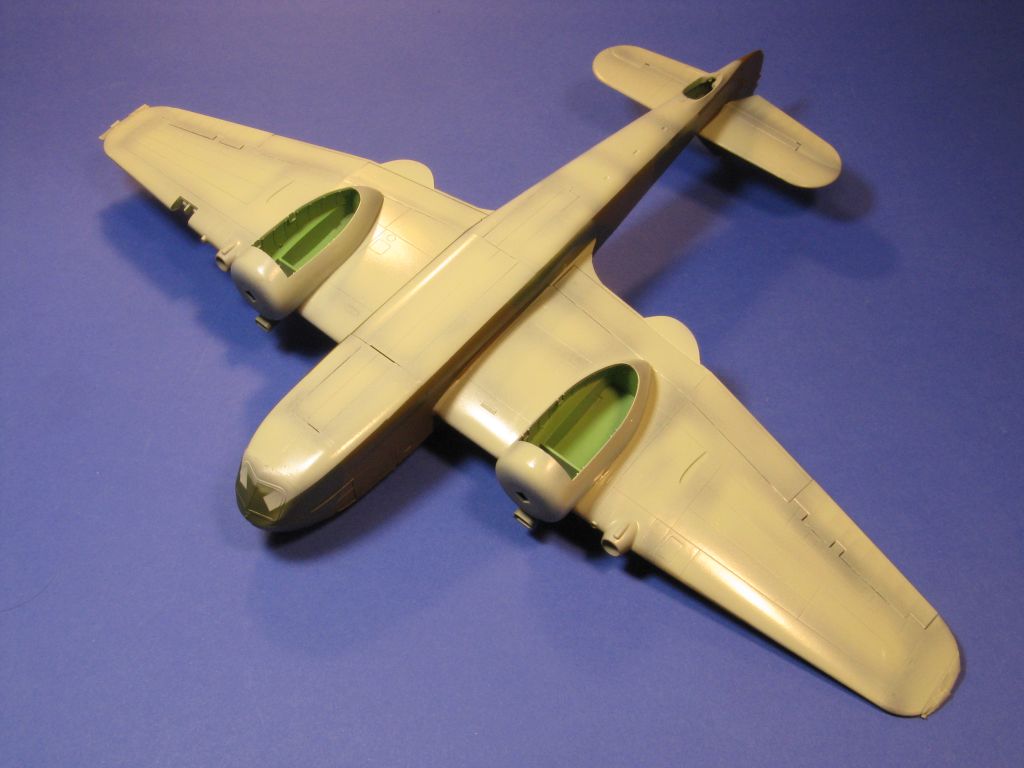
Assembling the wings and landing gear wheels is another straightforward task. Just take your time, clean the parts of any remaining “nubs” from the sprue attachment and follow the instructions. Notice that the whole wingtip is molded in clear and then you need to mask the navigation light out. Then you slide the wings on the wing spars protruding from the fuselage and alignment is set for you. I only needed a minimal amount of filler on the starboard wing.
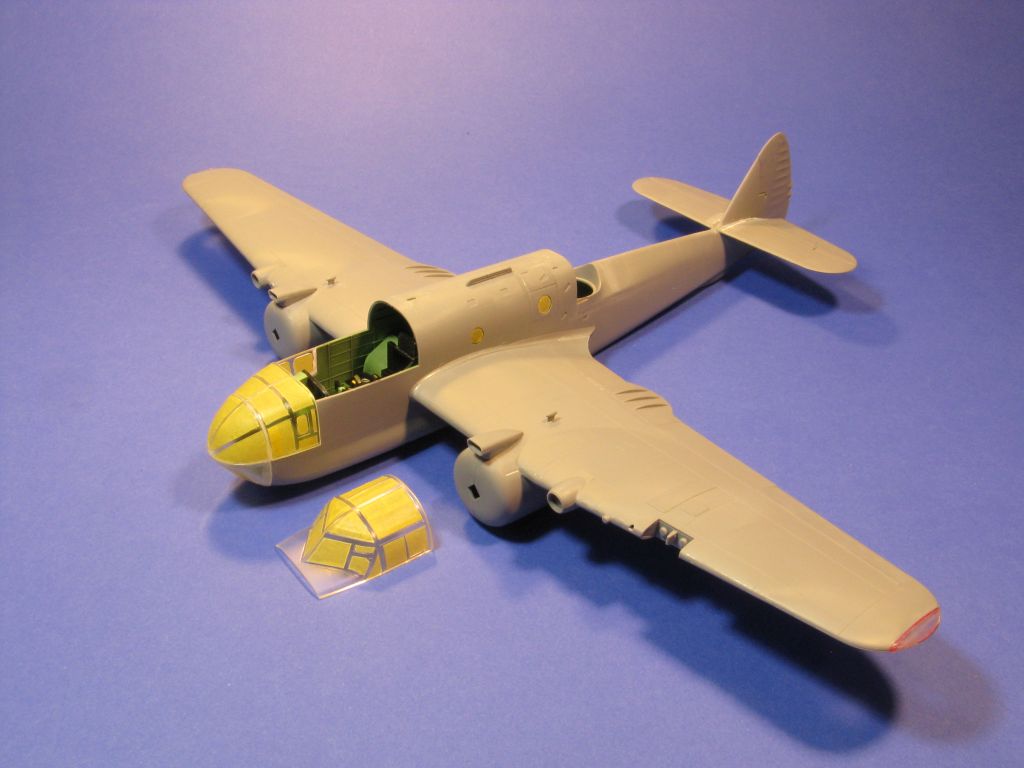
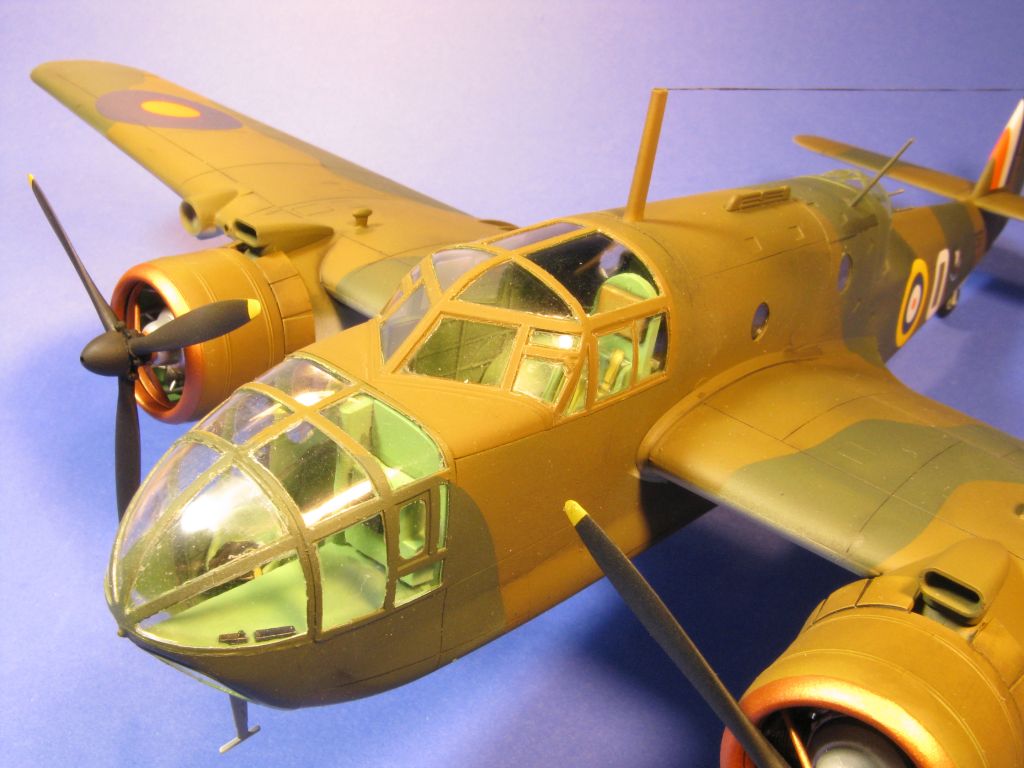
At that point I was getting ready to tackle the complex nose and canopy. Here I ran into a few hiccups. With such a large, glazed area I choose to mask each one of the 5-part nose and canopy area before I glued each clear part to the model. The instruction booklet provides you with a template, but the size of the masks was too large to fit the plastic parts. I did a photocopy of the template reduced to 91% and that got me almost to the right size. I put Tamiya tape on top of the printout -as I said, reduced to 91%- The Tamiya tap is transparent enough to see the black template underneath and used a small scissors to cut out the part. I then removed the tape from the paper and had a mask ready to go.
After I had all the clear parts masked, I started the 3D puzzle of getting them into the model. I was unable to get a perfect fit of the 5-part clear nose among themselves and to the fuselage.
I chose to have a good fit (ie no gaps) between each one of the clear parts to the fuselage parts and later deal a minimal gap in between two of clear parts which I filled with white glue. It was a very small gap of about 0.5 mm. By filling it with white glue, once dry it was clear and matching the surrounding areas. If I don’t tell you where it is that I used white glue as a filler, almost certainly you cannot notice it.
At this point I had a virtually complete model. I decided to leave the turret and the turret shroud (the last part of the fuselage that goes partially over the turret) off for ease to painting.
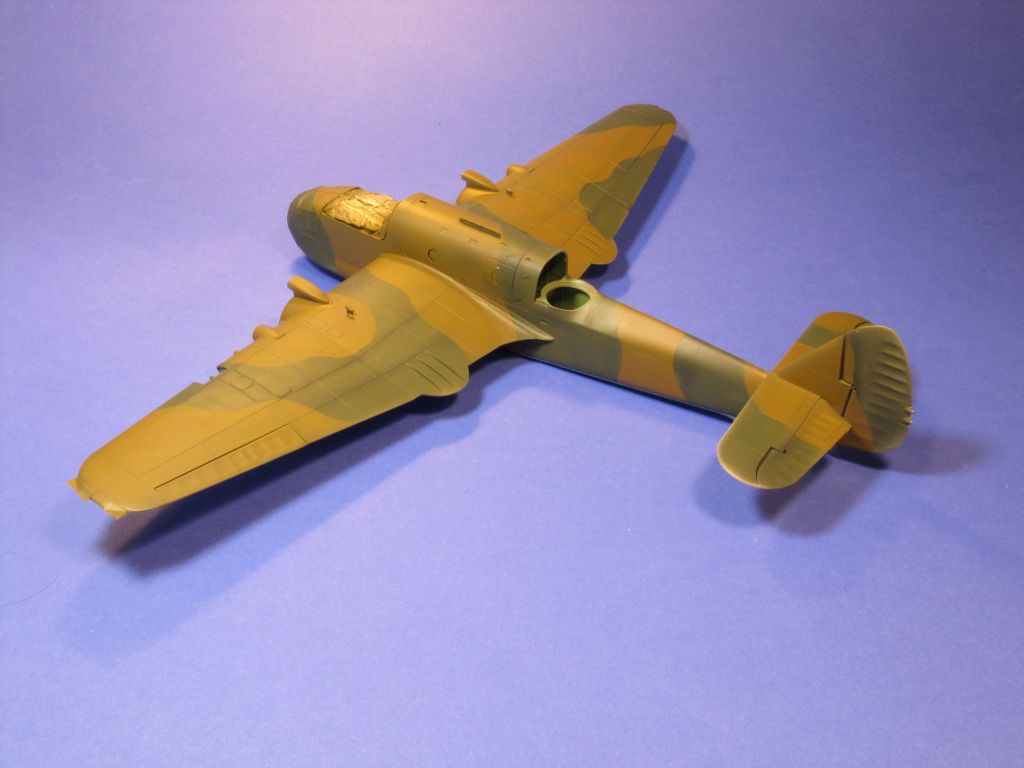
Instructions list colors from the ICM range. I have tested those paints (reviewed elsewhere on the website) and they are very high-quality ones. But I do not think they are the exact colors for aircrafts in RAF/British service during WW2. I decided to use paints from the Tru-Color Range -they have a set for WW2 RAF (also reviewed elsewhere in the website).
During the painting I did some pre-shading/post-shading to bring out even more the surface details of this kit. I applied Tamiya Panel Line black to the panel lines for further detailing.
The decals were out of the box and behaved perfectly to the standard Micro Set/Sol solutions. None of them silvered, all of them snuggled to the surface detail.
It was time to bring together the whole model, which once again, due to the outstanding engineering of the kit was simple. I glued the landing gear, the landing gear covers and the propellers. I mounted the turret and the turret shroud and I applied the antennas and aerials with EZ line.
In summary, this kit is fantastic. I acknowledge that the price point is a bit high for a 1/48 scale twin-engine bomber, but you get and outstanding plastic model and a set of first-class decals (with 5 marking options!).
The only challenge I faced was to work with the multi-piece clear nose.
The provided mask template did not fit the parts. But shrinking it to 91% did the trick.
My recommendation for the nose assembly would be to not glue the clear parts together but rather to glue each one of the 5 clear parts to the model (ensuring a good fit between the clear part/non-clear part) and then use white glue sparingly as a filler in between the clear parts.
If you can handle the two above tasks and follow instructions, you will have an outstanding model to display in your collection.
I would like to thank IPMS/USA and ICM Holdings for the review sample.
Description of Photos
- Boxart
- Interior
- Assembly ¾ front showing the masked nose
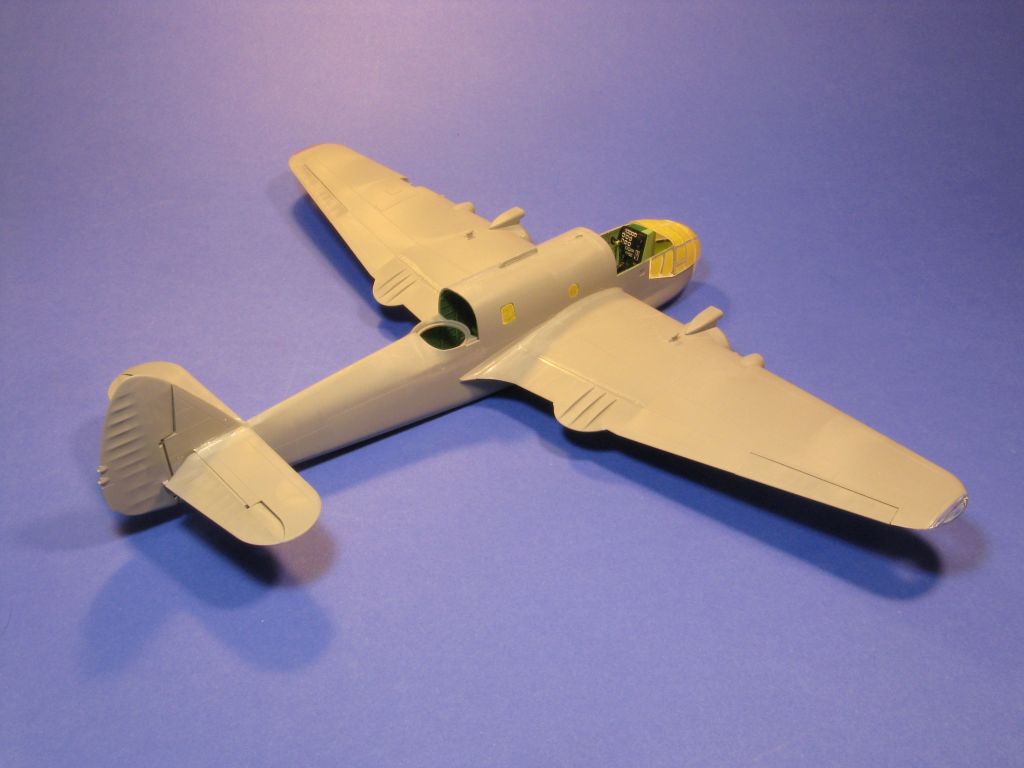
- Assembly ¾ back
- Assembly undersurfaces
- Assembly cowling and engine
- Assembly landing gear struts
- Painting uppersurfaces
- Painting uppersurfaces
- Painting undersurfaces
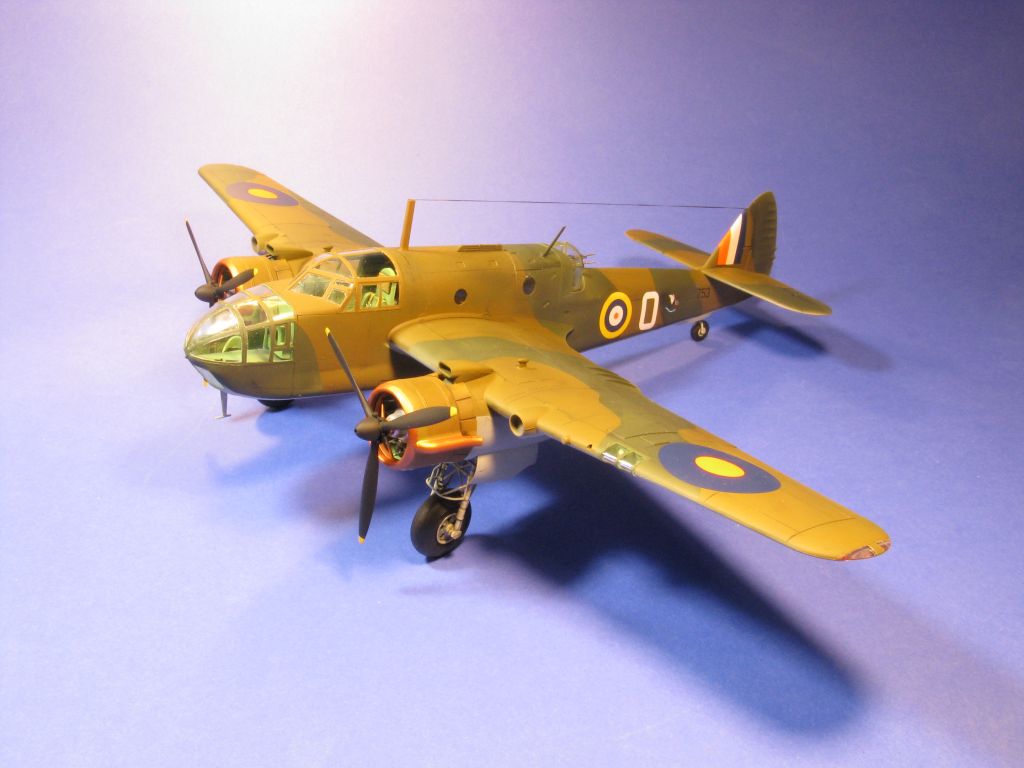
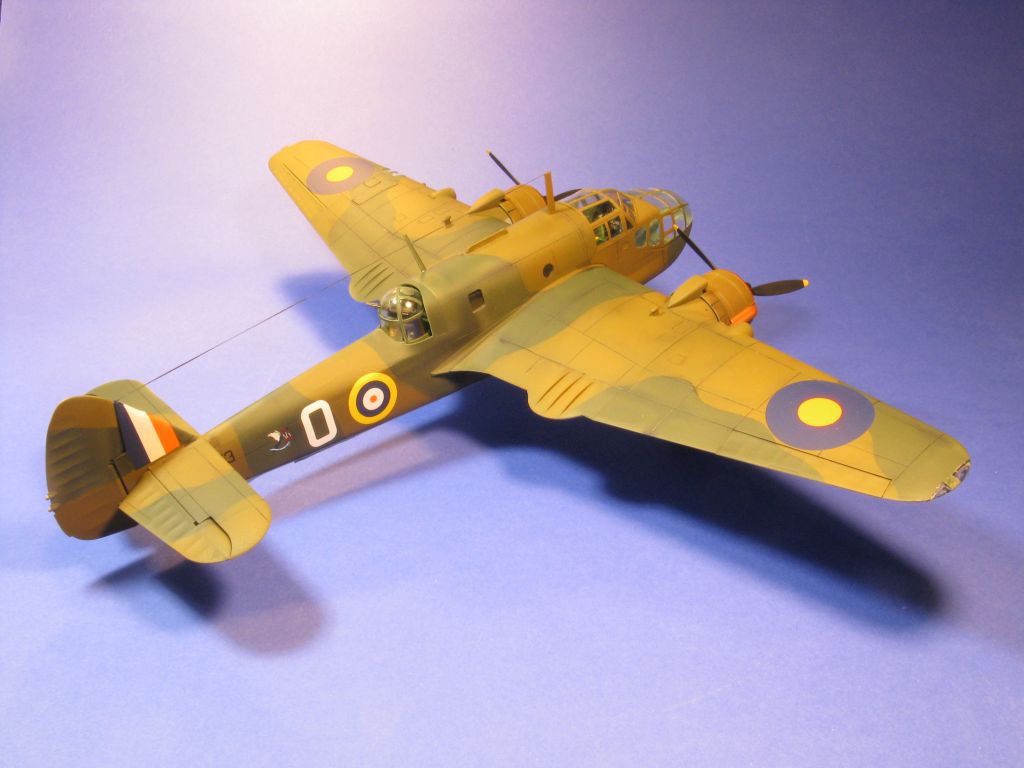
- Finished model
- Finished model
- Finished model – Turret
- Finished model - Nose

Comments
Add new comment
This site is protected by reCAPTCHA and the Google Privacy Policy and Terms of Service apply.
Similar Reviews