
Bachem Ba.349 Natter Upgrade Set
The Kit
This is the detail upgrade for Brengun’s Bachem Natter kit, BRP144001 which I have previously reviewed.
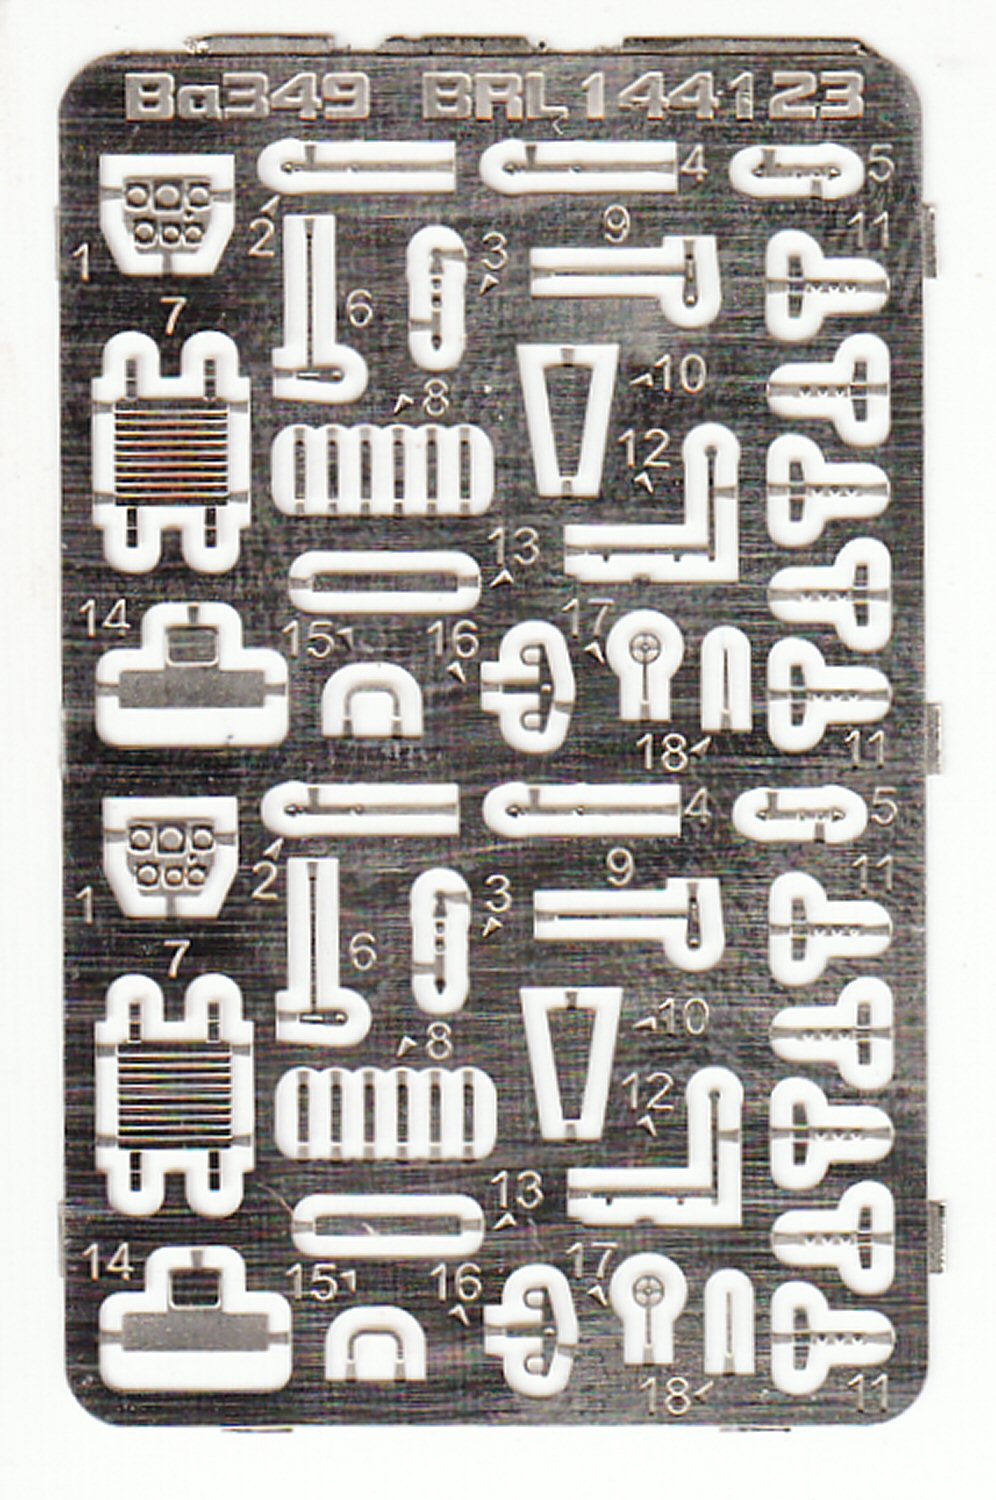
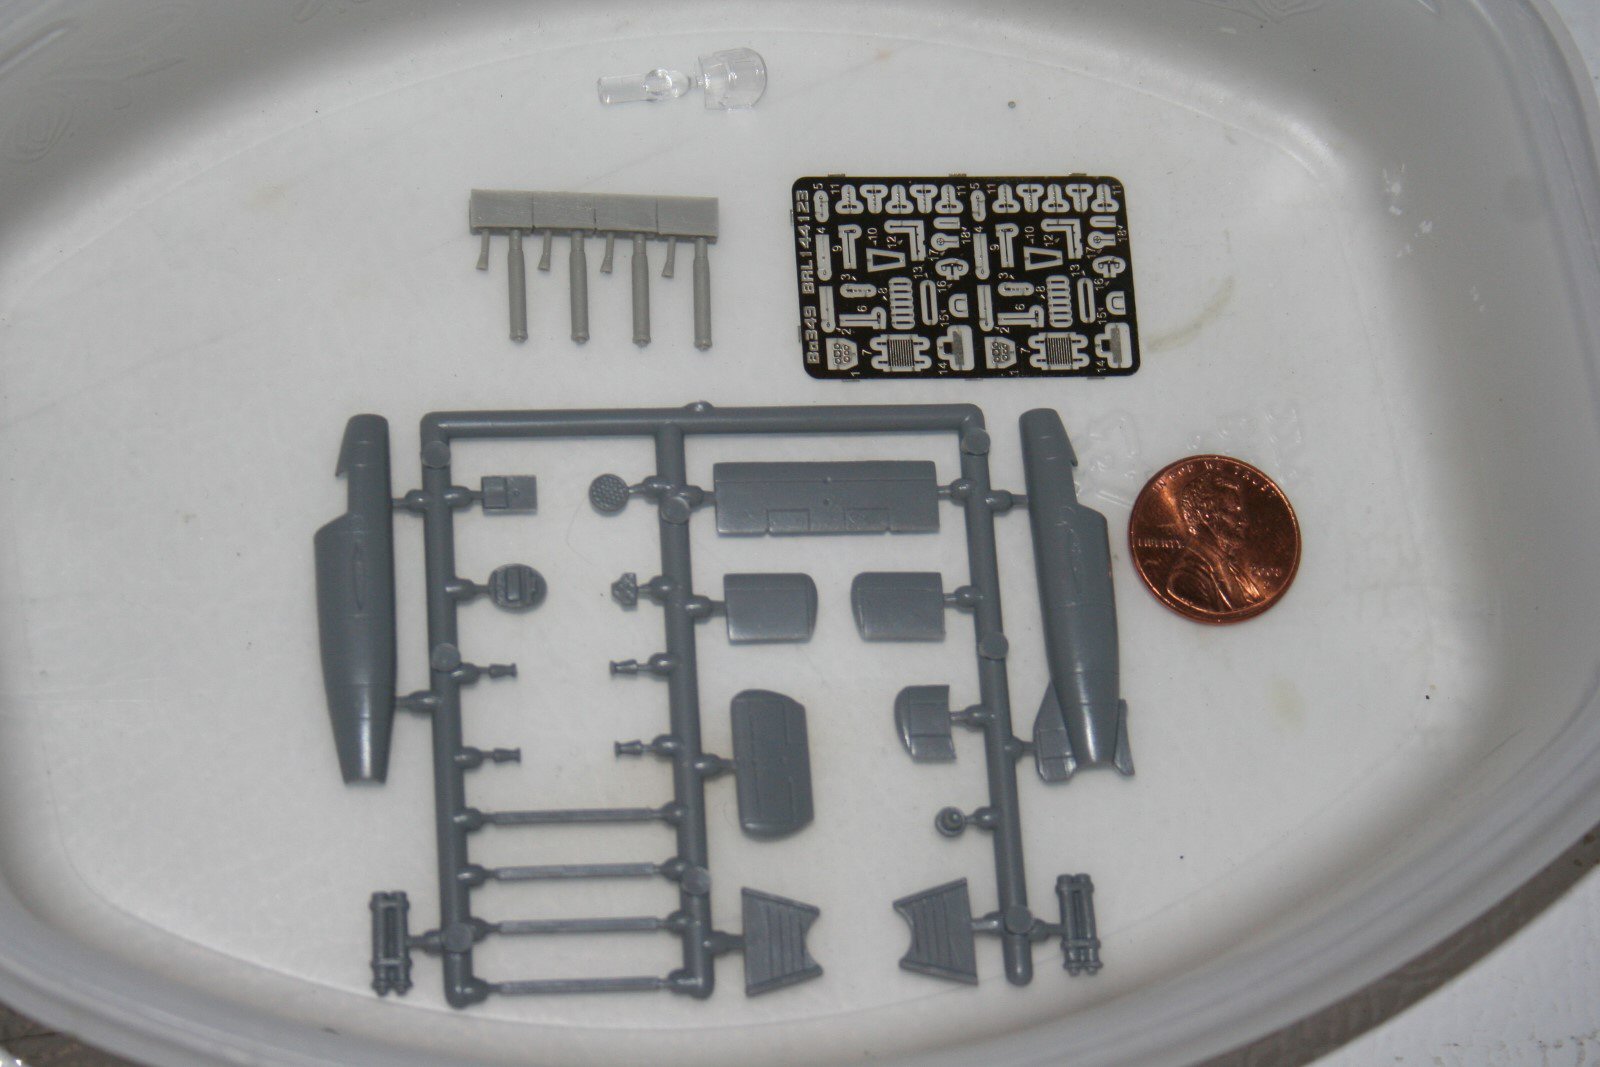
The Brengun Natter kit is a double kit, 2 in a box. The PE/resin upgrade also comes as a double set. So you get two sets of rocket motors, and PE for two Natters. I’ve scanned the PE Fret to show the parts are doubled up. It’s also interesting that there are six part number 8’s and five part number 11s. I needed all of these, as they’re VERY tiny and easily lost.
The PE upgrade is for the cockpit, the rocket motor mounts, and some exterior additions.
The Aircraft
The Bachem Ba 349 “Natter” was another of those last-ditch attempts by the Axis powers to stave off defeat. The Japanese had the MXY7 “Okha” which was supposed to stop the US fleets off Japan. The Natter was supposed to shoot down the fleets of bombers which were reducing the cities of the Reich to rubble on a daily basis.
The concept here was an aircraft which needed no airfield, but was launched vertically using rockets to get the aircraft to altitude. There was a pilot, but his job was to aim the rockets contained in the nose at the bombers, and pull the trigger. An autopilot was supposed to guide the Natter from take off to the intercept area. After the rockets were fired, the Natter was supposed to descend to lower altitude, where the “pilot” would jettison the canopy. This would cause the Natter to split into forward and rear sections. The rear section was reusable, and should descend with a parachute. The pilot also had a parachute. The rear end would be recovered, a new front end installed, and it would be ready for another mission.
The reality was that there was only one manned flight of the Natter. As the plane left the launch tower, the canopy separated, probably due to a bad latch. The separation also removed the pilot’s head rest, which either caused the pilot to hit his head against the rear bulkhead, knocking him unconscious, or it broke his neck. Either way, the Natter failed to climb, and flew into the ground,
Construction
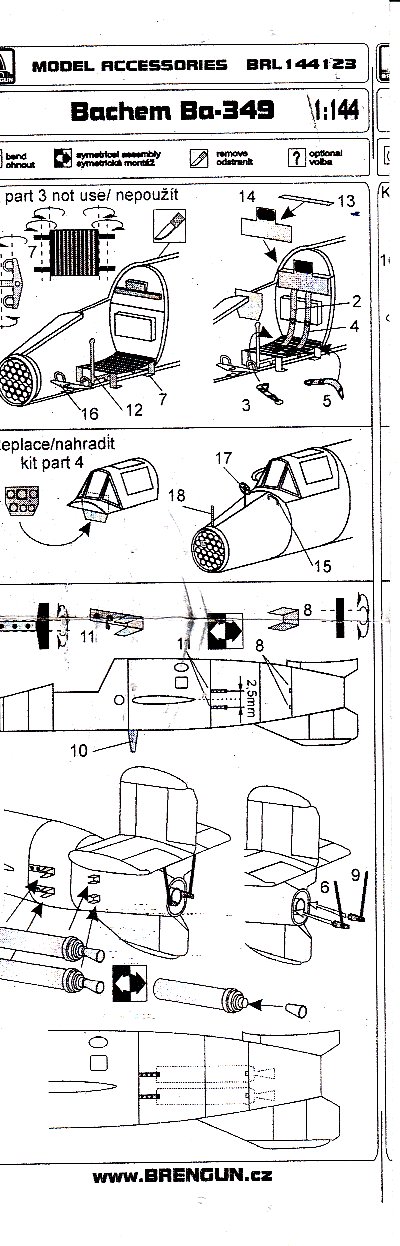
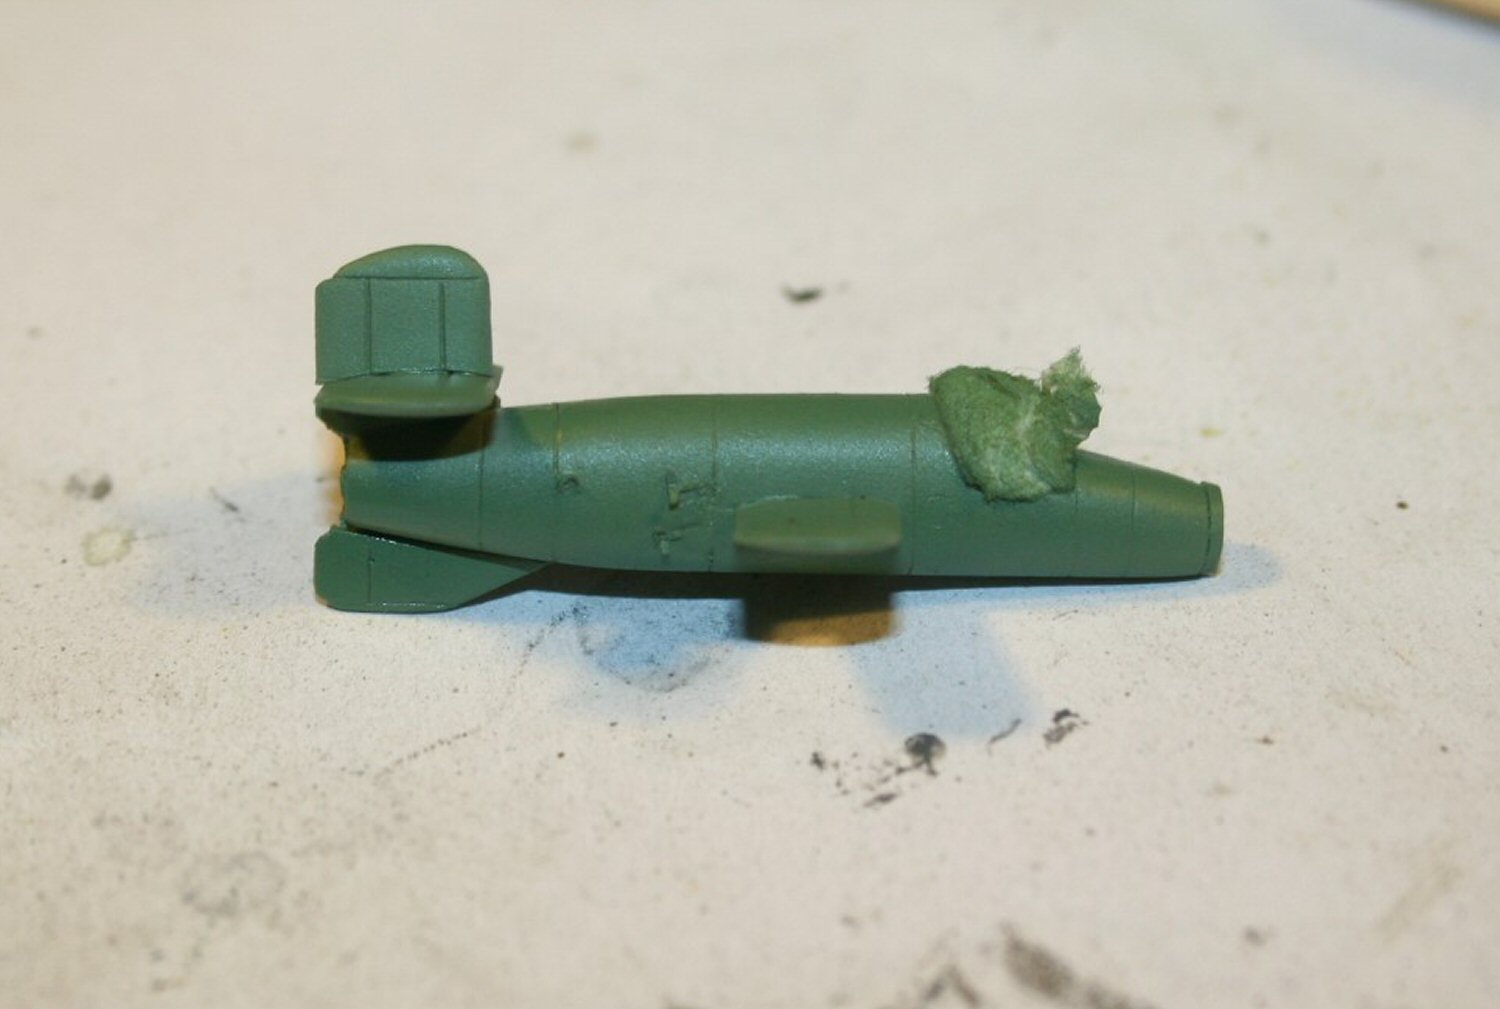
As with most upgrades, the construction goes in tandem with the build of the base kit. The first thing is the cockpit.
The cockpit upgrade is for a new seat, a back rest and headrest, a control stick, seat belts, rudder pedals, and a replacement instrument panel. Once I got these parts painted and installed, I put the fuselage halves together. The cockpit is a really nice looking assembly.
Once I had that done and the seams cleaned up, I moved on to the rocket motor mounts. This was one of the toughest parts of the assembly because these parts are so small that I had trouble seeing them, and the tweezers seemed to take great delight in sending them flying.
Because of this, I use a jeweler’s apron. It’s just a regular white kitchen apron, but it’s attached to the front of my work desk, and the other end is around my neck. Just about anything that leaves the work surface falls into the apron, where it usually can be found. I also used a tool called a “Glue Looper” that I bought at a previous IPMS Nationals. It’s just a small blade with a loop at the end to hold a small drop of CA glue. It fits into an X-Acto handle, and allows much better placement of glue than a toothpick or even a straight pin.
Once I had the rocket mounts in place, I proceeded with the rest of the construction, putting the rear stabilizers on. I left the rocket motors and tiny parts off until later.
Painting
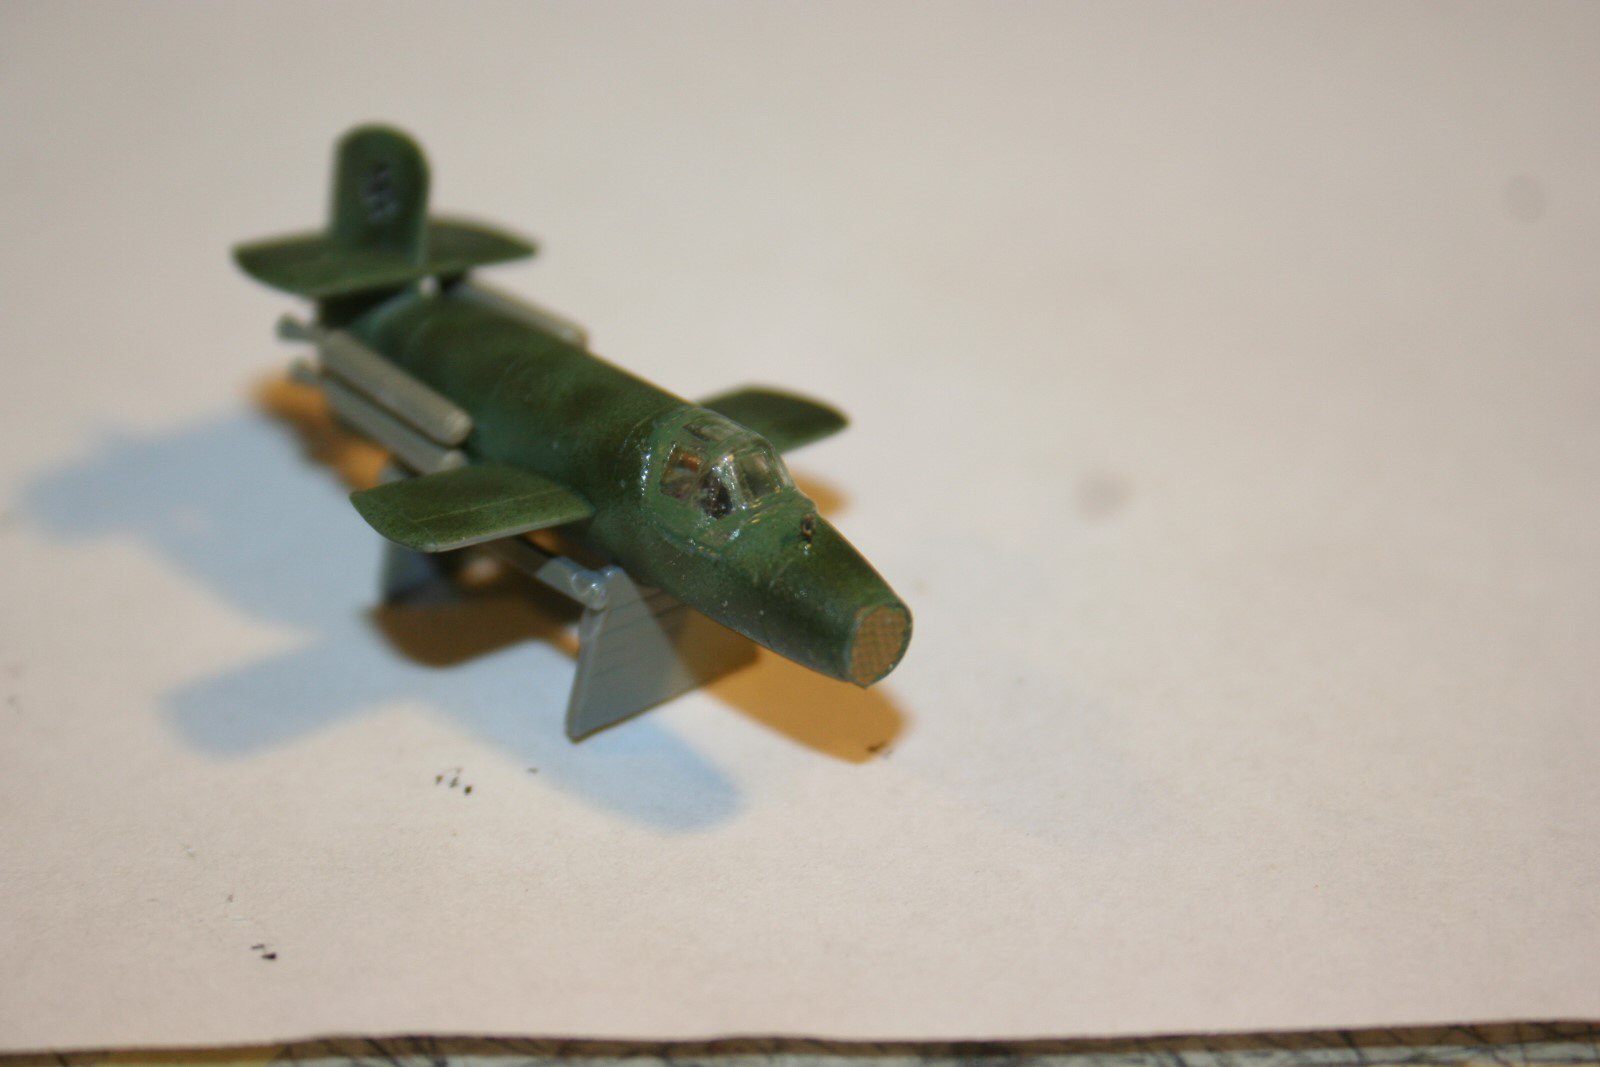
I picked a scheme I found with Google Images search, which was captured in April of 1945, with a light green mottled with darker green.
I used Model Master green, RLM 83, (FS 34138), and then oversprayed with spots of RLM 71 (FS 34079). I used a bit of tissue to keep the color out of that nice cockpit. Once I had that done, I put some Future on the tail and applied a swastika from my decals spares. I put flat coat over the Future and decal to flatten it out and blend it.
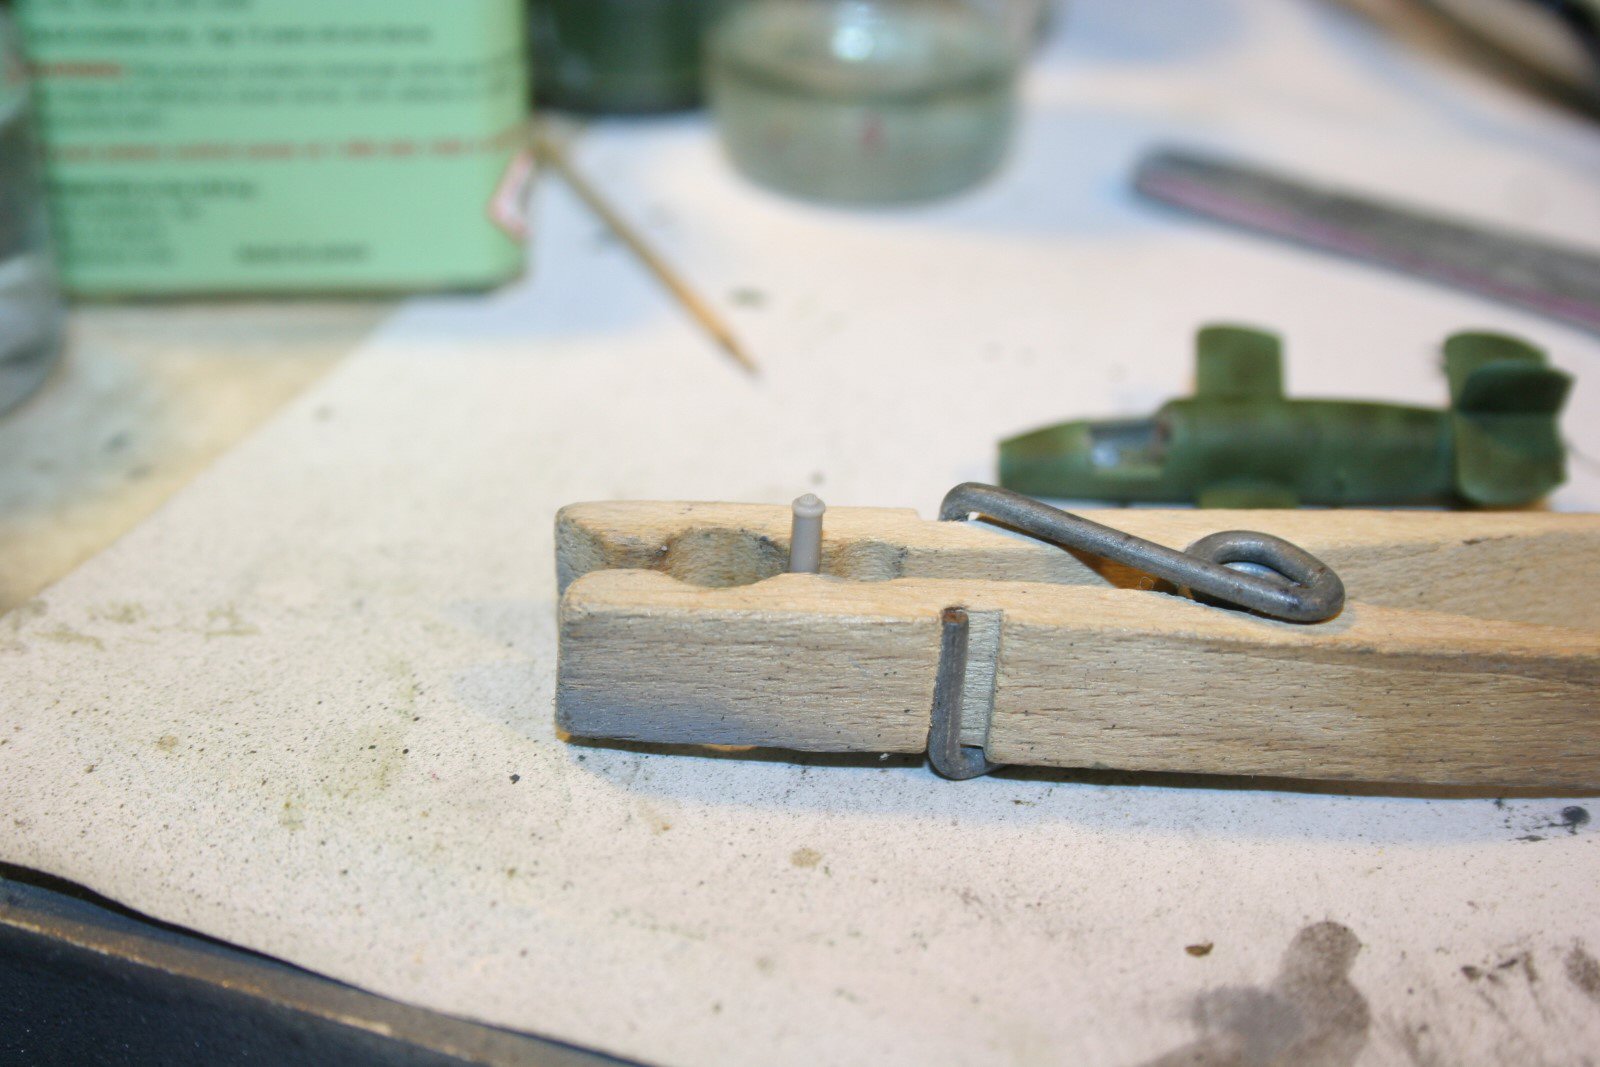
I painted the rocket motors RLM 02, using a clamp which was NOT going to let go and send the part flying. See the photo below.
Finishing Touches
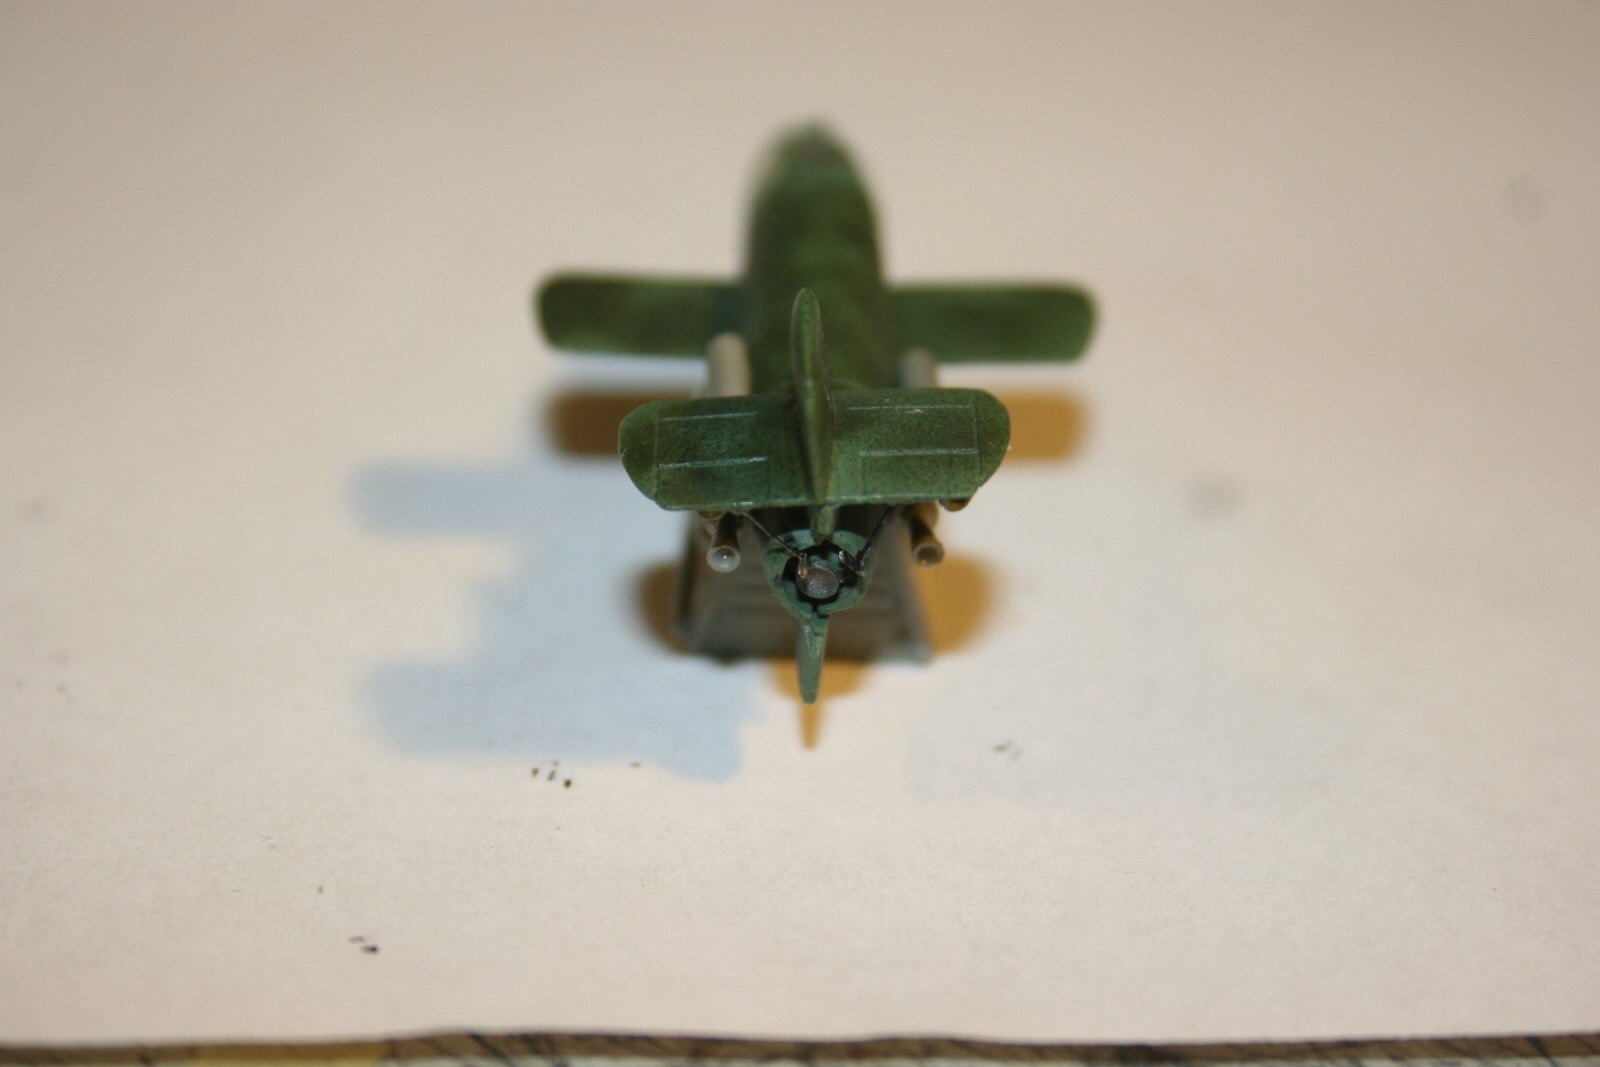
After the decal, I put on the rockets and installed the canopy. The sprue connects to the front edge of the canopy, and extreme care must be taken to get the canopy to fit right. Once I had the canopy installed, I hand painted the canopy frames with RLM 83, touching up with a toothpick to get it looking right.
The next step was two tiny parts which connect from the horizontal stabilizer to the opening for the main rocket motor.
The final touch was the tiny little “gun sight” which is just a small circle with cross hairs which mounts on the fuselage in front of the canopy. I have only knocked this off once handling the model, and I was lucky enough to find it and reinstall it.
Overall Evaluation
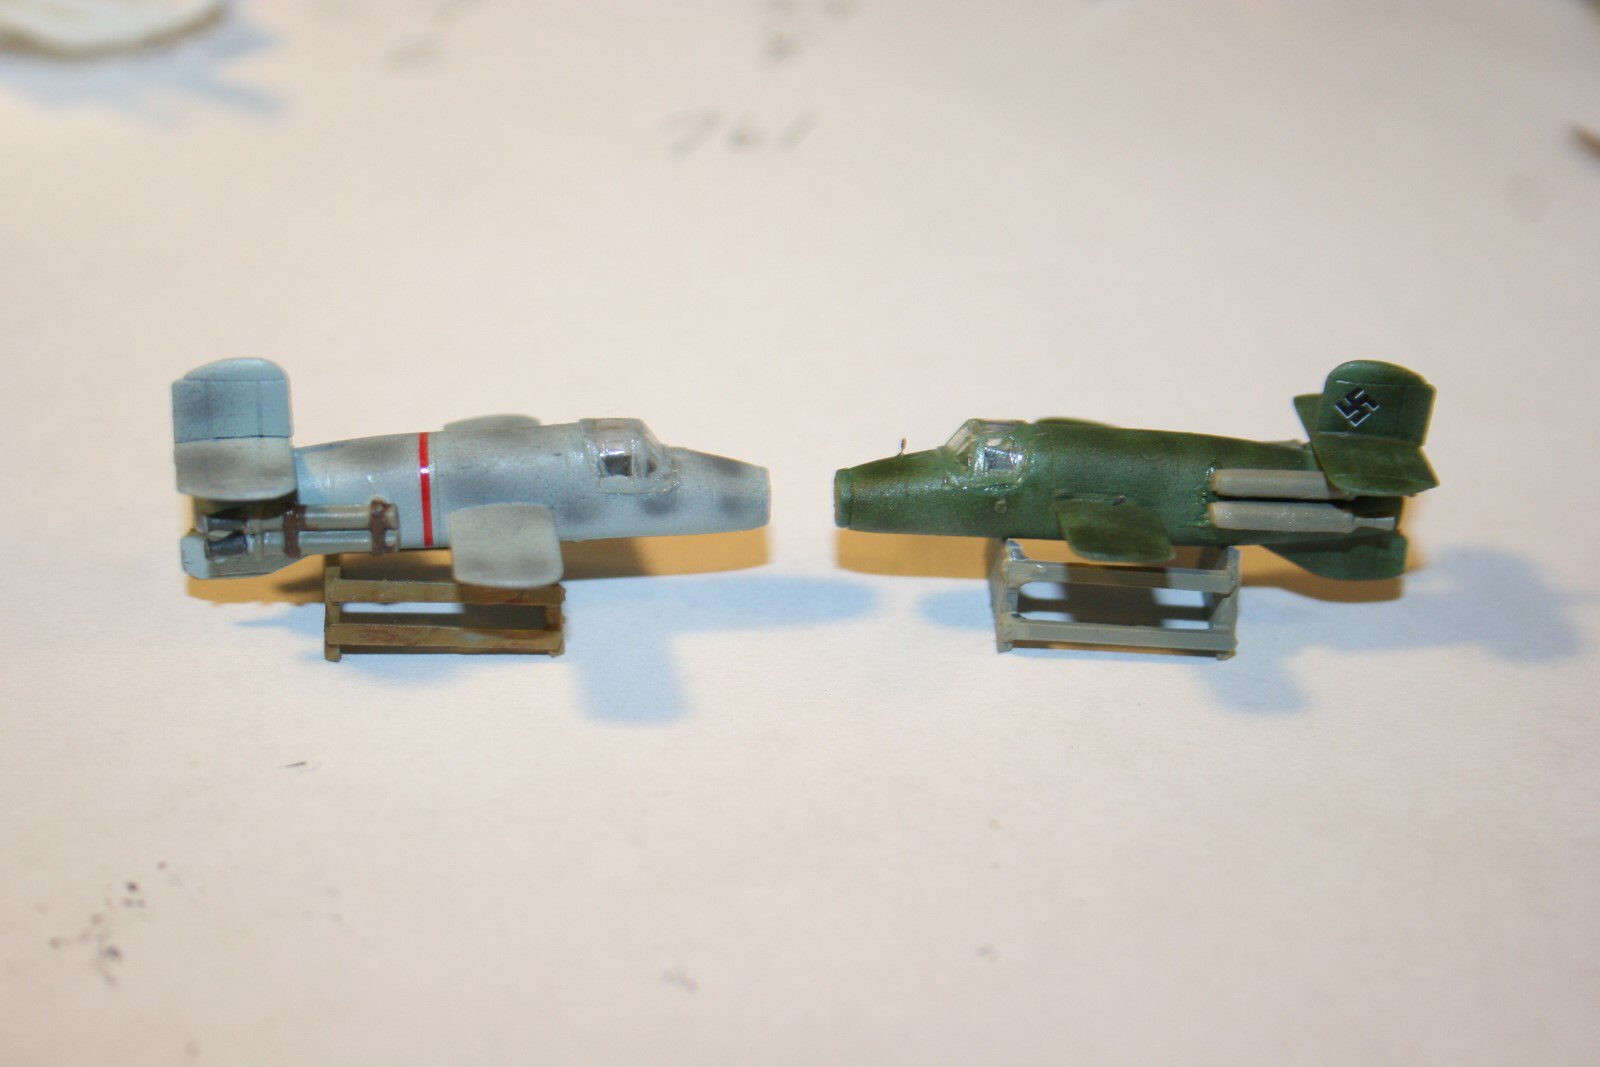
Highly Recommended. This upgrade has some really tiny parts, but it’s pretty well designed for the experienced and AMS modeler. I’ve included a photo of this project next to the non-upgraded Brengun Natter.
Many thanks to Brengun for this excellent kit, and to IPMS/USA for the chance to build my second Natter.


Comments
Add new comment
This site is protected by reCAPTCHA and the Google Privacy Policy and Terms of Service apply.
Similar Reviews