
B-52 D/F
The Aircraft
The B-52 has been in service since 1955. Which means that in about 2 years they should start sending them Social Security checks. Because there are still 58 B-52s in service, the type may still participate in combat again. It’s expected the BUFF will still be in service in 2050.
The aircraft in this kit are the types used in the 1960s and 70s in Vietnam, for Operation Rolling Thunder, Operation Arc Light and Operation Linebacker II. 31 B-52s were lost in the war, 17 shot down, one written off due to combat damage, 11 lost to accidents, one burned at the airport and one ran off the end of the runway and ran into a minefield.
The Kit
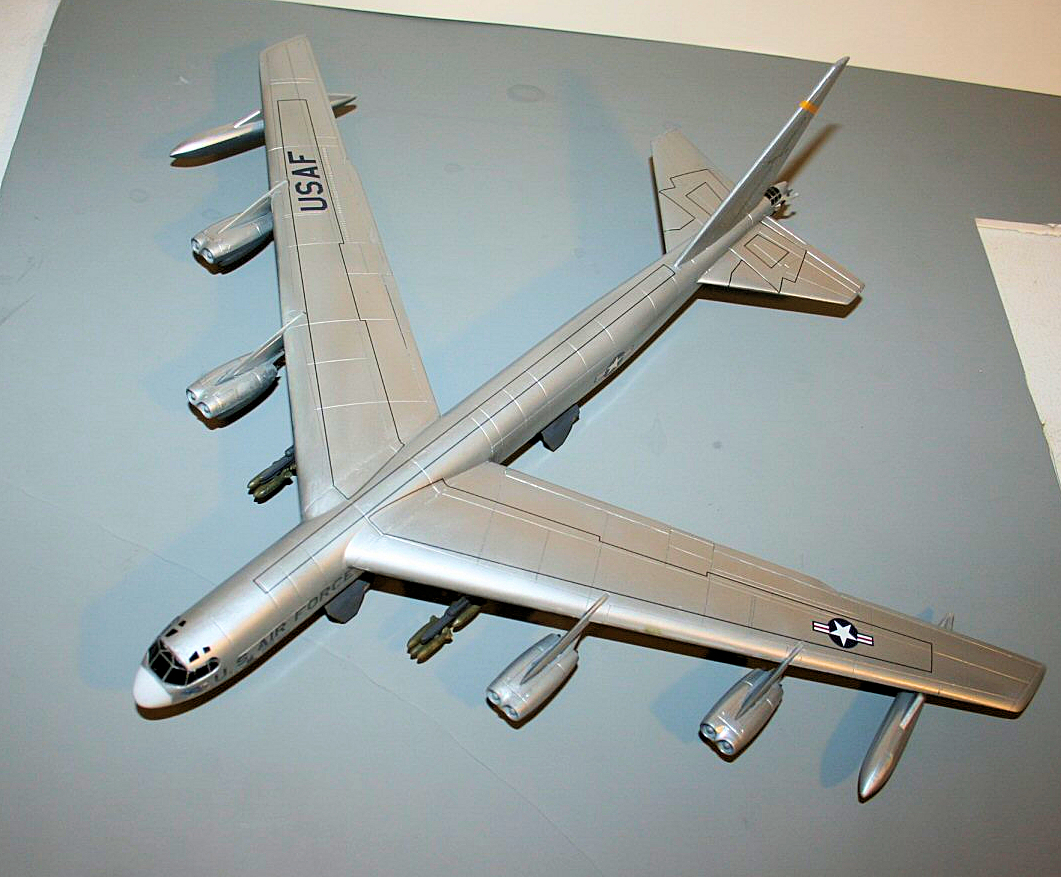
This kit is a rework of Minicraft’s B-52H. Several of the sprues are marked for B-52H. The fuselage is new, there is an entire new set of engines, 4 pods for the D and 4 different pods for the F. There are also 24 “iron bombs and the underwing pylons and multiple bomb racks for these. The wings, landing gear, horizontal stabilizers and engine pylons are all from the H kit.
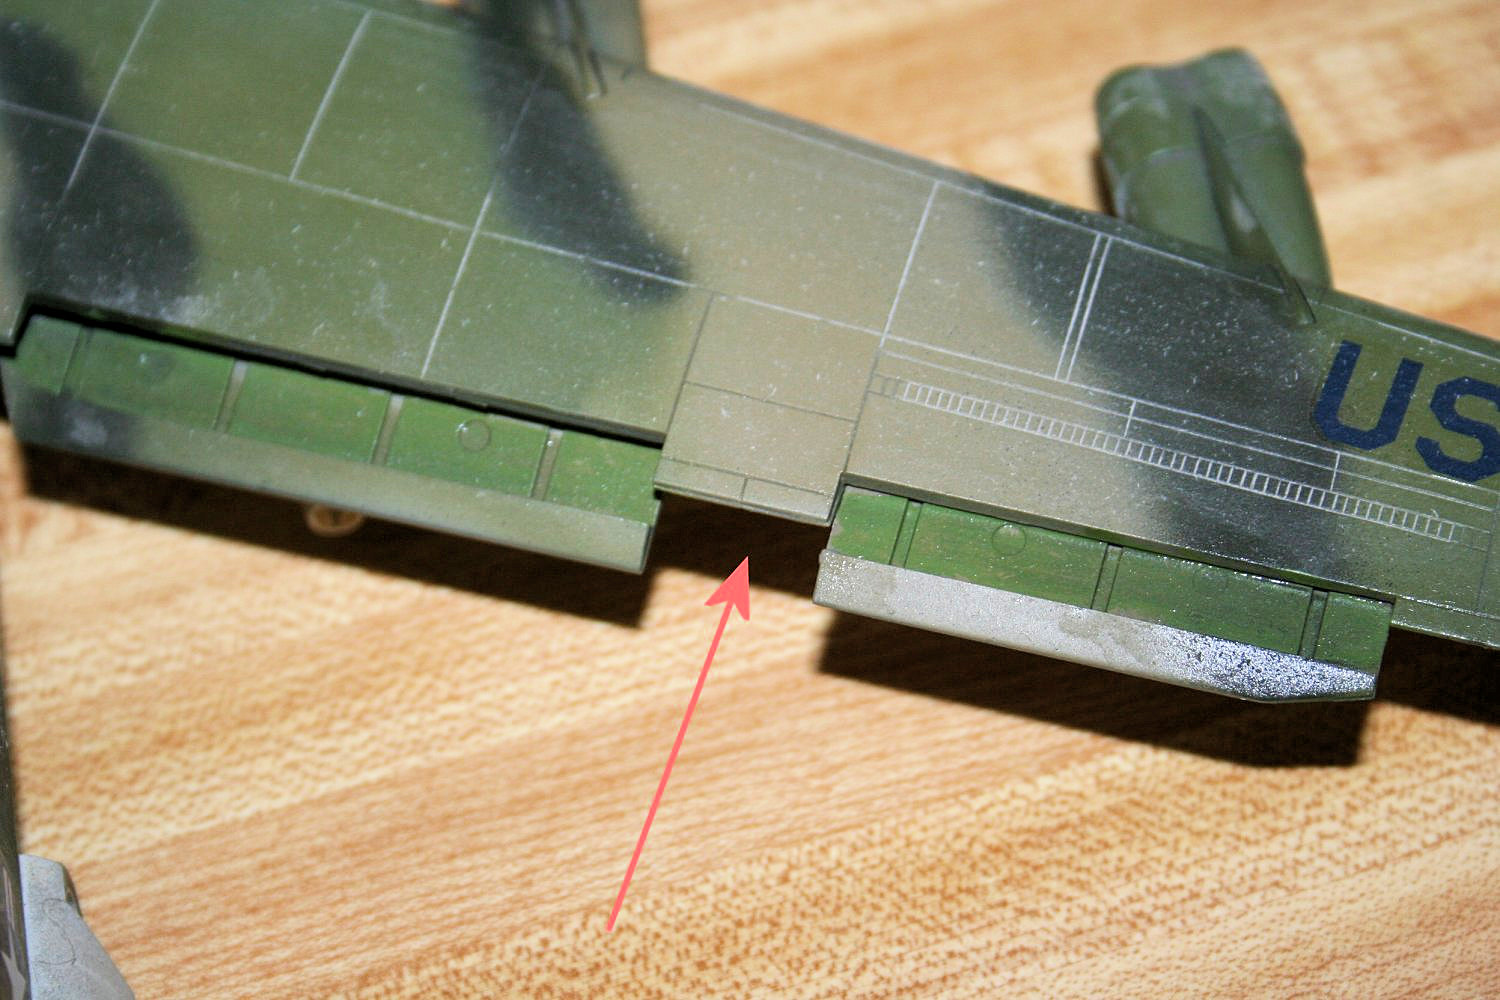
There was some discussion on a message board a while back about the wings being different on the D and H models. This is true. The D model had small ailerons, much further inboard than the usual ones, and were designed to be used for fine maneuvering, like when air-to-air refueling. There’s a picture below. There were also six “spoilerons” on the wing. On the G and H the ailerons were changed to fixed units. The number of spoilerons was increased by one. Since there is no external difference in the ailerons, and the spoilerons are generally retracted most of the time, even in flight, so the H wing is OK in 1/144 scale.
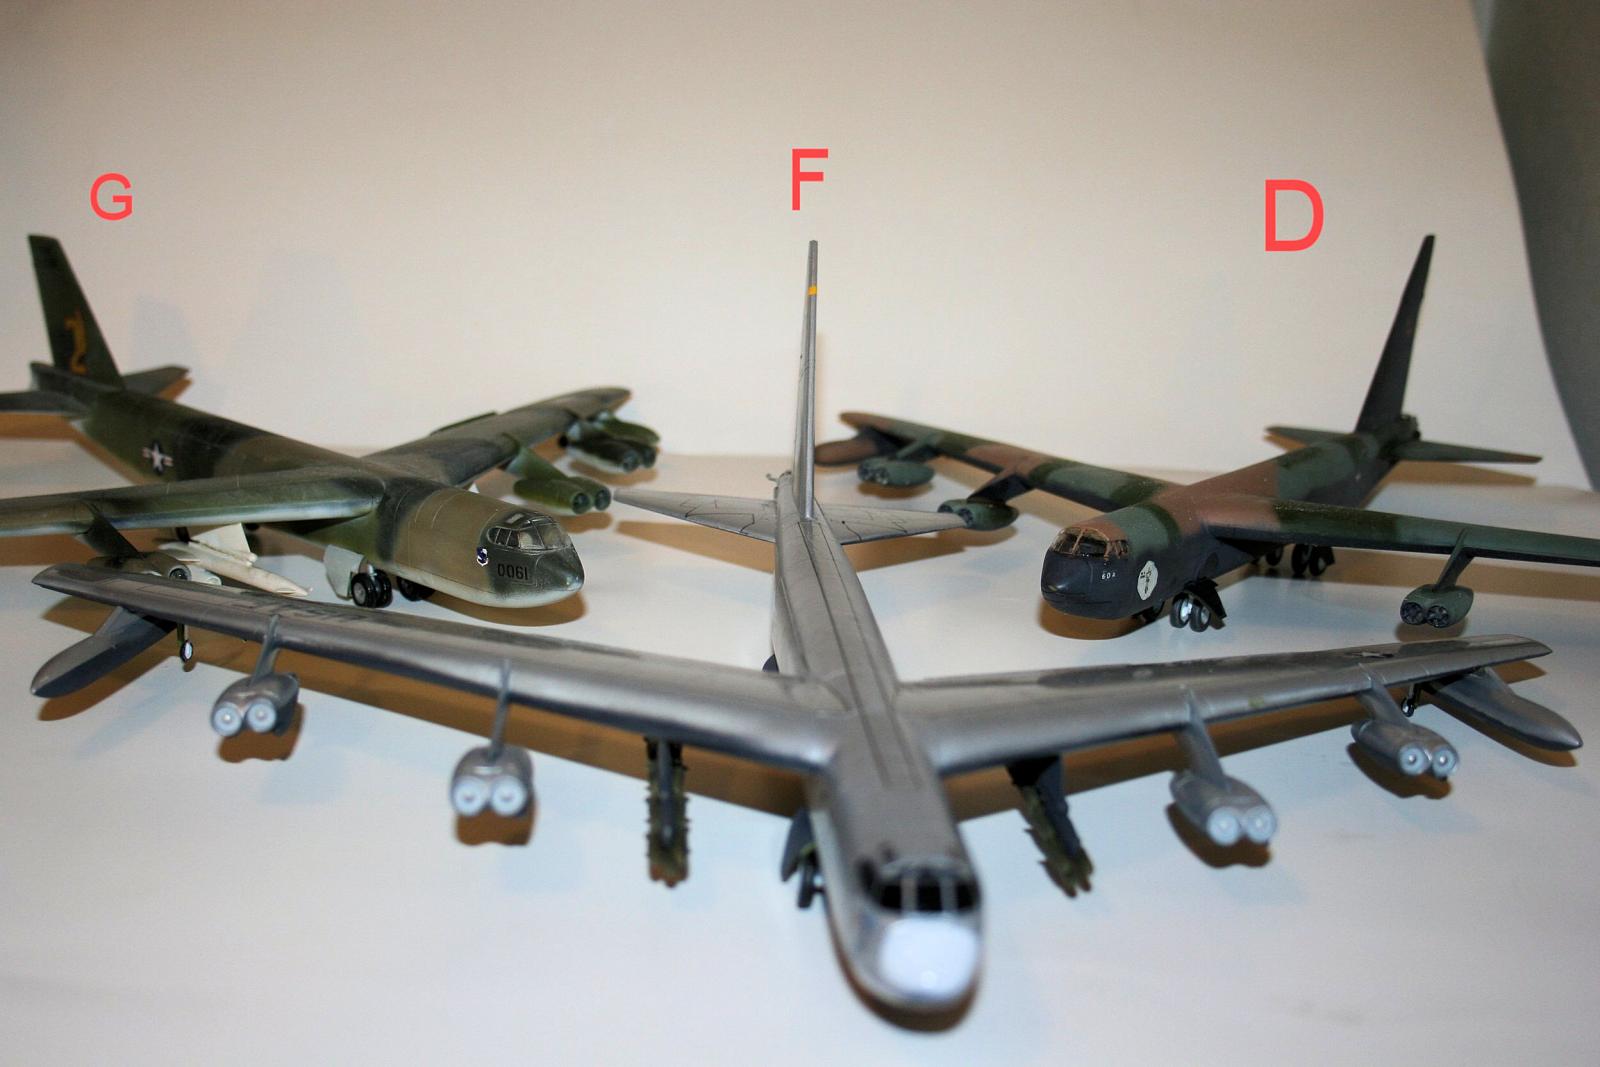
This is my third 1/144 B-52. I built a G model long ago, I built a D model using Carl Knable’s conversion kit back in 2013, and now I’ve built an F model. I’ll have to do an H some time fairly soon.
I built the F model because I already had a pretty good D, and I wanted something different.
There are also some extra parts in the kit due to the H sprues. You get a lot of extra marts like missiles, engines, tanks, and display stands for those missiles which aren’t used for the D or F.
Assembly
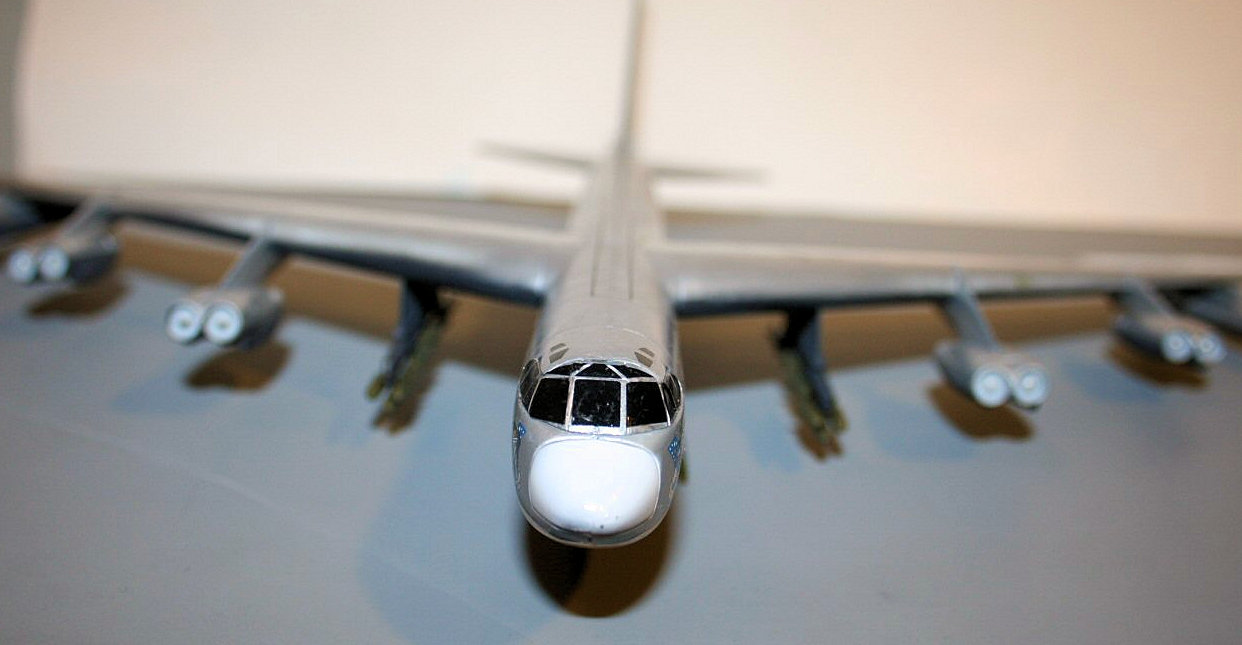
The first assembly steps are pretty straightforward. First the fuselage halves are put together, with the cockpit and the internal platform for the wheel struts. The cockpit isn’t much, with only 2 seats, but the decals for the windscreen take care of this by making the windows opaque. Nothing to see there.
Next the wings and horizontal stabilizers are assembled. They are then attached to the fuselage. Next the tail gun assembly is attached to the rear of the fuselage. The flaps are then installed, either extended or retracted. I decided on retracted. Fit was pretty good for the fuselage halves, no putty needed. The horizontal stabilizers were very good fit too. The wings didn’t line up very well with the slots on the fuselage, and I had to use some putty to get them fairly even. I don’t remember having this problem with the H model fuselage. But it’s been a few years.
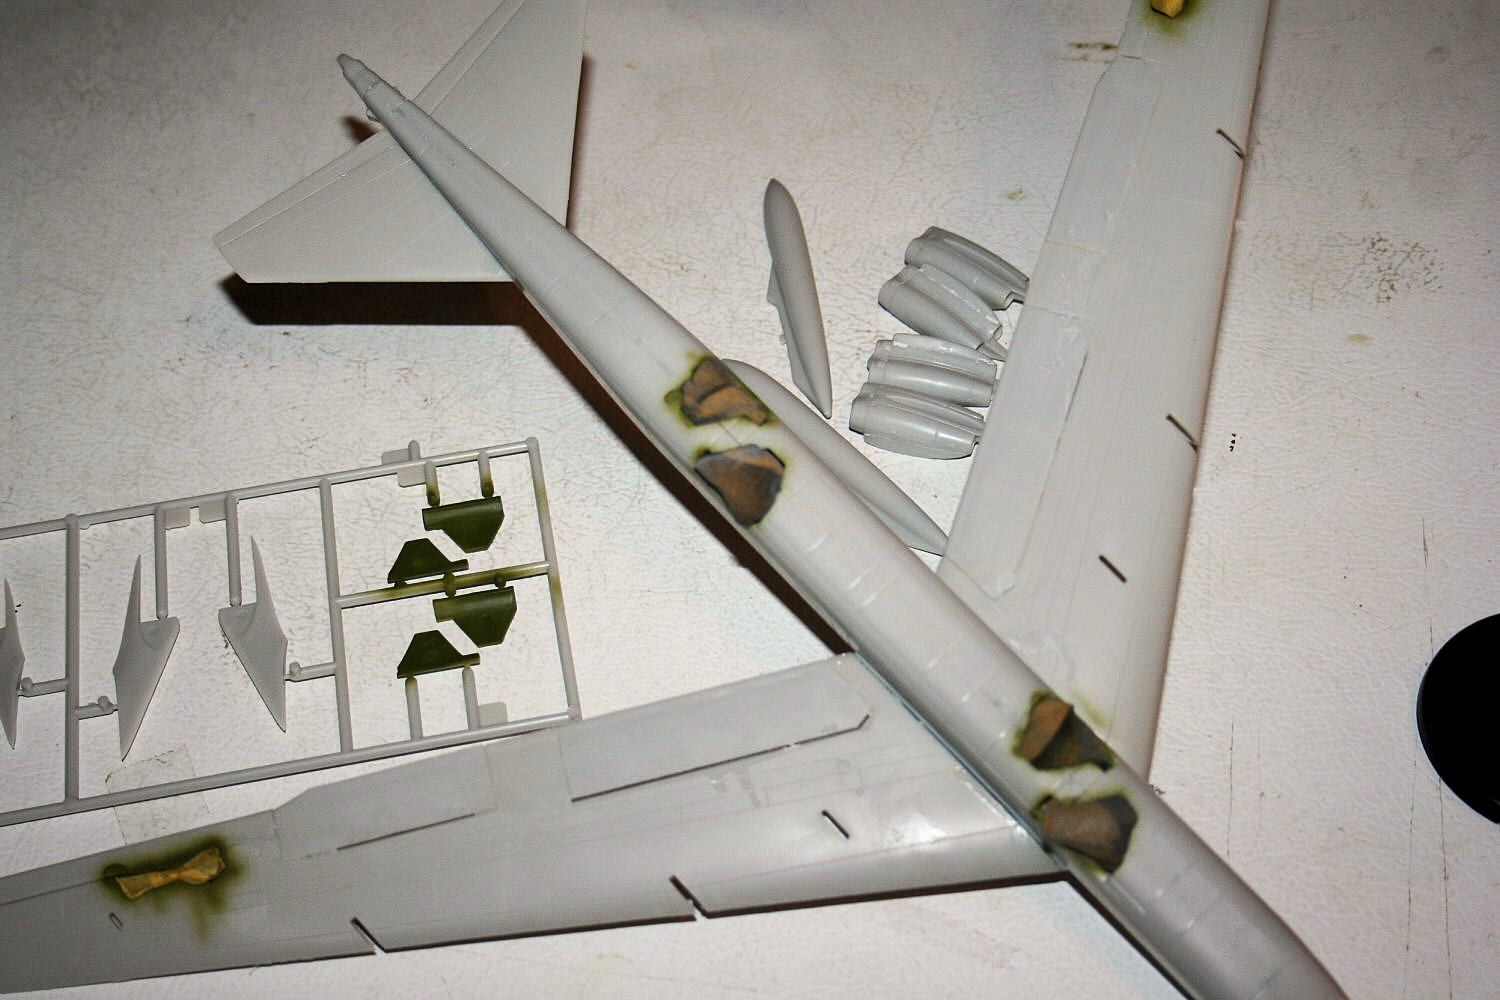
Next steps are assembling the external fuel tanks and the engine pods. The F model has an extra part on the lower edge of one side of the engine pods. This required drilling holes in the bottom half of each pod. I had to use a little file work to get the holes to line up so the extra part fit cleanly. Otherwise, the fuel tanks and engine pods fit pretty well, with only a little sanding to get the seams to behave.
Painting
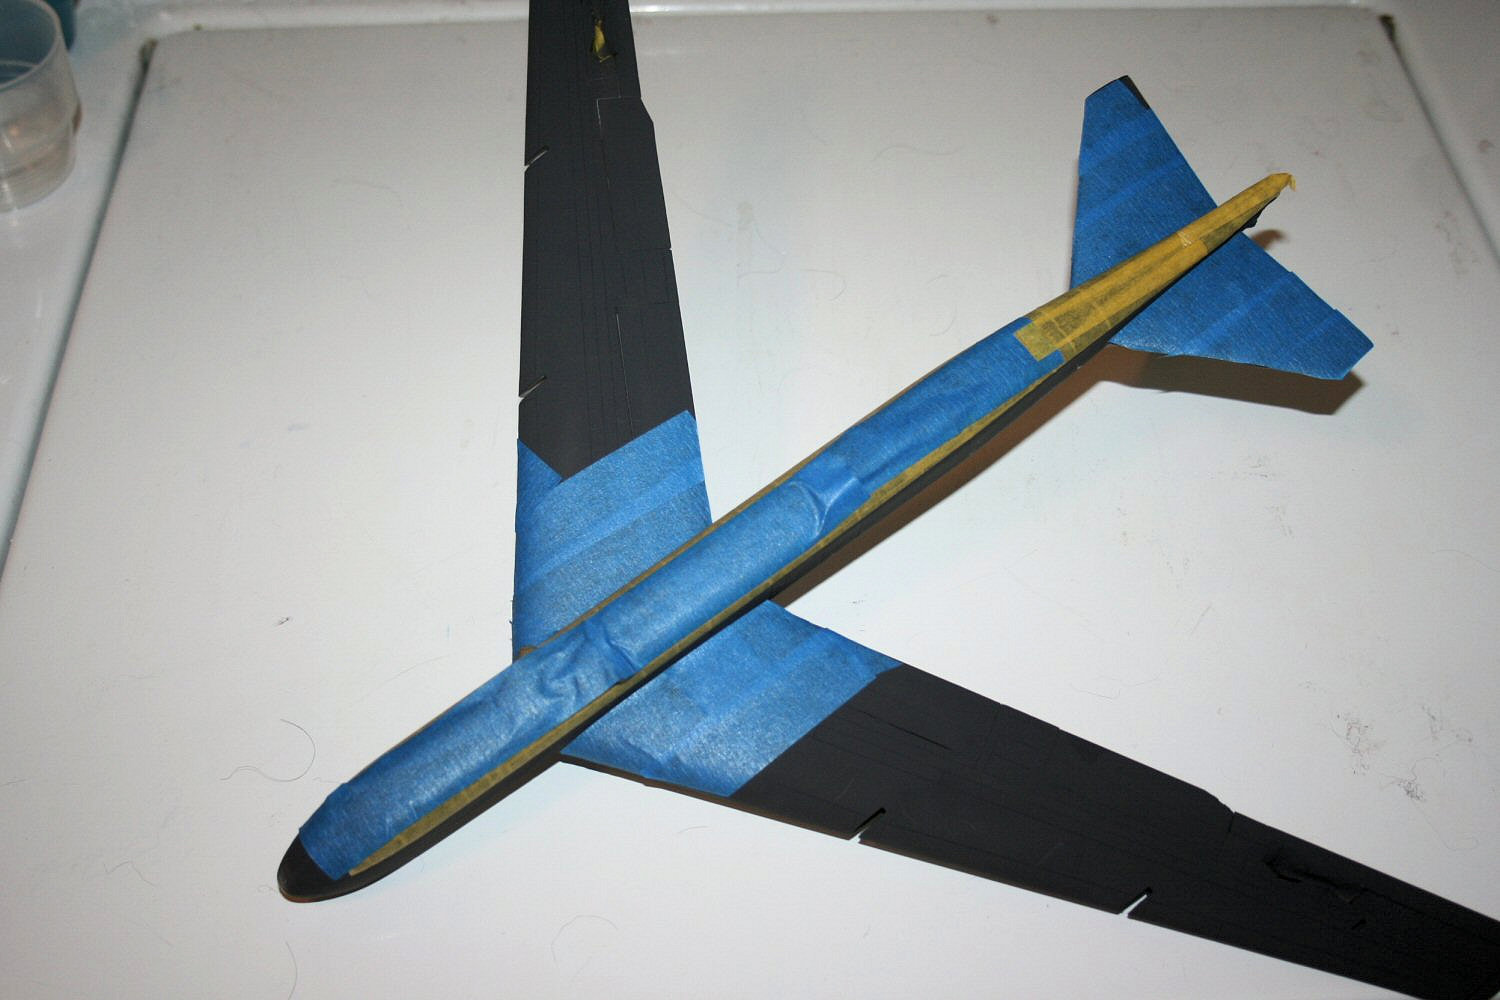
It was now time to paint the beast. I started with the flat black on the bottom of the aircraft. I went into my paint storage vault and pulled out some vintage Floquil paints. In this case I used Grimy Black and Old Silver for this aircraft. I used Floquil because they go on nicely and hold when the paint is masked. I do hate it when the masking tape is removed and some paint comes off too.
I started by painting the fuselage interior 34151, interior green, as well as the inside of the gear doors. I masked these using tape for the wing gear doors and pieces of make-up sponge for the main gear wells.
I painted the bottom of the plane black. While doing this I also painted the landing gear doors, both fuselage and wing, the engine pods, and the fuel tanks. I want to use this paint as frugally as I can. I masked the bottom of the wings and fuselage
I then applied masks to the fuselage, wing undersides, horizontal stabilizers, fuel tanks, and engine pods, and sprayed the silver. There were, or course a couple of spots which required paint repair, but that’s one of the real strong points of Floquil.
Another masking task was the white areas on the nose. Unfortunately I didn’t have any Floquil white left, so I went with Tru Color paints. Worked fine.
I painted and assembled the main landing gear, 2 wheels per strut, 4 struts.
I then put a layer of Future on the entire aircraft, to give a gloss surface for the decals.
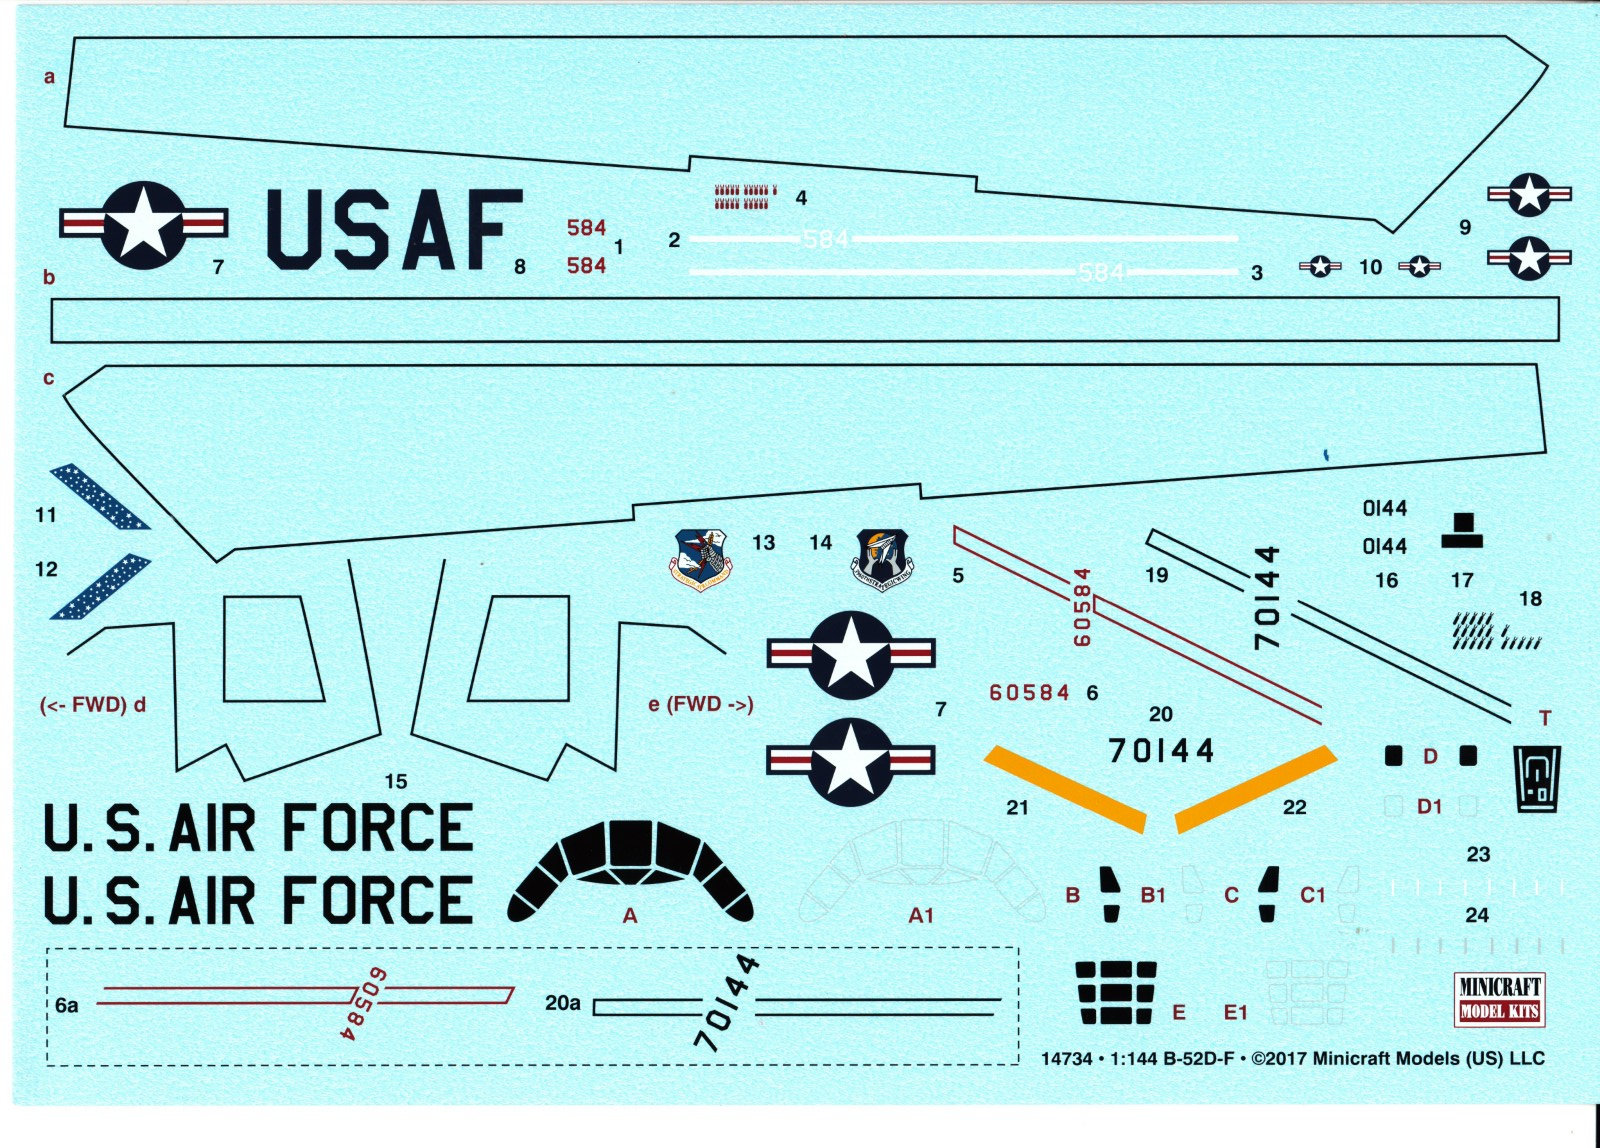
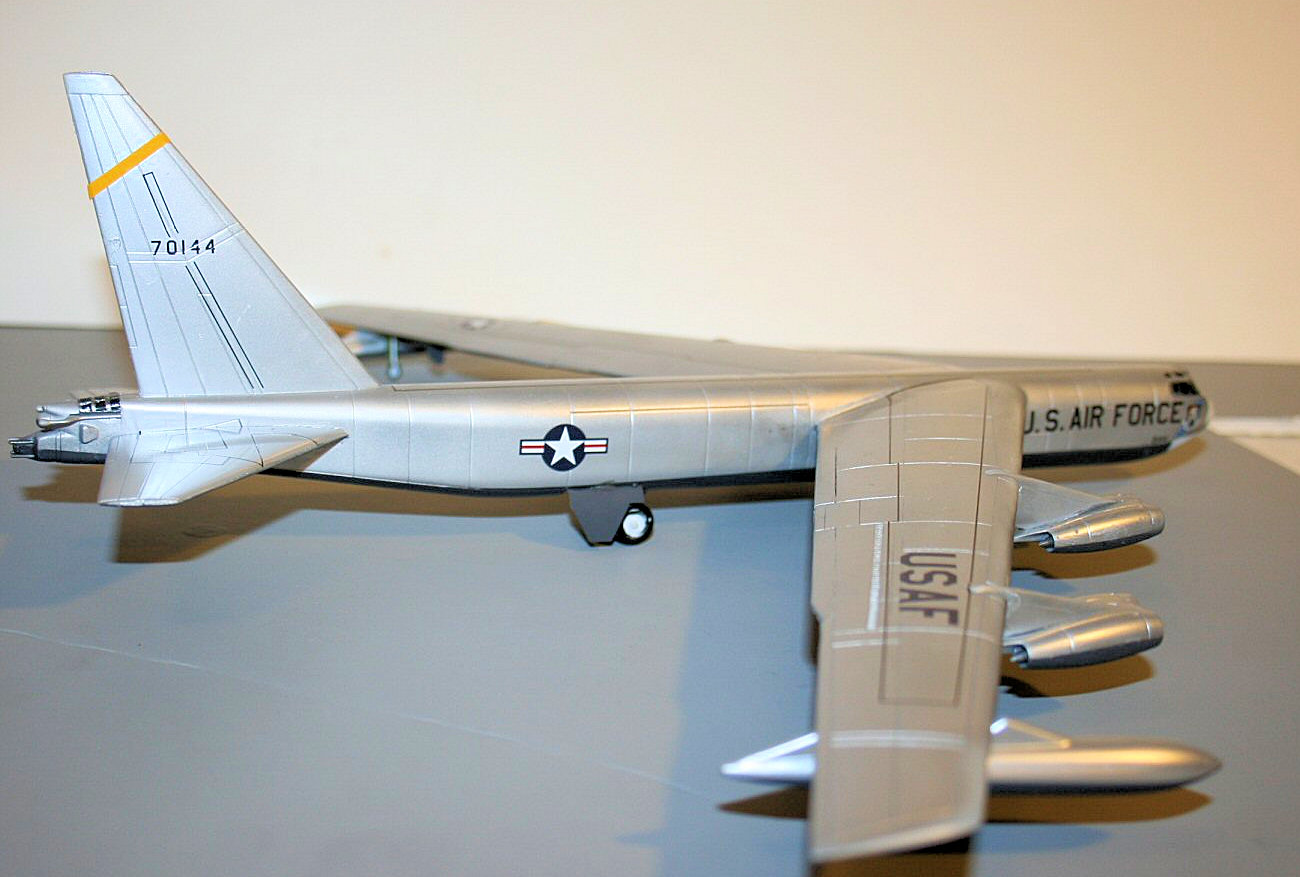
Decals
The decals on the F model were a chore, and a demanding one at that. Those huge decals on the tops of the wings and fuselage required about a day per decal, to allow the one just applied to completely dry and stick. I wasn’t going to take any chances on ruining one of these. They went on very well.
The catalog page on the web site says these are Cartograf decals. They are certainly Cartograf quality, but it doesn’t say so on the decal sheet, which gives me some doubts.
The large decals didn’t want to come of the sheet nicely. I had to lift one end of the decal, allowing water under the decal, then lift the other end. After that the decals performed far better than my ability to manage them. They were very strong, very moveable very forgiving, and didn’t wrinkle when I applied a Kleenex to sop up the extra water.
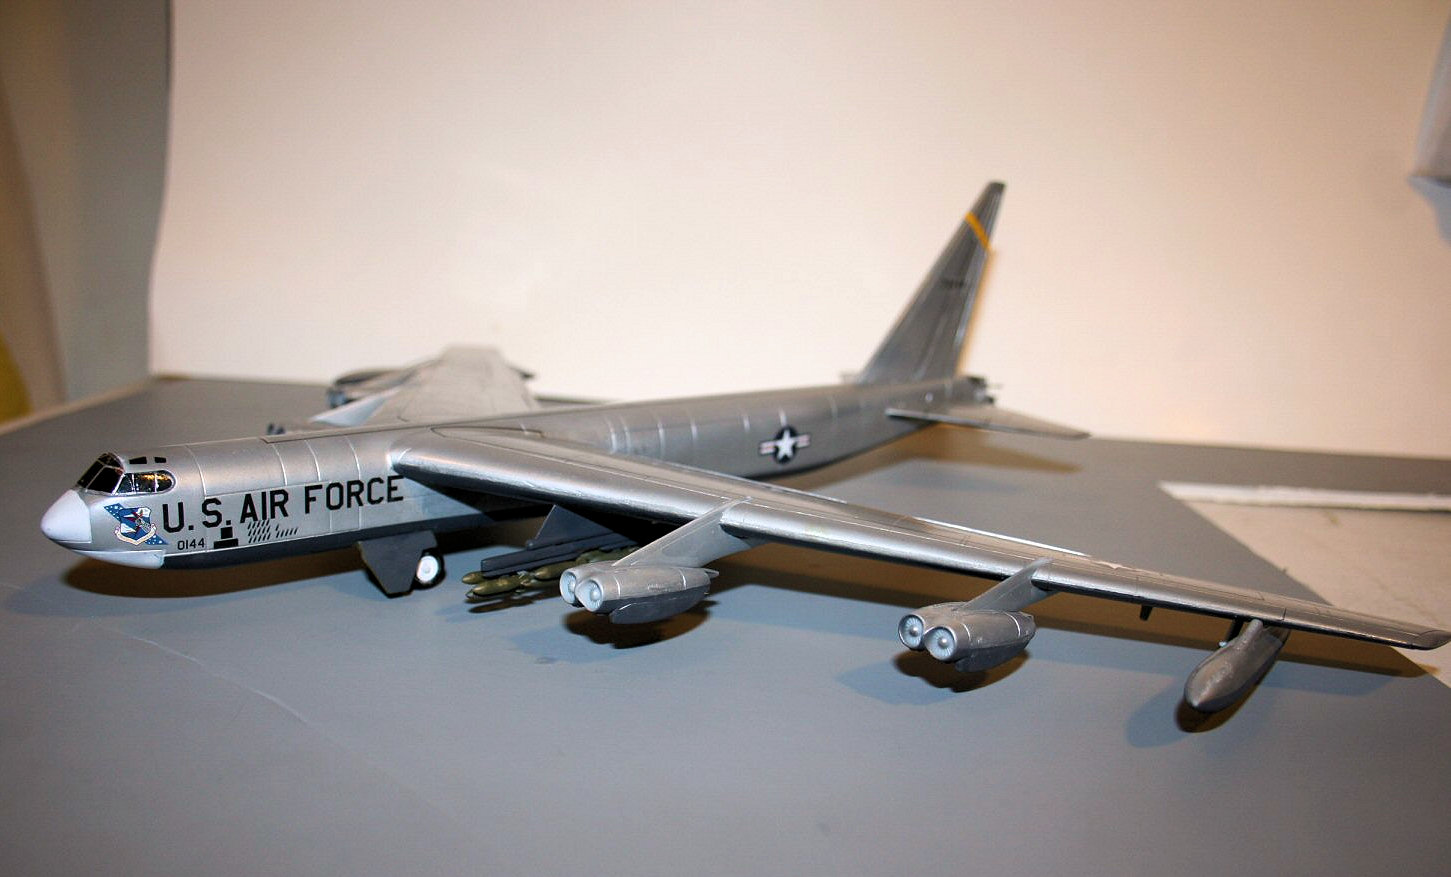
The smaller decals were a pleasure to apply. The USAF and “Stars & Bars” on the wings went on nicely over the previously applied stripe decals. The serials were easy to apply, the SAC stripes and shields on the nose were good, and the other markings were good. I had a little trouble with the stripe at the top of the tail, they were a little long and overlapped, but they settled down with a gentle application of setting solution.
I have to admit, I have rarely had large decals that were this easy to apply.
Final Assembly
Once the decals were set and the Future dried, I started with the “fiddly bits”. I always save the smaller and delicate parts for last because I tend to break them when I’m applying decals.
I glued the engine pods to the mounting struts. This requires a little accounting, as the struts are 4 different parts, depending on where they mount on the wing. I also assembled the underwing multiple ejector racks to their mounts and added the bombs.
At this point I installed the cockpit windscreen, with the decals which made it opaque. I also put in the rear gunner’s position, with the same type of decals.
I started at the fuselage and worked out the wings in this part of the project. I put in the main landing gear. I had a fit problem with the gear legs. I’m not sure if it’s my positioning of the mounting platform, but it required some cutting and fiddling to get the gear legs inside the fuselage opening. Once the gear was in place, I installed the gear doors.
Next was the external bomb racks. He went on pretty well, only a little filing on one of the tabs to get it to fit nicely into the slot in the bottom of the wing. Another note… The top of the bomb rack had a little mold mark at the top. The fit was so fine that this had to be removed before the part would fit to the wing without a gap. This is pretty finely done molding.
I next installed the inboard engines. I had to use a file on the slots in the front of the wing, as the fit was just too tight. Then the outboard engines, with the same too tight fit. After that the fuel tanks, and then the outboard landing gear. The final follow ups were the two antennas on both sides of the rear gunner position and the 4 machine gun barrels.
And the project was finished.
In addition to all of those missiles which I didn’t use, there’s a large clear plastic stand. It’s very reminiscent of the old Revell stands in that it uses a ball and socket at the top to allow positioning of the aircraft in other than straight and level flight. I will probably use this on one of my “gear up” projects in the future, because it looks good.
Overall Evaluation
Highly recommended. This is a kit which I have been waiting for a long time. Now that it’s here, I’m happy with it. There were no huge challenges in the build, and the instructions and decals were well above average.
Many thanks to Minicraft for the review kit, and to John Noack and IPMS for allowing me to build a new version of the B-52.


Comments
Manual paper to install
Please send manual paper to install.
Thank you
Greetings
No idea what you are asking. We review kits and do not send anything
IPMS/USA
Add new comment
This site is protected by reCAPTCHA and the Google Privacy Policy and Terms of Service apply.
Similar Reviews