
B-26 C-50 Korean War "Glass Nose"
In what appears to be a never ending stream, ICM Holdings offers the modeling public another variant of the B-26 Invader, Medium Bomber. This latest novelty is the 1/48th scale B-26 C-50 with markings for three separate U.S. aircraft employed during the Korean War.
This plethora of variations of the 1/48th scale B-26 that ICM Holdings is releasing is most welcome as it gives all the opportunity to build the Invader of our choice. I for one hope they continue and a 1/48th scale B-26 K Counter Invader is in our future.
Marking options included with this release are:
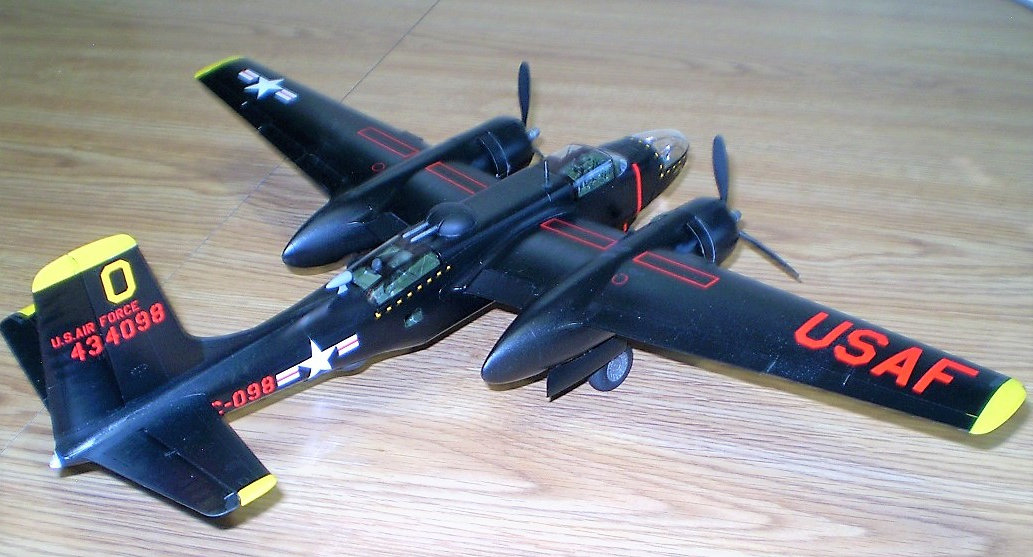
- B-26C - 45DL, 8th BS, 3rd BG, Korea,1953 ( Night Invader /Overall Black)
- B-26C - 55DL, 729th BS, 452nd BG, Korea, 1951 (natural metal finish)
- B-26C - 45DT, 728th BS, 452nd BG, Korea, 1951 (natural metal finish)
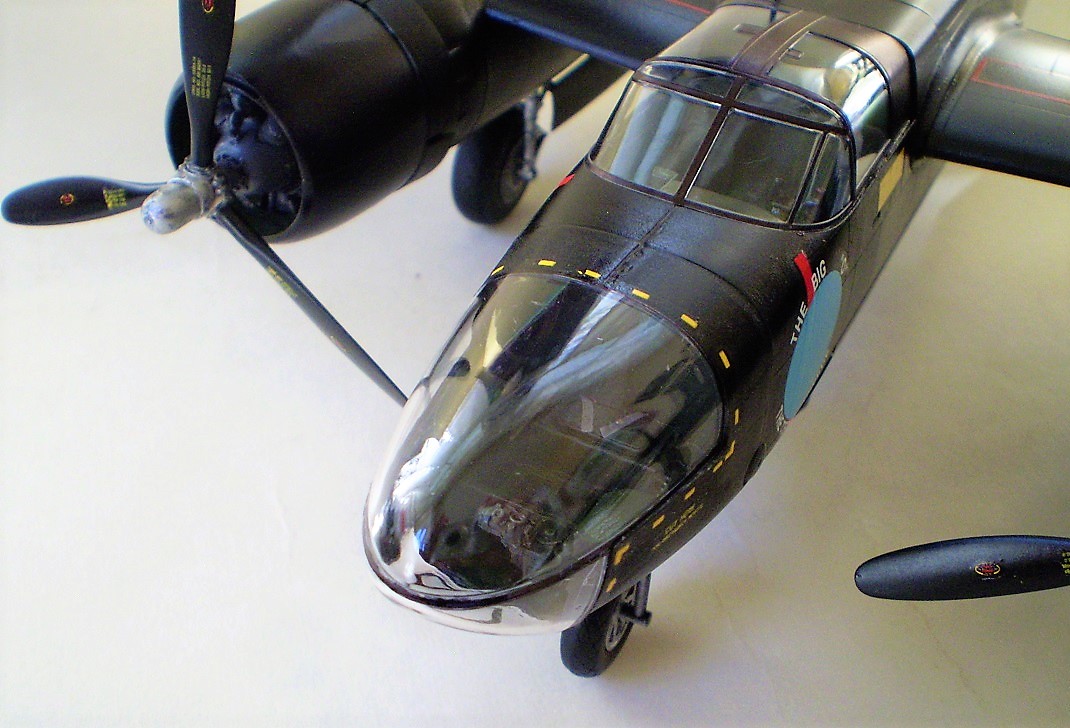
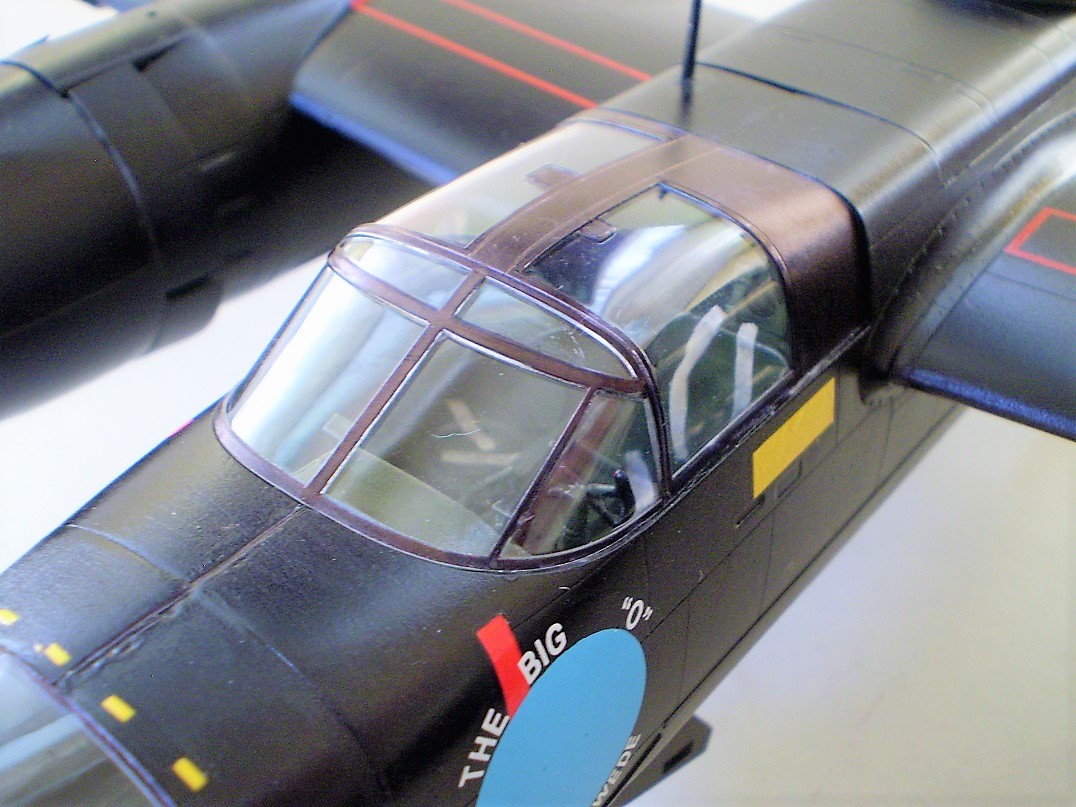
ICM Holdings also includes a template with the assembly instructions for masking the clear bits. These are templates only so you'll need to make you own masks. Those clear bits are wonderfully molded and crystal clear. I choose to highlight the framing with a black Sharpie.
[Shameless Plug: It should be noted that there are a number of after-market guys that can hook you up with all manner of extra details: Eduard (seat belts, interior/exterior detail, masks) Quickboost (resin gun barrels, gun turret, propellers, engines, exhausts), Montex (wheel/canopy masks), Paragon Designs (flaps), and Aerocraft Models (brass landing gear) and Metallic Details (complete detail set).] [Really Shameless Plug: There is s separate review of some of the Quickboost after-market accessories available for you reading enjoyment.] Click here: https://web.ipmsusa3.org/content/26-invader-propellers-propeller-reduct…
ICM Holdings does have a collection (three different sets) of after-market decals should you be looking for some alternative markings. Of note is the set for Latin American Invaders (Brazil, Columbia, Cuba).
The kit supplied decals are crispy printed and are almost devoid of any extra carrier film. Extra cool points for ICM.
As with all aircraft models, construction begins with the cockpit. The pilot’s station is composed of fourteen parts and includes forward and side instrument consoles with a decal for the instruments. Do be careful when ducking them in water, the decals are printed on a thin carrier film and some of those instrument faces might just 'break away' from that film and wind up as individual decals.
It should be noted that I experienced a few problems with the decals folding over on themselves due to that thin carrier film. This is also a good time to mention that there are color call-outs throughout the instructions and your gonna want to paint as you go. Color references are keyed to either Revell or Tamiya paints.
Construction proceeds with completing the interior detail on the fuselage. Wing spars are added to which bomb racks and bombs are affixed. There are also some side consoles that get added during this step. Additional detail (side consoles) is provided for the bombardiers station as well as the aiming station for the remote controlled top and bottom gun turrets.
One aspect of the engineering for this kit is the make-up of the wheel well interior detail and the gear doors. That detail and the gear doors are molded as one piece. This makes for ease of assembly but also gives you an opportunity to snap them off as you proceed with putting the rest of the kit together. Some may find this off-putting but if you go slow, exercise some patience all will be right with the world, and your model.
The bomb aimer position is next with lots of fiddly bits that meld into a great looking station. It may be prudent to hide some weight in this section as the model is a bit of a tail sitter without. The assembly instructions do have you add some weight behind the engines in the wing nacelles but a tad more weight in this forward area couldn't hurt.
Next up are the main wings. The first order of business is to decide which of the under wing stores ( bombs, fuel tank, rockets) you plan to use as specific mounting holes will need to be drilled out for the appropriate ordnance. Although wing guns are not called for with this variant there are spent shells ejector ports that can be opened from the wings or you can use the supplied decals. It is worth noting that all control surfaces on this kit are provided as nicely detailed individual parts and as such are somewhat pose able.
The left and right wings fit onto previously installed wing spars that insure a nice, tight fit. Both horizontal stabilizers are engineered such that just adding them to the model ensures the dihedral of those stabilizers that was unique to the Invader.
There isn't a lot of detail for the top and bottom gun turrets but as these were remotely controlled there wasn't much visible detail to begin with. The opposite is true for the gunner’s station. ICM provides the main pedestal, gunner seat, consoles, and the periscope aiming devices for this very nicely detailed area of the Invader. For a detailed account of the remotely controlled gun turrets, I refer you to the following link: http://napoleon130.tripod.com/id869.html
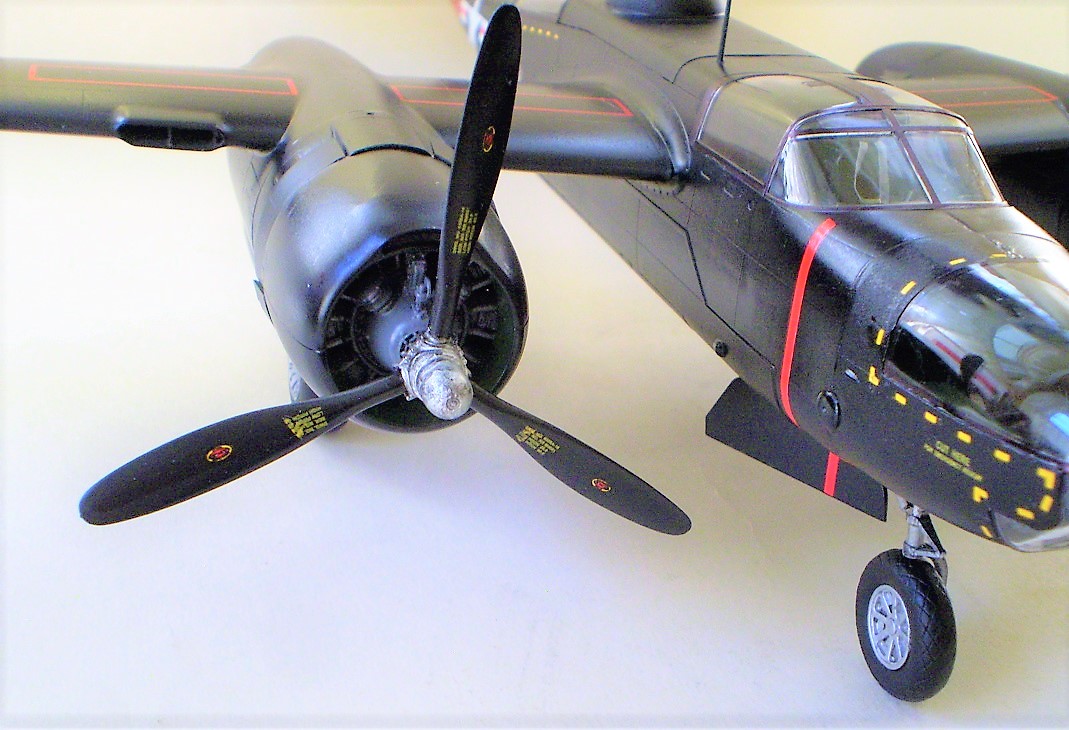
ICM provides some wonderfully detailed Pratt & Whitney R 2800-27, 18 cylinder, radial engines. Along with both banks of cylinders, there are push rods, an exhaust collection ring, and the reduction gear casing with magnetos. I used the Quickboost replacement set. About the only thing that goes wanting are the ignition wires themselves.
ICM does provided a handy positioning guide for the intricate exhaust layout. I attached it with some craft glue for easier removal. The exhausts are molded without any outlet detail and should you may decide to drill out those openings a daunting task awaits as there a number of exhausts (nine per engine). I left the positioning guide attached while I finished that step. This is also the step where some added weight should definitely be installed (as noted in the instructions) behind the forward section of the engine nacelles in or4de to avoid the dreaded 'tail sitter'.
The robust landings gear has nice detail with a number of individual parts (scissors, etc.) that enhance the molded parts. The tires, with excellent diamond tread pattern, are cast in halves which might present a seam problem. But those tires are molded with only one sprue attachment point so they can be positioned with that 'burr' on the ground. On the plus side, the wheel hubs are molded separately, easing painting for them as well as the tires.
Nearing the end of the build, the completed engines get 'dobbed' onto the nacelles, adding the cowlings and upper and lower cowl flaps is next as well as bomb bay doors. [Technical Note: 'dobbed' is an aircraft industry term meaning attached or placed.] The bomb bay doors can be shown opened or closed. The cool bit, should you choose to close up the bomb bay, is that that part is one piece. That will save you the tedium of lining up two, separate pieces.
With the placement of a few antennas and previously selected, under wing ordnance the model is completed. Well, mostly complete. There is still painting to do and applying decals to do and whatever amount of weathering that might suit to do. After that, you will be done. One word of caution about the decal placement guide...if you go with the Night Invader scheme. There are a series of dash lines surrounding the canopy, glass nose, and turret gunners position. These were 'cut here for emergency escape placards'. The placement guide does list those decals (#15) that connect those listed in the right and left hand profiles. Don't forget the lovely Hamilton Standard props. I replaced the kit parts with those from Quickboost.
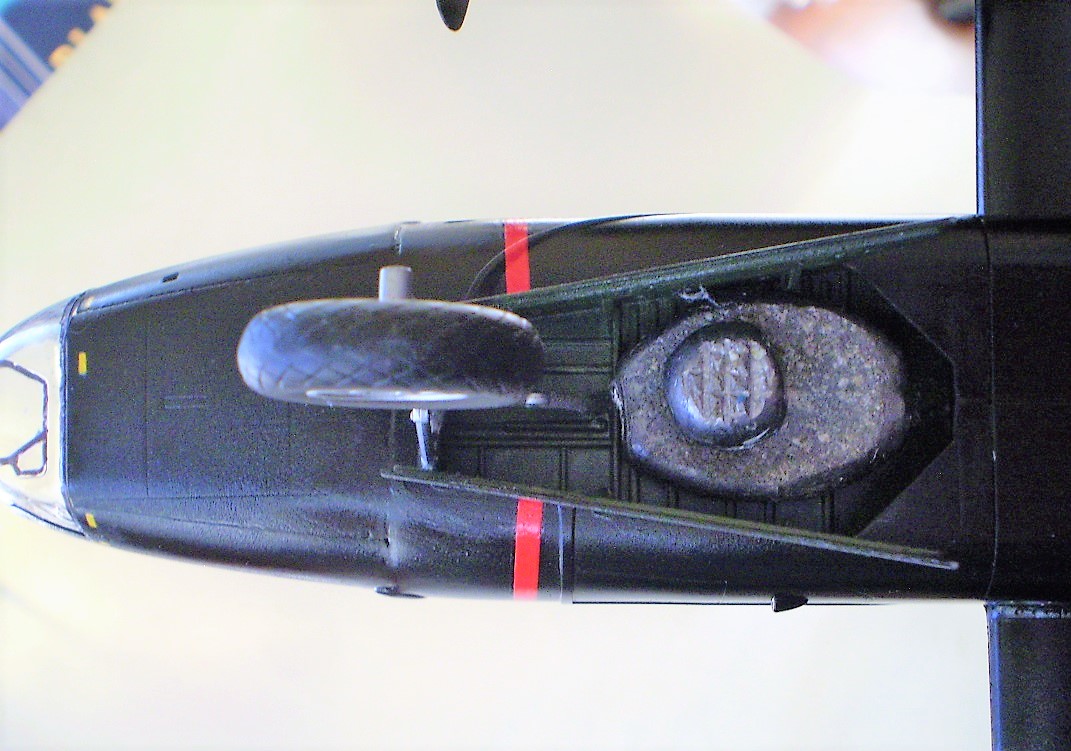
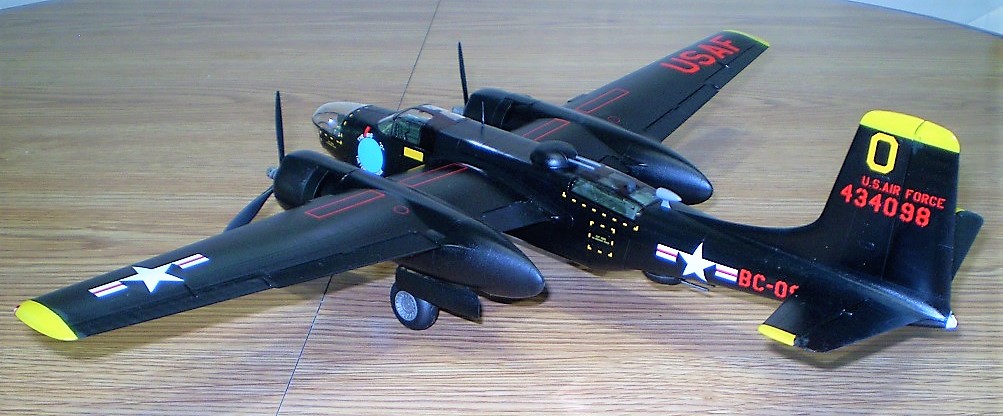
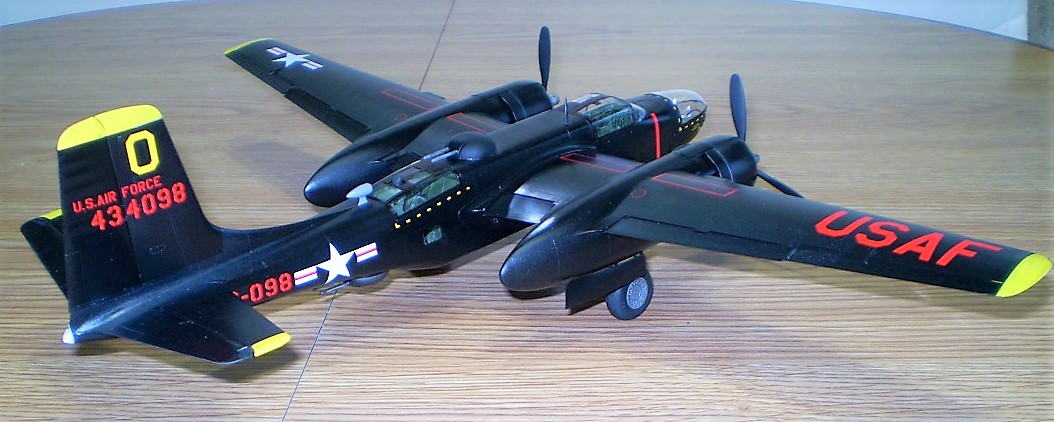
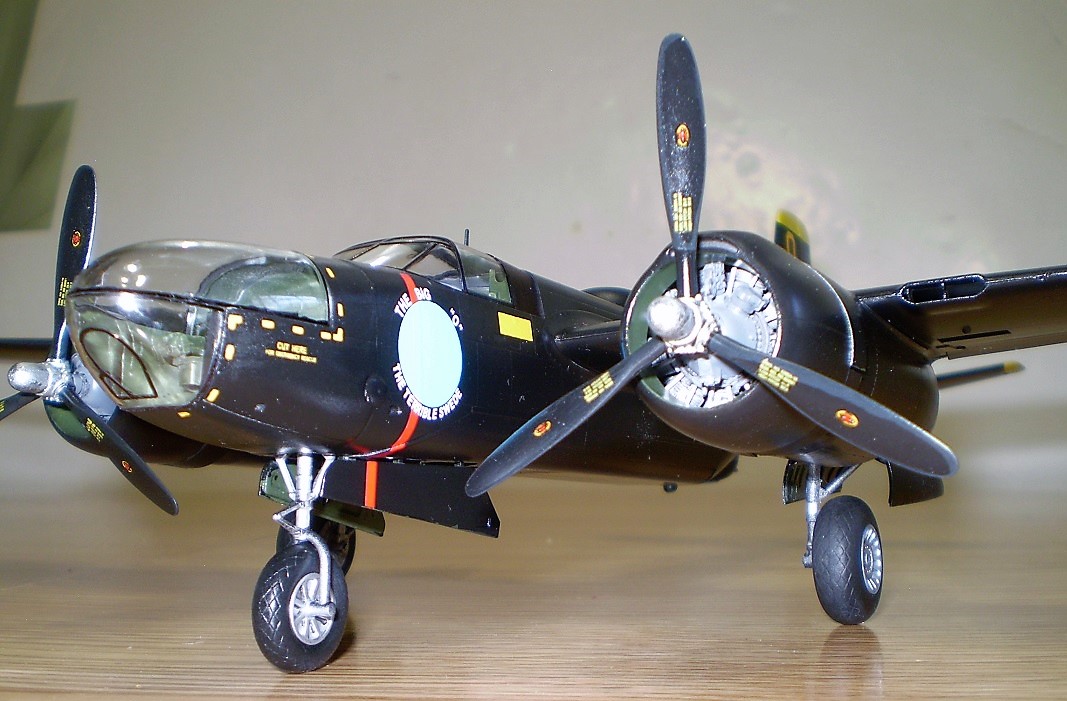
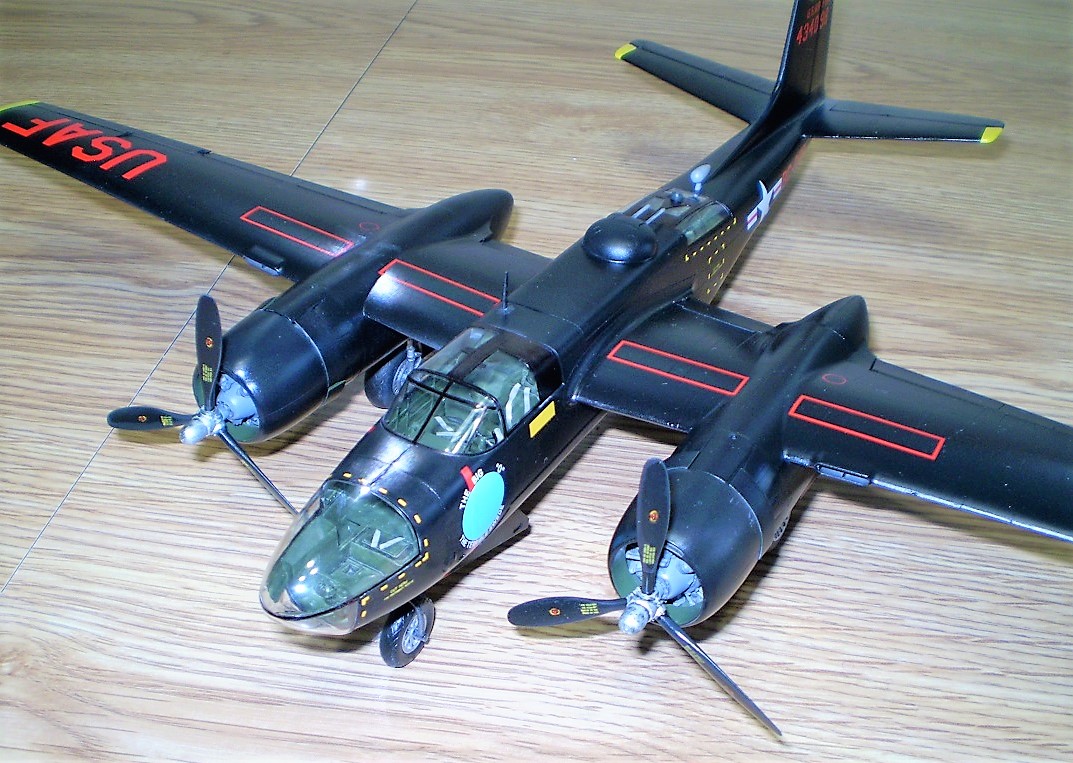
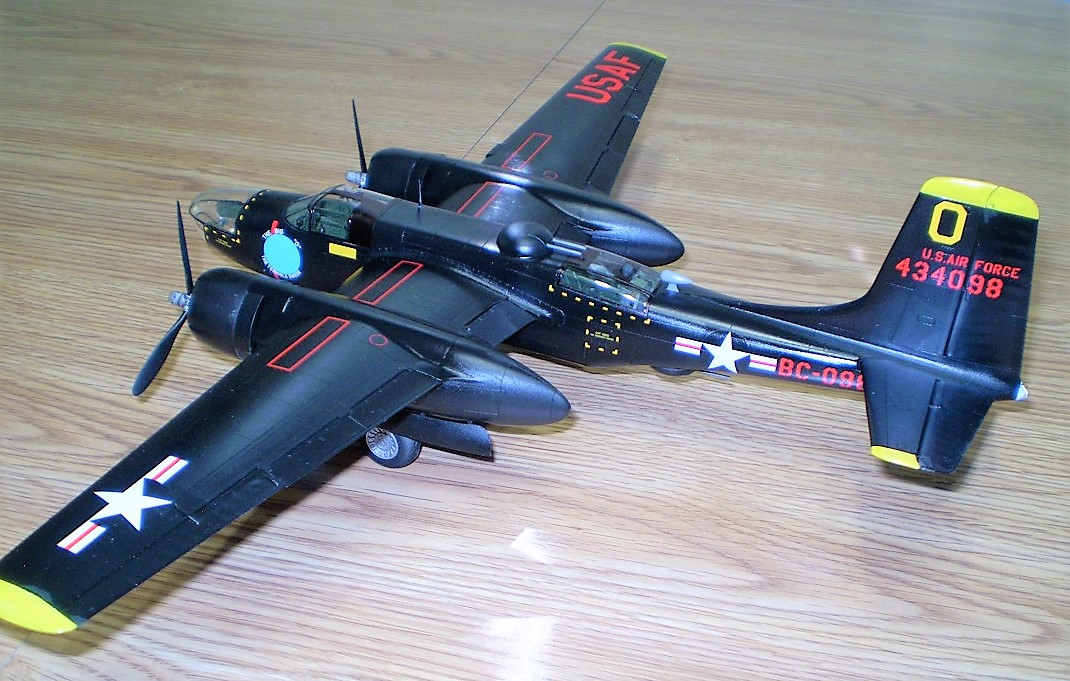
As can be seen from the completed images, I went with an overall black Invader. I used Touch 'n tone's all purpose black primer and over sprayed that with a light coat of Tamiya's clear gloss just to seal the primer. And happy accident, that wound up giving me a semi-gloss finish.
This 1/48th scale B-26 C 50 from ICM Holdings is a superb model kit. The molded detail (petite engraved panel lines), ease of fit and lovely molded details. The only areas that required any filler were those areas surrounding the engine nacelles to wing joins.
The overall appearance, ease of fit, and fidelity of the completed model sets a high bar for other contemporary manufacturers to follow. Some might quibble about the lack of canopy masks, unweighted tires, etc. but if things like that really bug you, the after-market crowd (as noted earlier) has you covered. My only quibble might be the minor areas that required a small amount of filler but that could have just been my fault. Overall I was pleasantly surprised at how remarkable easy it is to assemble this model.
Another pleasant surprise, should a glass nosed Invader really not be your cup of tea, is the number of extra parts (eight-gun nose, under wing gun pods, wing mounted guns, and either a flat or the bulged canopy.) included that one can avail themselves of to build different variants of the Invader. There is even a plate to cover the lower fuselage gun turret which was removed on certain variations of the Invader.
Really there isn't a good excuse not to have this excellent kit in your stash. And as this is the fifth iteration of the B-26 from ICM Holdings, there has got to be ONE of them that fills the bill. Well, except for the B-26 K. :) Hopefully that version will be coming to a hobby shop near you soon.
My appreciation and thanks to ICM Holdings and IPMS/USA for the review copy.

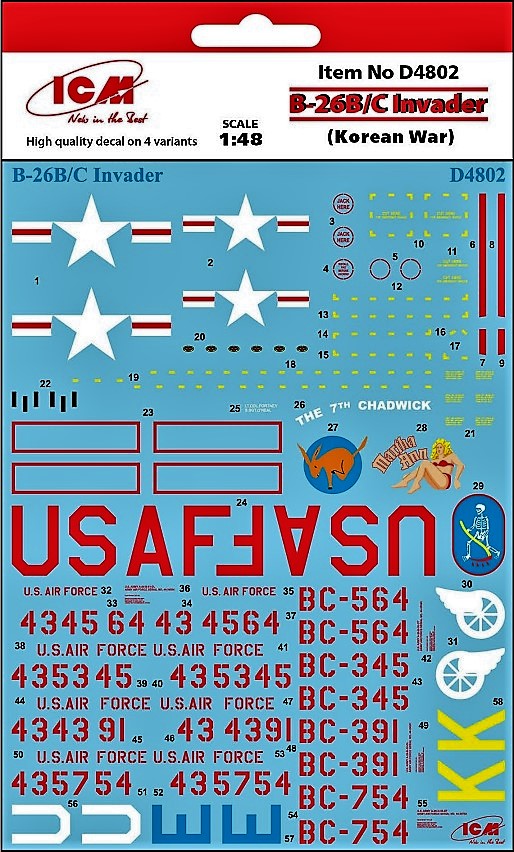
Korean War Decals

Latin American Decals
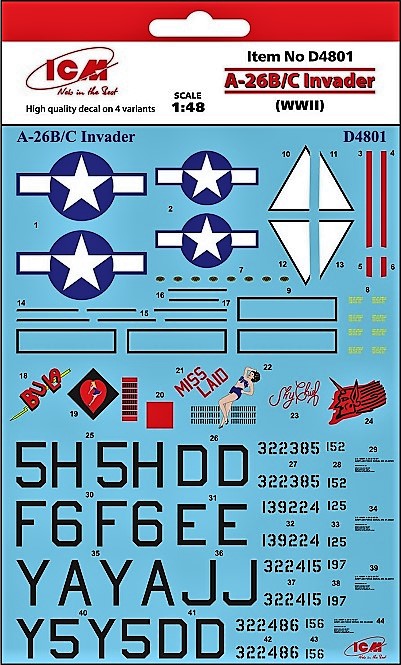
WWII Decals

bomb Aimers Station

Clear Bits
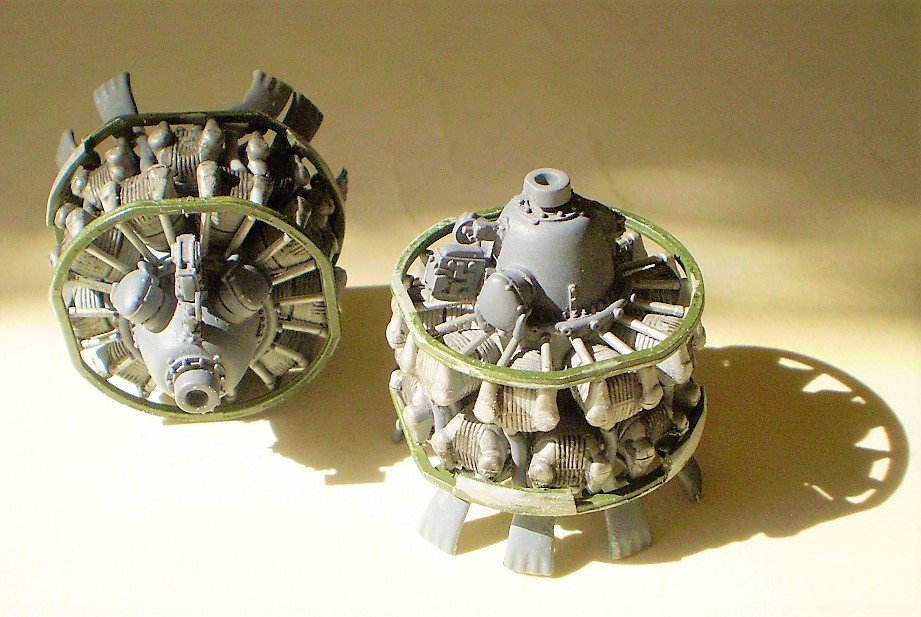
Engine with Quickboost Reduction gears
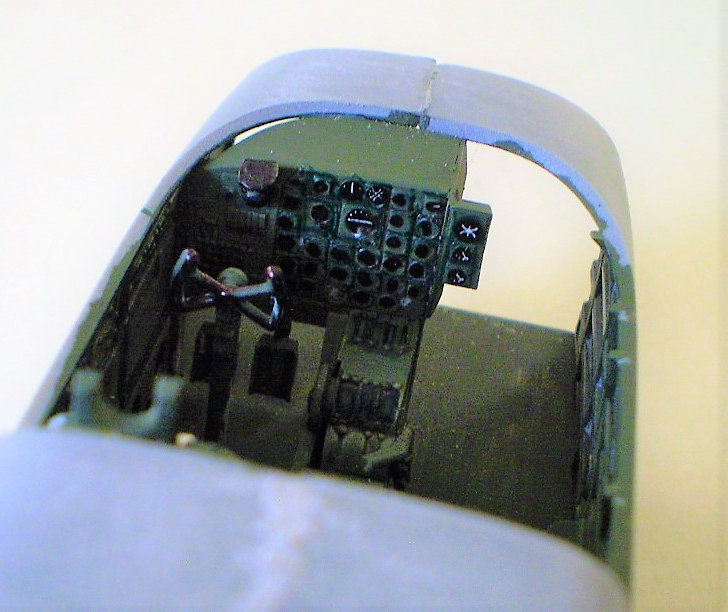
Pilots Control Panel
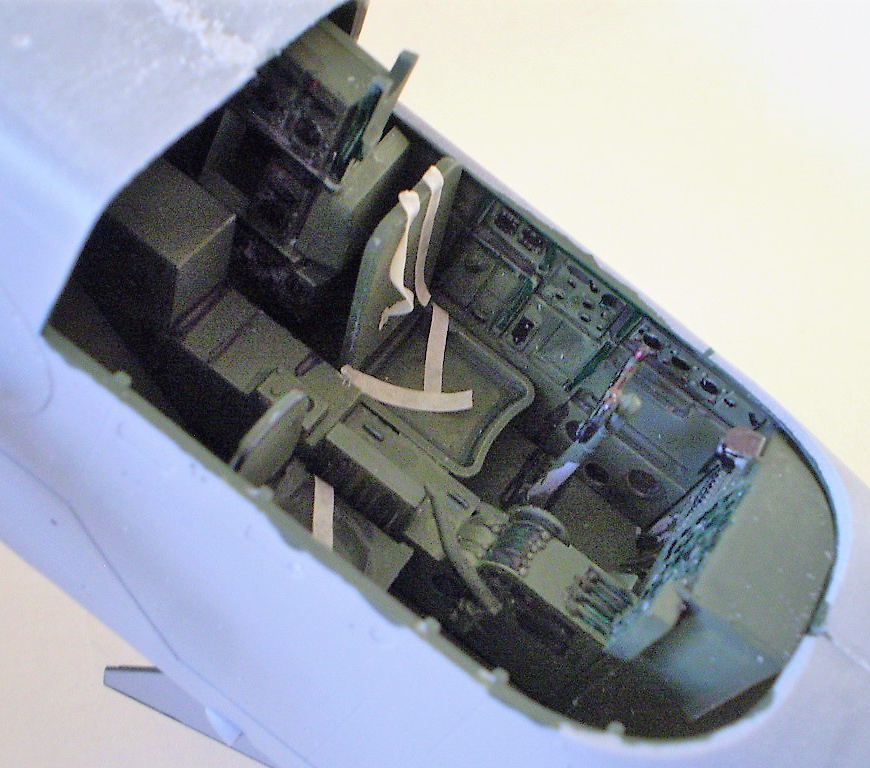
Pilots Station
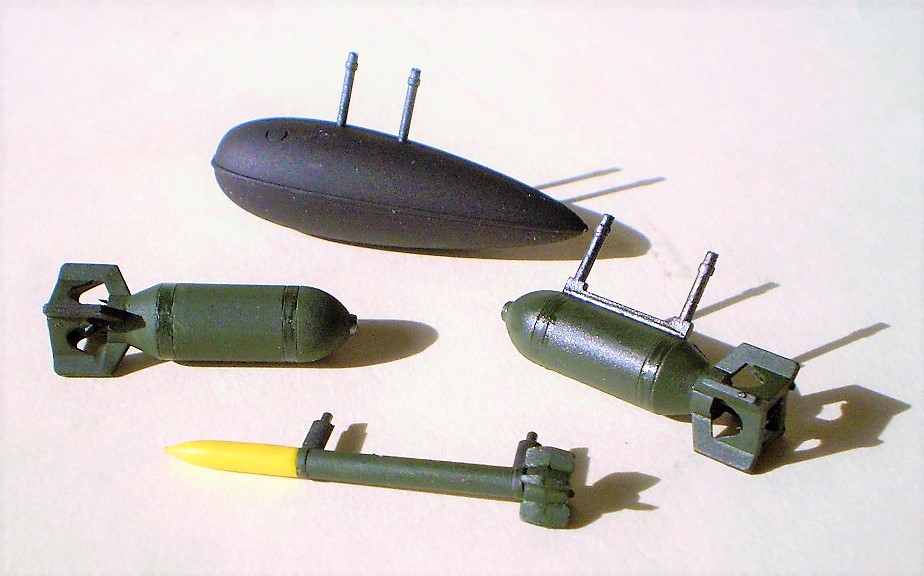
Under Wing Stores
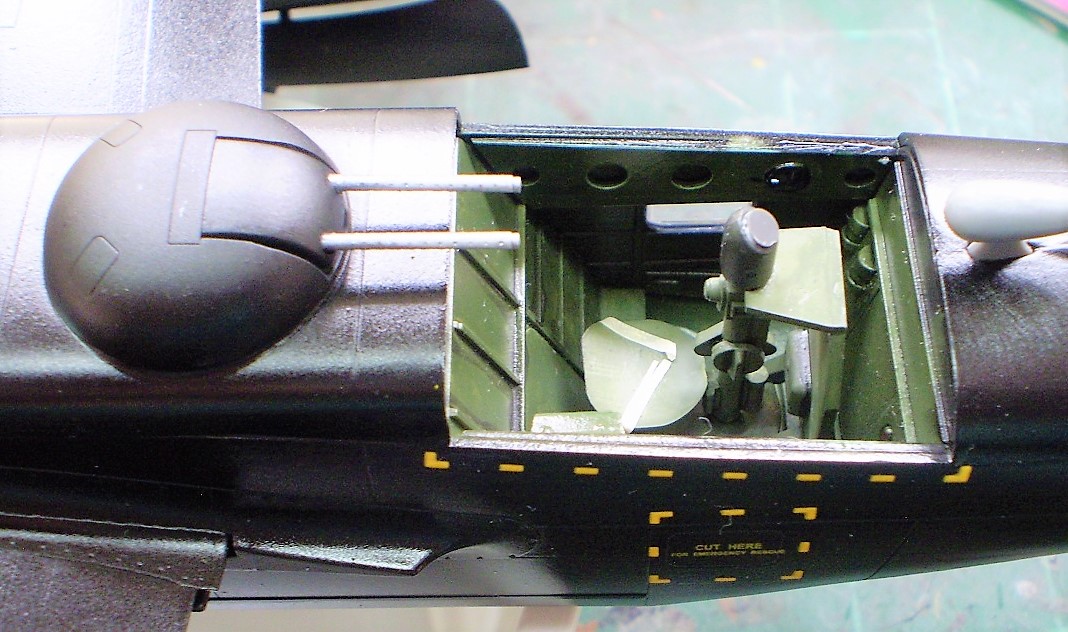
Upper turret and Gunners station
Don't forget the weights
Finished
Finished

Finished
Finished

Finished

Finished
Finished
Finished

Finished
Finished
Finished
Finished
Comments
Add new comment
This site is protected by reCAPTCHA and the Google Privacy Policy and Terms of Service apply.
Similar Reviews