
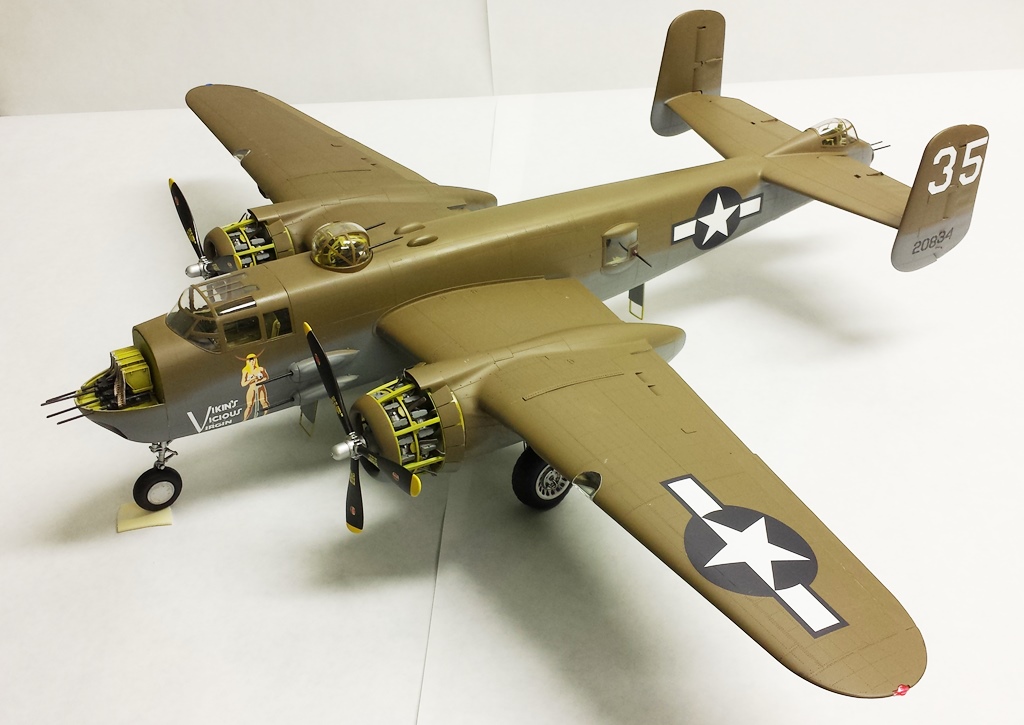
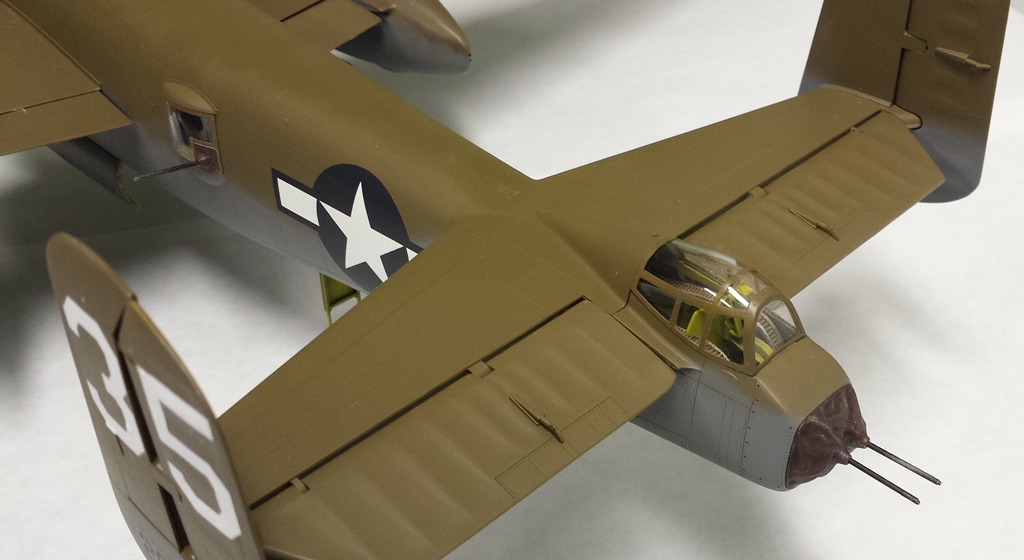
B-25H Mitchell Gunship
This is the third release, by HK Models, of their large-scale B-25, and in my opinion, the most interesting version. The B-25H was armed to the teeth, with fourteen .50 caliber machine guns (eight fixed forward and fired by the pilot) and a 75mm howitzer. The kit comes in a very large top-opening box, with another front-opening box inside. There are twenty-nine individually-packaged sprues, with a total of 563 parts. Slide molding is used to add nice details, like hollow barrels on the MGs and rifling on the 75mm gun.
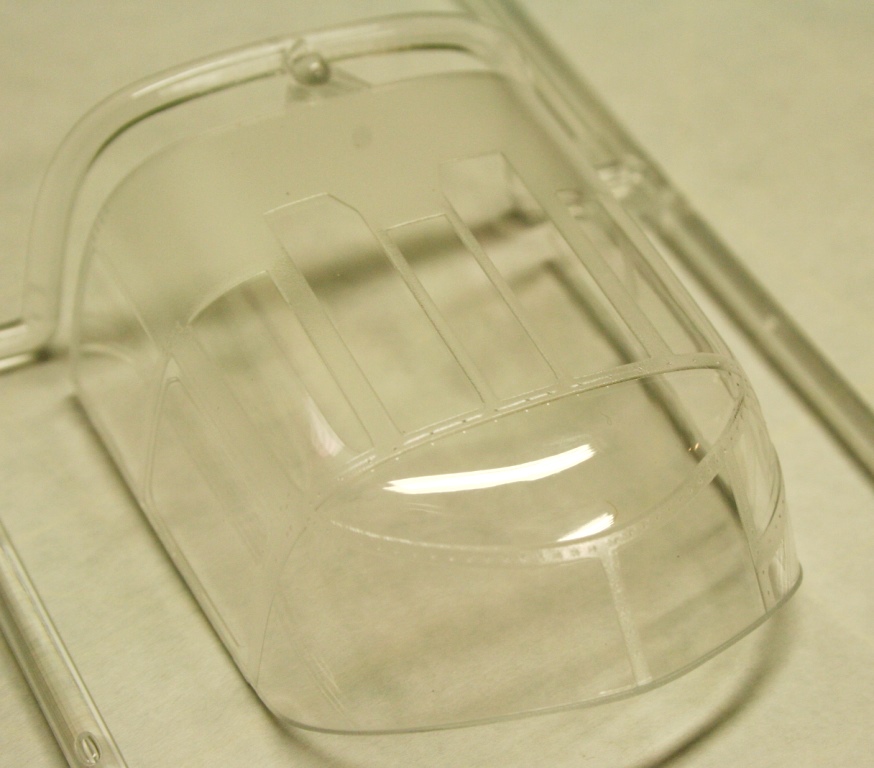
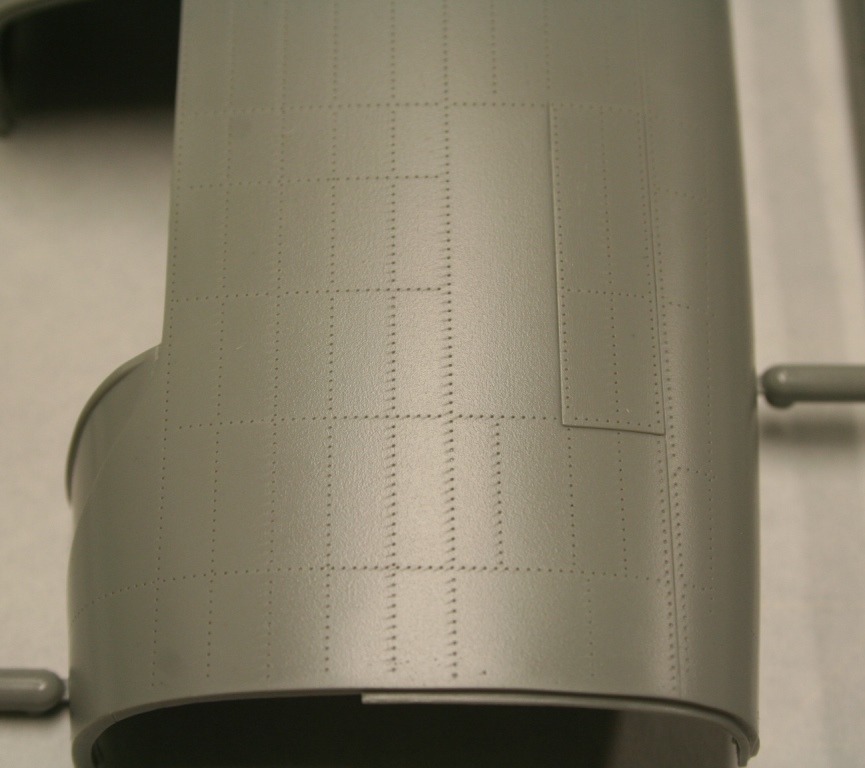
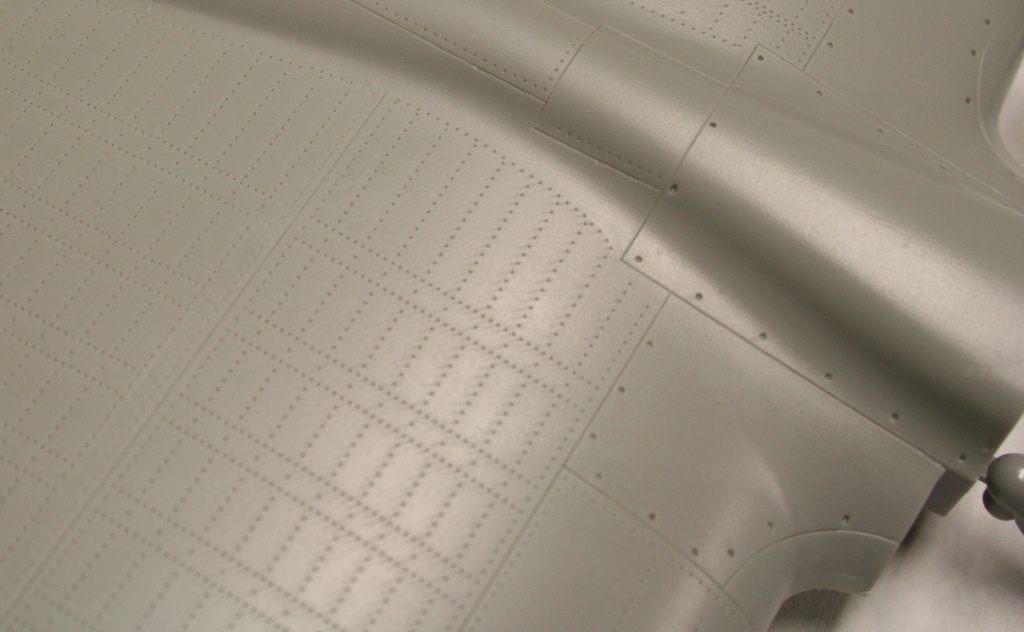
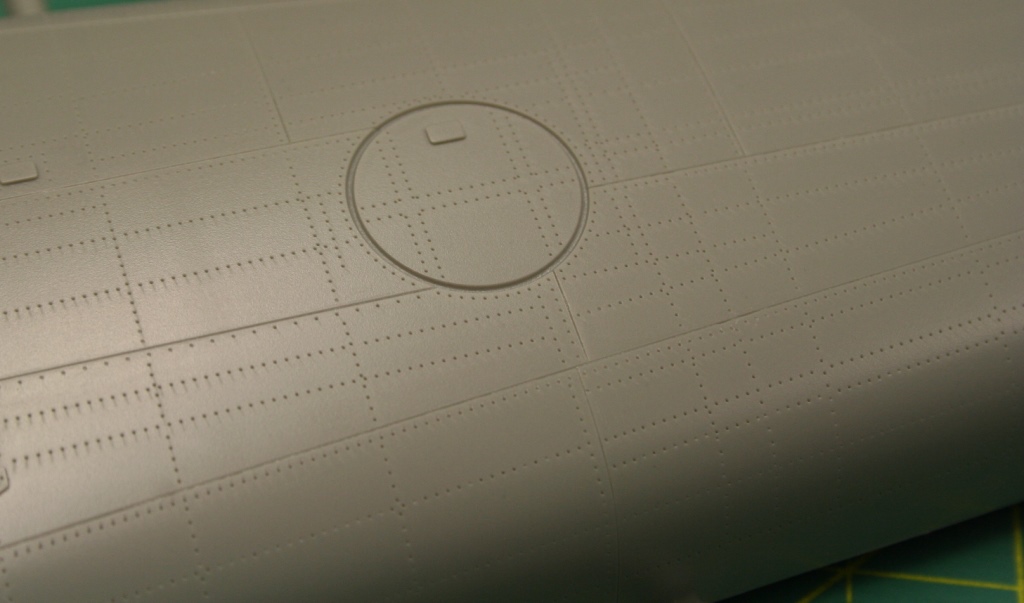
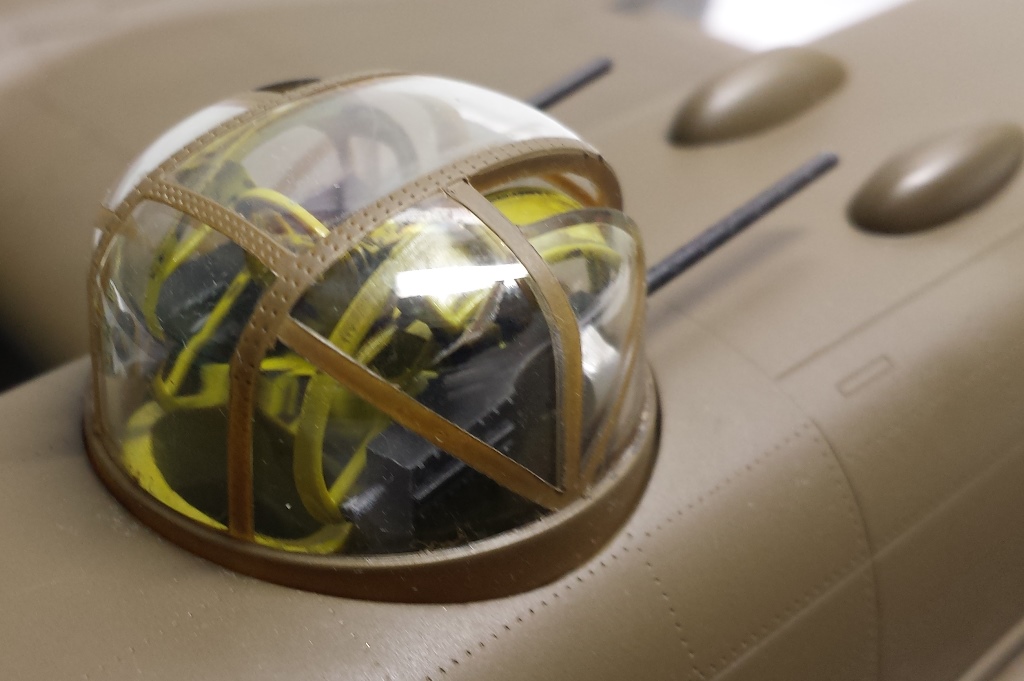
Molding is very crisp, with good detail and little flash. However, mold lines are prominent on most parts, meaning a lot of cleanup is required. The box boasts over 500,000 rivets are molded into the model. Most of the rivets look very good, but along the top and bottom of the fuselage, they are shallow and elongated- likely due to limitations of the molds. The clear parts are crystal clear, although sprue attachment points are large.
The instruction manual is printed on sixteen large (13.5 x 10 inches) glossy pages. A nice history of the B-25 is included on the cover, and the inside cover contains sprue maps and color references. The references include FS numbers, Gunze Aqueous (labeled Hobby Color), and Tamiya Acrylics.
Construction begins with the top turret column. The design of this part only allows the upper guns to point straight back along the upper fuselage. Significant modification would be needed to allow the turret to point elsewhere. Next up is the Tail gunner’s station, which includes the rear armor plating. Both of these sections go together nicely.
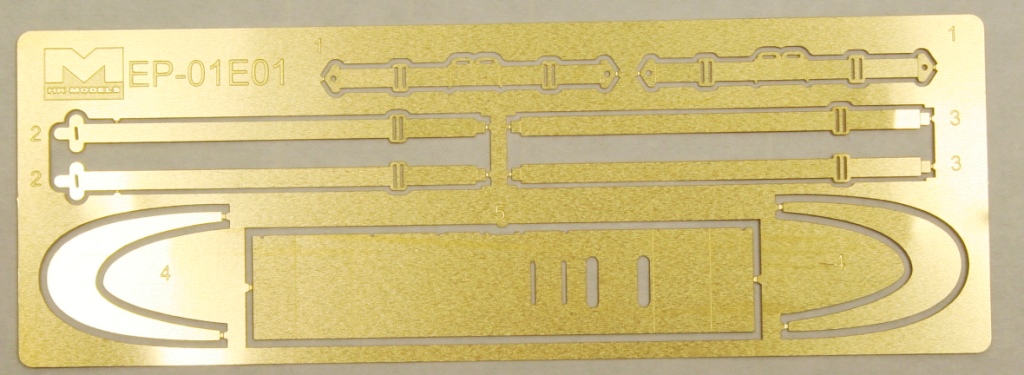
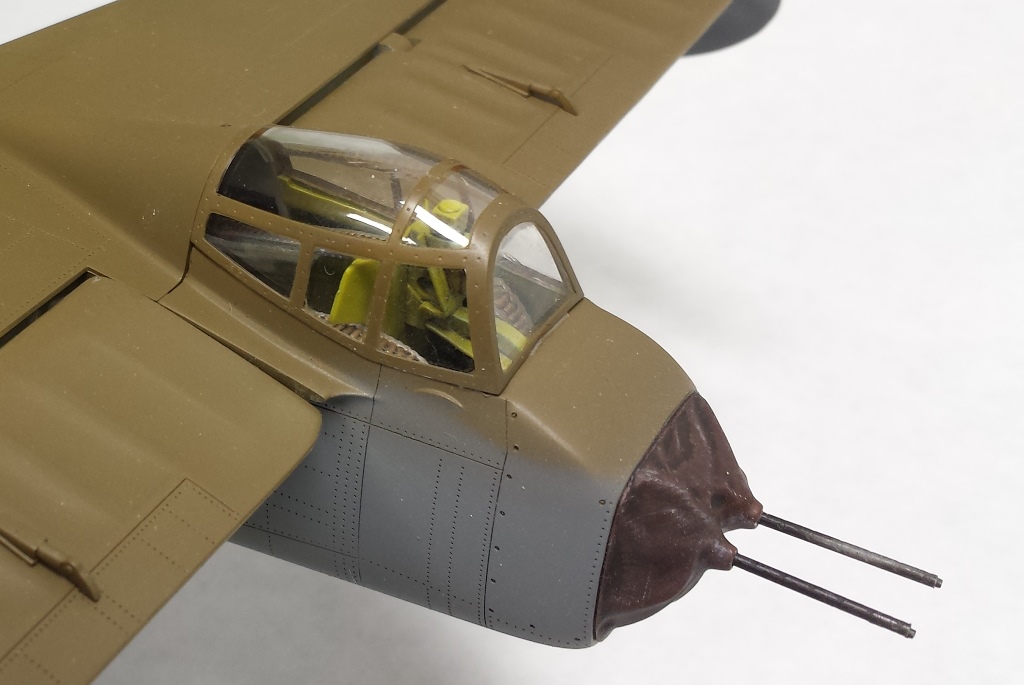
The cockpit assembly follows. The center console includes separate controls, but there are no color callouts for the knobs (other than silver). The cockpit floor and pilot’s seat go in next. Photo-etch seat belts are included, but they are too thick and lack surface detail. I could not get them to look good. Some good aftermarket belts would help here. The pilot seat is a delicate assembly, so extra care is required attaching it to the cockpit floor.
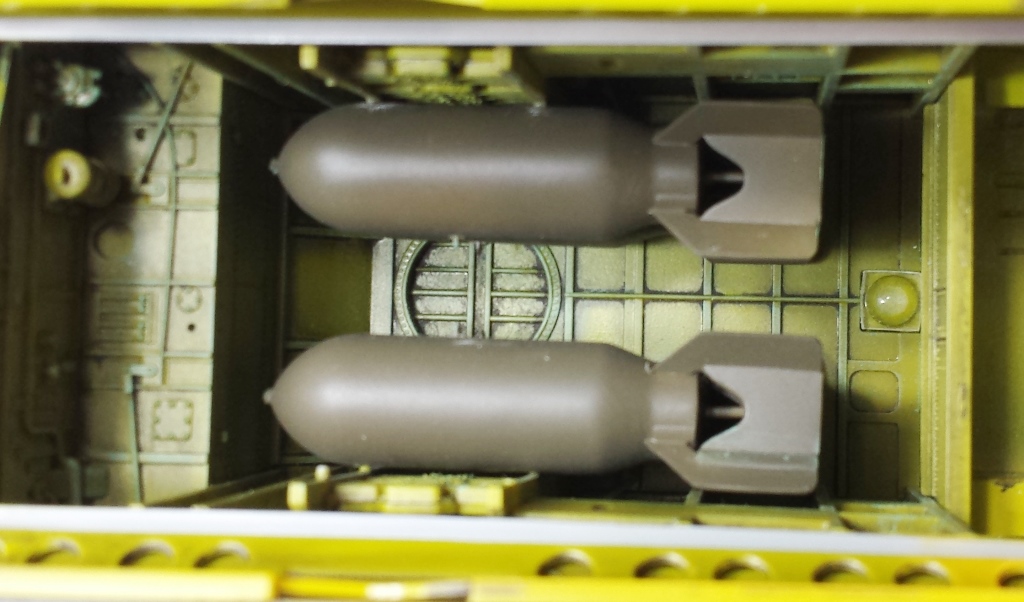
Next up is the bomb compartment. This is best detailed section of the whole kit. The walls of the compartment go together very solidly, and after a wash, the details stand out nicely. Six bombs are included. Each bomb is comprised of five parts. The rear propellers are overly thick (aftermarket PE needed) and there are no stencils included for the bombs.
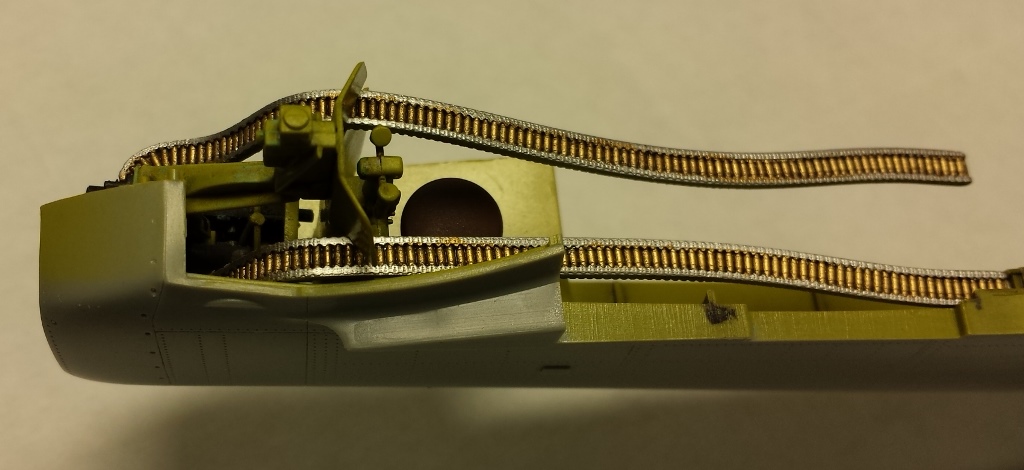
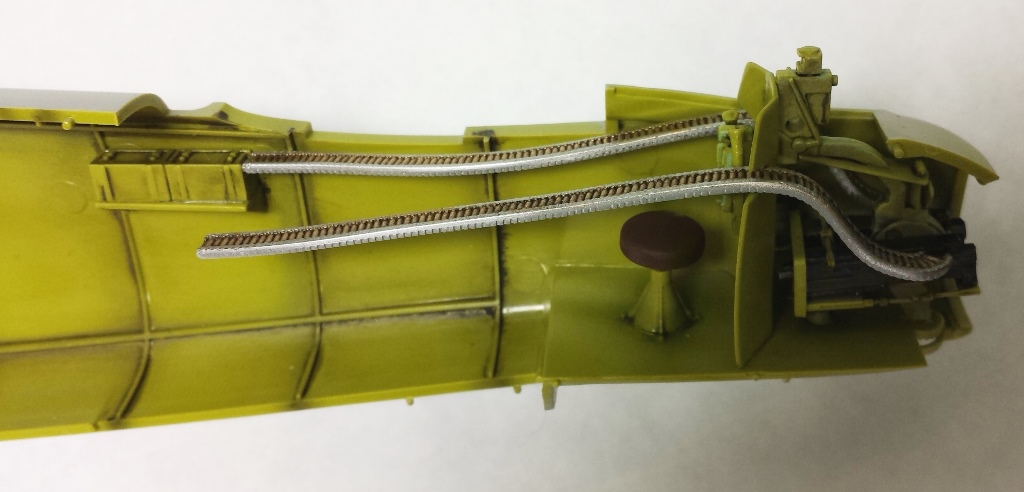
Fuselage prep is next. Ammo boxes for the tail gunner and top turret (there are none for the waist gunners?), cockpit panels, and the side gun blisters go on here. Instructions say to add the waist guns here as well, but I left them off until later to avoid damage. Prior to closing the fuselage, the instrument panel is prepared. Here I came across the first real issue with the kit. The panel is comprised of the front section, with open holes for the instruments, a decal with the printed instruments, and a flat rear section. However, the decal is not right for the panel, so there is no way to show the instruments properly. Also at this stage, instructions indicate to install the nose wheel strut, although the parts are not actually shown until several sections later. The problem here is that installing the front gear at this stage will most certainly result in damage to it later, but there is no way to install it later without cutting it apart.
Once the fuselage is glued together, the twin tail assembly is added. I added the horizontal stabilizer at this point, but left off the twin vertical stabilizers and control surfaces until later. I spent quite a bit of time cleaning up the fuselage seams, then re-scribing and re-riveting the details lost along the top and bottom.
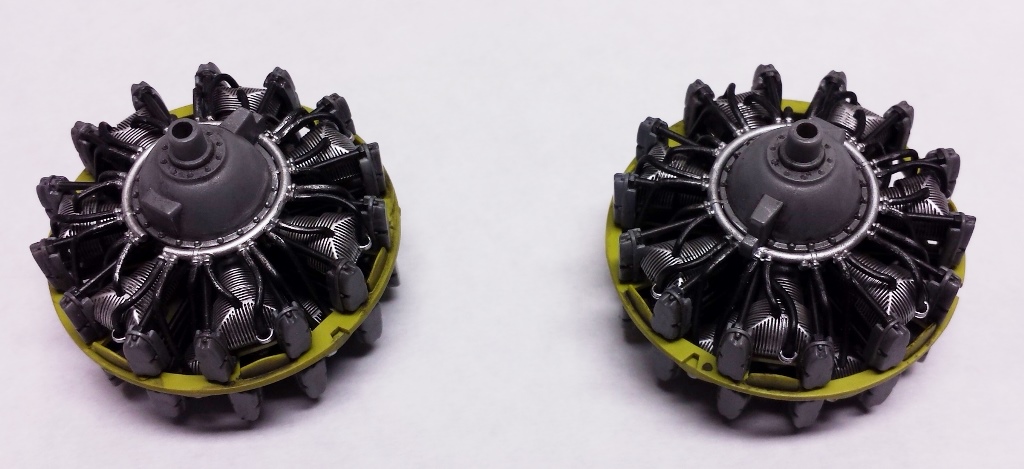
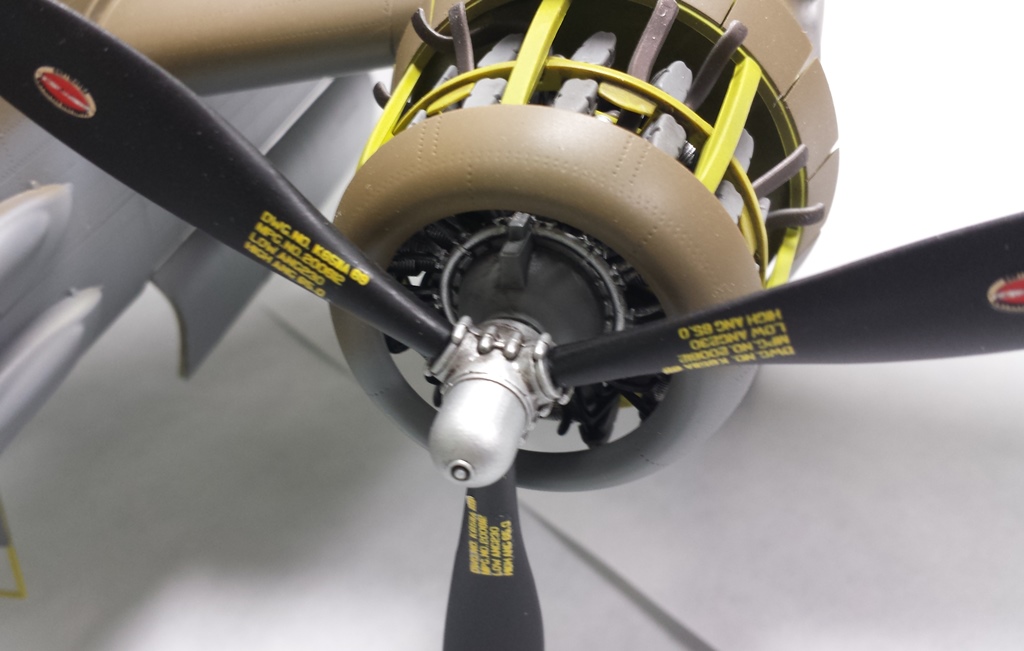
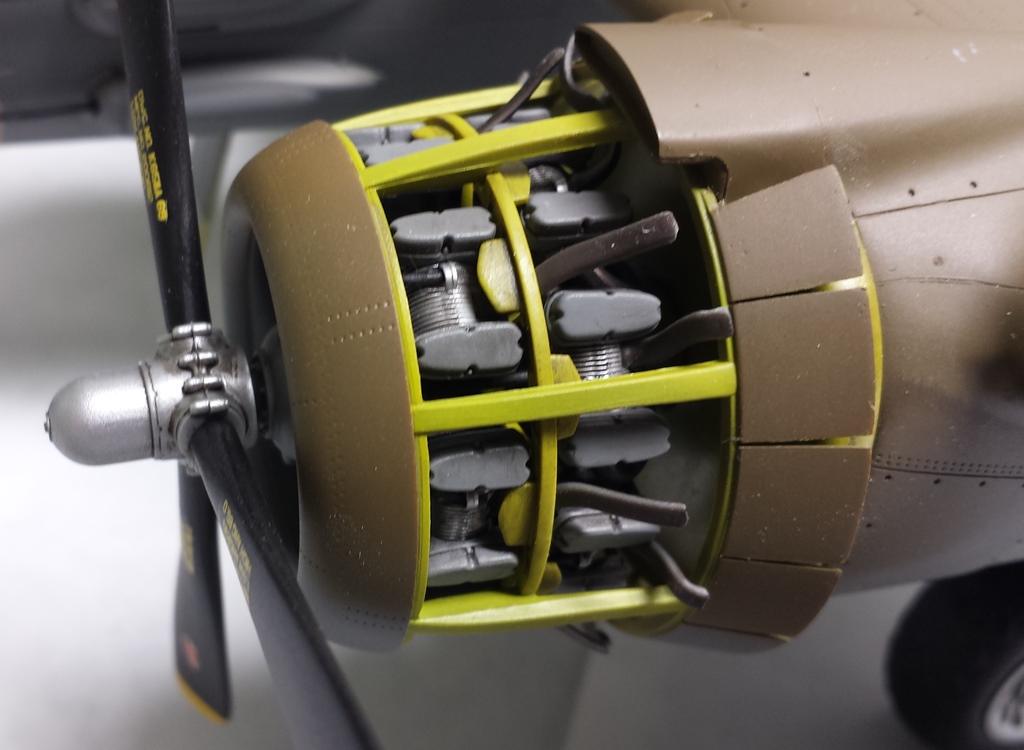
The engines are kits by themselves, but are a mix of very nice detail, strange lack of detail, and simply incorrect detail. Each engine is made of ninety-two parts. Included are molded spark plug wires that look great from the front, but don’t extend to the back of the cylinders. Also included are two entirely extra sets of push rods attached to rings. They are needed to keep the cylinder spacing correct. The rocker arm covers are separate, but are designed to cover the pushrods (including the extra spurious set) instead of attaching to the cylinder. The engine cowlings are designed to show the engines in their full glory, but there are no details included for the back half of the engines. That said, what is included looks nice from the front and goes together well.
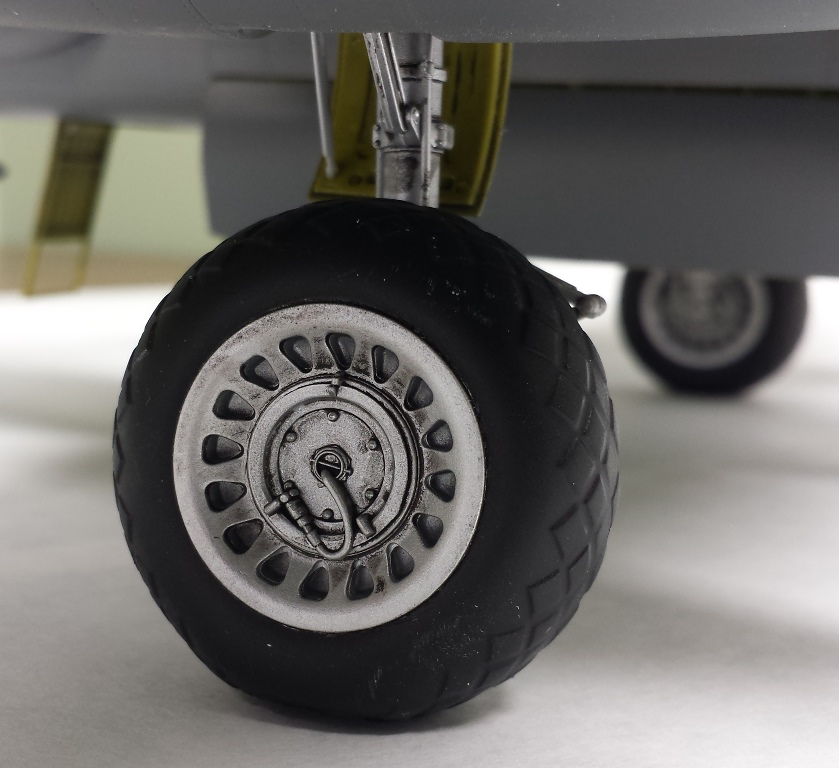
The wings go together next. Again a lot of cleanup and re-scribing was needed, especially where the nacelles join the wings. At this point the main gear legs need to go on before attaching the engine nacelles. Similar to the nose-wheel gear, there is no way to install them later without cutting them apart, but installing them at this point is sure to lead to damage. There is no wheel-well detail for either the main or nose gears. This is really odd considering the great detail in the bomb bay. All of the control surfaces are positionable, but there are no real attachment points for the outboard flaps and ailerons; I ended up just gluing then in along the inside edges. The wings literally snap into place with a very solid fit. Trimming the locking tabs would allow the wings to be removed, which would be really nice for transporting a model this large.
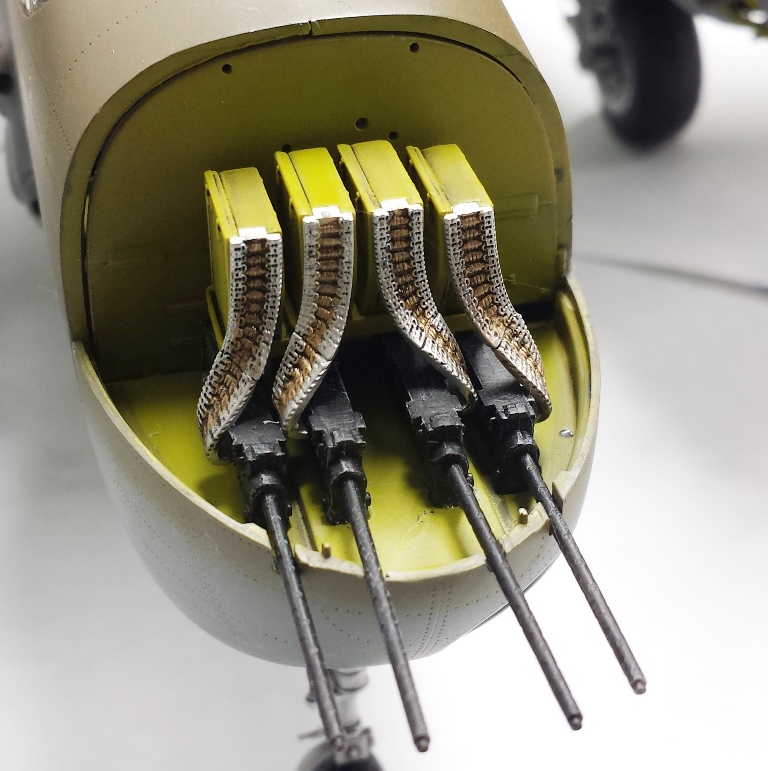
The last major assembly is the nose gun bay. This includes four machine guns, their ammo boxes and the barrel of the 75mm gun. Instructions call for four of the same size guns (part #P2), but only three are included in the kit. Final assembly includes adding the wheels, the remainder of the guns, antennae, etc. This is where I noticed that the instructions never show the installation of the gun barrels for the top turret, tail gun, and waist positions. Since I already had to cobble together four barrels of similar (but not equal!) length for the nose, I sorted through the remaining parts to use what I thought looked best. Speaking of guns, the blisters on the side of the fuselage use the same four barrels, which have flash suppressors (I think) on the tips. But again, only three were included. At this point, I added as much weight as I could into the nose of the model, but it still sat on its tail. If I were to add the nose gun cover, I could add enough weight to possibly overcome this. As it was I used two-sided tape to hold the nose down. The instructions give no directions as to the amount of weight needed.
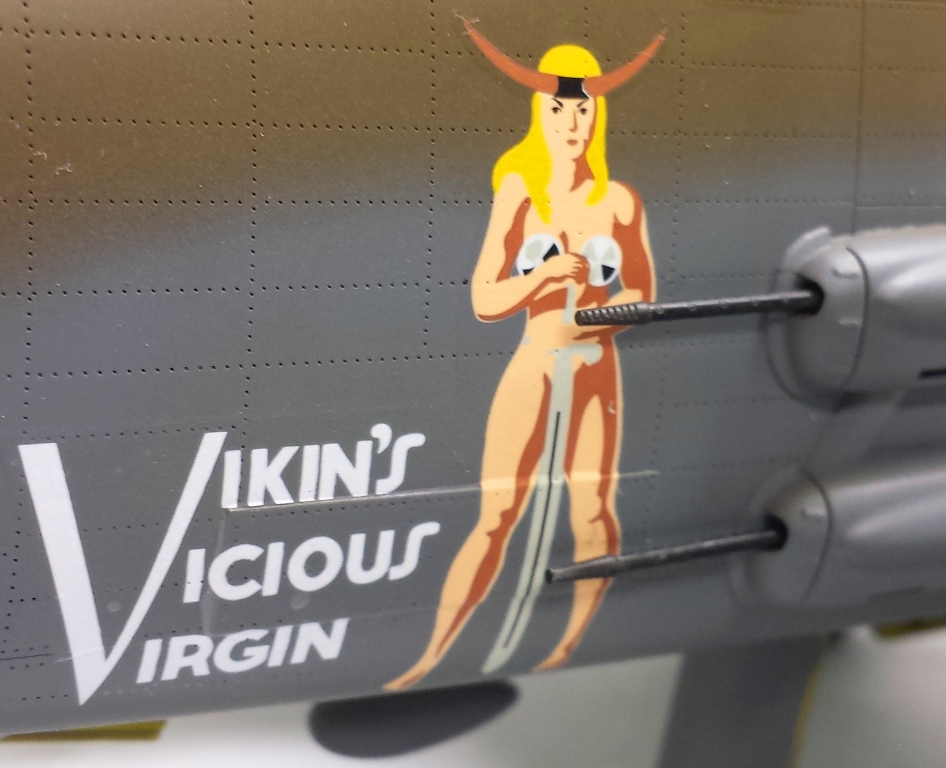
After several coats of Future, it was time for the decals. The shark-mouth on the nose simply broke apart in the water. The other decals went on fine, but even with Solvaset I was unable to get them to conform to all of the rivet details underneath. There are no stencils included with the kit. This combined with the thickness of the decals I was able to put on, suggest that aftermarket decals should be considered.
In the end, despite its problems, this turns out to be a nice kit. Everything goes together well, and a 1/32 B-25 is impressively large. Because of its issues and sheer size, it’s not a kit for beginning modelers. Scratch building and/or aftermarket items will be needed to overcome inconsistent details, and missing gun barrels. Scribers and riveting tools are a must if you want to keep the nice panel lines and rivets.
Pros: It’s 1/32 B-25 Strafer! Nice detail on the front of the engines, bomb bay, landing gear, forward gun bay, top turret and tail gunner’s stations. Crystal clear glass. Goes together well, and all control surfaces are positionable.
Cons: Not enough gun barrels to follow the instructions; mistakes in the instructions, design of the landing gear, thick and poorly made decals, no stencils, wrong decal for instrument panel, virtually unusable PE seatbelt, inconsistent/missing/wrong detail on engines, no detail on wheel wells, lacks many color callouts, rivets along top and bottom of fuselage are shallow and elongated.
I’d like to thank HK Models and IPMS/USA for the opportunity to review this exciting kit.


Comments
Add new comment
This site is protected by reCAPTCHA and the Google Privacy Policy and Terms of Service apply.
Similar Reviews