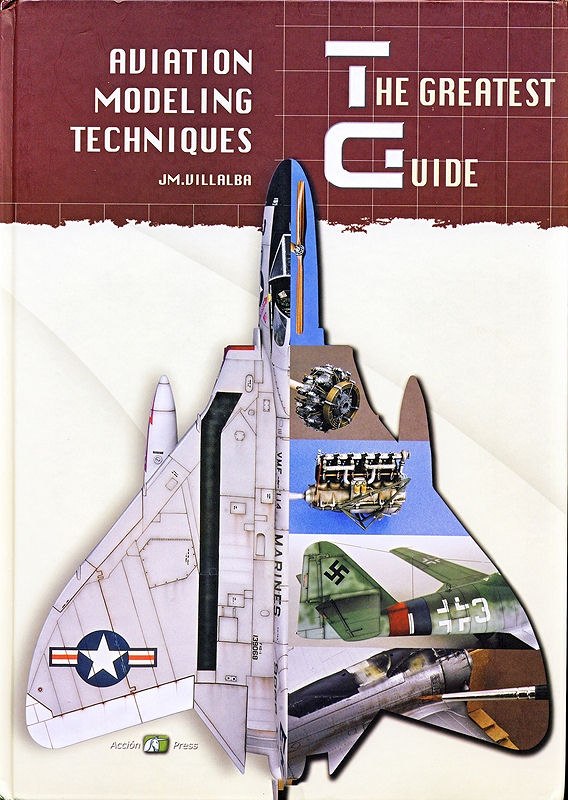
Aviation Modeling Techniques, The Greatest Guide
Review author’s note: I had difficulty finding this book on any US web site. It may be too new or only available in Europe. The MSRP is an approximation calculated from the MSRP in Euros with a W.A.G. factor added.
This book is the English translation of the original Spanish version. It is well translated but I did find several odd things which were easy enough to figure out. The publication consists of 8 chapters and a gallery of photos from people who are obviously master modelers to illustrate what can be accomplished with patience, skill, and technique.
Chapters
- Tools
- Me. 262 A1A – Assembly and painting of a kit as it comes out of the box
- Fokker D.VII – Assembly, detailing and painting of a biplane with a lozenge finish
- Nieuport Ni11 – Assembly, painting wood effects and transparent surfaces
- YAK 3 – Painting a wavy camouflage scheme
- F4D-1 SKYRAY – Detailing, assembly and painting of a jet airplane
- MH 6 – Assembly, painting and detailing a helicopter with parts made from scratch
- Ki 43-I – Corrugated effect on a plane’s surface
- Gallery
By their titles, you can make an obvious conclusion of the subject material covered in each chapter.
Chapter 1, “Tools,” consists of photos and a brief descriptive label for each describing the photo’s contents and use.
- With only two exceptions, none of the items is particularly expensive and illustrates an entry-level-suggested basic inventory. Illustrations 10 and 11 are for an airbrush and a punch set, respectively. These can be fairly expensive for a beginner and not necessarily required, as we all know. Photo 6 shows a 6” scale and a caliper gauge. In my opinion, a divider would be handier than the caliper, especially if you model WWI aircraft or anything else that has rigging.
- Moving on to the individually titled chapters, the reader will find the same basic format in each. The chapter will begin with a photo of a completed model and description. The following pages will be step-by-step illustrations showing the construction techniques in the chapter’s title. Also repeated are techniques from preceding chapters to reinforce and build upon what you learned before. The chapter also will also contain a descriptive narrative to accompany the photo series.
Chapter 2, “Me. 262 A1A,” Illustrates basic assembly techniques out of the box, as stated.
- I found myself enlightened several times by the information contained. For example, the “stand-off” technique for airbrushing camouflage is described in detail. This is a technique of cutting a camouflage pattern and attaching thin stand-off “blocks” on the underside to raise the pattern from the surface. By over-spraying this pattern you get a very fine feathering of the paint blend line and overspray is minimized.
Chapters 3 and 4 cover WWI type biplane assembly techniques.
- WWI buffs will find interesting ways to create transparency effects on linen fabric and using paints to get wood grain effects on appropriate aircraft skins and propellers.
- These are simple methods, but I learned something here, too, including how to get the darker color on wing surfaces where the fabric is tensioned over the individual ribs.
Chapter 5 will show the “stand-off” technique for getting a wavy line. It’s an interesting technique which simplifies and reduces airbrush overspray when blending the transitions between colors in a camouflage scheme.
- This is very interesting, indeed, because it uses templates and “stand-offs” or simple small blocks between the model surface and the template to achieve this effect. I saw this technique in another European publication used to good effect.
Chapter 6 describes detailing, assembly and painting of a jet airplane. Now things are starting to come together. Adding details such as seat belt buckles and hoses and pipes are covered in depth. Use of painting effects such as pre-shading and post shading to bring out panel lines and rivet details are described. Also included is decaling methodology in a side block.
Chapter 7 is most interesting with scratch building parts, using a helicopter model as an example. Topics include cockpit detailing, scratch building instruments, detailing rotor heads, extra scratch details such as hinges, and dealing with large transparency areas to keep them clear and authentic in appearance and thickness.
Chapter 8 was, again, of particular interest. The Ki 43-I chapter shows how a “corrugated” effect can be achieved in the aluminum skin of an aircraft. The effect may be more appropriately called “adding stressing to aircraft skin”. This is the wrinkling effect from pre-stressing as the skin is riveted, to stressing from the rigors of combat action. This is something I never considered when building aircraft such as the B-52 “BUFF” and C-130 which show high degrees of skin stress due to age and heavy use.
There are many books on model building. This book can be added to the top end of the list. It is detailed, heavily illustrated, and leaves nothing out. Any technique or method in any chapter can be applied to any era of modeling you prefer, from WWI to Modern. Assembly, detailing, painting, post- and pre-shading, decaling, best handling of transparency parts – you name it, you will find it in this book. Topping this off is a gallery of photos from European (Spanish) modelers which caused me a great deal of envious heartburn.
Whether or not this book makes you a great modeler is up to you and your talents, but you will definitely learn from it no matter what your skill level.
Thank-you to EuroMODELISMO Accion Press S.A. and IPMS/USA for this copy to review.


Comments
Add new comment
This site is protected by reCAPTCHA and the Google Privacy Policy and Terms of Service apply.
Similar Reviews