
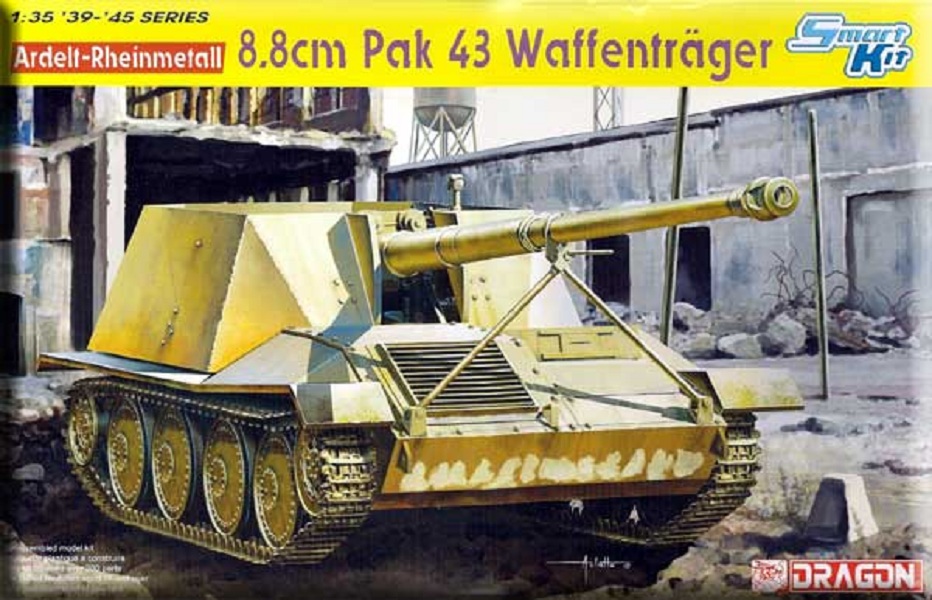
Ardelt-Rheinmetall 8.8cm Pak 43 Waffentrager
This prototype vehicle is the Ardelt-Rheinmetall 8.8cm PaK 43 Waffenträger (weapons carrier). The idea behind this weapon system was a self-propelled mount for the powerful but heavy 8.8cm (88mm) antitank gun, as towed versions of this gun were too cumbersome for crews to move readily. The idea was that the gun could be dismounted if need be. Ardelt and Rheinmetall might have combined to build the first prototype and tests were conducted on this in April, 1945. It utilized a 38(t) or a Hetzer chassis with four road wheels per side. Sources differ on if these two companies worked together and on what chassis they used. But Dragon has created a one-of-a-kind self-propelled gun of an interesting idea.
This kit box is full of 14 sprues from four different kits. We get four new Waffentrager sprues, a photo-etched sheet, and a hull. It also includes sprue from Dragon’s Hetzer 38 (t), Jadgpanzer, and Nashorn kits. Because of this, there are six sprues that contribute only about ten parts while the other fifty go into the spares box. Some of the extras are four sets of suspensions, two sets of road wheels, two 88mm guns and mounts, and a complete 38 (t) engine.
Being a smart kit, we get a small PE sheet, a nice slide-molded gun tube, and fighting compartment, but only 3 Cartograf Balkan cross decals.
Construction of the prototype is really quite simple and straightforward. There are only 10 steps, which for a Dragon smart kit is not a lot. Construction begins with the running gear. Here we use the Hetzer's sprue road wheels, but we get newly tooled springs.
As is typical with Dragon kits, we have some creative interpreting that needs to be done with the instruction. Part C2 is not shown for the back on the rear idlers. Part RB3 should be attached to RB1. The rear of the radio, D5, is really part D67. D58, the steering handles, are really C14. C21, the rear driver’s wall, is not marked at all. C6 are the front springs and C7 are the rear.
The driver’s compartment is next and offers some details like a seat, transmission, and radio set. There is not a top to the driver’s area, but two optional photo-etched hatch-like doors are included. There are to be mounted open, since there is not way to mount them closed because there is no back to the driver opening. I chose to leave them off since it gave the front of the kit a lop-sided look. The photo-etched radio cage’s mounts broke off after bending them. I had to modify this and just glue it to the side wall. Luckily, the back half of the radio is hidden by the top of the hull. Also, this mount will get in the way of the front glacis plate if it is mounted too high. Your best bet is to glue the radio in after assembling the complete hull.
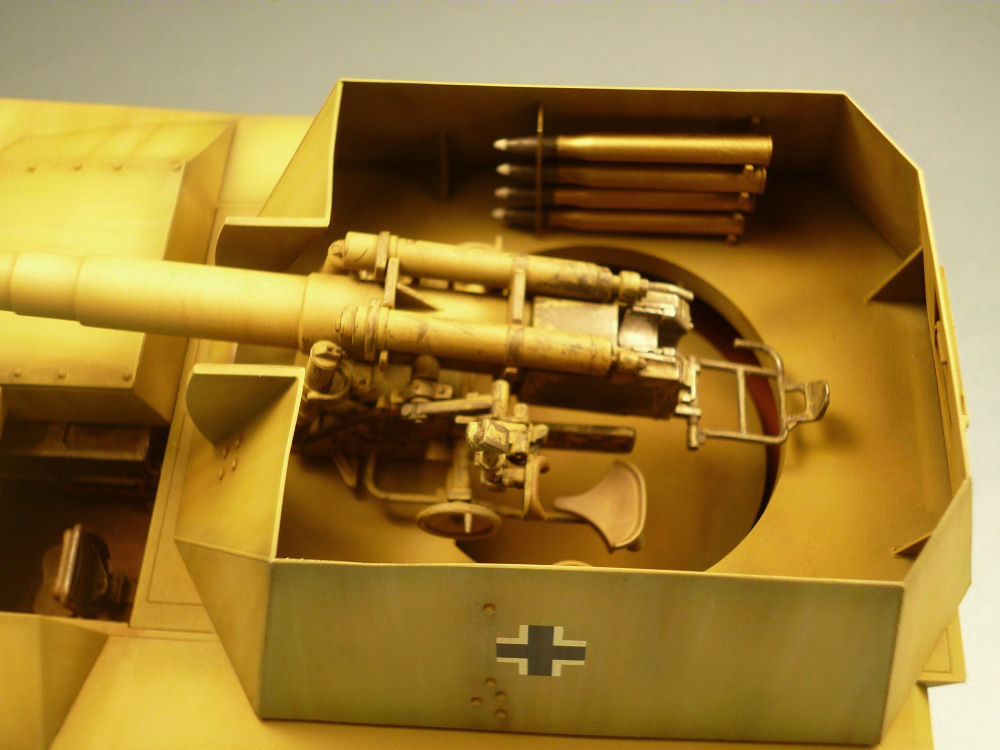
Next, we get to build the newly tooled 8.8cm gun. The barrel is in three parts, with a nice seam on the two rear parts, but the main barrel and flash suppressor are molded very neatly. Watch out again for wanky instructions here. All the gun mount assembly comes from the D sprue marks Hornesse, not the D sprue marks 38 (t) as the sheet says. Part P37, the breach block rear, is totally left off the instructions. P22, the breach handle, does not mount like the instructions show; it goes into the tab on P21. Also, the gun sight needs to be attached to the small pin on the end of the barrel mount, not on the mounting plate. The shocks on the mount are not part D2, they are C23. You can install a photo-etched gun shield and use part B26 as a bending template, but there’s no way to mount this except to slide it over and try to glue it to the barrel. This is optional, as are the driver hatches.
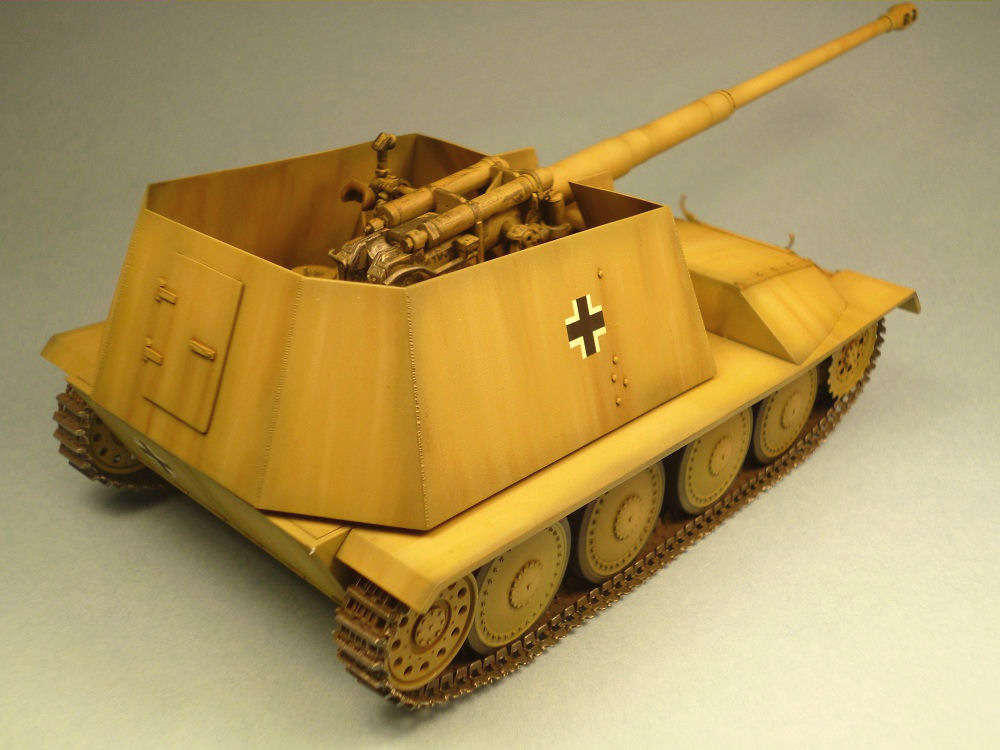
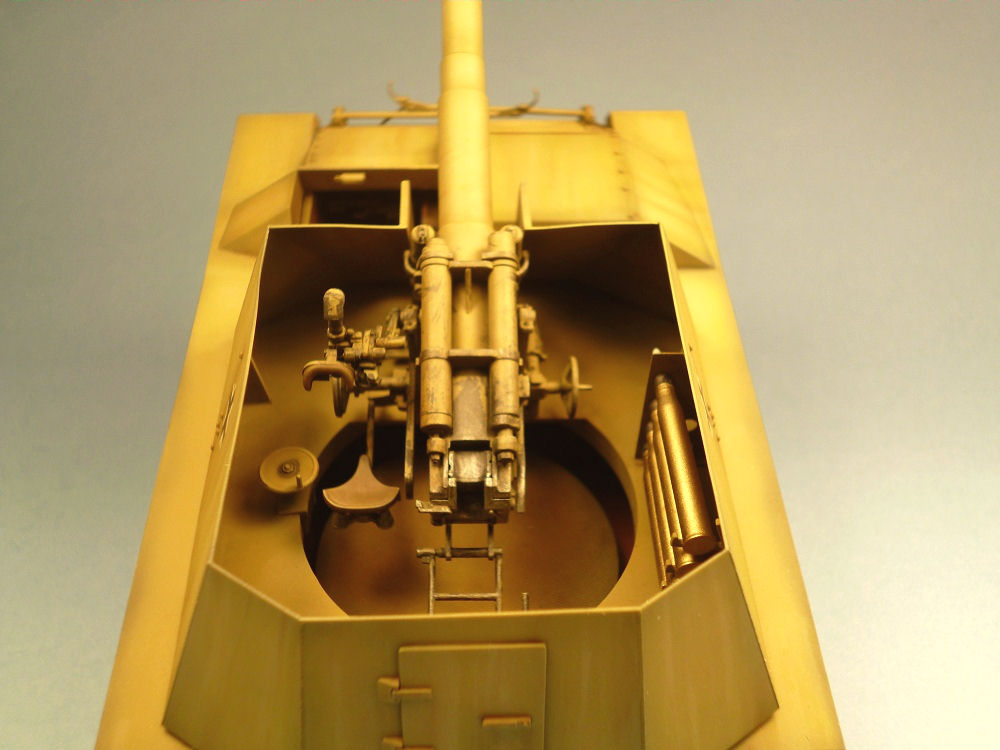
The fight compartment is pretty straightforward with not a lot of interior detail. All the turret parts are marked as coming from the B sprue, but they actually come from the F. The sprue attachments points are on the top, so extra care is needed to clean these up as the compartments sides are super thin. This causes a sink mark and some bending on the top of the turret walls. Putty helps the marks, but I could not get the bends out. We get five 8.8cm rounds to put in the ammo rack on one side of this compartment.
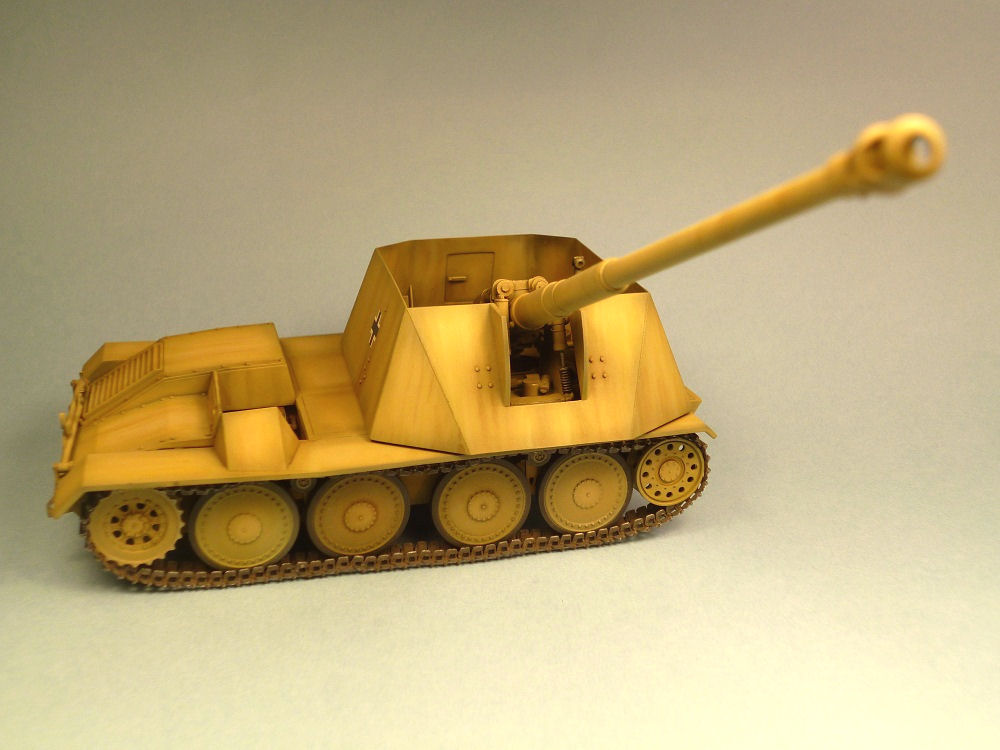
The tracks are on four sprues and each link will take some cleaning up. There are two attachment points, some flash, and a recessed pin mark on the inside of each track link. I found cleaning the sink hole was not too bad if the links were kept on the sprue. About an hour of fun later, the tracks were ready to go. The instructions do not tell how many links to use. We are supplied with 124 per side, but I found that 99 give a lot of sag. A set of magic tracks would be a great addition to this smart kit.
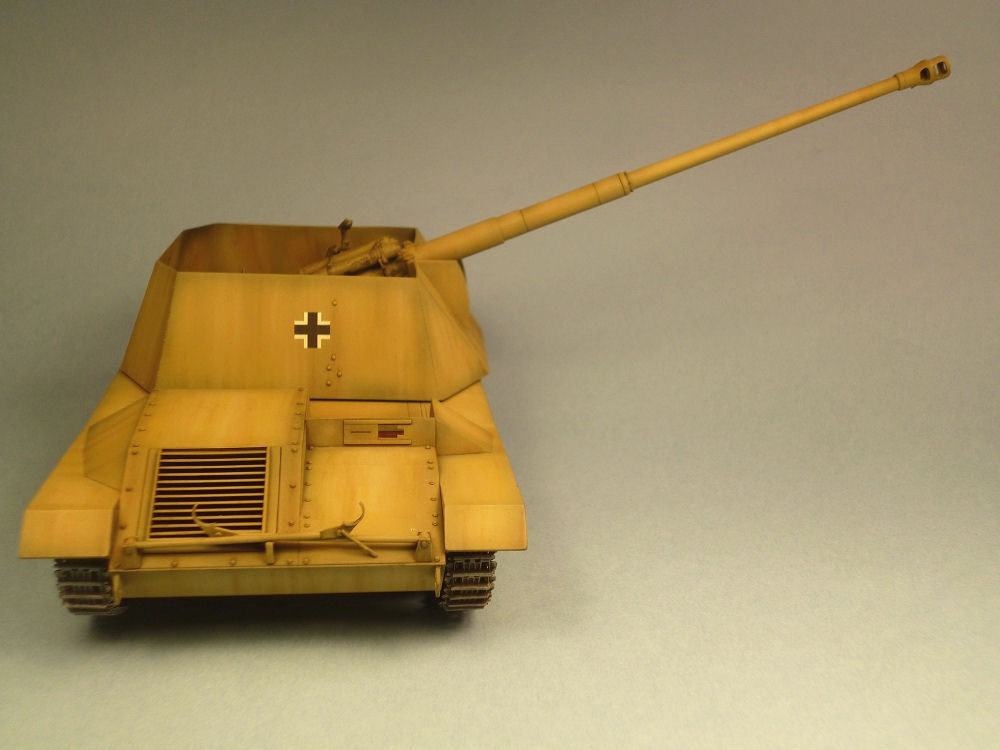
The only paint scheme shown is dark yellow with some white slopped on the front glacis plates. The decals are very thin and applied beautifully with just a touch of setting solution.
For a one-of-a-kind prototype of an interesting self-propelled gun, Dragon has done a nicely detailed job with this kit. We get lots of extra parts and a model that is sure to catch people’s eye. The instructions are typical Dragon with a lot of reading between the lines needed and searching each sprue to make sure you get the correct part. This was a quick build and has a lot of room for adding detail.
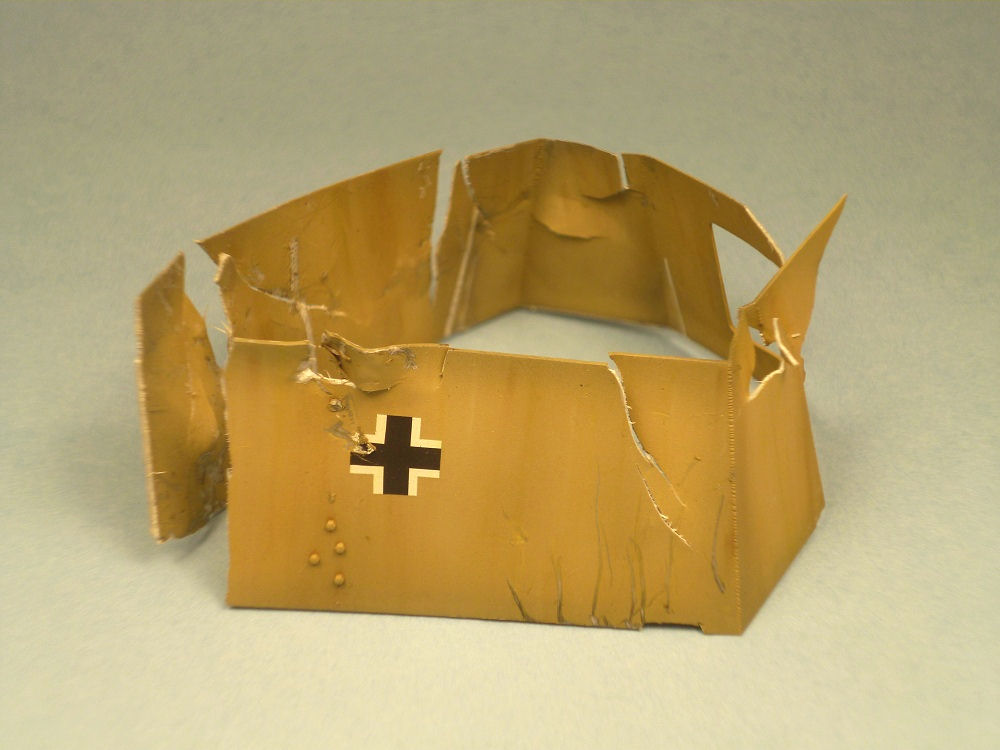
I would like to thank Dragon Care for quick replacement of the turret assembly after my pet Beagle decided to make dinner out of it. I contacted them by email and they shipped me a complete turret replacement in 4 days. Great customer service.
I also want to thank Dragon Models USA for the kit and IPMS for the opportunity to build and review it.
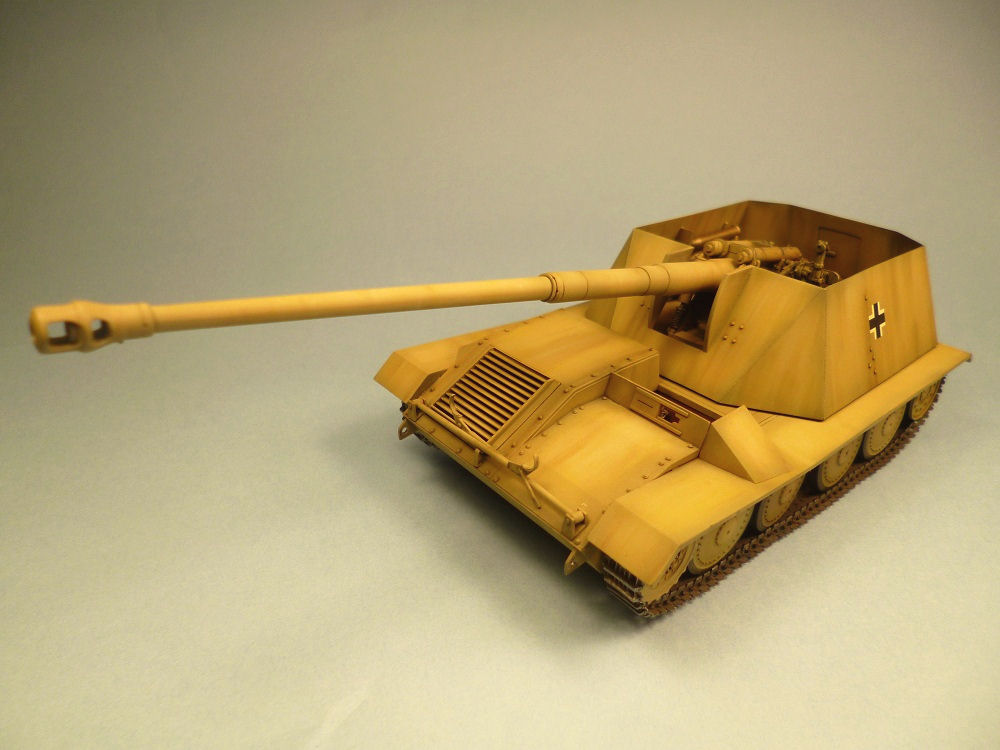
Completed kit 1
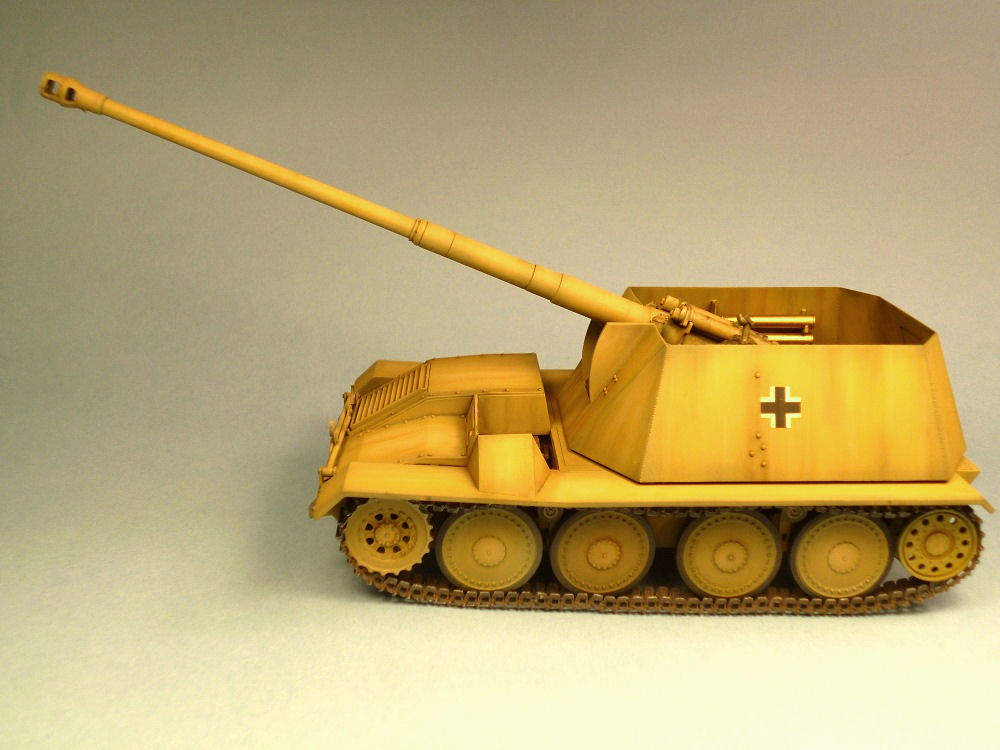
Completed kit 2
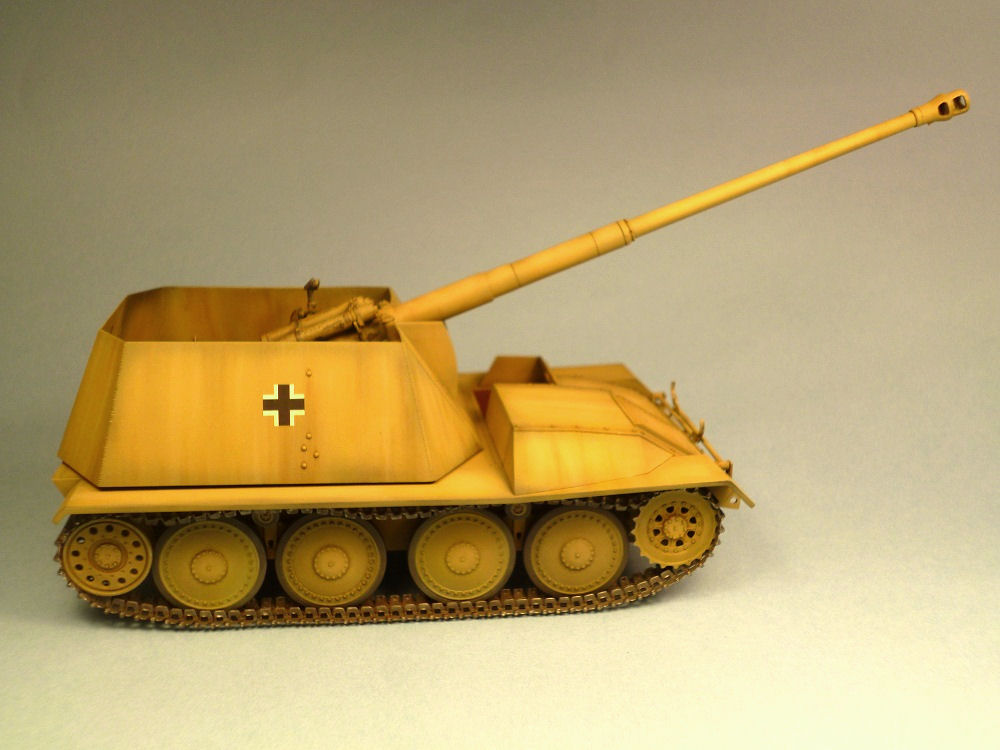
Completed kit 3
Completed kit 4

Completed kit 5
Completed kit 6
Completed kit 7
Completed kit 8
Completed kit 9

Completed kit 10

"The dog ate my IPMS homework!" - battle damage 1
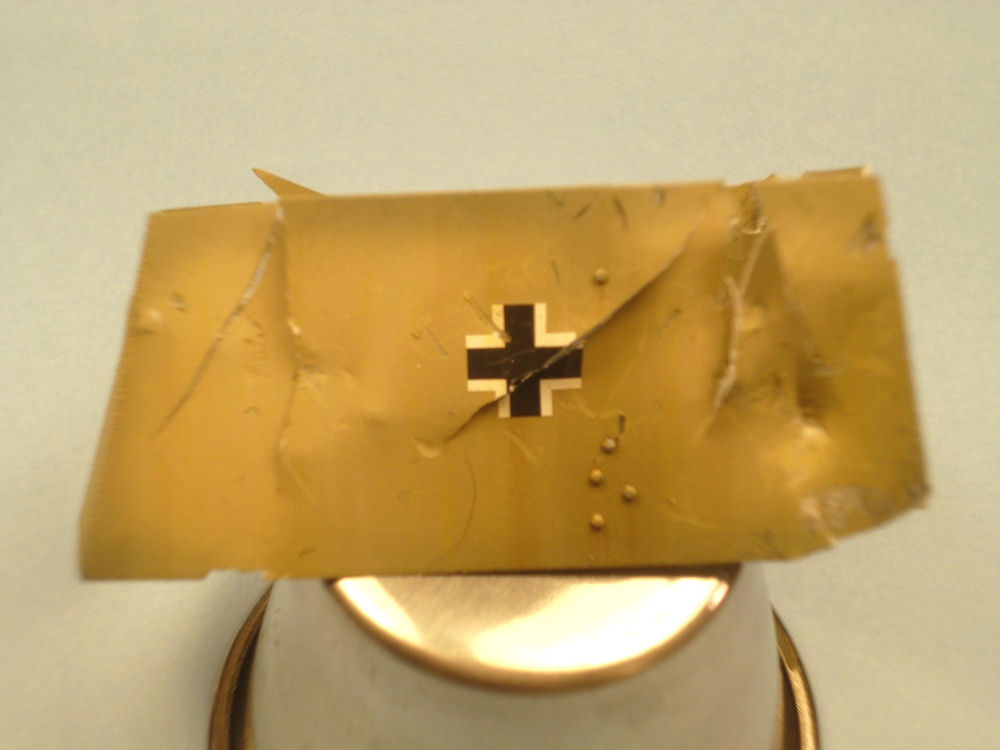
"The dog ate my IPMS homework!" - battle damage 2
Comments
Add new comment
This site is protected by reCAPTCHA and the Google Privacy Policy and Terms of Service apply.
Similar Reviews