
Arado Ar-196A-3 Photo etch Sets and Decals
Since all the sets and decals mentioned below go to one aircraft model, I decided to combine all the reviews into one. Hopefully making it easier to follow. I will not review the Revell Ar 196A-3, but this has to be one of the nicest models I have ever built. The fit was very good with minimal putty required for the ever present (all model airplanes have it) nasty fuselage seam. Detail throughout is very nice but by adding the Eduard Photo Etch Sets greatly enhances an already outstanding model.
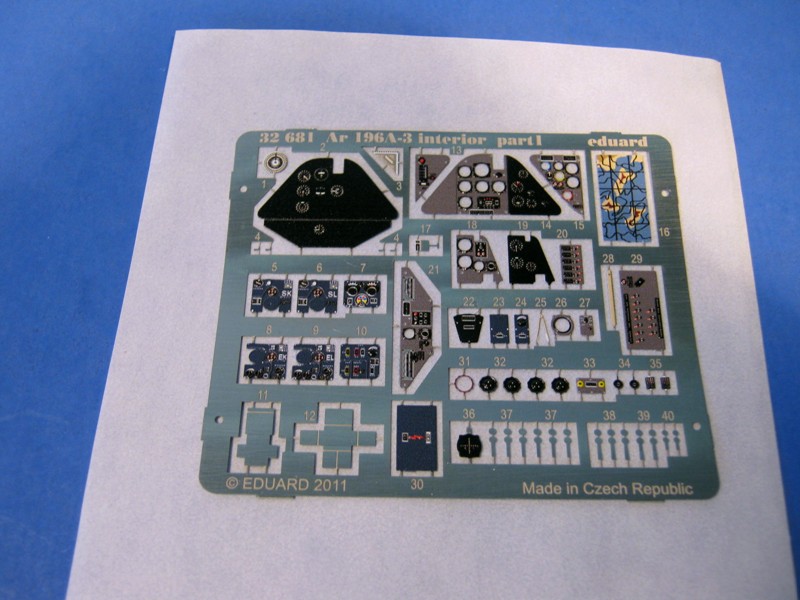
- Ar 196A-3 Interior S.A., 32-681, $32.95
- Ar 196A-3 Exterior, 32-267, $22.95
- Ar 196A-3 Seat Belts, 32-691, $19.95
- Ar 196A-3 Interior S.A. Mini, 33-076, $22.95
- Ar 196A-3 Canopy Mask, JX119, $12.95
- German Insignias, Part 1, Swastikas, 32-A030, $10
Interior
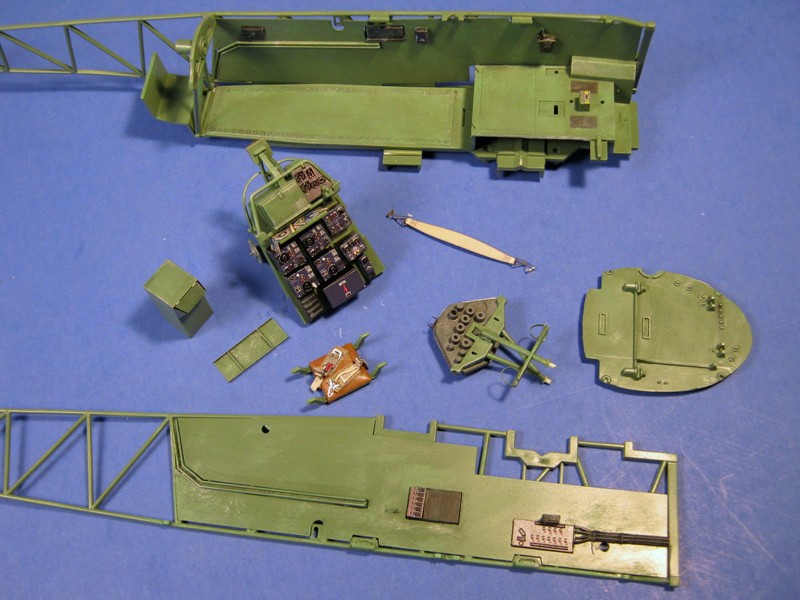
I'll start with the interior sets. Set 32-691 is included in set 32-681. So you will not have to purchase both. Both are Self Adhesive. Included is a new instrument and radio panel. Also, side wall and canopy details. Gunner position details which have new boxes, ammunition container handles, and a barrel for the MG.
I tried to compare existing parts with photo etch enhanced parts. The existing parts are adequate but as you can see the end result using photo etch is real nice. The self-adhesives parts are a dream to work with. I used a #11 blade, cutting on a sheet of glass, to remove the small parts from their tree/fret/carrier whatever you may call it. The adhesives on the parts stops them from flying away as you cut them.
You will have to scrap the instrument panel and some of the radio panel flat to attach the photo etch parts. I painted everything before attaching any parts. The main panel is made up of two separate parts with several extra sheet added on top of these. After everything lines up it does make a very convincing and highly detailed instrument panel. Eduard even gives you a nice map and some navigation tools (divider, ruler, a so forth).
Eduard gives you a port and starboard side for the cockpit. These are flat panels that go on the interior bracing of the kit. I looked for reference photos but could not find any so I did as instructed. I do like the look and they were easy to install.
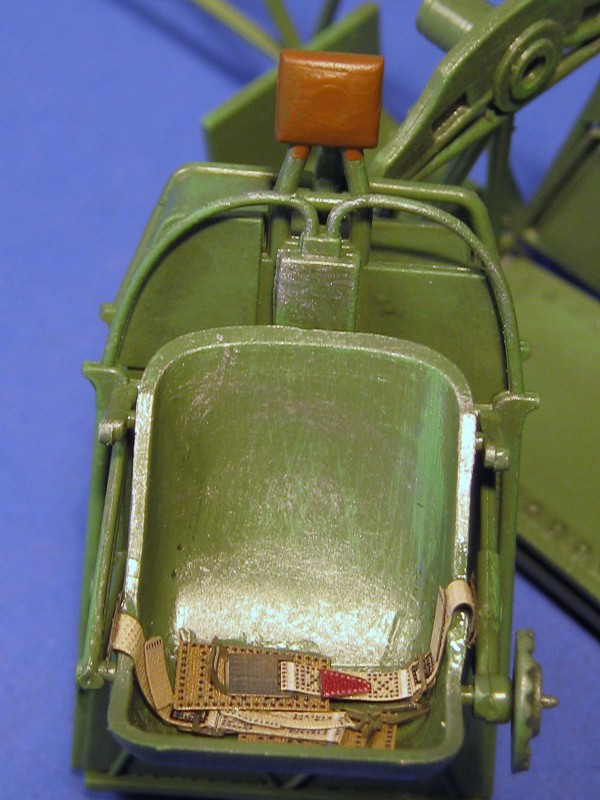
I purchased the seat belt set on my own and by looking at the photos you will know why. The model kit seat belt parts were terrible, molded directly to the seats, and since you adding nice detail to the cockpit you better do the seat belts too.
Exterior
Moving to the exterior set. You get lift rings; tie downs and handles for the pontoons. Steps and step covers for the fuselage; brackets and cooling baffles for the engine and nose piece, and control arms for the elevator, rudder and ailerons. Also included are access panel interior details, which include baffles, handles and edge rivet details. You also get detail parts for the rudders on the pontoons. I just wish they would have included a diagram on how to rig the rudder parts. Not a bad set but a LOT of tiny parts and no extras if you lose one. Some were quite the pain in the tuckass to apply and stay put.
Canopy
I purchased the canopy mask and I'm glad I did. There is a lot of glass in this model. Eleven parts make up the assembly. I first dipped everything in Future and set aside to dry for a few days. I wish Eduard would include interior and exterior masks, being in this large of scale, I think the framing has to be painted on the inside and outside. By being frugal and cheap, I used them twice. Since they are interchangeable you can use them for both interior and exterior. The right side exterior will fit the inside interior and so on. I painted the inside first then switched the masks to the exterior to paint that. The tape is good and I had no problems using it twice.
Decals
Since this is a Revell from Germany kit, no Swastikas are included. I am not a German Aircraft WWII builder so I had no spare decals to use. CAM Decals has a very nice generic set that includes five different sizes in three different schemes each. So now I have plenty of decals. Thanks Ray.
Eduard has done a nice job in providing additional details to an already detailed kit. If you plan on building the Ar 196 I would highly suggest adding the photoetch sets to your shopping list. At the bare minimum include the interior set (#33-076) and seat belt set.
I would highly recommend these sets, but only to modelers that have some experience in dealing with SMALL photo etch parts and ACC glues.
Thank you IPMS USA for giving me the pleasure and opportunity to build and review these photoetch sets. Also a very strong thank you goes to Eduard for providing the samples to IPMS USA for our review. Another big thank you to Ray from CAM Decals for providing the decals I required.

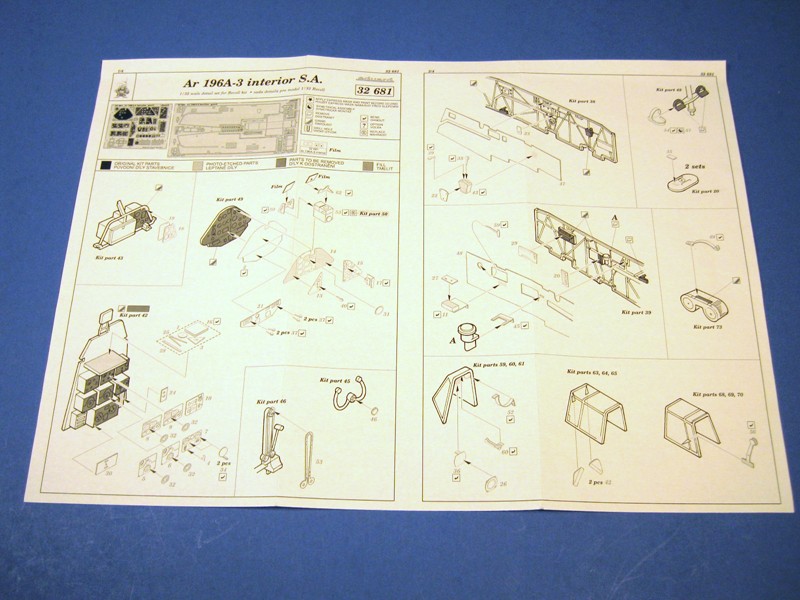
Interior instructions, front page
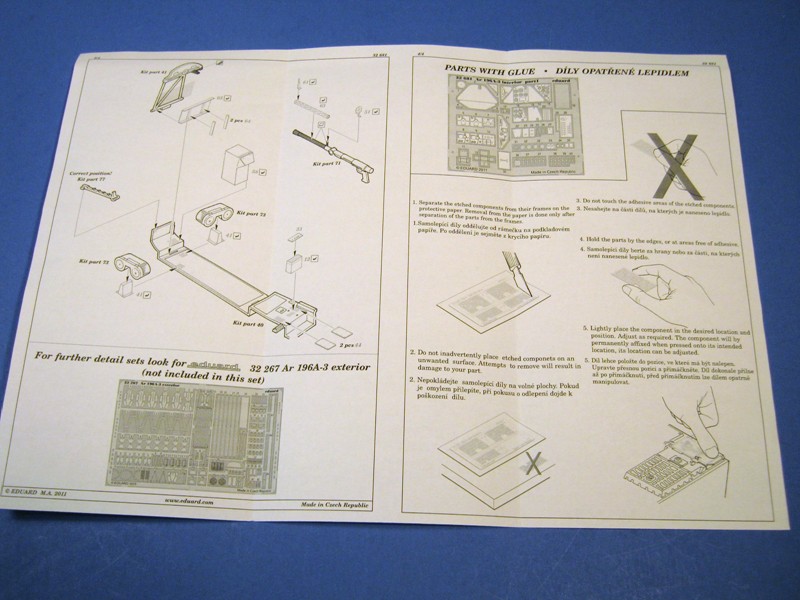
Interior instructions, back page

Ar 196A-3 Interior S.A., 32-681
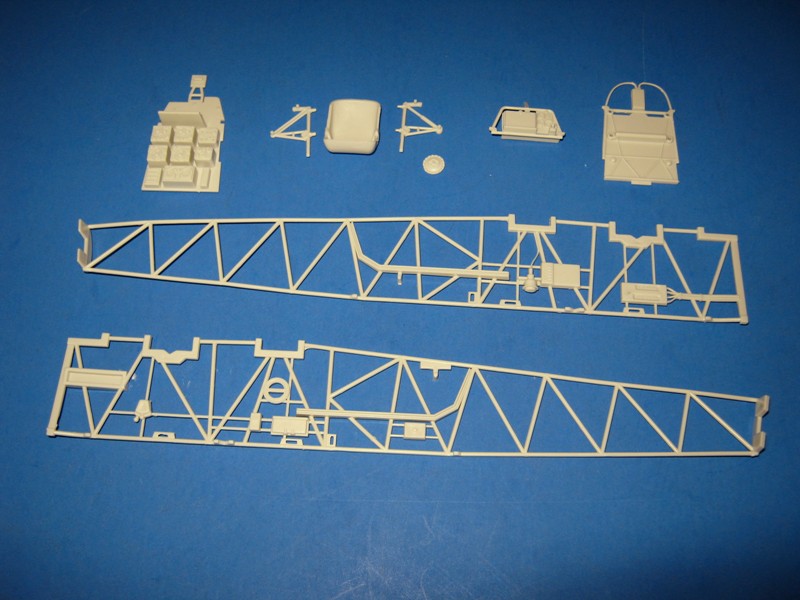
Kit interior parts
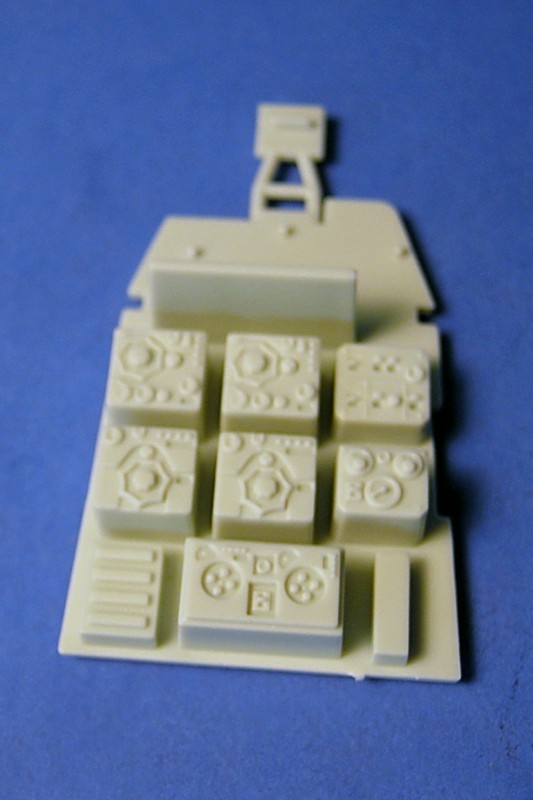
Kit radio gear
Painted interior
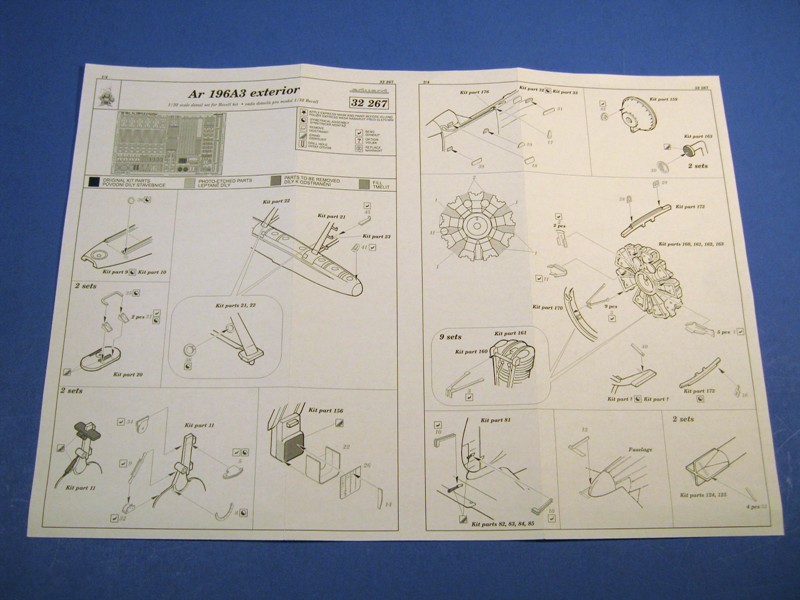
Exterior instructions front page
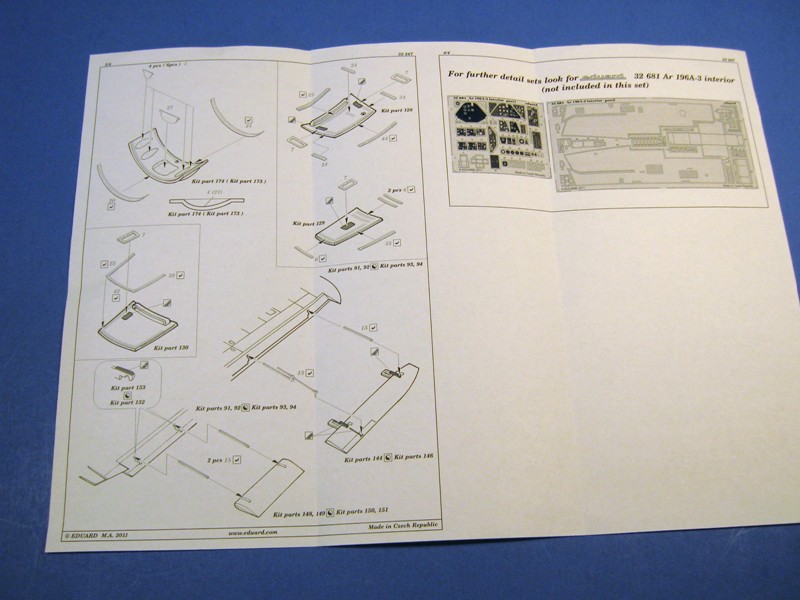
Exterior instructions back page
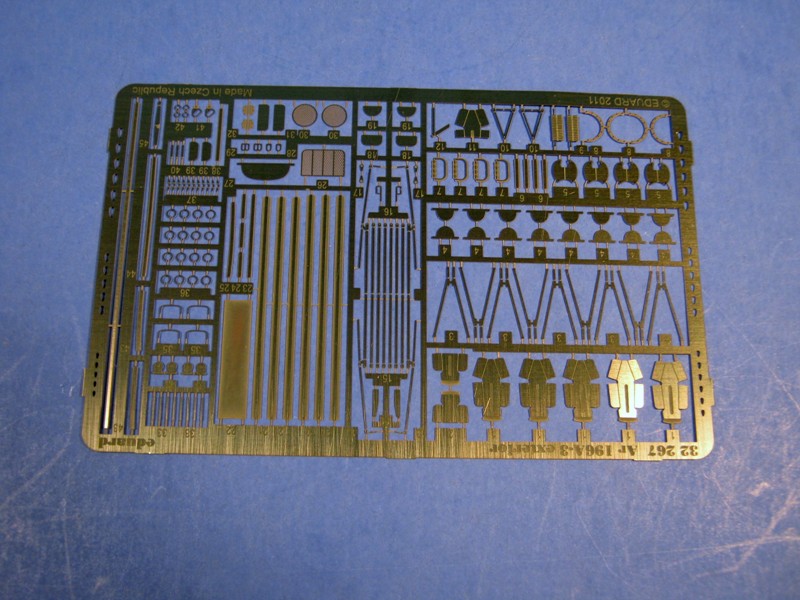
Exterior, 32-267
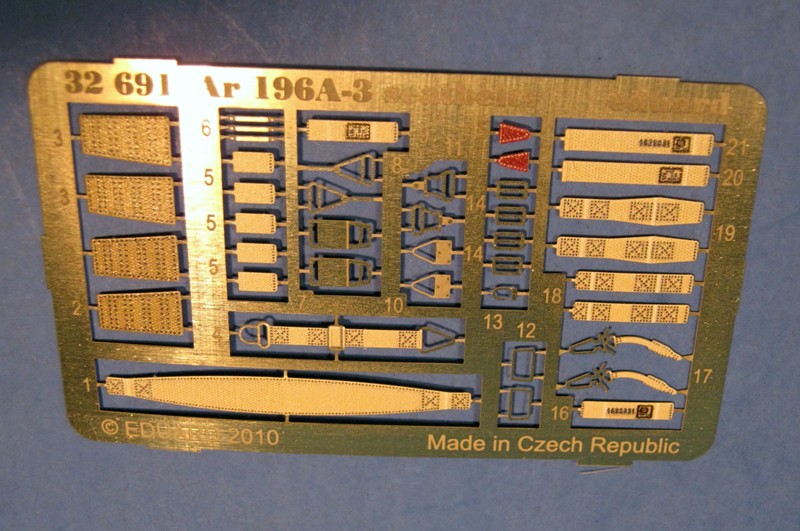
Seat Belts, 32-691
Interior S.A. Mini, 33-076
Canopy Mask, JX119
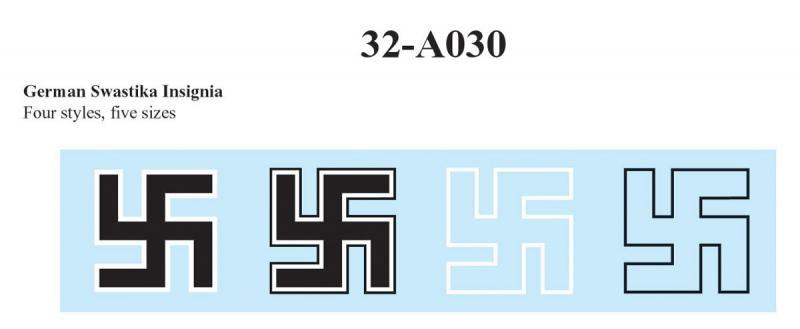
Part 1, Swastikas, 32-A030

Close-up of radio and photoetch

Gunner/radio operator seat
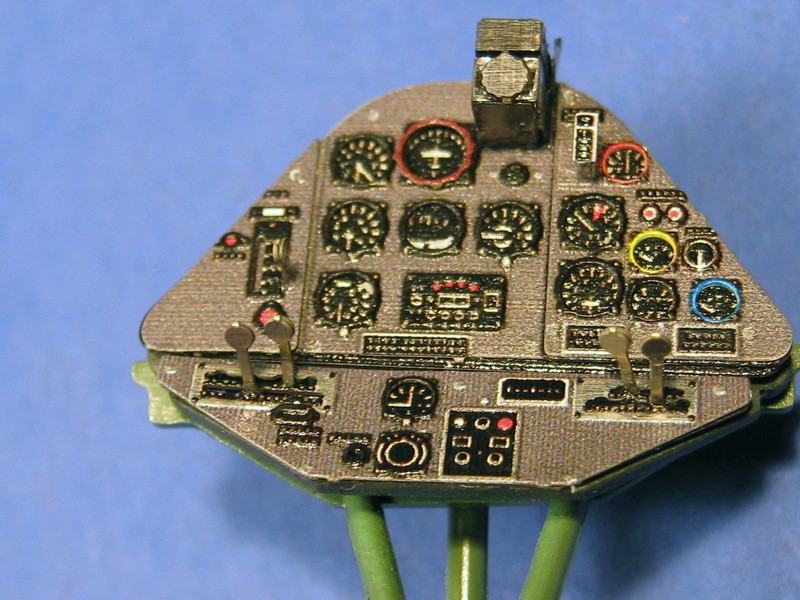
Finished instrument panel
Pilot seat
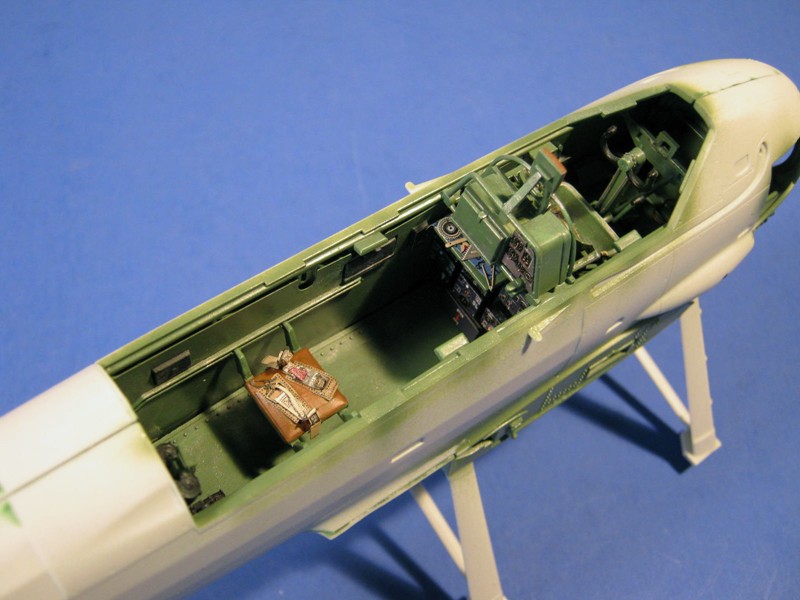
Interior installed
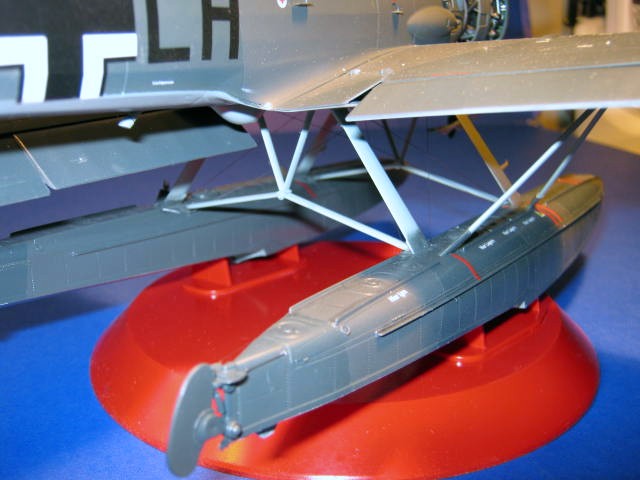
Starboard float on completed model

Port side view of rear position

Port wing-folding mechanism
Port side forward airframe

Port side forward airframe

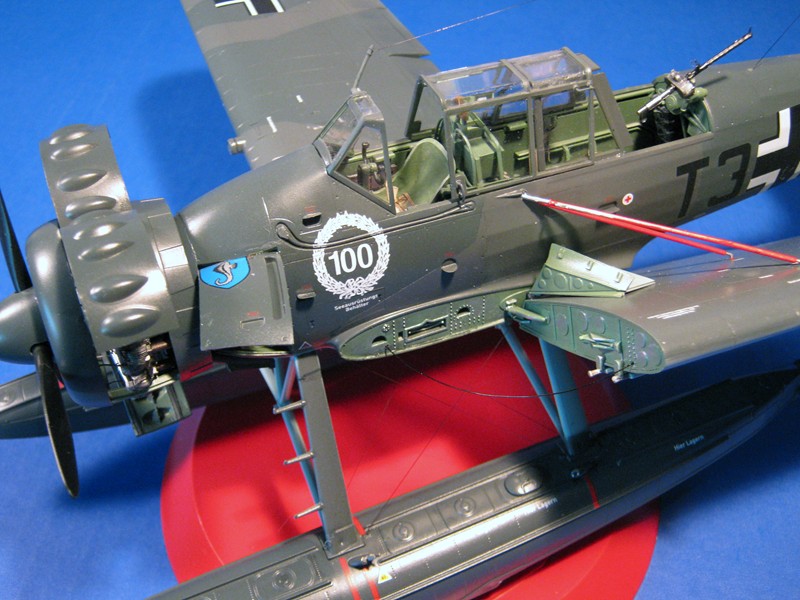
Starboard forward quarter view

Starboard aft cock[pit view
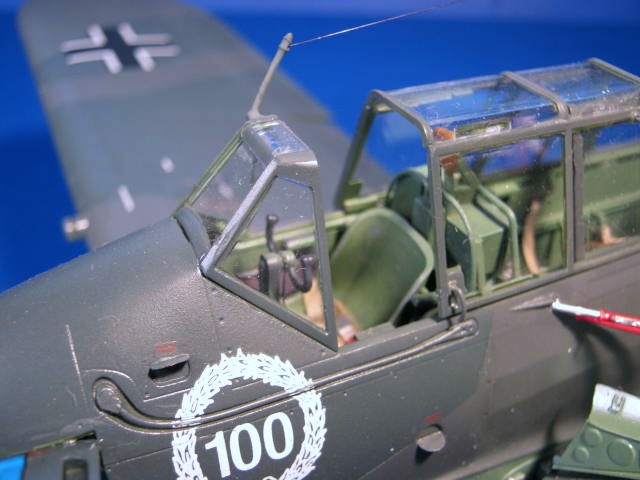
Portside forward cockpit

Nose and engine from starboard side

Comments
Add new comment
This site is protected by reCAPTCHA and the Google Privacy Policy and Terms of Service apply.
Similar Reviews