
Apollo 11 “Lunar Landing”
On July 21, 1969 the Apollo II astronauts landed on the moon fulfilling President Kennedy’s pledge to land a man on the moon before the decade was complete. Project Apollo was a massive federal program that sparked new technologies, new ideas, new rocket designs and engines that led to this event. Five more flights to the moon resulted in landings that furthered our understanding of that satellite and confirmed new theories on its origins. Apollo captured the imagination of that generation and ones that came after of what could happen when a nation set goals and achieved them.
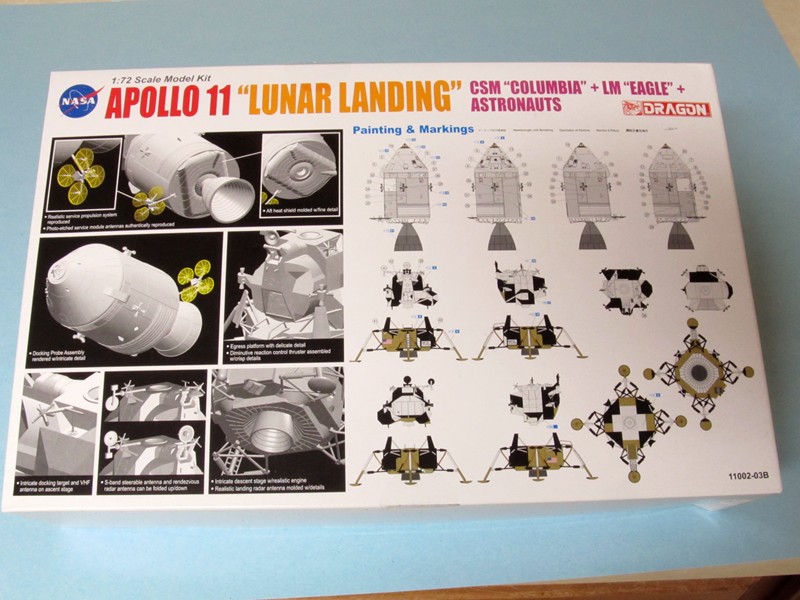
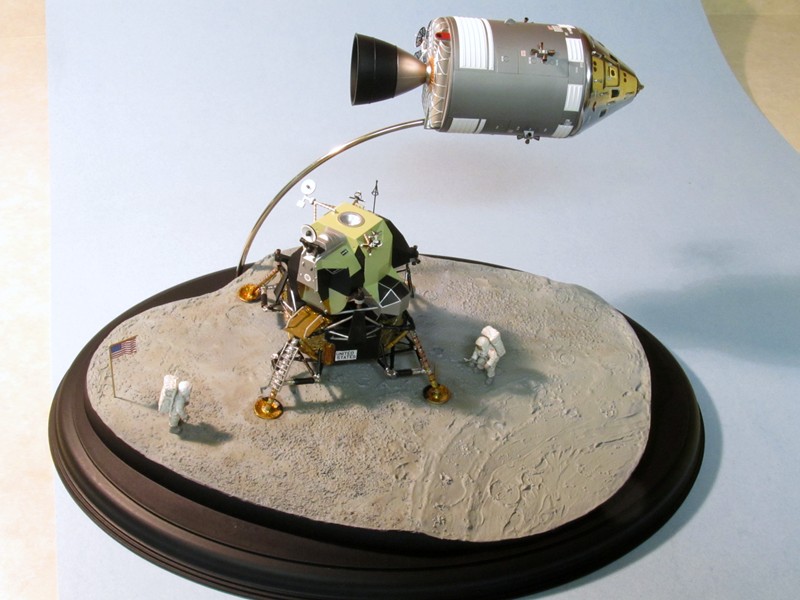
This is the second Apollo model that Dragon has come out with in 1/72 scale and deals specifically with that first landing. It consists of several components; the command module (CM) “Columbia” and the Service Module (SM), the Lunar Module (LM) “Eagle” both the Ascent and Descent stages, two astronauts and a lunar base. The kit has 172 plastic parts (you’ll use 140 parts), four photoetch parts, a metal rod and two decal sheets. A note about the sprues, there are two B, C and D sprues that Dragon has printed one as a black letter and the other as a gray letter, if you don’t pick up on that it can be confusing. On another matter I want to mention references. I think the most useful reference can buy is the Space in Miniature books; #6 – Apollo Command & Service Modules and #7 – Apollo Lunar Module. These were produced by Michael J. Mackowski (an IPMS member) as a guide for scale model builders and provide an excellent source of information on all the Apollo flights (see www.spaceinminiature.com). There are also numerous websites on the Apollo program that will provide you with information, just “google” Apollo II.
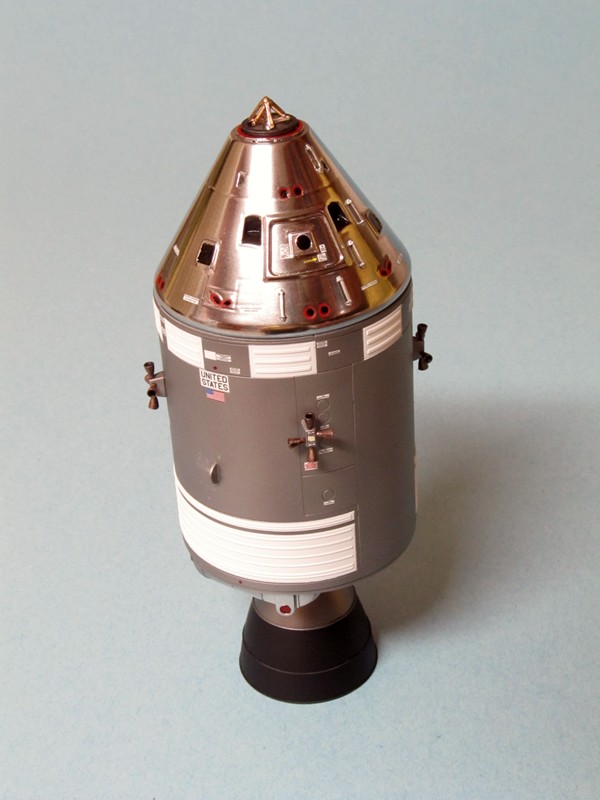
Construction begins with assembling the CM. At the top of part C11 (grey) glue on the ring C12 (grey), there are now two holes left open that need to be filled and sanded flush. Further along I did not attach parts B1 (grey) or B3 (grey) until after painting as these EVA handles would be in the way. As for painting - the Apollo II CM was coated with strips of Kapton tape (chrome). One has two choices: first, one can apply strips of Bare Metal foil or one can use Alclad II Chrome to spray paint the CM. I went with the latter method.
The SM is put together with eight parts so care needs to be taken to get the alignment right with tight joints that do not need filler. To help achieve this ring E4 needs to be glued to E2, then glue ring E8 to part E6. Take your time and work slowly to achieve good results. Part C5 (grey) is the top of the SM, some discussion on the internet has mentioned that the dome on this part is misplaced. If you are going to bond the CM to the SM, as most people will, then it doesn’t matter as no one will ever see this. You are provided two C8 (grey) parts, while the drawing only shows one make sure you put the other one on the opposite side as these represent the Service module Propulsion System (SPS) fill and drain ports. The SPS nozzle C3 (grey) has grooves on the inner surface where the real one was smooth. One could remove them or paint the interior flat black and it will not be noticeable. Assembly and paint the high gain antenna assembly but do not attach it to the SM at this time, wait till the SM/CM is mounted on the metal rod and attached to the base. That way it will remain unbroken. The kit decals by cartograph are excellent and are flat coated needing little trimming. 95% of the decals will be used on the CM and the SM so go slowly and consult the painting/decaling guide on the bottom of the box. Don’t throw the box away early or you’ll wouldn’t have any guide to go by. You’ve painted and decaled the CM/SM but you still have one thing left to do – add part C2 (grey) the umbilical that connects the two together. Dragon provides you with small indentations for the umbilical location, but part C2 has pins on the back side so holes need to be drilled in the model. Use 1/16” drill to make the holes and then glue on the umbilical.
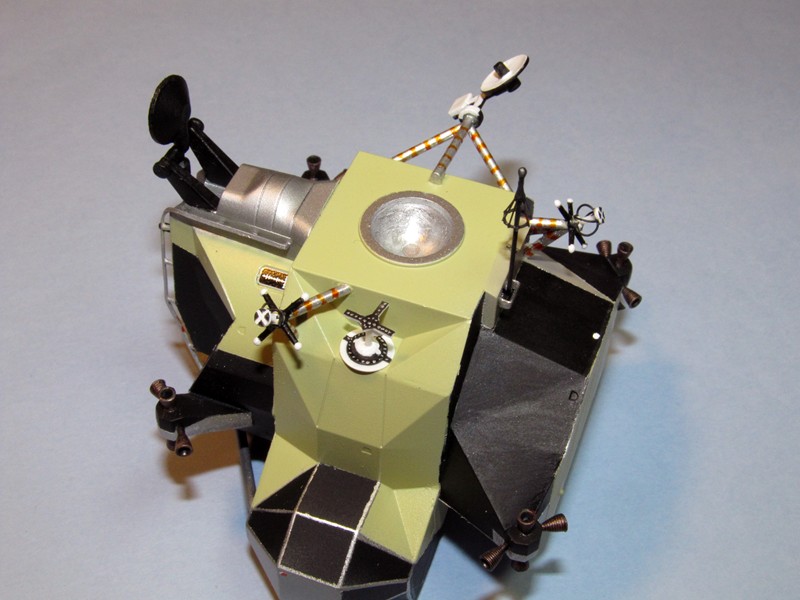
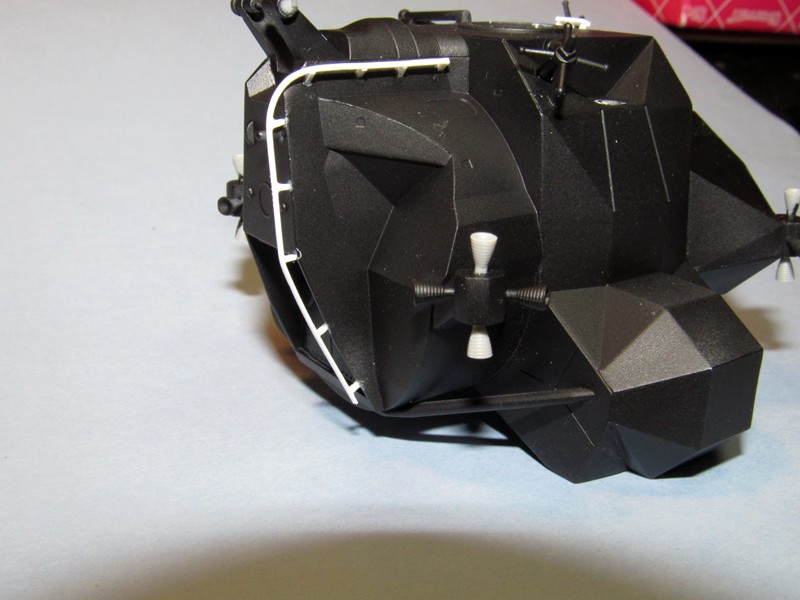
The LM ascent stage is a complex shape that requires many subassemblies before the final shape is achieved. I left off all the small breakable parts and only put them on after the final shape was arrived at, thus saving broken or lost pieces. You will have a front and rear assembly, put them together but don’t glue them yet. Place the top B1 (black) and the bottom B2 (black) in place, then press the front and back together, you can now glue these pieces together. Now attach the sides A2 and A3. If you take your time and dry fit you’ll get a close fitting joint that will require very little filler. Check your references on the colors and where they are applied on the Apollo II LM ascent stage. You will need to apply flat black, dull Aluminum, gold color, light beige-green and light beige-grey which mean a lot of masking. Dragon did a good job but missed a couple of things, which you may or may not want to add, I did and this is what was added. First, all the Apollo LM ascent stages had an EVA rail that mounted on the front and runs up and over. Check references for location. I made mine out of .020” x .020” and .010” x .020” plastic stock. Second, on Apollo II there is a vent on the rear of the top, it was mode form thin pieces of plastic. Third, the EVA antenna is missing. This will not be easy to make and you want to skip this. The shape reminds me of an umbrella with any fabric, check references for the shape and location on the upper rear surface. Fourth, the VHF antenna are almost correct, it need the tip sanded a little to make a flat spot, and then glue on a 1/8” disc. The hard part is to make the four wires that go from the bottom of this disc to the base of the antenna. Again check your references. Finally, the target on the ascent top is provided as a built in disc and part B14 (black). The problem is the built in disc is too small and the kit part B14 is too long and is the wrong shape. Replace the built in disc with a ¼” disc of thin plastic. Remake the “T” so that it flat at the top. Check your references for shape and location. Many people would not know the differences but the choice is yours.
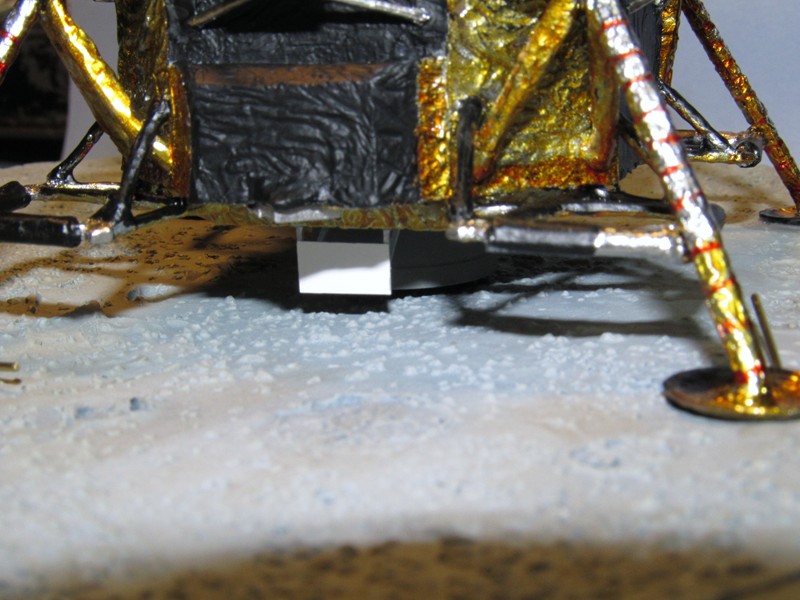
The LM descent stage has a lot of cleaning up of seams among all the landing gear. Dragon’s descent stage is textured to represent the various blankets, which saves a modeler some time. What he saves on this he will spend on painting. I did have to add one part and that was the Landing Radar Baffle to the bottom of the descent stage made from .005” plastic sheet and .020” plastic rod. Check references for size and location. I spray pained the model flat black and then used Alclad II chrome. When dried I brushed on Tamiya clear yellow on all the surfaces that would be gold Kapton. When that had dried I brushed on an orange mixture I made from 10 parts Tamiya clear yellow to 2 parts Tamiya clear red. This was applied to areas where a darker gold was required. Only two decals were applied to this stage and they went on easily.
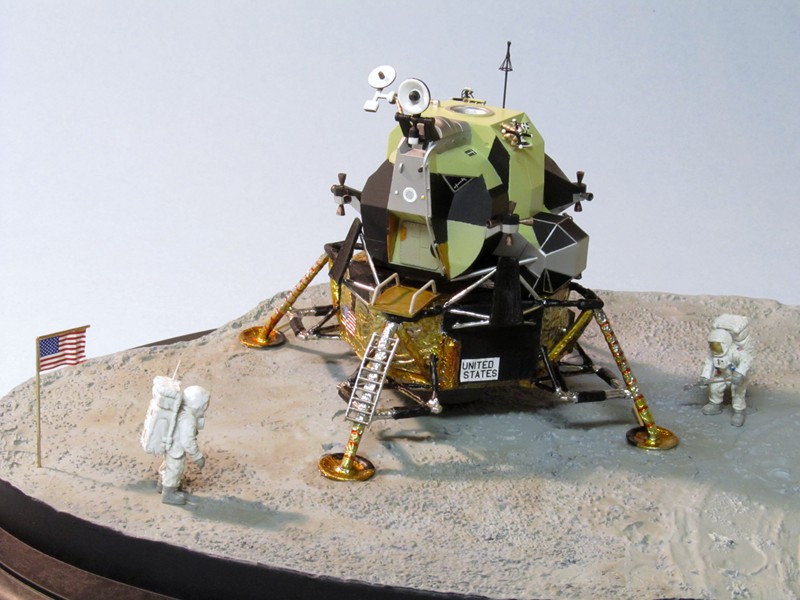
The plastic base is a nice idea but it has one problem, Dragon did not make it with locations for the four landing pads on the surface. The base is not flat so if you make the descent stage with level landing gear they will not lay flat on the base. I had to use a dremel tool with a round bit to grind down four locations for the pads to sit and then use epoxy glue to bond the descent stage to the base. In addition, Dragon did not provide landing probes for three of the legs (no probe on the leg with the ladder). These indicated touch down and the rocket motor was shut off and the LM fell the last few feet to the surface, bending the probes under and away from the pads. I made these bent probes from 1/32” brass rods.
Two astronaut figures provided are wearing the correct suits for the Apollo II astronauts. One has to remove the seams from the torso, legs and arms but they do assembly easily and only require a coat of flat white paint. I used some gold Bare Metal foil for the visor and gave the figures a wash with gray water base paints to pick out the details. Tiny flag and NASA meatballs decals are provided for both figures. In fact, most of the decals have extra just in case you have a problem, which is a very nice feature from Dragon.
This model provides a picture in history that comes in a small footprint. In 1/144 scale the models would have been tiny with little details. In 1/48 scale the models would have had a lot of details but taken but a lot of room. In 1/72 scale as Goldilocks would have noted the model would be just right. This is a good effort on Dragons part with only a few misses; I can highly recommend this model as you will get a lot for your money. I want to thank IPMS/USA and Dragon Models USA, Inc. for the opportunity to review this model.

Comments
Dragon 1/72 LM under scale?
I've read that the descent stage of dragons LM in the Apollo lunar landing package is under scale and that it also lacks the better detail found in Aurfix or monogram LM kits. True?
Add new comment
This site is protected by reCAPTCHA and the Google Privacy Policy and Terms of Service apply.
Similar Reviews