
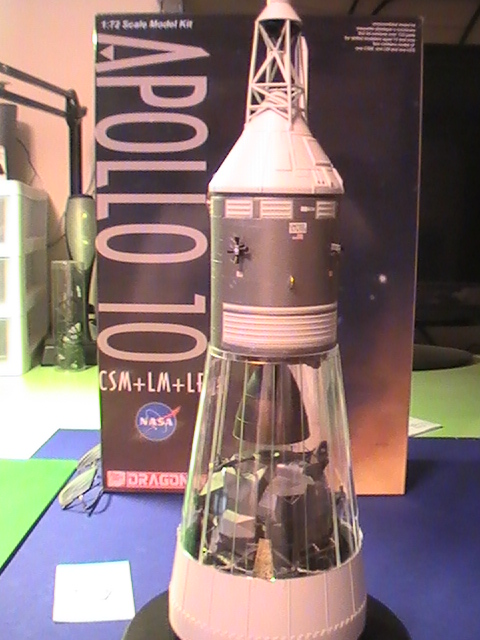
Apollo 10 CSM + LM + LES
Introduction
Apollo 10 was launched on May 18, 1969, and was the dress rehearsal for putting man on the moon. The flight took the command/service module (CSM [CSM-106]) “Charlie Brown” and the Lunar Module (LM [LM-4]) “Snoopy” to the moon, where the LM separated, descended and maneuvered to within 9 miles of the lunar surface. The mission of Apollo 10 was to demonstrate the performance of the LM and CSM in the lunar gravitational field and evaluate docked and undocked lunar navigation. “Charlie Brown” and crew returned safely to Earth 8 days later, on May 26th. Like many of us, I was glued to my black & white television, in awe of the whole Apollo program.
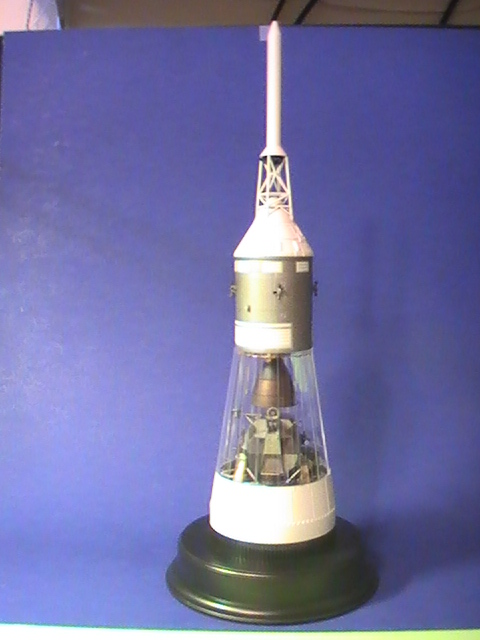
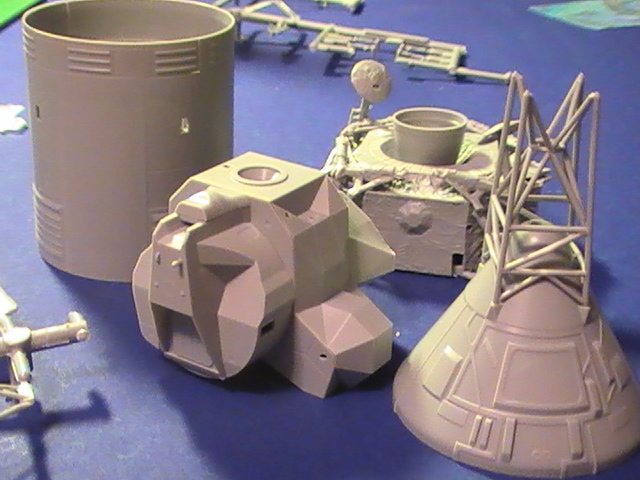
The Apollo 10 CSM+LM+LES kit from Dragon accurately reproduces the pre-launch ‘mission package’ configuration including the upper stage 'Adapter', LM, CSM and CM escape system rocket booster & protective cover. When complete, you have an accurate, desk-sized representation of the Apollo 10 system to revive those old black & white memories.
My thanks go out to Dragon Models USA for providing this kit for review and to IPMS/USA for letting me do the review.
In the Box
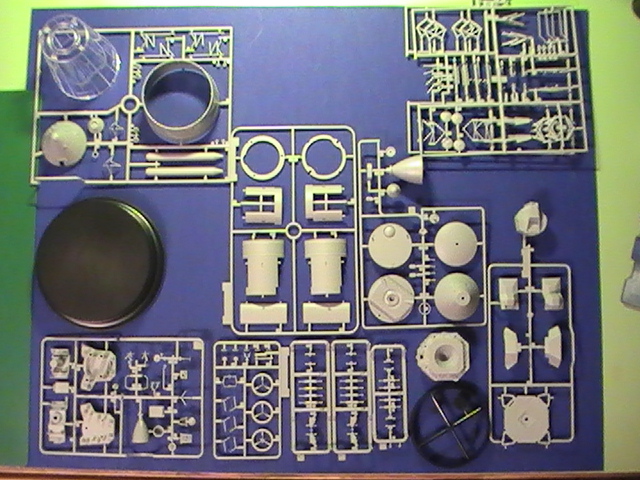
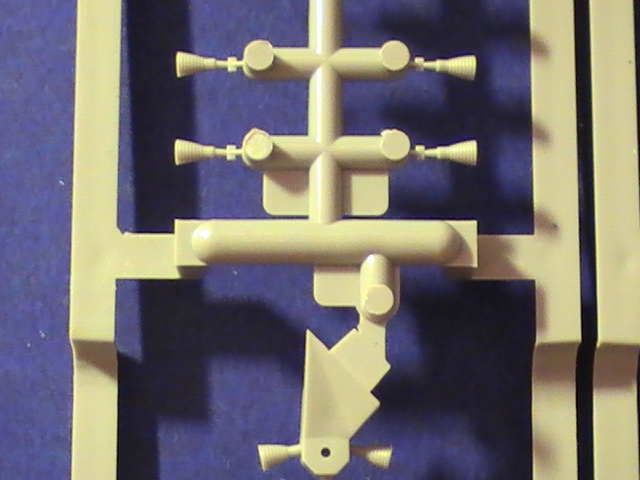
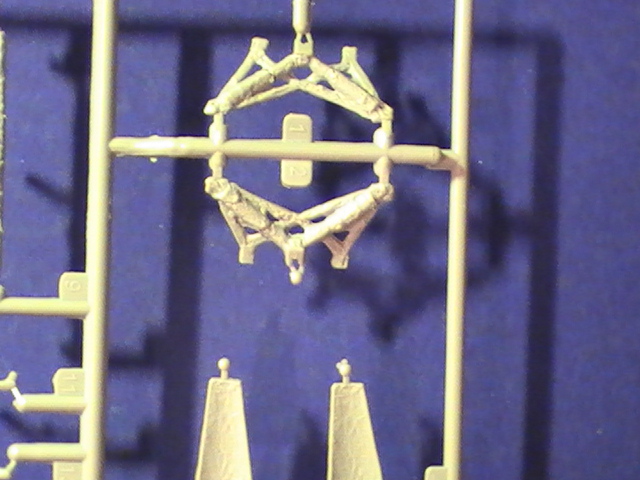
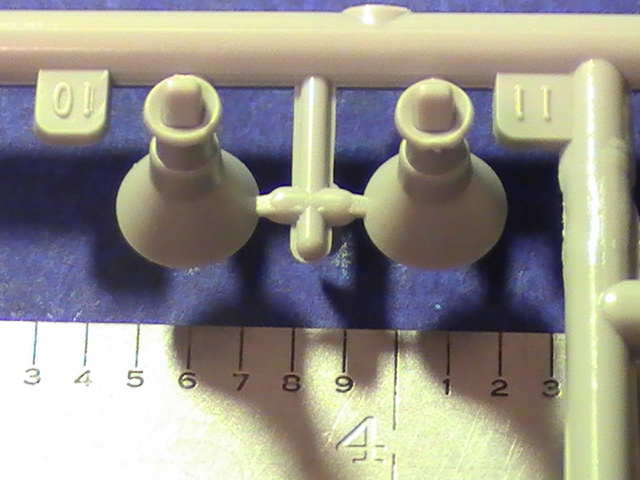
The Apollo 10 kit in 1/72 scale by Dragon was well researched, right down to the protective foil color scheme which was unique among Apollo landers. The kit has a total of 183 finely molded & textured plastic parts (including 36 parts you won't use) on 11 sprues, instructions, and two decal sheets.
A note about the sprues: there are two "D" sprues - thrusters for LM & SM. The part numbers for "D" sprue with the LM thrusters are printed in black font in the instructions and the numbers for the "D" sprue with the SM thrusters are printed in gray. The same thought process went into the 3 "C" sprues and, for some reason, the 1 "B" sprue. If you don't pick up on that, it can be confusing.
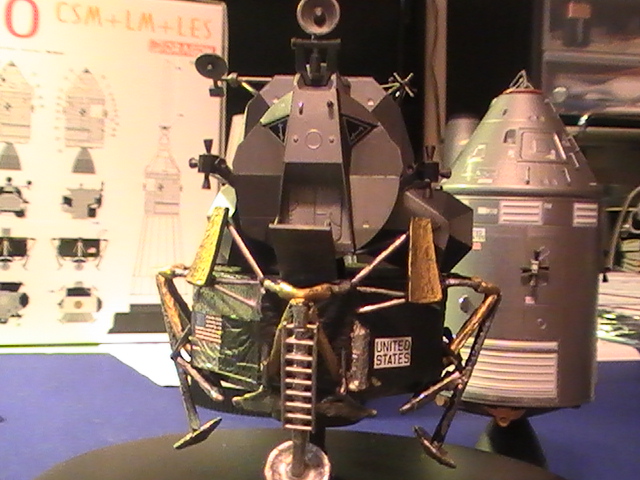
The detail is remarkable, as is the fit of the parts, even with the ‘foil’ texture on the LM descent stage. The LM ascent stage has beveled butt joints that line right up with each other.
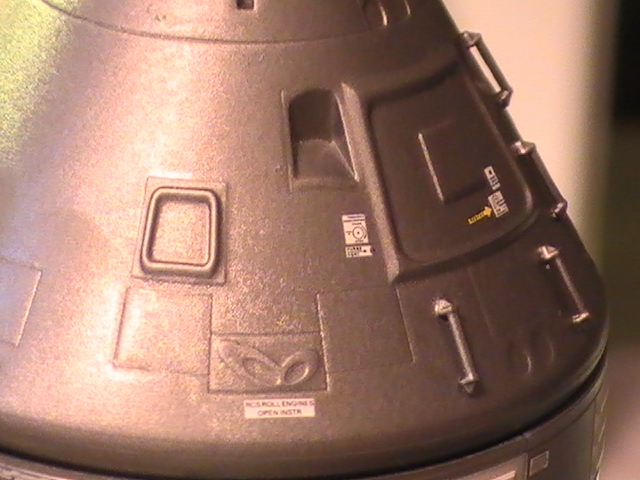
There are only a couple of shortfalls in the kit. There is no high-gain antenna for the SM. It is not shown in the instruction sheet at all. For someone as interested in the Apollo program as I was, this is a very noticeable omission. One of the most famous pictures of the Apollo program was the front-on view of “Charlie Brown” from “Snoopy”. In that photo (below), the high-gain antenna is very prominent. The parts for the deployed mast is included but shown as "not used" and there are no antenna dishes (these are photo-etch (PE) in the Apollo 1/72 “Landing” kit) nor is there a ‘stowed configuration’ mast (pointed directly aft and tucked away inside the Adapter shell). I will end up scratch-building one.
The real weak link in this kit is the instruction sheet. The box indicates the kit is for experienced modelers, 14 years of age & up. There are a few subtle nuances that only experienced folks are going to pick up on, such as the thruster part number print color mentioned above. You have to pay really close attention to part numbering (near side and far side). In the case of the LM landing leg actuators (2 each of parts C11-C14), there’s no exploded view showing where or how they go, they simply show up (very small) as installed in step 7 and it’s easy to miss. There is a definite left and right one for each landing leg and they only go on one way, so it's best to dry test fit everything at least once. Be aware also, the SM cylinder parts are not symmetrical – there is only one way to put them together correctly and you really need to pay attention to the part number and the subtle differences in their shape. Not only do you have a great looking kit, but it's like building a very challenging, 3D jigsaw puzzle at the same time.
Over-simplicity in the instruction sheet drives the need to use multiple outside references. This kit will be challenging for experienced modelers and will be difficult for the less experienced.
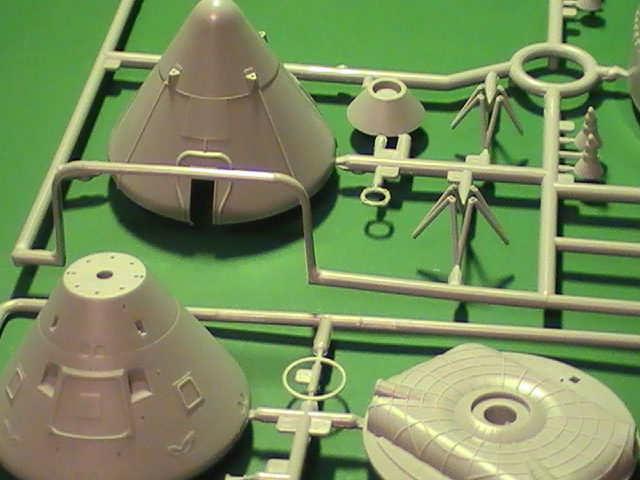
One noticeable detail (or lack of) is there are no windows or interiors. Dragon is renowned for their ability to produce highly detailed, small scale parts, particularly in the last several years. At 1/72 scale, it would have been nice, and I think easy, for Dragon to produce interior parts (control panels, equipment rack fronts, seats, etc.) for the CM and LM. It would be hard to see through any windows but great to build.
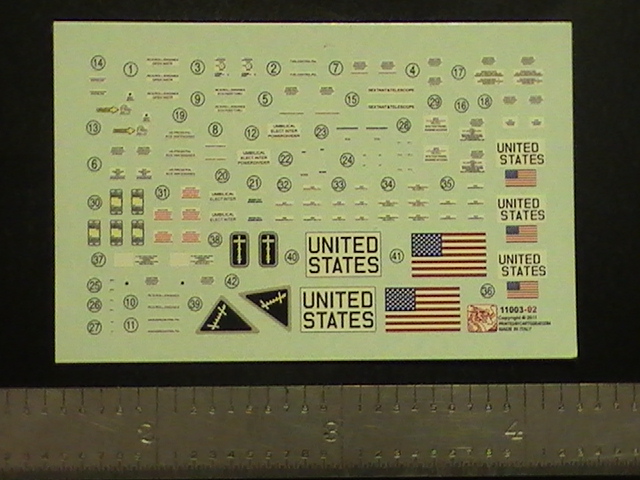
The sheet of decals is extremely well done - sharp, clear & highly detailed (and small!). They are very thin but sturdy enough to be worked around a little after application. If you do cobble one up, there are duplicates of each one.
Construction
As with all of Dragon's recent releases, the design of the parts is superb - they line right up with one another with little or no need to fill gaps and, in most cases, there is very little, if any, residual 'flash' around the edges.
As mentioned above, the combination of misleadingly simple instructions, different colored type font for similar parts and asymmetrical parts means you need to really pay close attention during assembly. Before you start, it would be helpful to really study the instruction sheet and know exactly where each part needs to go, paying attention to its orientation. Dry/test fitting is going to be the best tool in helping you figure out the correct orientation. Keep in mind nothing is symmetrical. For example, each folded landing leg support will only fit under one of two, opposite, legs. Specific black or gray part numbers only go in specific places (ouch). I did have to use a couple aspirin a couple times as I was trying to keep all these things together in my head.
Once you've studied the instructions and your references, the kit goes together rather quickly. You may need to do a little re-shaping on the LM descent stage landing leg supports and thruster deflector panel arms, but not much else.
Finishing
As far as assembly goes, this kit goes together nicely. The tough part by far is masking and painting. Fortunately, Apollo 10 had a rather simplified color scheme as far as Apollo landers go. The color scheme Dragon depicts on their box is very close and is "good enough" but, if you want to be exact, you need to go find references on-line or in books. You should also start the build with finishing in mind - in other words, you may want to mask and paint individual parts before assembly. For example, the many facets of the LM ascent stage are easier to mask & paint before assembly, but that's up to the builder's own style.
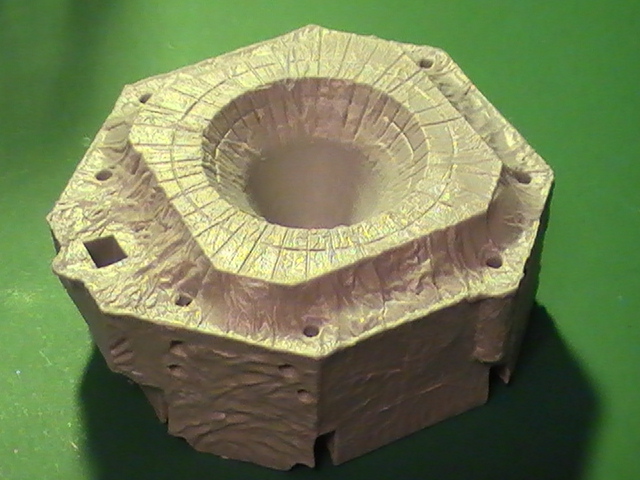
Dragon’s LM descent stage is textured to represent the various foil-covered insulation blankets. The effect looks great and does require a little more cleanup at the joints, but it's not bad at all.
Masking and painting the SM is easier before the reaction control thrusters are installed but, again, the builder knows these things and does it in their own style.
The quality and detail of the decals is excellent but many of these are tiny. They do react well to setting solution which pulls them right down onto even the most complex surfaces. You may want to hit the model with a coat of gloss finish before applying them, to give them something to stick to first, though. Then give them a final coat of gloss or semi-gloss on top, depending on your preference.
The plastic base is nice but the center is not marked nor is the location for the adapter base. I wanted to glue the LM support post (parts G2&3) and the LM adapter base (part G1) in place, centered on the base (part Y), so I had to find the center on my own and determine and mark the radius of the adapter ring.
Again, I can't emphasize enough - use all the external references you can - not just for colors but for correct antenna shape and placement and fine details like hand-holds and railings. As mentioned above, what's provided in the kit is "good enough" for a great desktop
Conclusions
This was a challenging but fun kit to build and the research that went into it really brought back some exciting memories. I highly recommend Dragon's Apollo 10 kit for the more experienced modelers, just because of the difficulty with the overly simplified instructions. If the instruction sheet was better thought out, less experienced modelers would have fun with this same kit as well. This is a good effort on Dragon's part, with only a few missing details. The finished model looks great and doesn't take up a lot a desk space (although it is fairly tall at 15" including the escape tower).
Again, I want to thank Dragon Models USA, Inc. for providing this kit and IPMS/USA for the opportunity to review it.
References
With the lack of details in the assembly instructions, modelers may want/need to seek out references to the Apollo program to help identify the proper location and orientation for parts and color schemes. The Space in Miniature series books; #6 – Apollo Command & Service Modules and #7 – Apollo Lunar Module, by Mike Mackowski, are both excellent references. Details may be found at www.spaceinminiature.com.
There are many writings and photos to reference regarding

Comments
Add new comment
This site is protected by reCAPTCHA and the Google Privacy Policy and Terms of Service apply.
Similar Reviews