
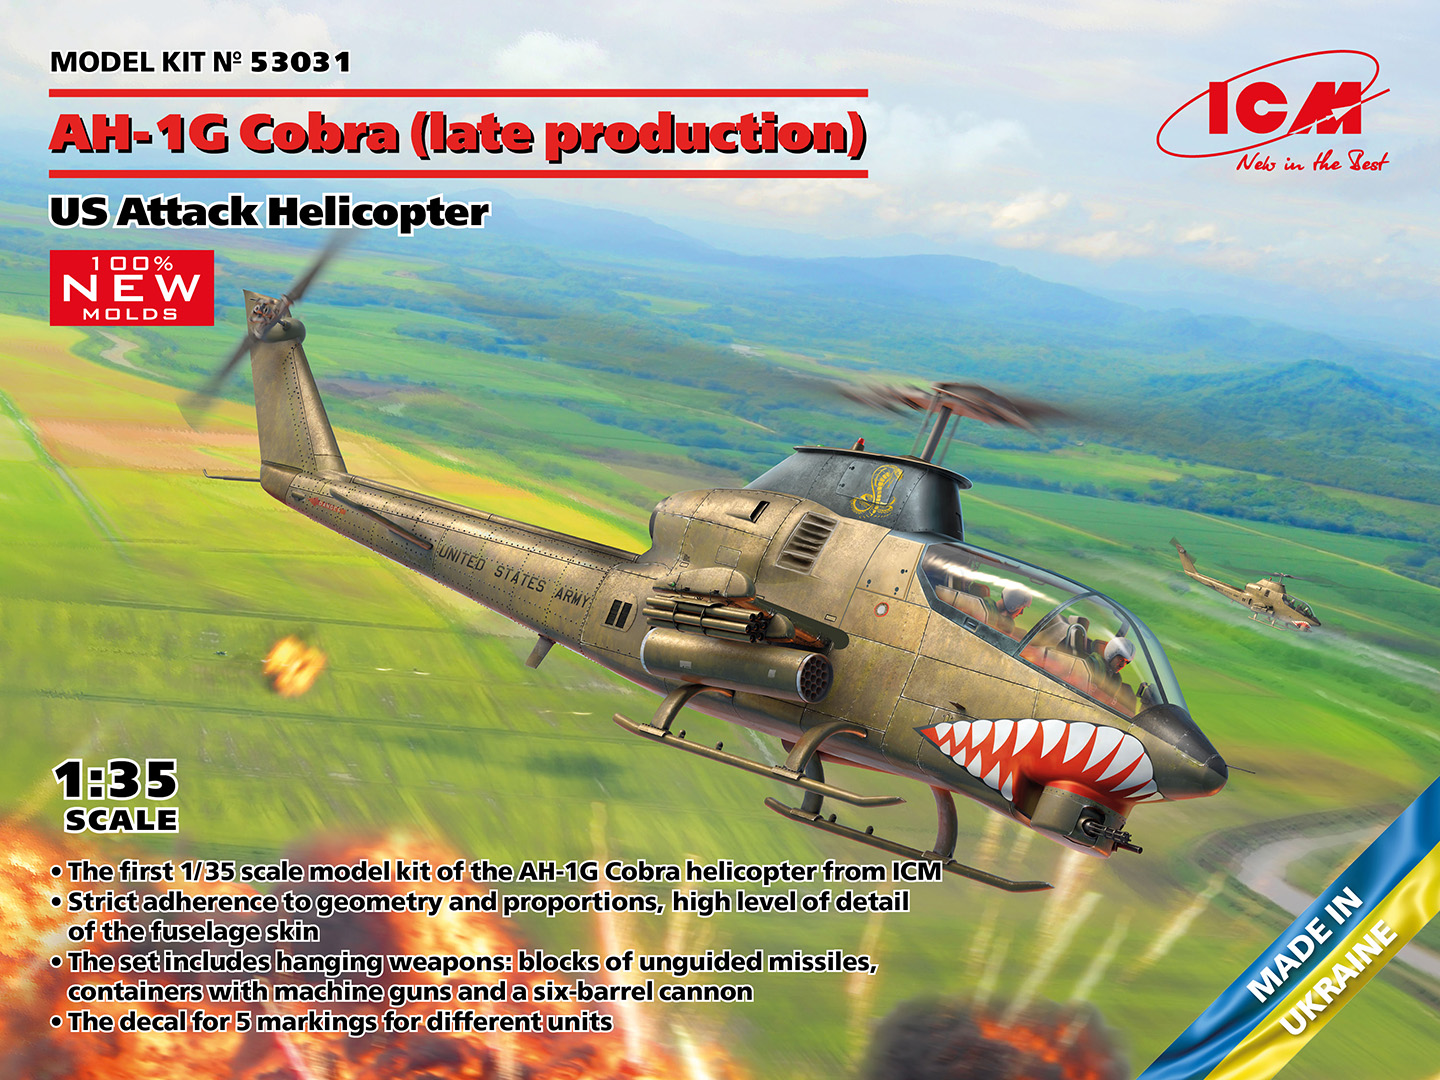
AH-1G Cobra (Late Production)
When ICM released their 1/32nd scale AH-1G series of models there was an outcry from US modelers, why in this scale? Helicopters are not like other aircraft where there are ‘preferred scales. Airplanes typically are sold in 1/72, 1/48 and 1/32nd scale. Helicopters come in a more varied scale assortment. The common thought is that they are more akin to armored vehicles so they have been molded in 1/35th instead of the common 1/32nd scale so you could take advantage of armor figures and accessories. European manufacturers, namely Revell-Germany, have released helicopters in 1/32nd but they are not as common as the 1/35th offerings. So, US helicopter modelers reached out in forums and said that we prefer 1/35th scale. ICM listened and decided to downscale their offering to the more common helicopter scale for the US market of 1/35th scale. In our modern computer era, it is sometimes as simple as hitting a scale button and you have a new kit. That is what we have here.
If you’ve built the earlier 1/32nd scale AH-1Gs, which I did, this kit will be very familiar to you. It is nearly the same kit, just a little smaller. It has more parts than the 1/32nd, many of which won’t be used to do the AH-1Q/S.
The plastic is molded on five large sprues in light grey and one clear plastic sprue. The parts count is 305 parts in total. There are recessed panel lines where appropriate and raised rivets on the tailboom, except for underneath. Strangely there are no rivets on the bottom of the tailboom. You will have to source them yourself or rivet them. This makes getting rid of the seam easier. The decals are printed by ICM I believe with markings for five different AH-1Gs, two shark mouths and three without. None of these aircraft have been released before in any scale. The instruction book is exactly like the early one and the assembly sequence is the same. If it works, why change it? All of this is packaged in a sturdy cardboard box with a ‘lid’ and locking tab. This is covered with a box top with the artwork over that. The artwork is a really cool looking Cobra.
So how does it build up? Having built three of the 1/32nd scale kits I didn’t expect any issues. And guess what? There weren’t any.
Before I begin the build, I need to put out a disclosure, I fly Cobras for a living. So I am more nitpicky than most modelers when it comes to them. With that noted, let’s get started.
Starting in the cockpit, I will say that it is good. It is not great. Some details were simplified, such as the collective mount in the rear cockpit and the XM-73 gunsight. There are no seatbelts or shoulder harnesses included. You’ll have to source them elsewhere. That said, with careful painting the cockpit is not bad at all. I would love to see a High-Tech kit similar to Special Hobbies 1/32nd scale offering for this kit. That would be a perfect interior. The huge cockpit canopy just highlights this area of the model. I painted mine Dark Gull Grey, FS32357.Panels were picked out with black paint and various colors to highlight the raised detail.
The transmission and intake area were next. Since I elected to have the doors closed, I left out the inlet screen of sequence 19.It will not be seen. I added the doors in the appropriate space. Field green was the common color of the interior of this engine and transmission areas in Vietnam. It was later changed to zinc chromate. The transmission itself is Dark Aluminum with other parts like C22 and C29 a Tamiya Sky Grey.
One thing that I do like about the ICM parts breakdown is that you can and should add the tail and nose parts PRIOR to assembling the fuselage. This allows you to get a perfect fit with little to no filling. Carefully adding the cockpit, transmission area, exhaust (which is not straight when you look in the back. Pay attention to the instructions here) and various bulkheads prove a perfect fit. I did leave off the tail rotor off as it will be added in the final assembly. I say add a fishing weight to the turret assembly to ensure the helicopter sits on its nose. ICM does not mention that.
For those building the aircraft with the big cannon on the left wing, I recommend leaving off part A9 (ammo door), since the wide one was not fitted on too many aircraft. I found one or two photos of it being used in testing but not in country.
The fit of the belly panel is perfect as well with careful gluing. Once the fuselage is assembled, you’ll notice that there are no rivets on the bottom of the tailboom. I added these with MicroMark rivet decals according to one of the aircraft at the Army Aviation Heritage Foundation. The hardest part of the whole fuselage assembly is to keep the two panels on the tailboom bottom looking sharp while sanding the seam. Everything else is easy to sand.
Adding the landing gear is easy enough. I do recommend that you cut off the raised ‘tits’ on the front of the skids and sand them flat before you add them to the model. Then drill out a hole in their place because the real thing is that way. While you add the landing gear, make sure the helicopter tail is vertical.
Adding the canopy was simple enough. I used Eduard masks before painting. Then painted the inside grey and followed that up with NATO Black on the outside. Start with the center section and glue it on with Testor’s Liquid Cement and allow it to dry completely. Then add the left rear and the right front. The area where the doors are was masked off. I’ll add them later.
The wings are next up .These fit as perfectly as the rest of the model. I do love that ICM included the jettison rack on the inside pylons. They could use two support rods to make them complete, but they are better than having nothing. I added my pylons to the wings now since the fit is perfect and the angle is set already.
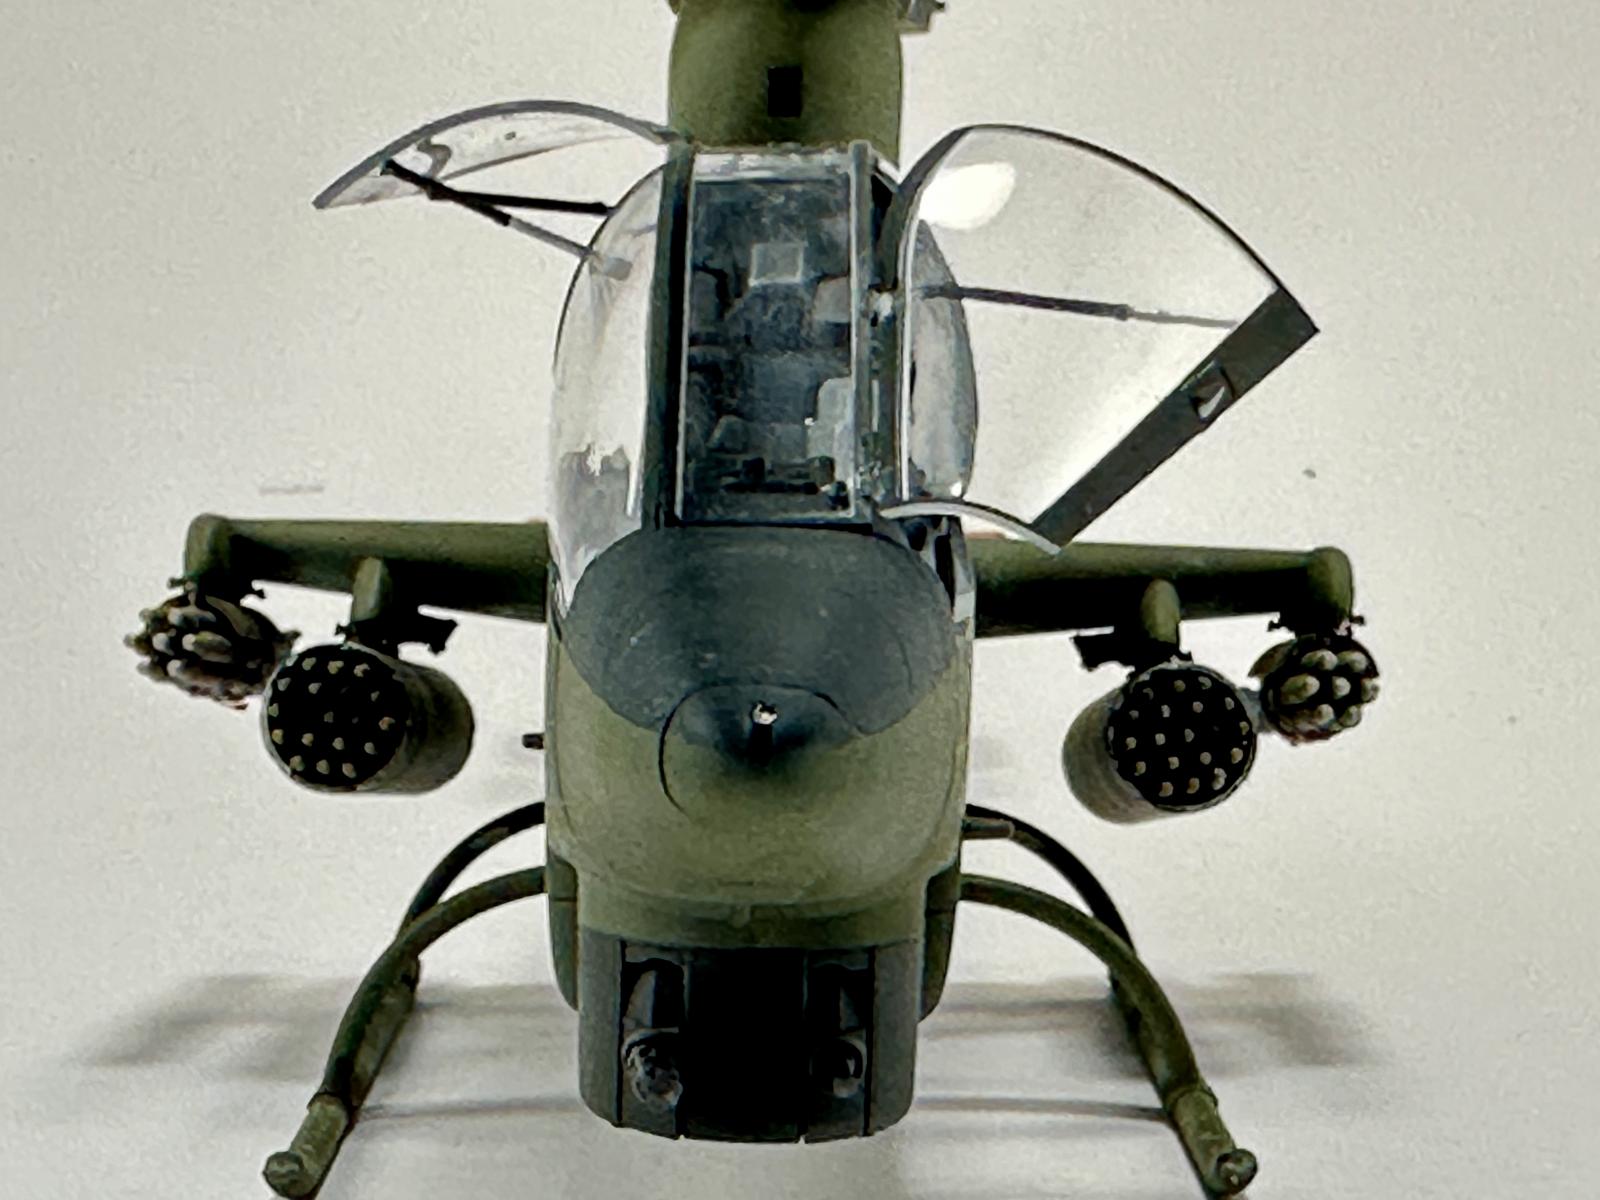
I chose to use aftermarket rocket pods. Since I run Werner’s Wings and I produce the M-158 and M-159/200 pods in 1/35th scale, I elected to use them. The kit M-158s are a little too ‘square’ for me. The M-159/200 are good but lack a little bit of detail. Though painted up the kit parts look good. Most modelers will be happy with the kit parts, but I’m a Cobra driver. Now would be a good time to drill the holes for the resin rocket pods to mount to and if you’re going to add Remove Before Flight flags. The fit of the wings to the fuselage is perfect as expected so they were left off for now.
Some things I didn’t like, the upturned toilet bowl exhaust scoop, it is a little too thick to my liking, and the XM-35 cannon. The cannon itself was too ‘square’ for my liking. It didn’t matter to me since I wasn’t building one of those aircraft but wanted to point it out.
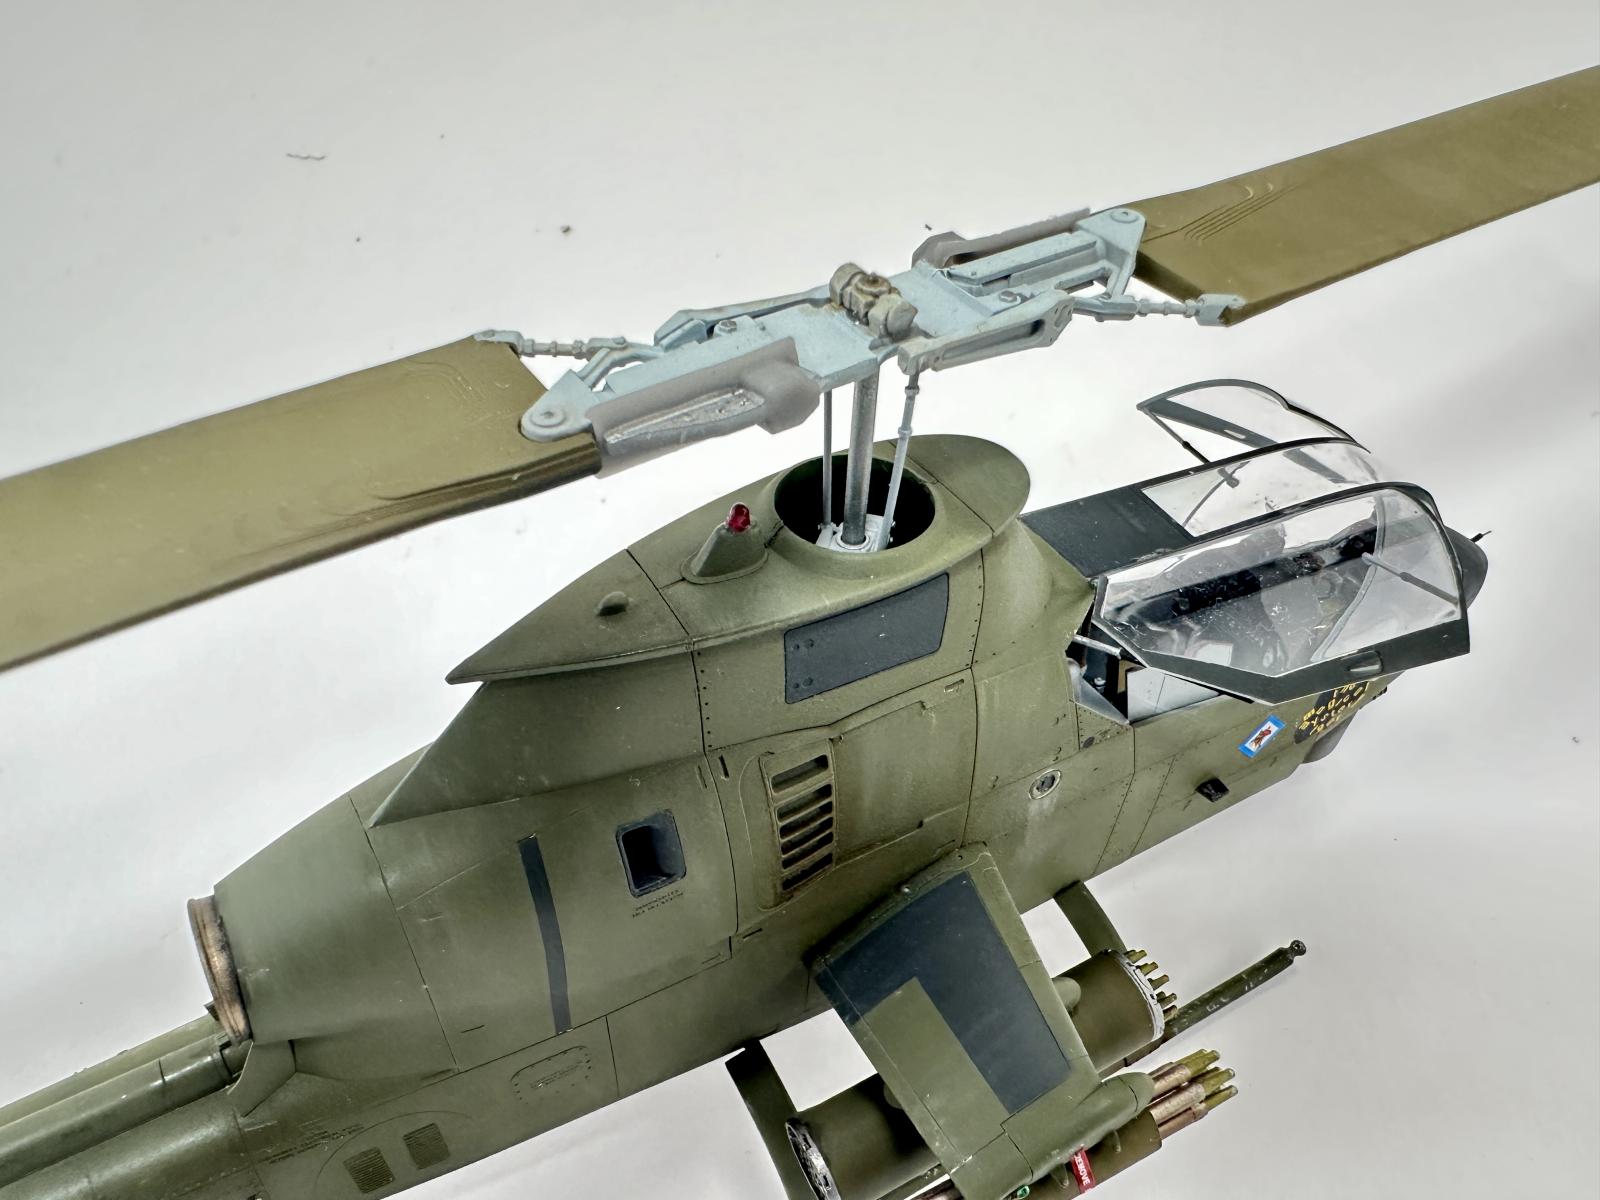
The main rotor blades are broken down into halves so you will need to glue them together. They fit perfectly. I drilled out a small hole in the tip cap to represent the tiedown point there. The way that I paint my main rotor blades is like the real thing. I first prime with Alclad Grey Primer and Microfiller. Then paint the entire blade Alclad Aluminum. Then I paint the blade with Testor’s small bottle zinc chromate, but Tamiya Yellow Green would work. This was then oversprayed with AK Faded Olive Drab on the top and flat black on the bottom and the last 6 scale inches are painted with Tamiya Flat Yellow. This is according to the Army painting manual for the time period. This differs from the ICM instructions. This is then allowed to dry. I use foam backed sanding pads and then lightly sand back the leading-edge spending more at the tip. This will allow you to weather the blades like the real things erode with use.
The main rotor system builds up nicely. Take your time and you will not have to fill any gaps. I was going to do this entire build out of the box, but since I own Werner’s Wings and I produce some parts for this scale I thought why not add them.I added my Main Rotor debris deflectors to the main rotor blade because they were always, or nearly always, installed during Vietnam.
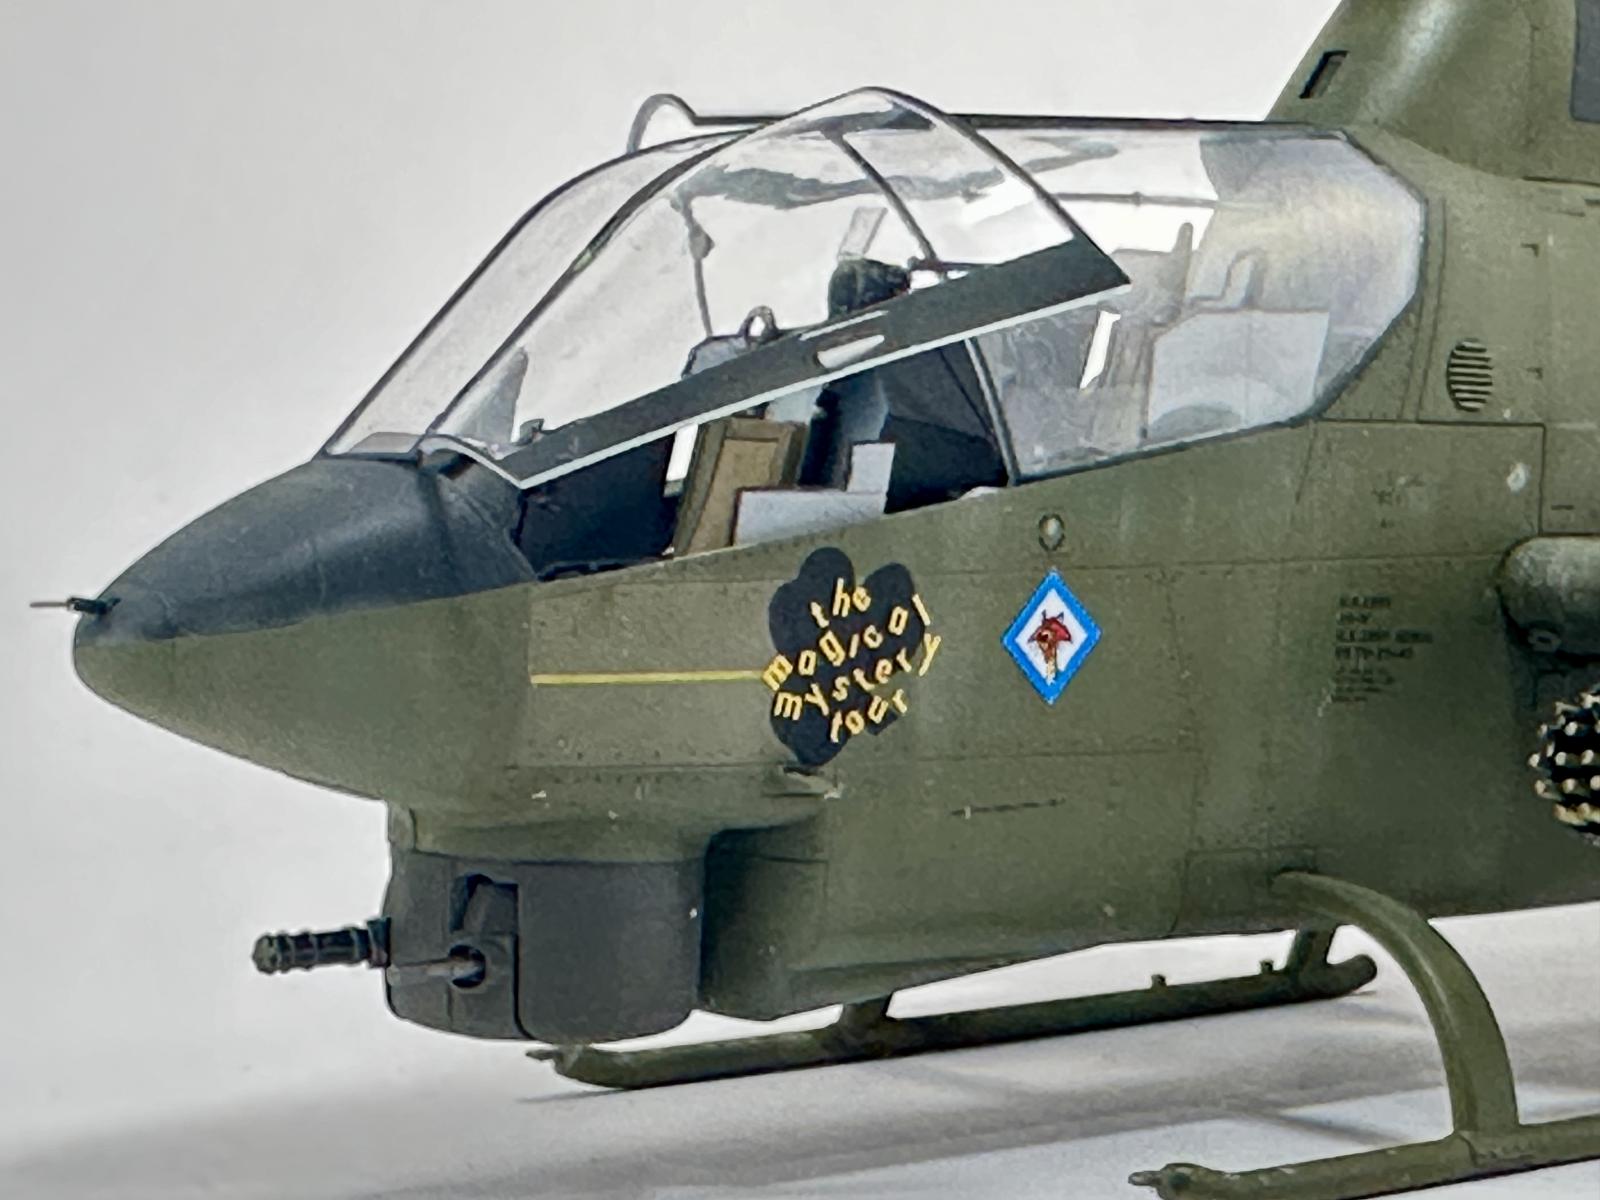
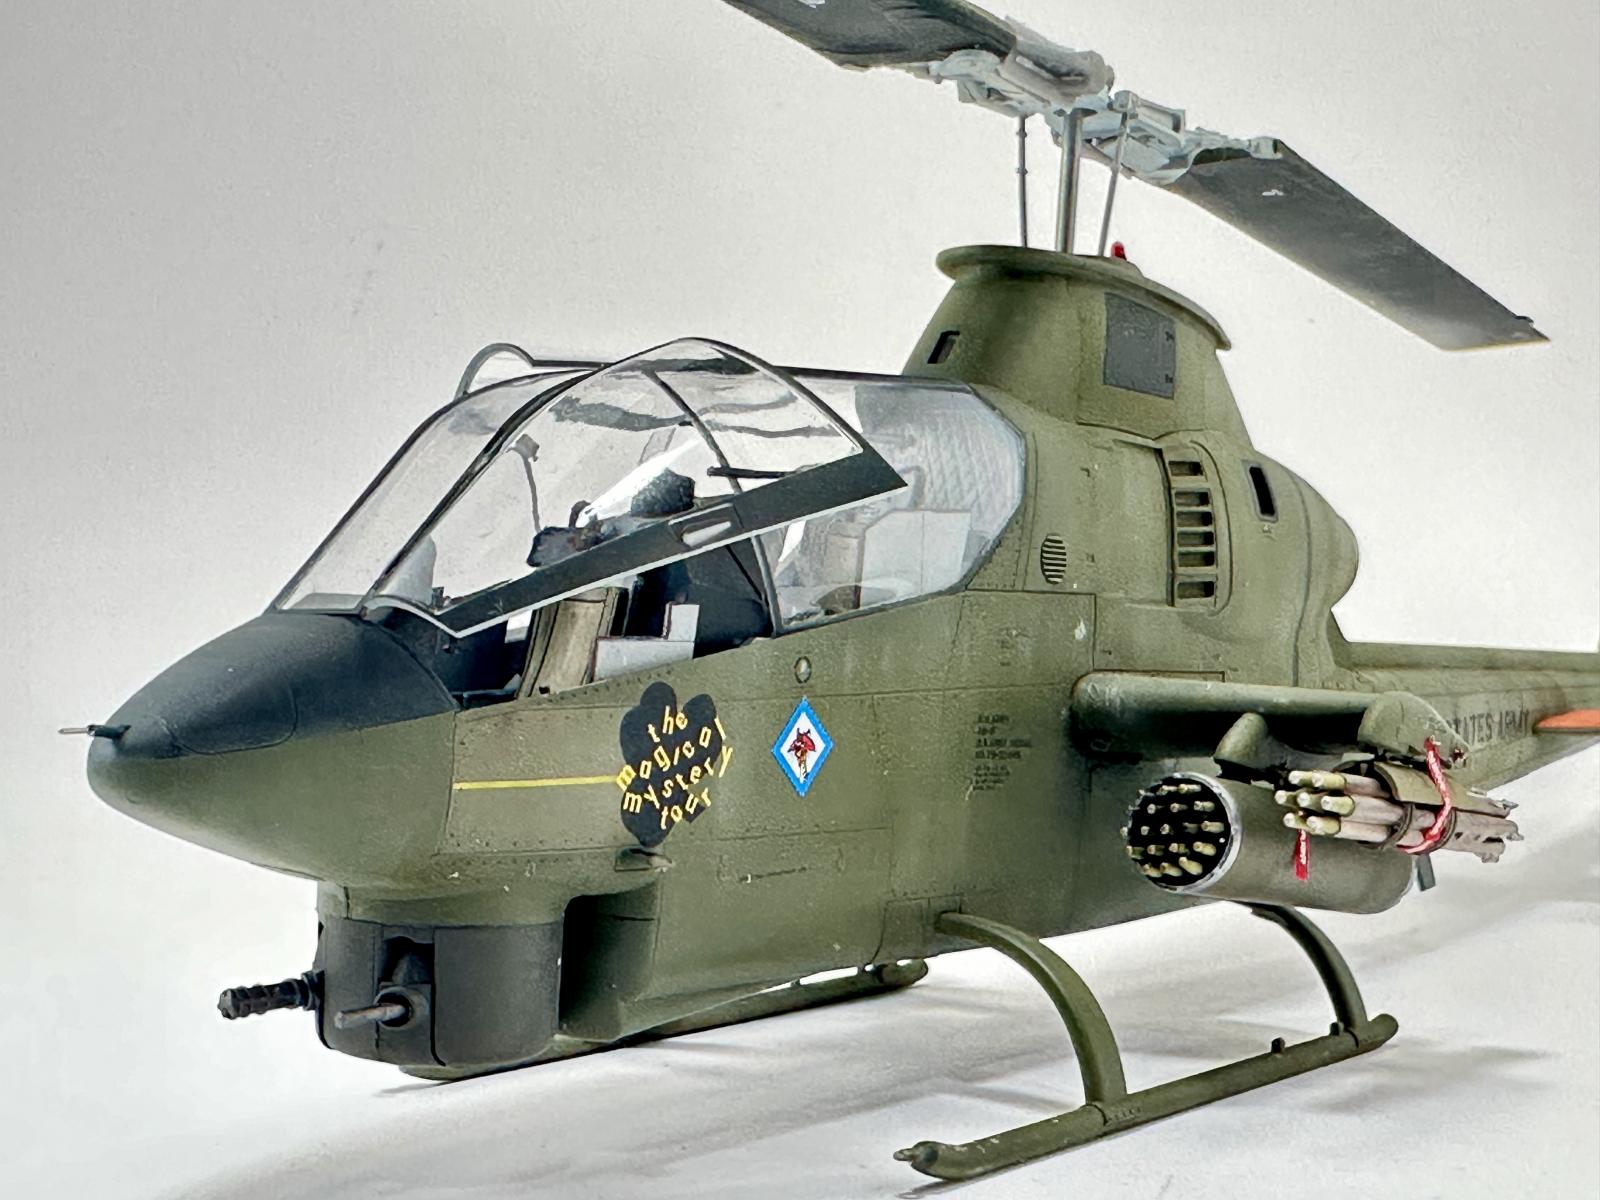
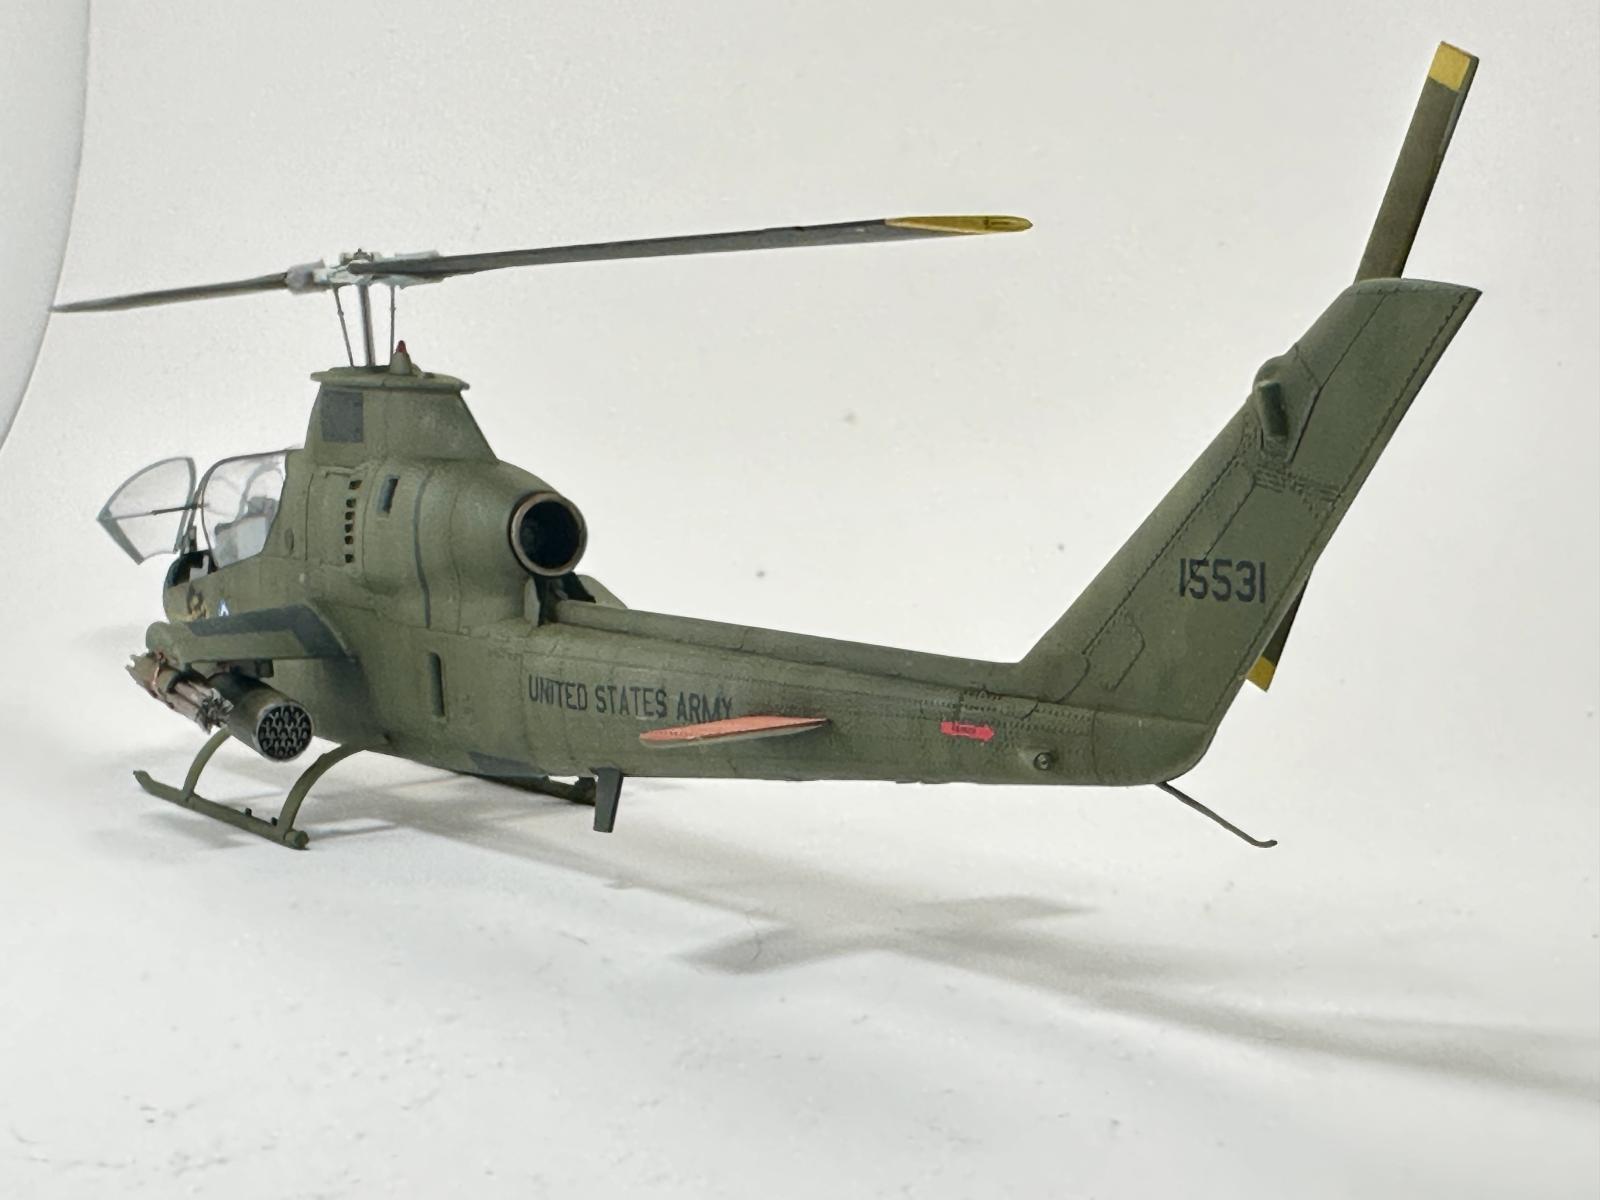
The whole model was primed with Alclad Grey Primer. Little things were cleaned up and reprimed. The model was then pre-shaded with Tamiya NATO Black. Things like the canopy, anti-glare panel and turbine warning stripes were painted and masked at this time. I had pictures of the actual aircraft in John Brennan’s book, ‘Vietnam War Army Helicopter Nose Art’ (ISBN 978-1-62545-035-7) so elected to paint the model with an old bottle of Pactra Flat Olive that I had as it looked closer to what I saw in the pictures. I selected various panels and painted them in various shades of OD that I had.
I typically like to use AK Faded Olive Drab for my fuselage and AK Olive Drab for the tailboom, but this time after looking at the pictures some old Pactra Flat Olive just looked better to me. Cobra tailbooms tend to be a slightly darker color because they were made by a sub-contractor. Of course, check your references. The AK Faded Olive Drab is my go-to Vietnam era paint color. It just looks right to me. Your mileage may vary. Later in Vietnam, Cobras took on a darker tone of Olive Drab.
Once dry, the entire model was sprayed with Tamiya X-22 thinned about 50/50 with Mr. Leveling Thinner and sprayed in heavy, thick coats and allowed to dry.
The ICM decals are nice, but the stencils are at least 1½ -2 times larger than they have should to be.I used the ICM decals for the individual aircraft markings which looked perfectly sized and Werner’s Wings AH-1F 1/32nd decals for the stencils. The scale wasn’t enough to worry about and they were still smaller than the ICM 1/35th scale ones. Both decal sheets worked perfectly and were sealed with Tamiya Clear like before. Then the entire model was given a coat of Alclad Flat after drying overnight.
Then came weathering. A panel line wash was added with Burnt Umber artist oils thinned with turpenoid. Some chipping was added here and there as well as some mud where the pilots and crew would walk. I used dots of Buff artist oils and blended that in with some turpenoid and streaked the color from the top down. This simulates fading and rain streaks. I should have added some soot to the tailboom with some pastels but I was pretty happy with the look.
Once the weathering dried, add the wings with the attached armament in place. Then the canopy doors were added. I wanted this model to have the canopy opened like the rest of my collection. I attached the struts with some thick Tamiya cement and held the clear parts in place with tape, then glued them to the canopy and attached the struts. The hardest door is the gunner’s door as it is slightly off center on balance. Patience is required and you can shore up the attachment with a little bit of white glue at the struts.
Pop on the rotors along with some small parts including the clear lights, painted the appropriate color and the model was done.
Again, full disclosure, I work and fly AH-1 Cobras for the AAHF almost daily, so my knowledge base is a little more informed than the average modeler. I do nitpick when it comes to Cobras. It is my favorite aircraft ever.
This model is everything that the 1/32nd scale one is just in the ‘normal’ helicopter scale of 1/35. Is it perfect? No but it is a fun build and looks the part. A High-Tech version of this kit would be appreciated as that would address the few things that a Cobra driver would like to see done better. The good is it is perfectly proportioned and looks great. The parts breakdown is logical, and the fit is superb. The bad, or the not quite to my liking, is the simplicity of the cockpit, lack of seatbelts, lack of detail on the armament, no rivets on the bottom of the tailboom, and a poor gunsight. That said it is not bad what is in there, but it could be better. I have purchased another two kits so that I can build others so how bad can it be? I thoroughly enjoyed the build, which is the primary purpose of my building. This will add to a growing Vietnam era helicopter collection. Now if ICM could just produce a UH-1D/H in 1/35th scale, we’d be set.
Highly recommended
Thanks to ICM and IPMS/USA for the review item. You can obtain yours from your local hobby shop or online retailer.


Reviewer Bio
Floyd S. Werner Jr.

Building models since the age of 7, I’ve become known for my Bf-109s and helicopters. I currently run Werner’s Wings. I was previously the ‘star’ of the Master Class Model Building Video series. I’ve been published numerous times on various website, including Hyperscale and ARC. My work has been in FSM and Great Scale Modeling 2001, as well as, numerous other model magazines. I’m a published author with my Squadron/Signal Walkaround book on the Kiowa Warrior. My models have continuously won many regional and national awards. My unique model photography gives my models instant recognition for their historical perspective.
I’m a retired from the Army after 21 years of flying Cobras and Kiowa Warriors, including tours in Iraq, Bosnia, Korea, and Germany. I’m also a retired Flight Officer for the Baltimore City Police and flew their helicopters chasing bad guys. I’m currently flying Cobras and Hueys with the Army Aviation Heritage Foundation.
I’ve been married to my high school sweetheart, Yvonne, for 42 years. Our daughters have blessed us with six grandchildren. My passions continue to be his family, friends, helicopters, models and airplanes, especially the Bf-109 and my beloved AH-1 Cobra. My motto has always been - MODELING IS FUN!
Comments
Add new comment
This site is protected by reCAPTCHA and the Google Privacy Policy and Terms of Service apply.
Similar Reviews