
’69 Shelby GT500 Convertible
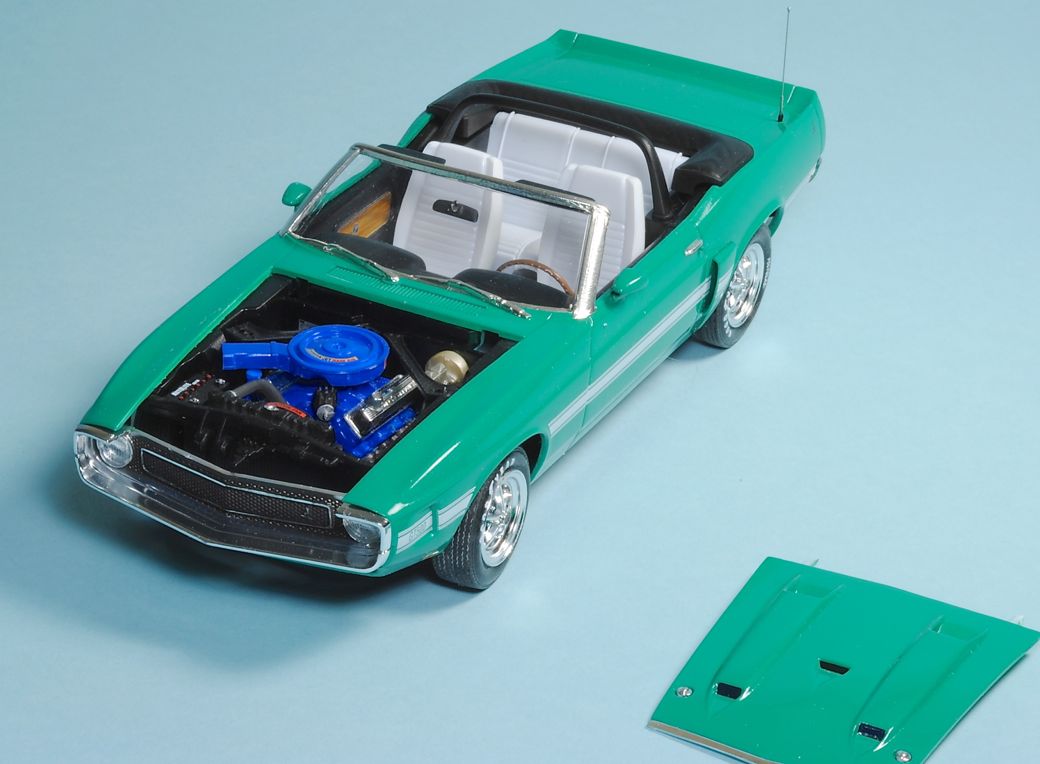
Revell has re-issued their Shelby GT500 as a convertible with a new body shell, roll bar, a convertible top which can be modeled up or down with an included boot, and also features two options for the engine. The mill can be built stock, or with a set of dual quads and a high-rise manifold. The hood has a scribed, outlined section to cut out in order to accommodate the custom engine option if that’s the builder’s choice. A set of stock wheels and a set of custom ones are included as well.
The interior is a one-piece tub, with separate seats and instrument panel/dashboard. Decals are provided for the instrument cluster, plus the wood panels on the doors and the dash.
Construction on the chassis was pretty straightforward with only a couple of minor fit issues with the exhaust pipes. I noted the molded-on lettering on the frame said the kit was originally issued in 1988 - I don’t know how many of the original fastback kit parts are common with this new issue.
Test-fitting the front fascia to the body revealed some fit issues, so rather than installing it after painting, I opted to glue it to the body, then filled and sanded the resultant seams during the earlier parts of the construction. This resulted in sanding off the front marker lights, which I restored after painting (details to follow). I decided to attach the side view mirrors prior to painting, so for strength, I drilled holes and inserted brass pins into their bases, using those to mount them to the body. (Photo2.jpg)
I elected to try the Testors two-step painting process using rattle cans, which I haven’t employed in at least thirty years, preferring my airbrush instead. I sprayed the body with their Grabber Green #28116, and when dry, went back over it with Testors Ultra Gloss Clearcoat #28139. (Photo3.jpg) The paint worked great, but my using spray cans with their resultant big blast and wide plume really stirred up previously-unseen bits of hair and stuff around my workbench and of course, some of it settled in my paint. Sanding and polishing removed the offending flotsam and jetsam, but it was a bit of a problem. Such is the price of being a pet lover with six furry critters, I guess.
When it came time to fit the major parts together, I had some real fit problems with the rear clip and discovered the culprit was the crossover pipe section for the center-mounted exhaust system behind the fuel tank. I figured that couldn’t be seen with the rear fascia in place anyway, so I just cut it off. Even at that, the rear fascia had some fit issues with the lower fenders. This could be my own doing and not the kit’s, so until I build another one, I’ll reserve judgment on that part.
The decal sheet features the Shelby stripes in black, white, and gold; although the instructions don’t specify Grabber Green for the body color, nor the white stripes, I liked how the model on the box art looked, so that’s what I tried to duplicate. The decals were opaque and worked terrific.
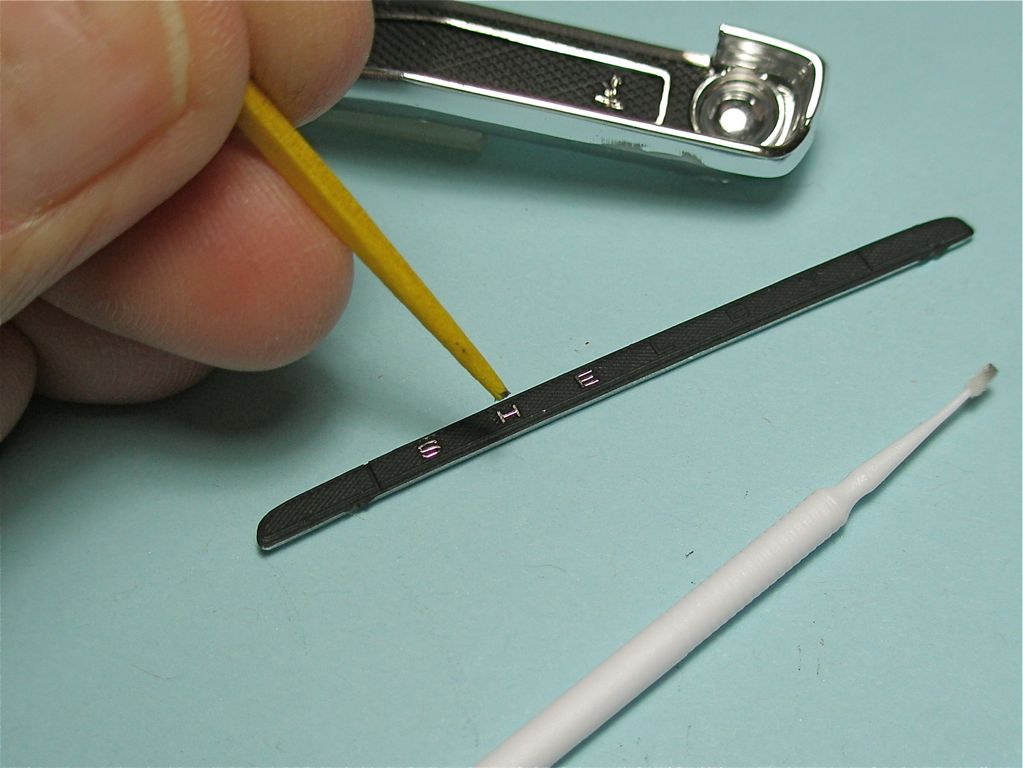
To replace the sanded-off front marker lights (Photo4.jpg), I cut some from the Model Car Garage etched set MCG-2130 for the 1968 El Camino, snipped off the engine displacement heralds (Photo5.jpg), and glued the lights in place with white glue. Clear yellow was used for the lenses. (Photo6.jpg). As an interesting sidelight, I looked at the box art to make sure I had them in the right place and was mildly surprised to see the builder of that one had apparently gone the same route with the front fascia which I did and sanded them off, but he didn’t replace the ones on his model.
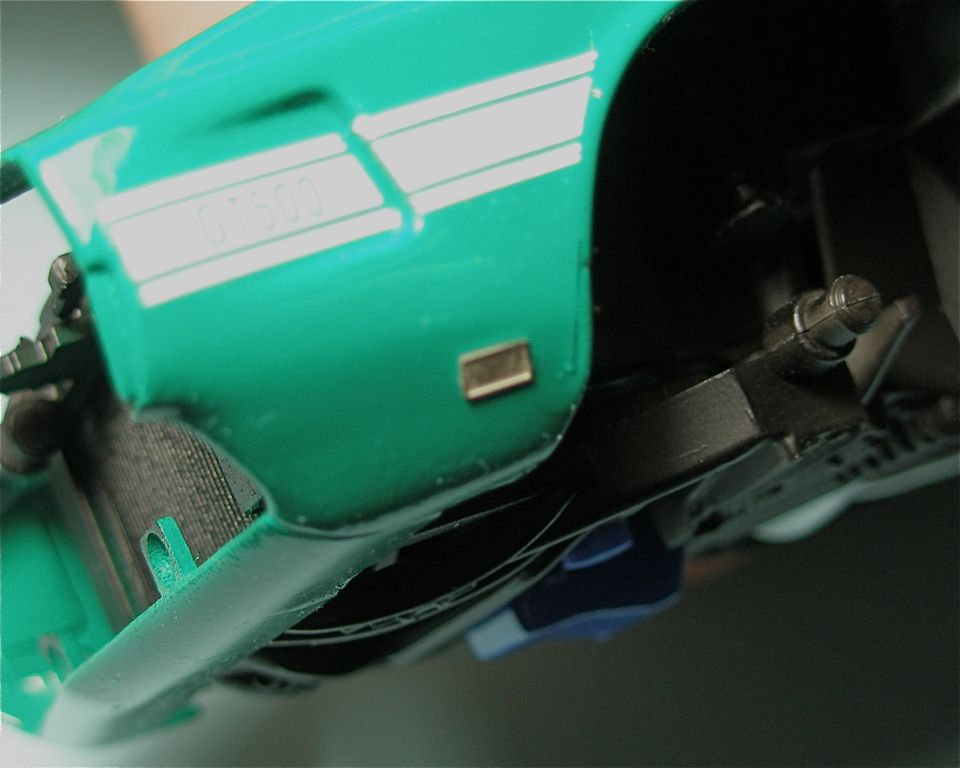
The chrome parts are a little on the thick side and some needed trimming to fit. I don’t have an original issue of the GT500 kit to compare them with, but I suspect many of the parts are from the same mold as that first issue. To pick out the lettering on the rear spoiler panel and the grille, I sprayed both flat black, then used a toothpick dipped in alcohol to remove the paint from the raised parts of both. (Photo7.jpg)
When all was said and done and the chrome parts added, I had some fit issues with the hood’s not closing and the grille not matching up very well to the front of the car. Before I mounted the tires, I used Shabo dry transfers to put Goodyear Polyglas lettering on them - just a little decorative artistic license. A final touch was making a radio antenna since there was none in the kit - I used hypo tubing for that - and adding my customary vanity plate.
The model builds up into a fine replica of Carroll Shelby’s genius work and looks great in my case along with other muscle cars.
I appreciate Revell’s and IPMS/USA’s supplying me with this neat kit to build. Thank you folks.
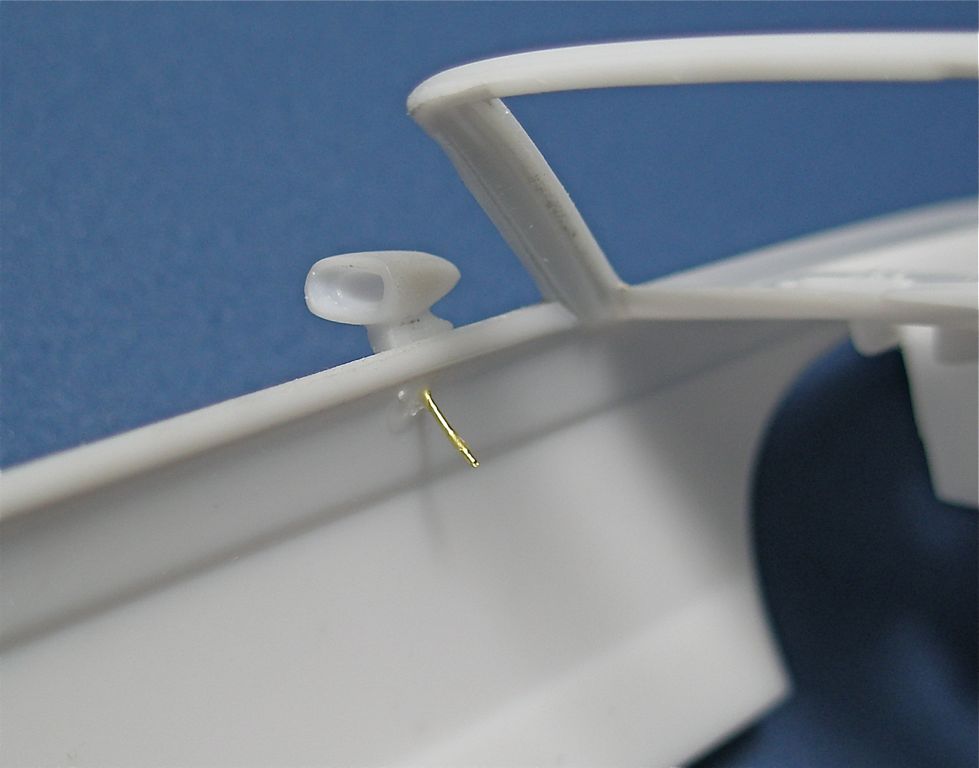
Brass wire pins to reinforce side mirror mountings
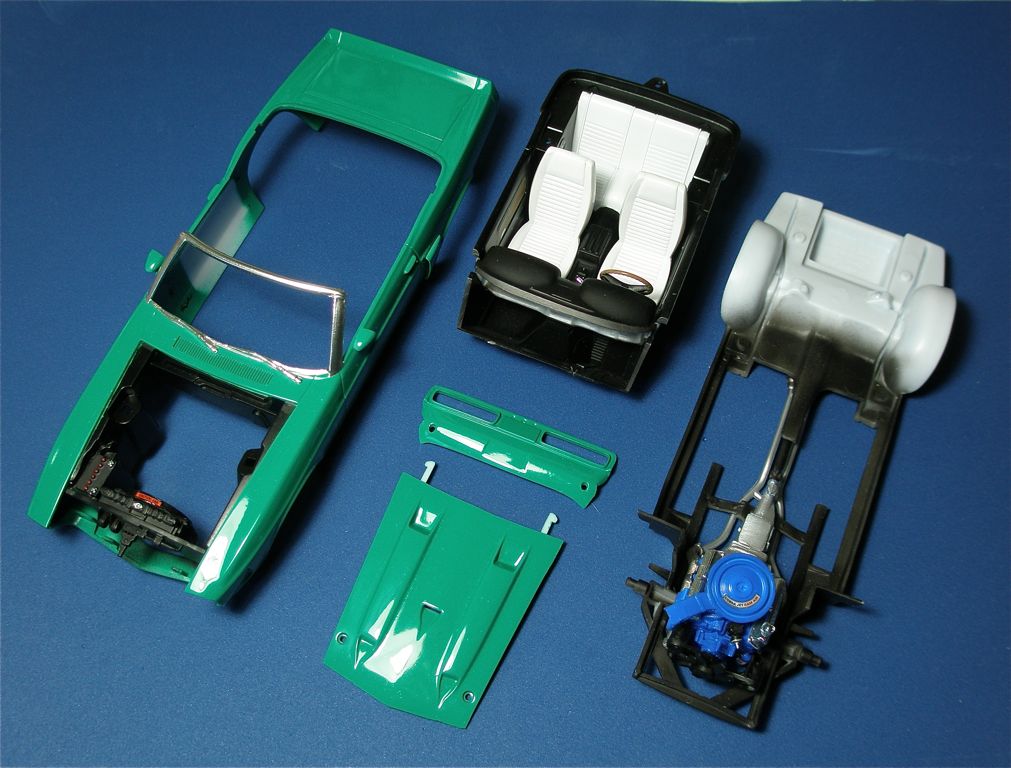
Painted components.

Marker lights nearly obliterated from sanding down front clip.

Cutting the “396” plates from the El Camino etched fret
Side marker light replaced with those from the El Camino fret.
Removing the flat black from the raised detail on the grilles.

Finished model, left front view.
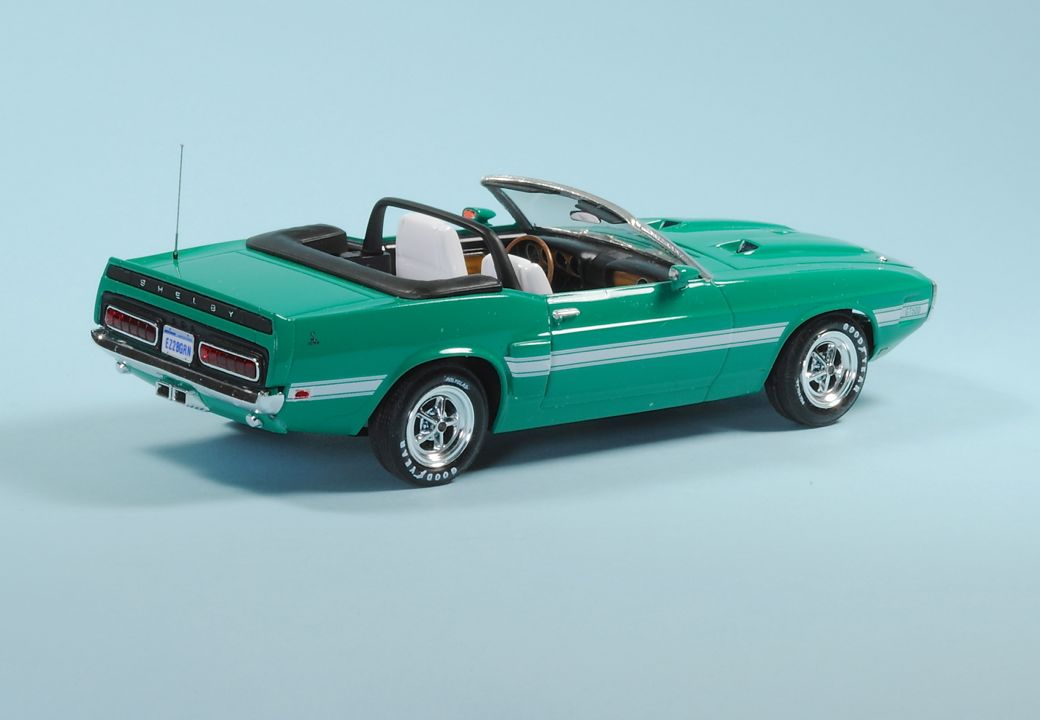
Finished model, right rear view.
Comments
Add new comment
This site is protected by reCAPTCHA and the Google Privacy Policy and Terms of Service apply.
Similar Reviews