
'68 Volkswagen Beetle - California Wheels Edition
The Volkswagen Beetle, officially called the Volkswagen Type 1 (or informally, the Volkswagen Bug), is an economy car produced by the German automaker Volkswagen (VW) from 1938 until 2003. The need for this kind of car, and its functional objectives, were formulated by Adolf Hitler, leader of Nazi Germany, wishing for a cheap, simple car to be mass-produced for the new road network of his country. He contracted Porsche in 1934 to design and build it to his exacting standards. Ferdinand Porsche and his team took until 1938 to finalize the design; one of the first rear-engine cars. With over 21 million manufactured (21,529,464 exactly) in an air-cooled, rear-engine, rear-wheel drive configuration, the Beetle is the longest-running and most-manufactured car of a single design platform, worldwide.
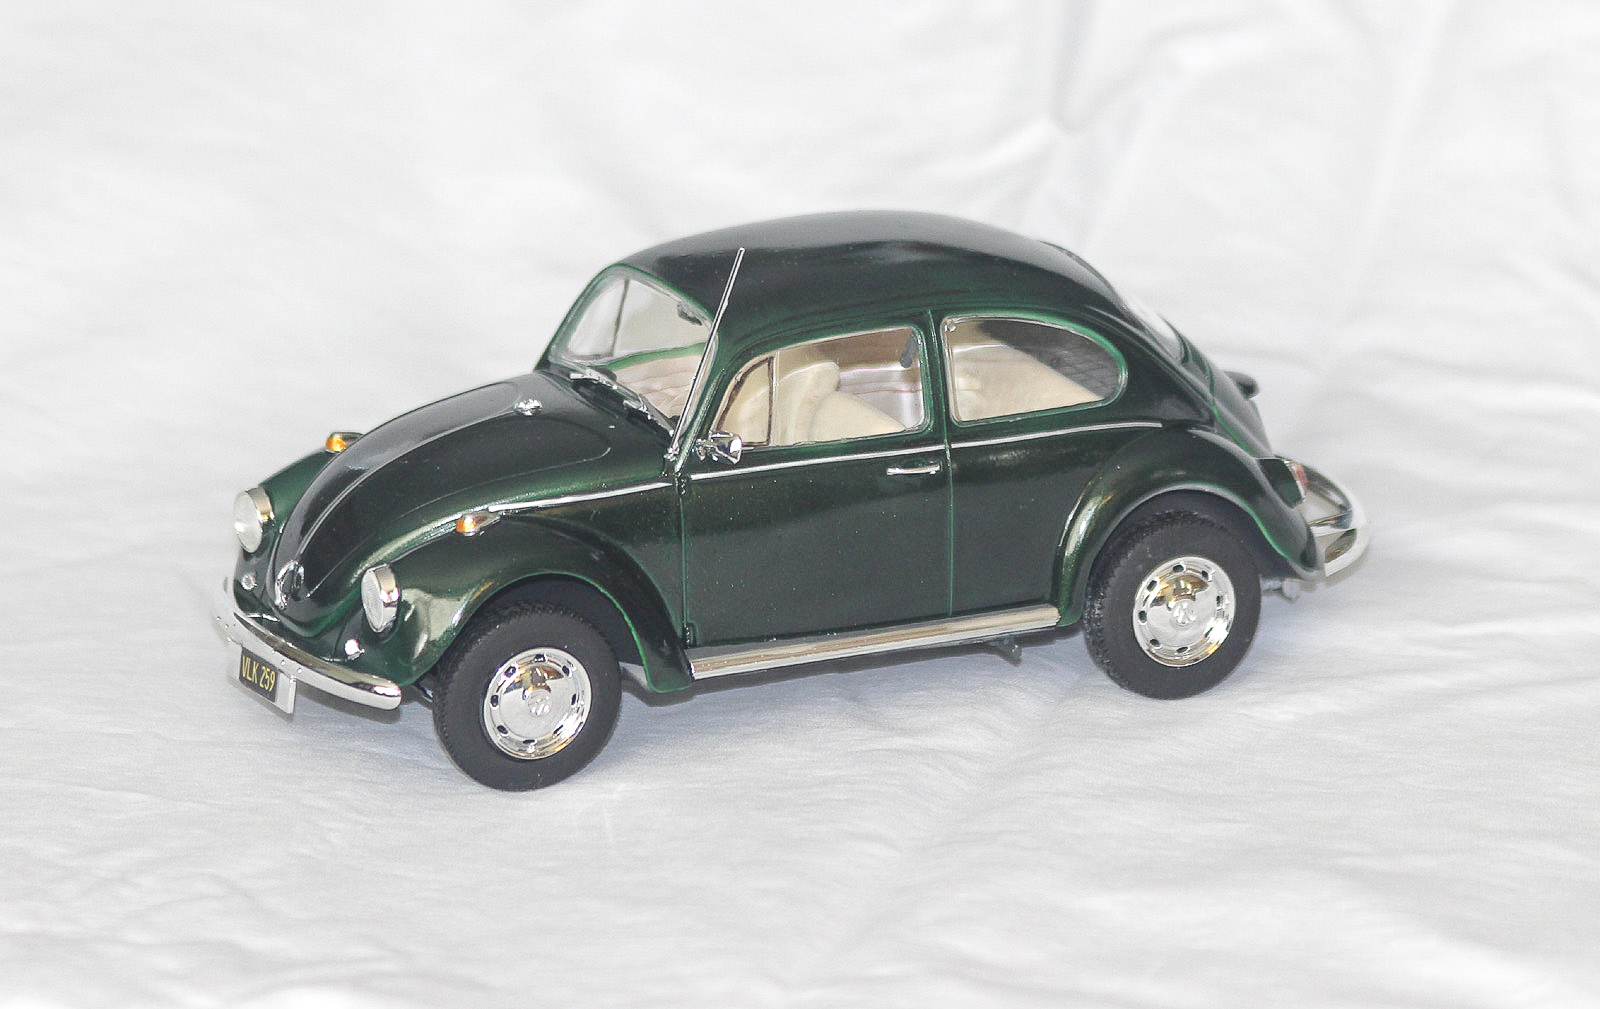
Except for military trucks, jeeps and similar vehicles, cars are not my usual genre of scale modeling since about 1963. But when IPMS offered me the opportunity to build this car model, I was delighted to take it on. I got back from Vietnam in 1971, and the VW Beetle was the first new car I bought, so this was a nostalgia project for me. In the three years I had been overseas with the Army, I had missed the “summer of love” season, but now I had the iconic car of that time. I can vividly remember the delight I took in that car’s workmanship and solid feel. In all the years I had that Bug, it never failed to start, go and stop. Finally, it was time to upgrade to have room for a growing family, but I hated to part with that VW. My faithful old pal (nick named “Max” for reasons that are not germane here) was a dark green version. The official name of that color was “Delta Green,” which I chose to use on this kit instead of the light blue called for in the instructions.
When I first opened the box, I noticed that all the 120 or so parts were in poly bags. One bag had the four excellent vinyl tires, two bags had chromed parts, one bag had clear parts, and the others contained the parts molded in white plastic. There is also a decal sheet included. The folks who packaged this product put enough paper quality control notices that you can’t help be aware the kit comes from Poland. The quality of the casting and packaging from Revell is worth looking for if you have an option during your future buying process.
Washing the sprues is always one of my preliminary steps, and it gives me a chance to get familiar with the contents of the kit. One of things I noticed, which could have been done differently, is that the parts are not grouped numerically on the sprue trees. Finding part #X did not mean that part #X+1 would be nearby, or even on the same tree. For me that was a notable irritation. Perhaps there is an engineering consideration of which I am not aware?
A multi-page, 19 step, illustrated instruction sheet takes you through the build in English, French and Spanish. There is a paint color table (by name rather than any brand’s code numbers) and a parts list. Step-by-step construction follows with parts numbers, paint codes and decals marked for each. Sometimes, I had to flip forward to see what the finished subassembly ought to look when completed, but that is my need for visualization. The last page is a set of exterior views for final decals and parts placement.
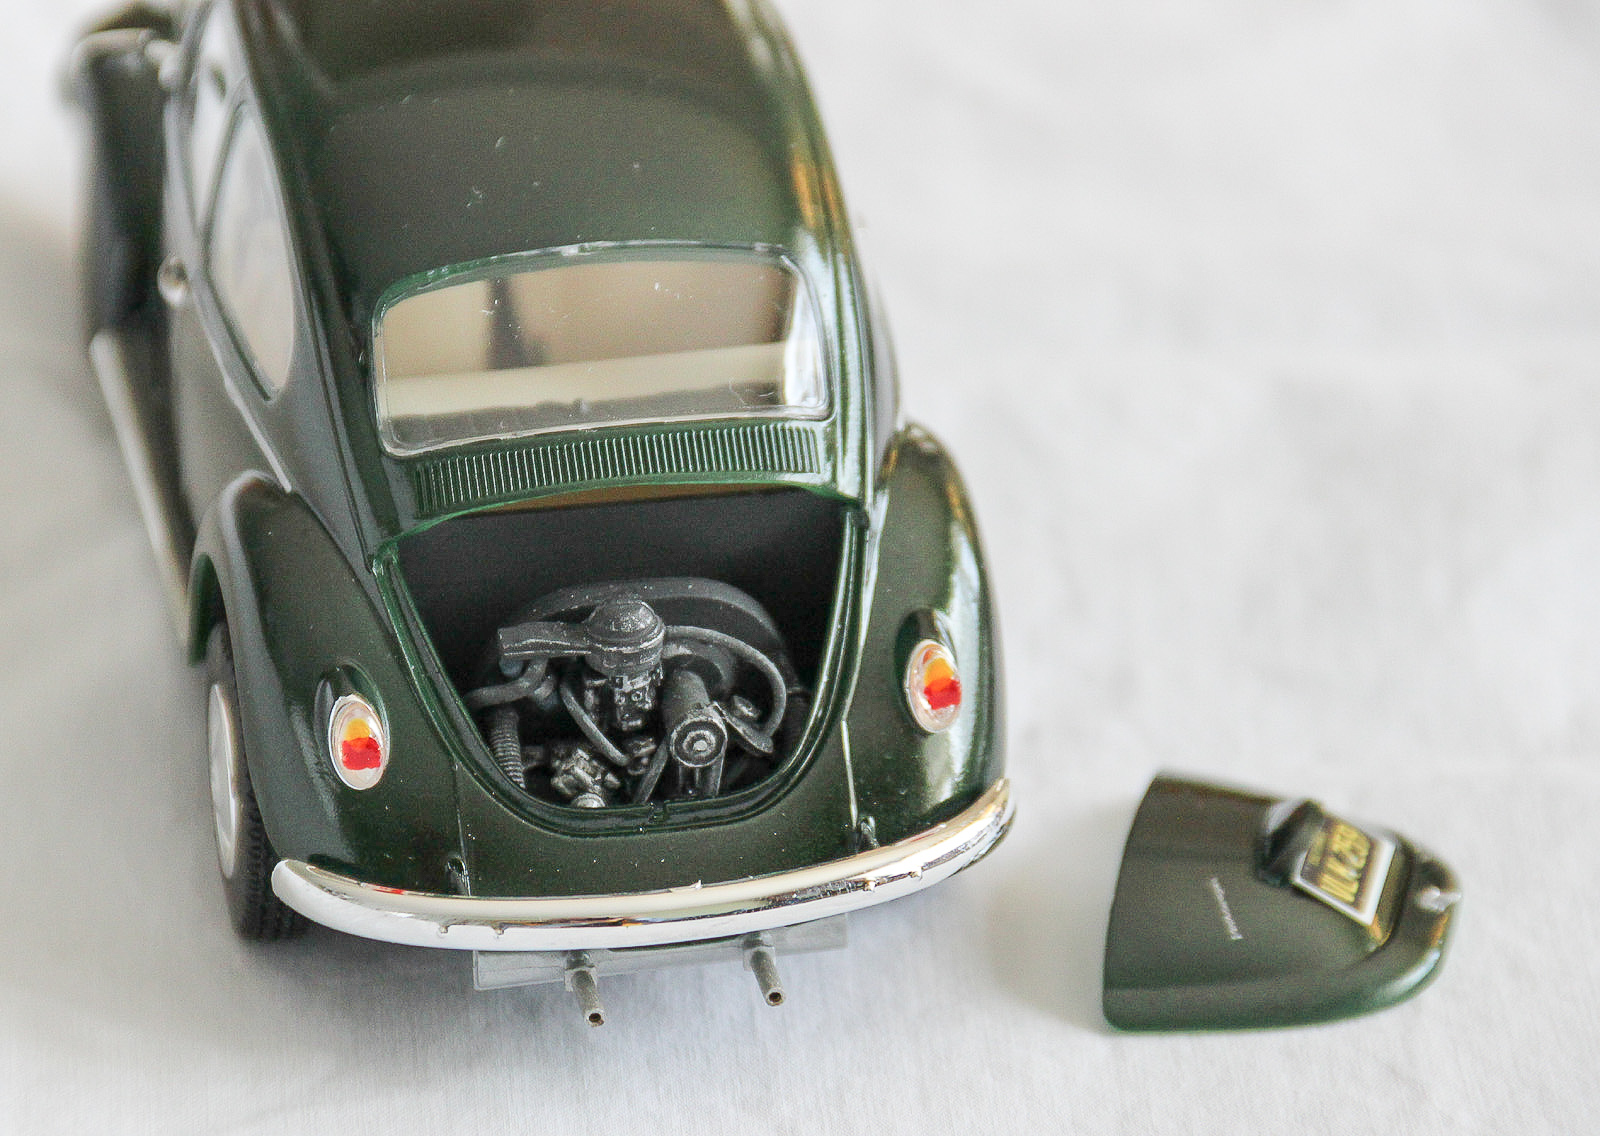
The beginning construction steps all involved the engine. At each step, parts were labeled for painting as well as decals (such as on the oil filter). If you are going to apply these decals it may be best to do it when instructed, because the little air cooled engine doesn’t leave much space between assembled components for adding decals later. The engine was never my strong suit in car ownership. I could drive the car, check belts, change a tire or the oil, but I generally stayed away from the noisy part under the vented hatch at the back. That being said, the completed engine subassembly looked okay to me. The engine compartment cover can be hinged to show the four-banger.
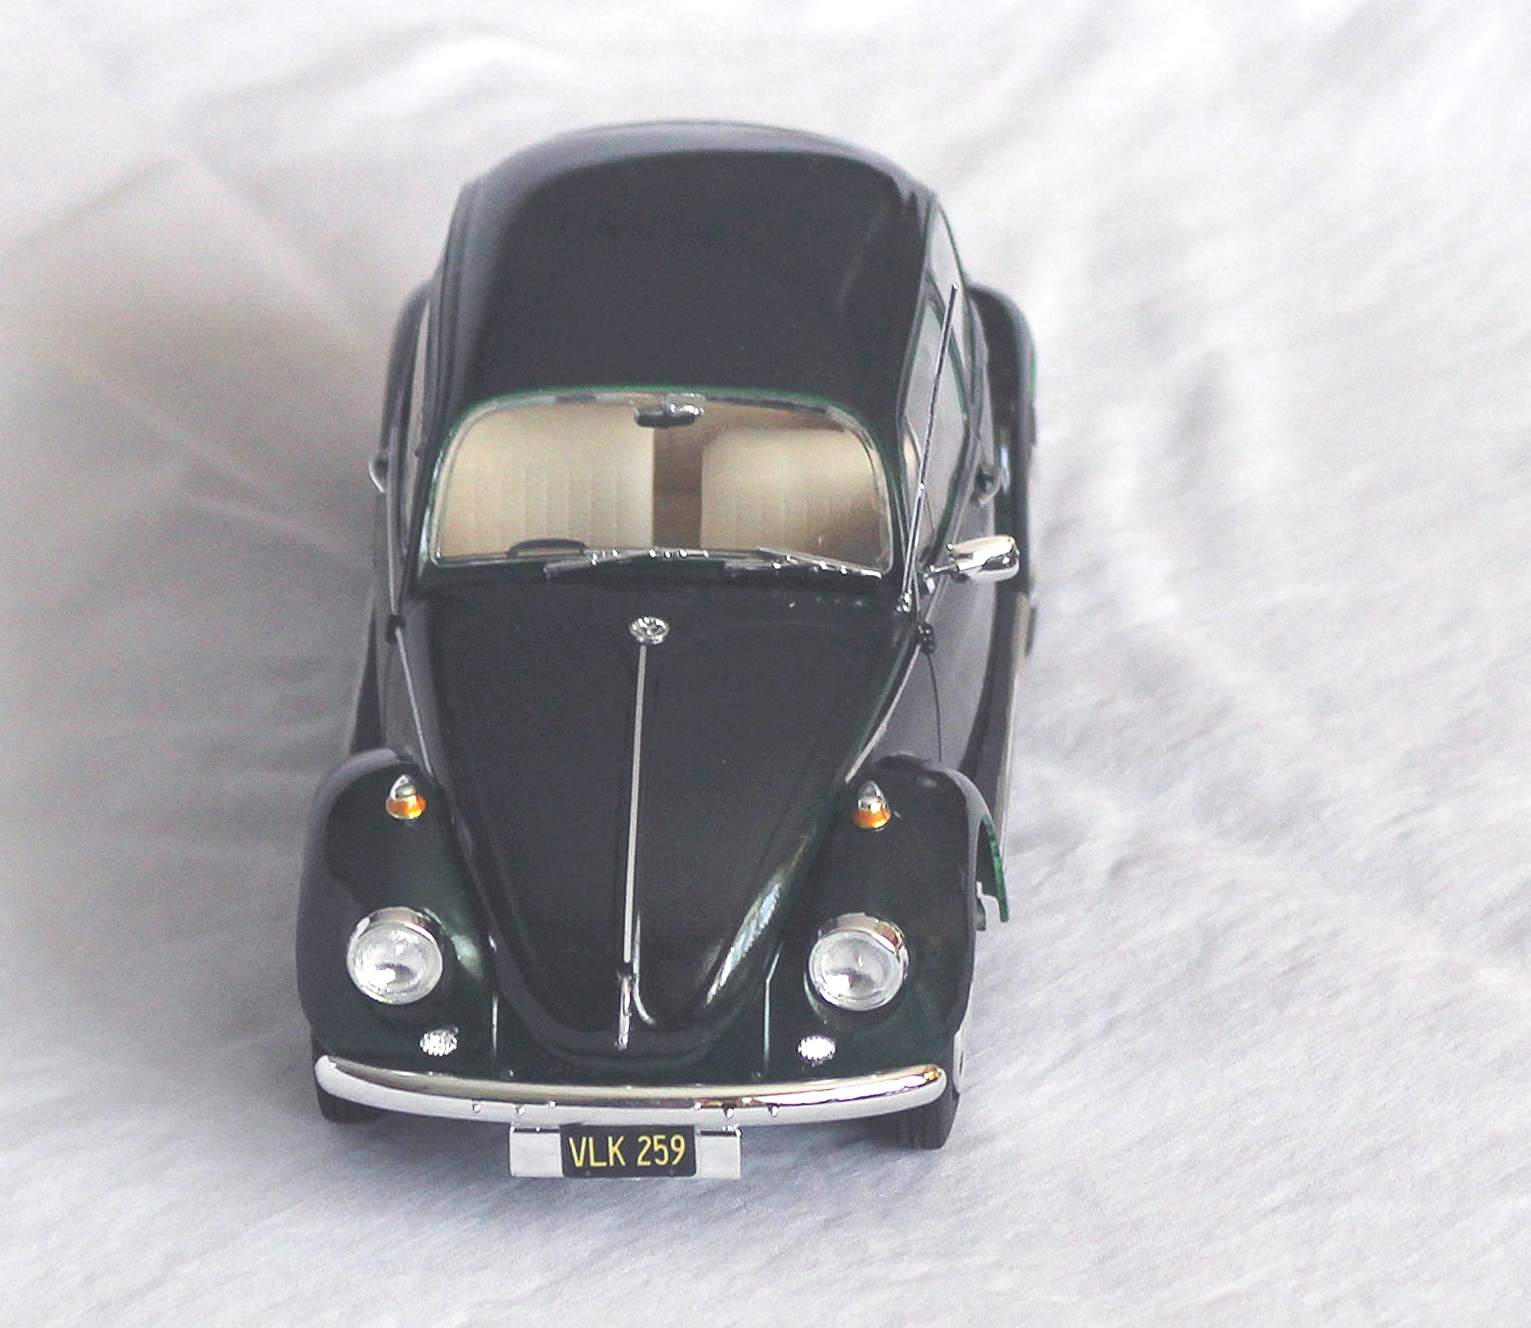
Fortunately for my incomplete memory, I was able to find color photos of a restored VW Beetle for reference and a vintage owner’s manual for some additional details. For instance, when putting together the dashboard and interior the kit’s painting instructions call for a silver “grab handle” #62 above the glove box on the passenger side. In actuality, this was a rubbery, flexible piece that was black in color. The kit’s instructions also varied in its directions on how to paint the interior floors and wells. When the instructions conflicted, I went with the owner’s manual photos. If the handbrake, kit part #47 in step 8, was assembled by the instructions it would be pointing backwards. Fortunately, there is plenty of room to install it correctly. Also, the inside of the doors do not have the usual elastic top pouches that were part of the Bug’s charm. Well represented are the brake/clutch/gas pedal cluster, the distinctive steering wheel, the classically functional dash painted with the exterior color, the gear shift stick, and the texture of the upholstery. Yet, the driver and passenger seats do not have the more protective high backs that were included by 1968, there are no seat belts for the back seat, and likewise there are no latches on the side of the seats to lay them down for back seat access.
The tires fit very neatly on the chrome wheels and hubs. I think the tread texture is excellent and the assembled wheels go onto the axles with minimal trimming and fuss. In memory of “Max,” I went with the black sidewall look rather than apply the furnished white side wall decals.
From the start, I was concerned about all the glass. Aircraft kits have posed some challenges with glazing, and here was a sprue with six big hunks of clear windows. The first step was the washing, and then a dip in Future which brought out the dazzle in the “glass.” When step #14 called for putting the windows into their respective openings, they actually turned out to be effortless to install and had a great fit. I only put a bit of white glue in the “frame,” and each piece stepped in with no further fuss. Tip of the hat to the kit designers!
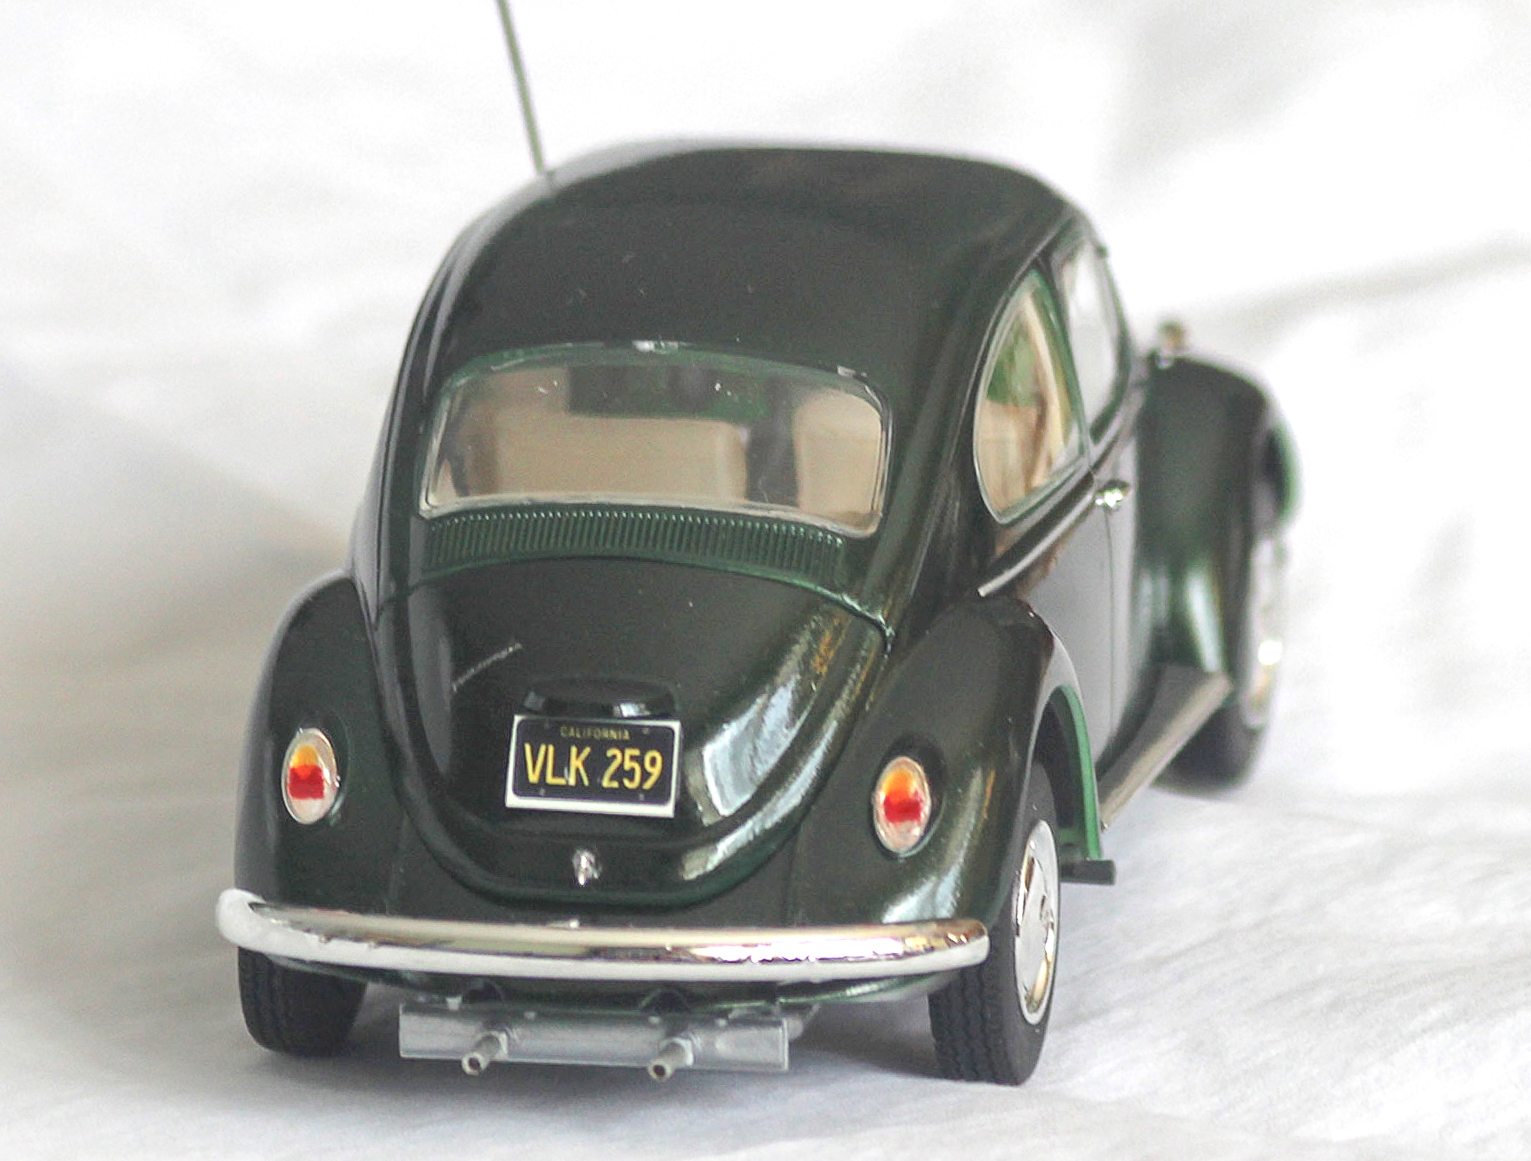
Take a note of the rear taillight coloring. The piece is cast in clear plastic with directions to paint color “J” (amber turn signal) in the middle of the lens and color “K” on the top. I found no color “K” enumerated in the kit’s instructions, but I guessed that “stop signal red” ought to also be there. The owner’s manual showed the actual coloring of the tail lights as amber (turn) on top, red (stop) in the center, and white (back up) on the bottom.
The kit offers some interesting options, such as the tire sidewalls mentioned above, two different California license plate options in keeping with the “California Wheels” theme, and curiously enough, a right-hand drive set up option. The RHD will determine not only the side for the steering wheel, the control pedals, but also the outside mirror position and the location of the AM radio antenna. With that in mind, most “drill here” or “cut here” indicators were visible except for the outside mirror and the antenna. So, I made my holes as close as references, and memory, would permit. The AM antenna seemed a bit thick and shiny for the scale, but close enough.
For my taste, this kit is “Recommended.” There are no real difficulties in construction if the modeler follows the instruction sheet, even for a relative beginner. The look of this model, both as a scale kit and as a nostalgic revisit of a favorite ride, are quite satisfactory to me.
Thanks to Revell for providing the kit and to IPMS/USA for the chance to review it.


Comments
Add new comment
This site is protected by reCAPTCHA and the Google Privacy Policy and Terms of Service apply.
Similar Reviews