
2015 Corvette C7.R
This new kit from Revell is the 2015 Corvette C7.R that raced at Le Mans and in the IMSA racing league in the United States.
Kit
The kit comes packaged in the usual Revell 1/25 size cardboard box with 4 bags of white molded parts, 1 bag with a white body, the metal axles, rubber tires and clear red tail lights, and 1 bag with the clear parts. There are a total of 13 sprues of white plastic plus the body, 1 sprue of clear red, 2 clear sprues and the 2 metal axles and 4 rubber tires. All this adds up to a total of 64 plastic parts. The parts are molded with good detail and little flash. There are some ejector pin marks that will need to be addressed, but not too many.
The kit also comes with a very nice decal sheet with markings for 1 car, the number 4, that is in perfect register (More on the markings later). The instruction manual is 12 pages long and consists of 20 steps, including the decal guide. Paint callouts are generic in that they just give a generic color name and do not reference any particular paint manufacturer. There is also a listing of the parts and what they are, which is nice if you are not sure what each part represents.
Construction
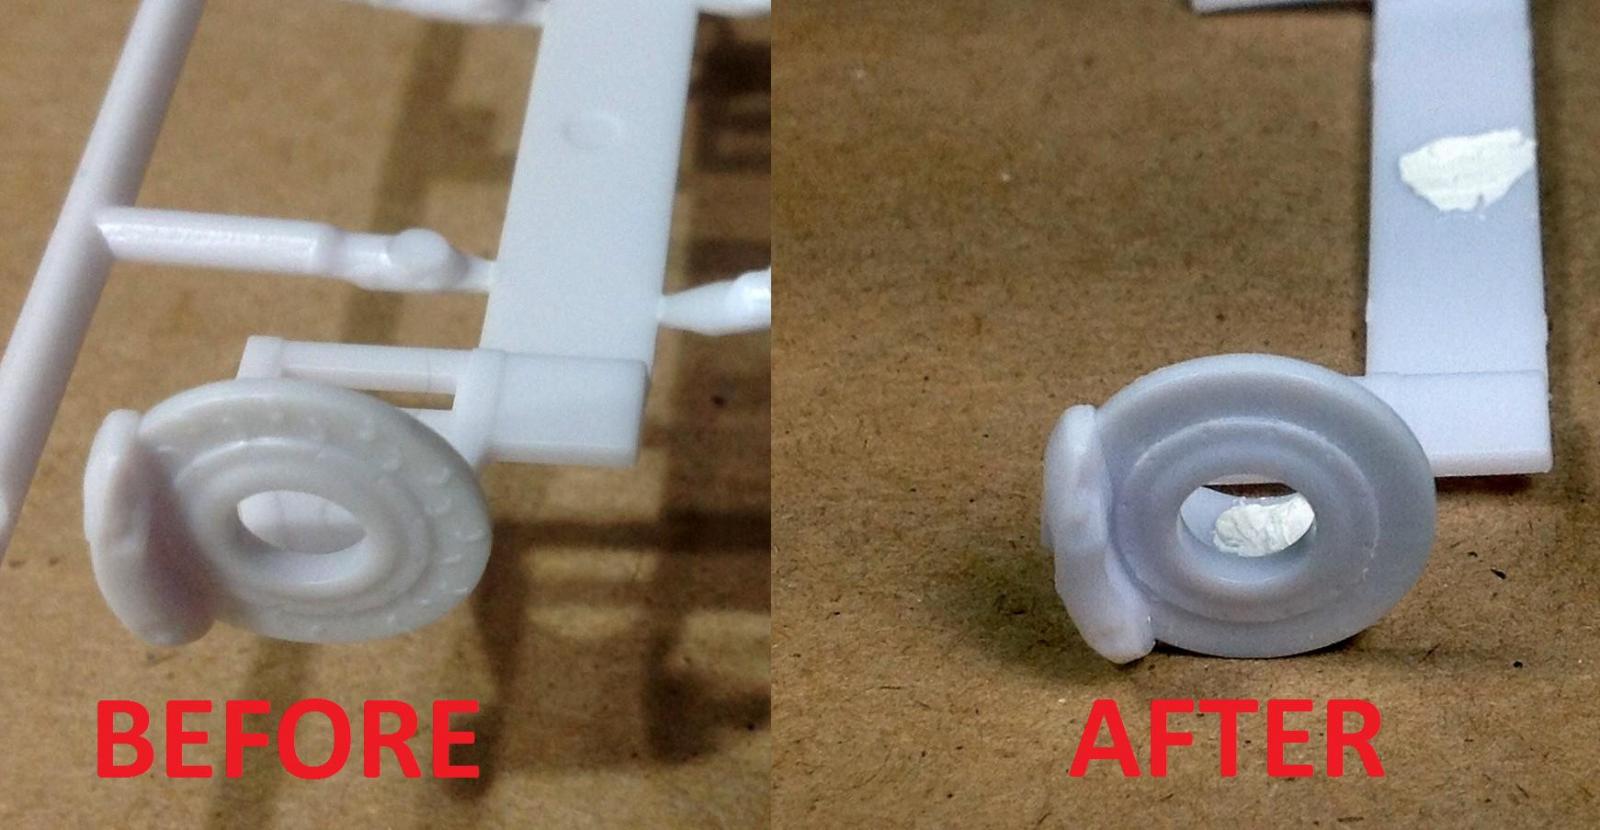
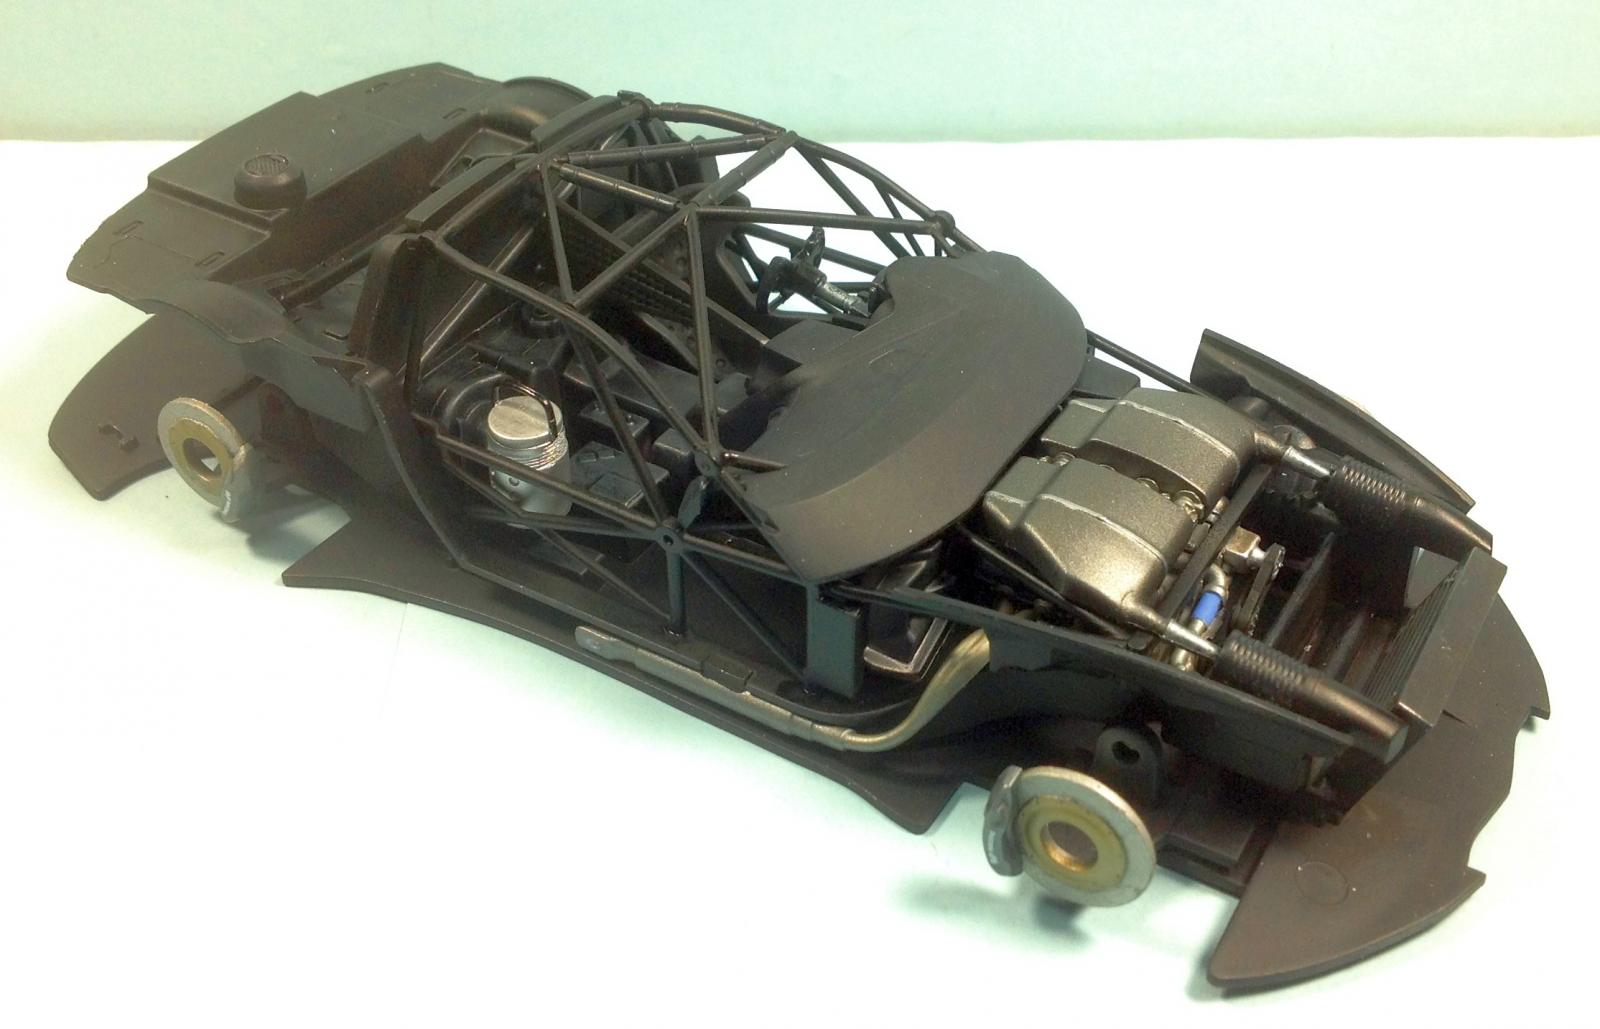
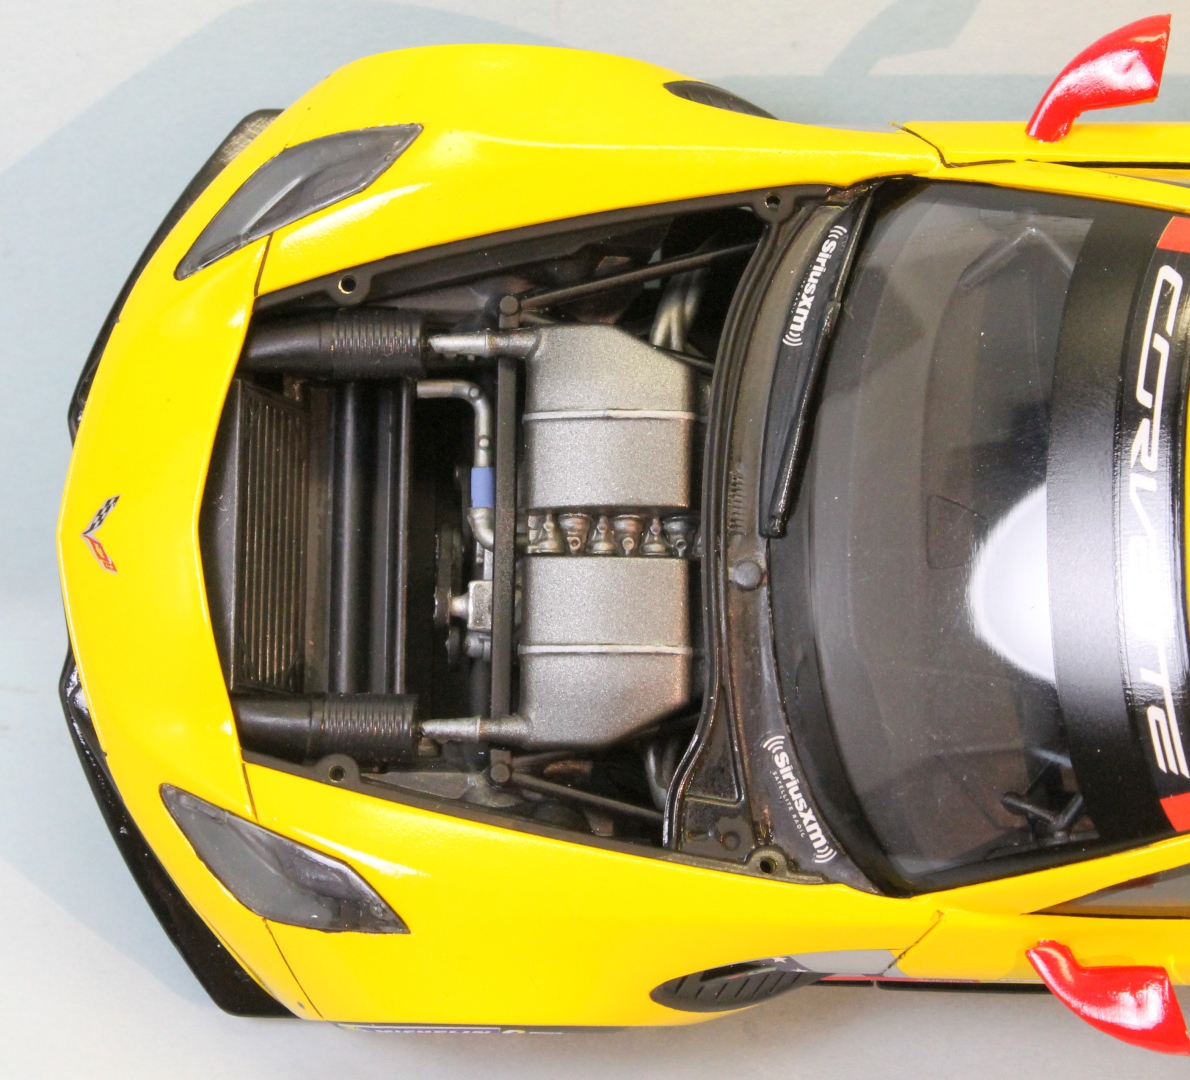
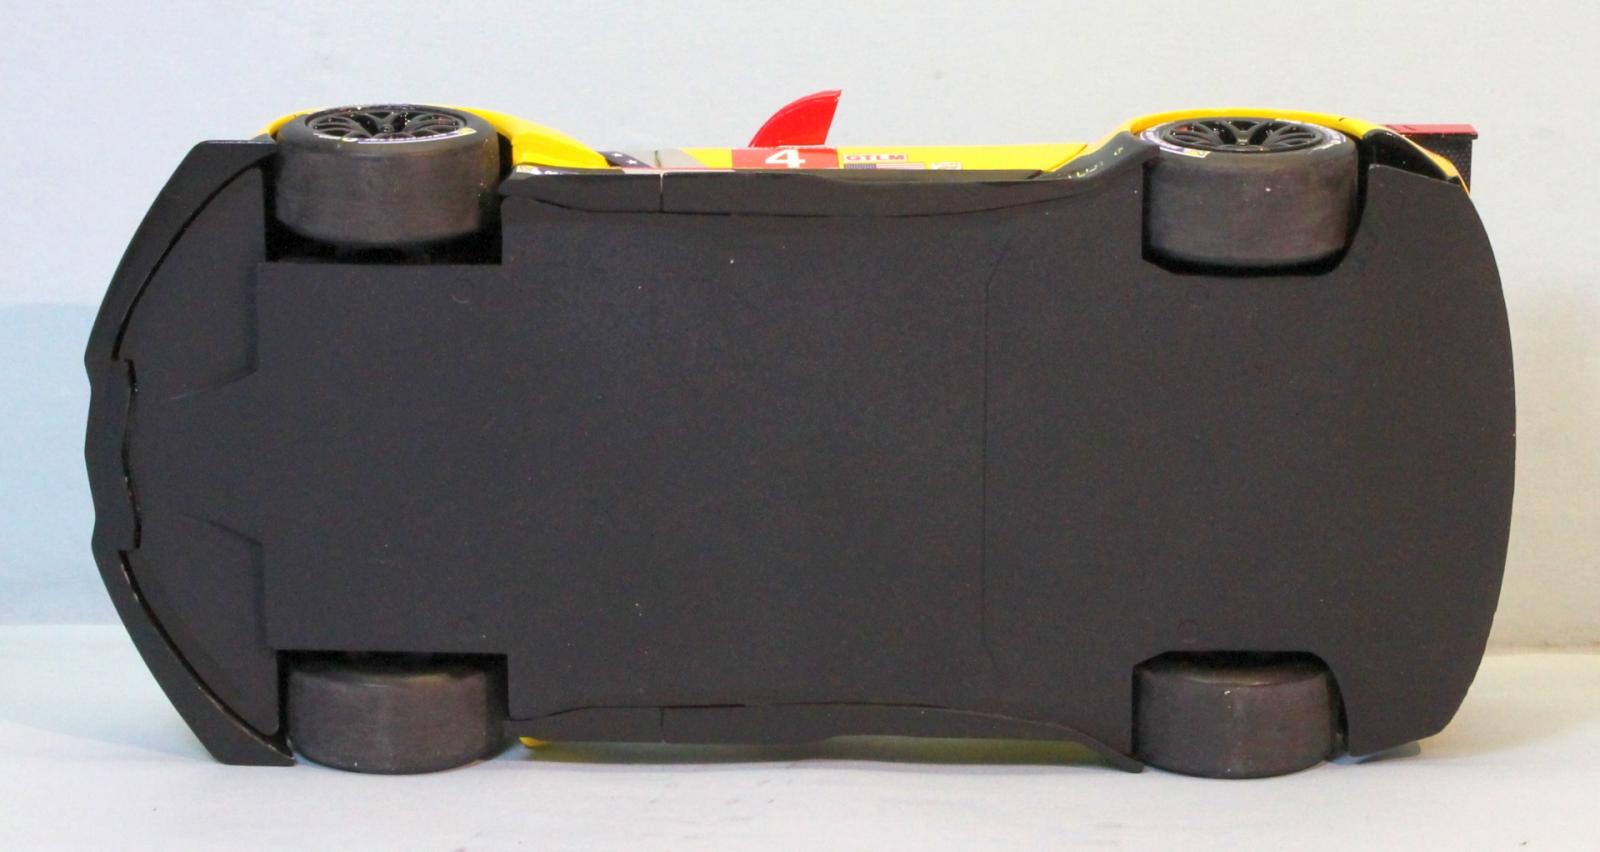
Construction starts off with the engine. The engine is pretty well detailed although not complete. The finished engine looks good in the finished model and not too much of it can be seen. I painted the engine using the color callouts in the instructions. Next up is the “suspension”. I put that in quotes because there is no suspension modeled in the kit. You get 2 pieces that have the brake rotors and calipers mounted at the outsides. These 2 pieces mount to the flat chassis bottom and have what look like A-arms molded to them. In all fairness to Revell, not much else would have been seen once finished and it simplifies construction. The brake discs are molded with bumps for what should be cooling slots. I ended up sanding the bumps off and just leaving the discs solid instead of drilling the slots. It is not that noticeable behind the wheels once everything is assembled. There are decals that go on the brake calipers. The wheels are attached with metal axels. The front one goes right in front of the engine block, between the block and pulley/belt assembly. On the finished model, it is not that visible, but if it really bothers you, you could always just glue the wheels to the brake discs.
Next up is the interior tub. It is molded in 1 piece with separate firewall, pedal assembly, seat, roll cage, dash, rear wall and coolant jug. The fit of all the parts is really good and I didn’t have any issues with any of them. I painted the interior using the recommended colors. There are no seat belts included in the kit. Not much will be seen through the windows when finished, so I wouldn’t spend a lot of time detailing the interior.
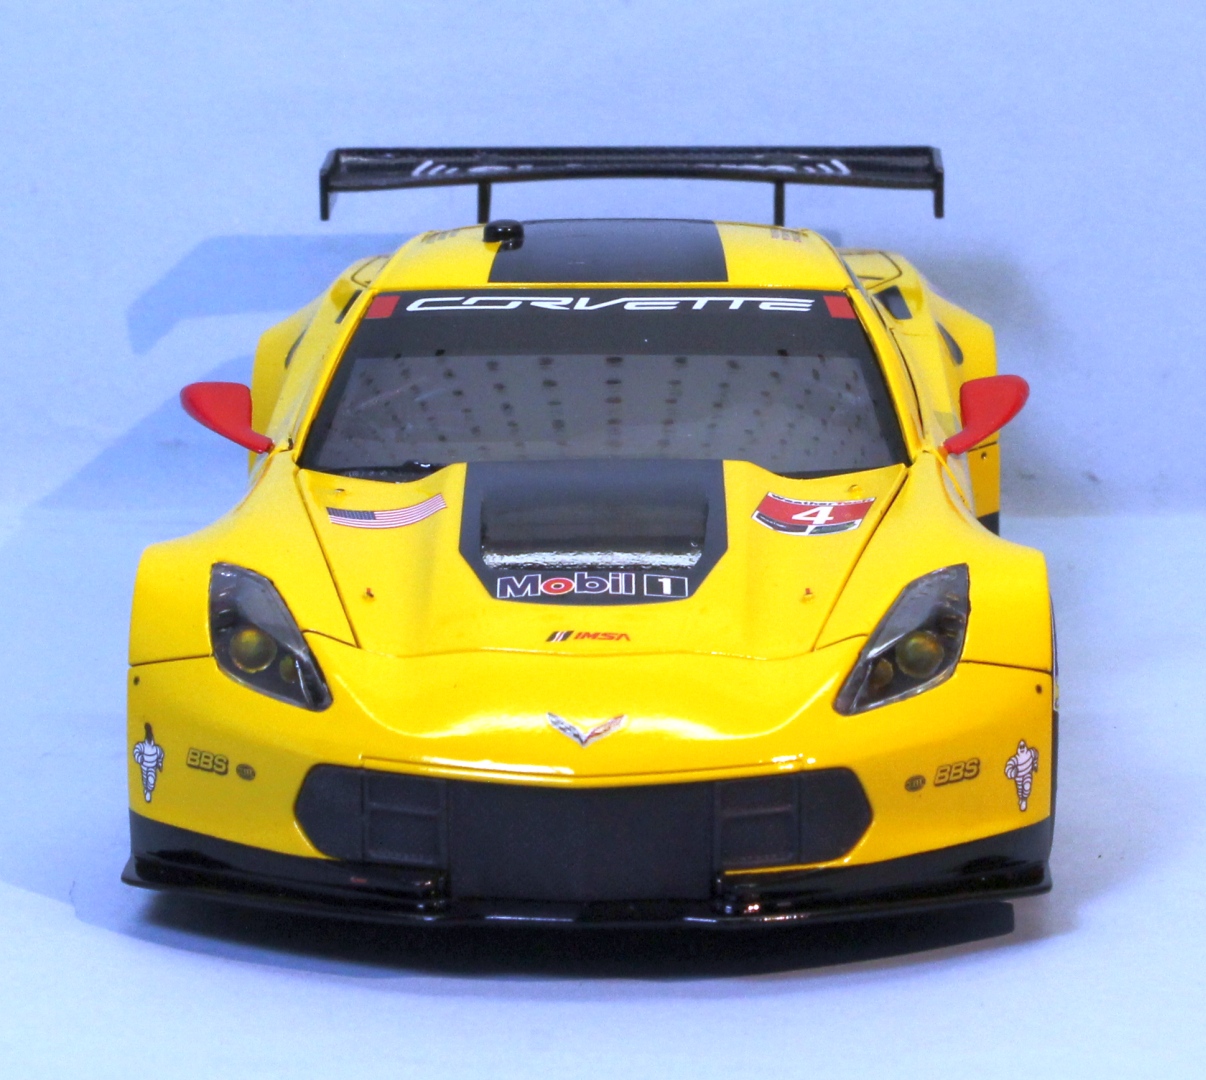
The body is 1 piece, with separate doors, hood, lights, spoilers, front grill and lower rear valance. The detail is really nice on the body and everything fits together very well. The only fit issues I had was with the headlight glass and light bucket. I had to clamp the parts in place while the glue set to get them to stay in the correct position. Everything else fit perfectly.
The window glass is molded in 1 piece and has the black window frames already painted on it. You have to paint the side, rear quarter windows black (I almost missed that one). When inserting the glass piece, which goes in from the inside, make sure the side rear quarter windows pop into the openings all the way. Once they are in the correct place, the rest of the windows fit perfectly. I used a little Krystal Klear to glue them in place.
Paint and Markings
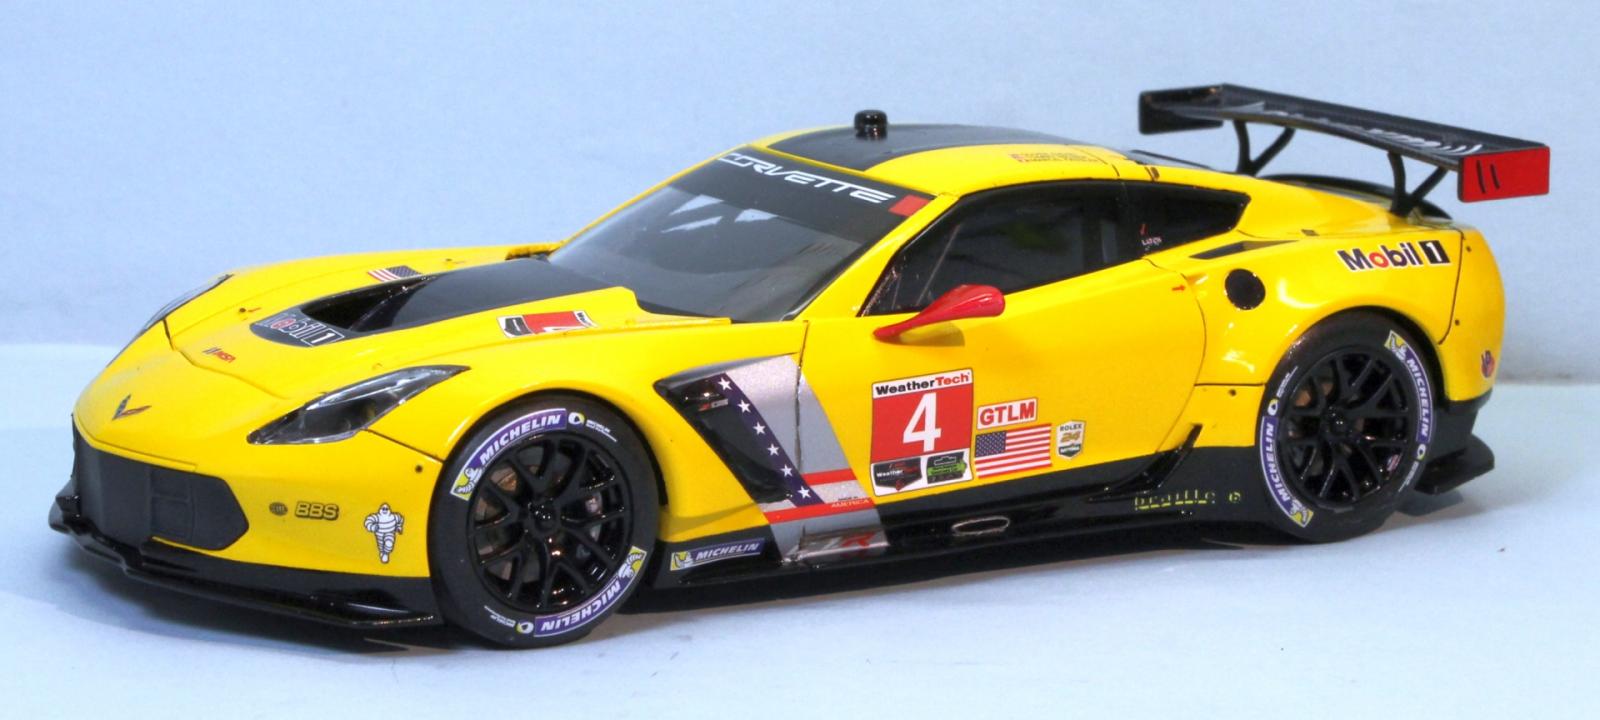
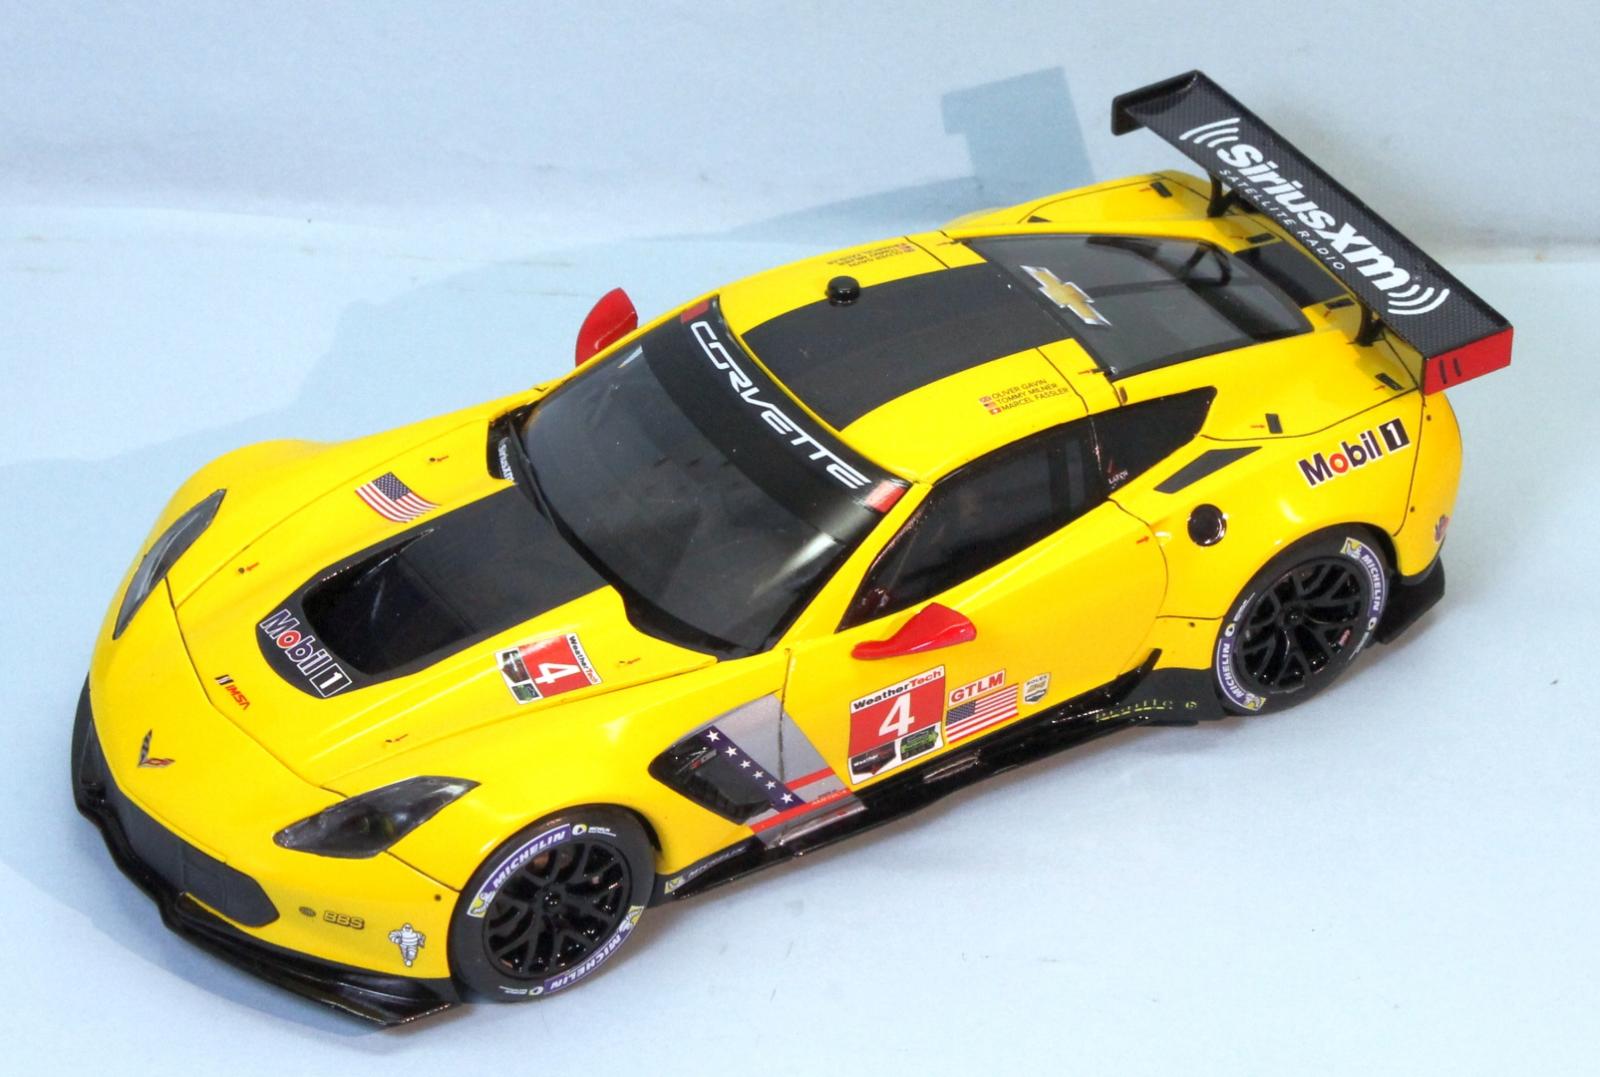
I used a combination of Vallejo Model Color, Tamiya, Testors Metalizers and Alclad II paints depending on the color I needed. I primed everything with either Tamiya Fine White or Grey Primer depending on the final color before painting. For the yellow, I just used Tamiya X-4 and for the red I used Tamiya X-7. The black around the bottom is Tamiya X-1. After painting the body, I gave it a coat of Future and then went about decaling.
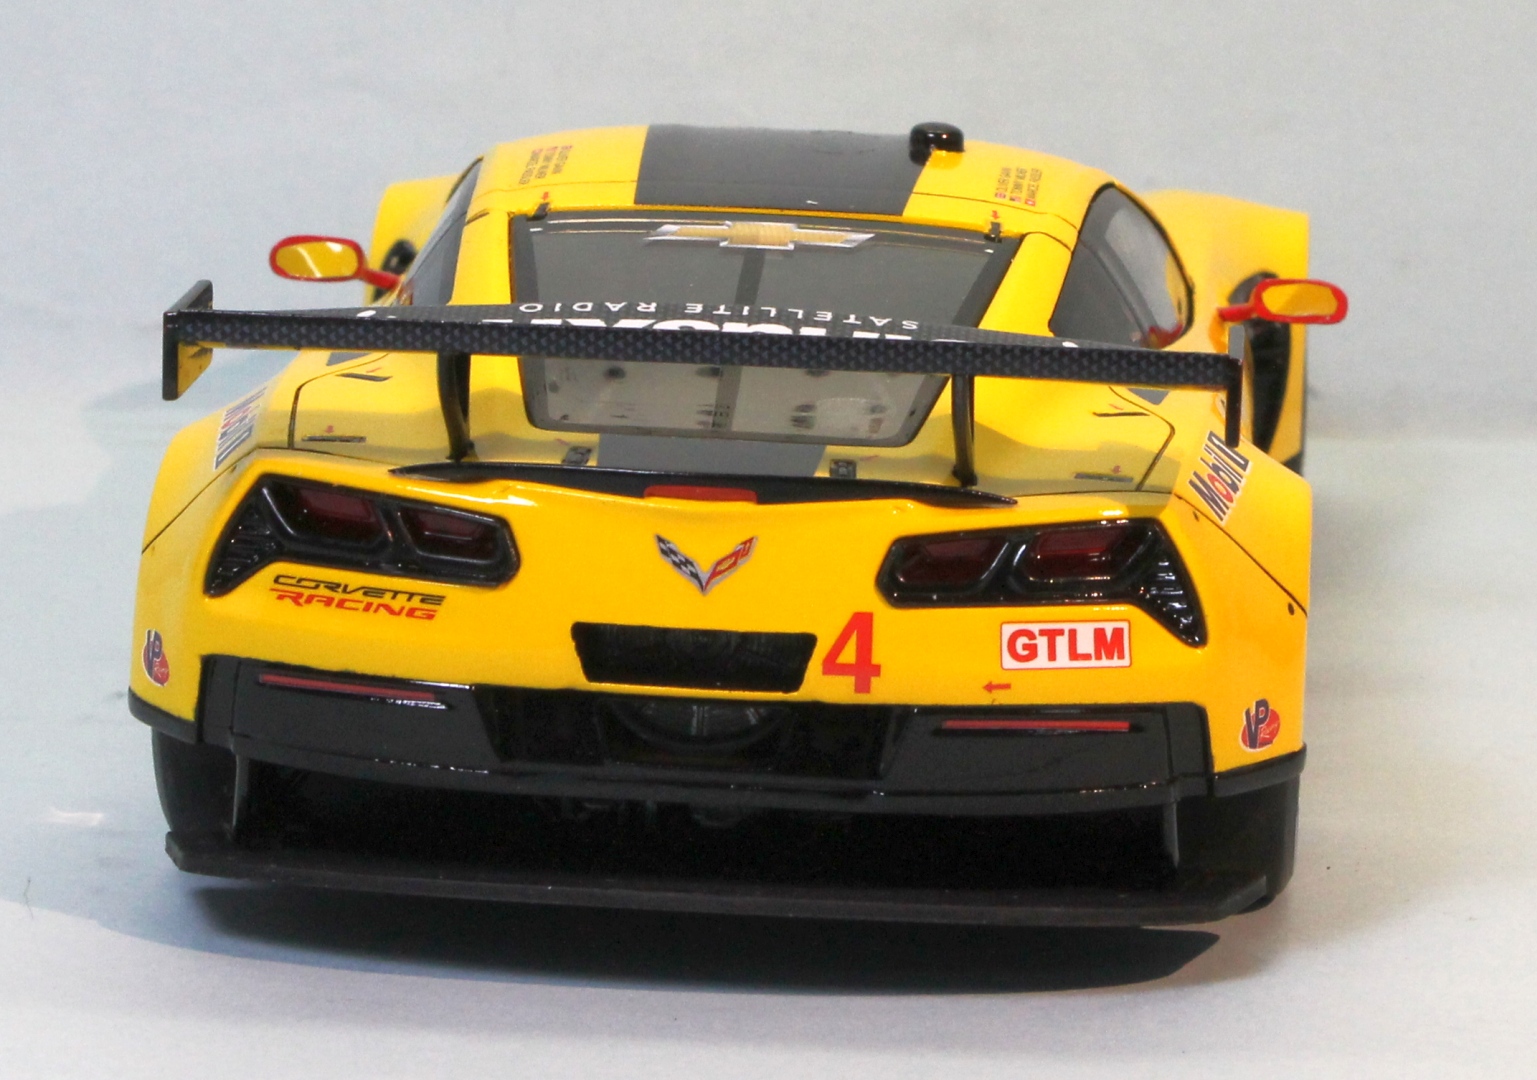
The decals all went down great except for the stripe on the roof. I used Micro-Set and Micro-Sol on all the decals, but for some reason, only the top stripe wrinkled up and did not smooth out. When I tried to fix it, I ended up stretching it and added a couple more wrinkles to it. I decided to leave it as it is and not worry about it. All the decals fit perfectly except for that top stripe, which was just a little too short and leaves a yellow stripe above the windshield. I added a second coat of Future after the decals dried.
The markings included in the kit are for the number 4 car with the drivers listed as Oliver Gavin, Tommy Milner and Marcel Fassler. I researched this driver combination and the only time these drivers were together was at Daytona, Sebring and Road Atlanta of the 2016 season. Also, the markings on the side have the Weather Tech sponsorship, which was also for the 2016 season. The box art is also of the 2016 car. The car is molded as a 2015 spec car, but has 2016 markings in the kit. There were some body mods for the 2016 season that are not included in the kit. If you want a truly accurately marked model, you should look for aftermarket decals or make the 2016 mods to the bodywork.
Conclusion
Overall, this was a very pleasant kit to build. It is simplified in parts count and some details are omitted, but really looks nice when built up. I would highly recommend this kit to anyone, especially those interested in sports car racing.
I would like to thank Revell and IPMS for giving me the opportunity to build and review this kit.


Comments
Add new comment
This site is protected by reCAPTCHA and the Google Privacy Policy and Terms of Service apply.
Similar Reviews