
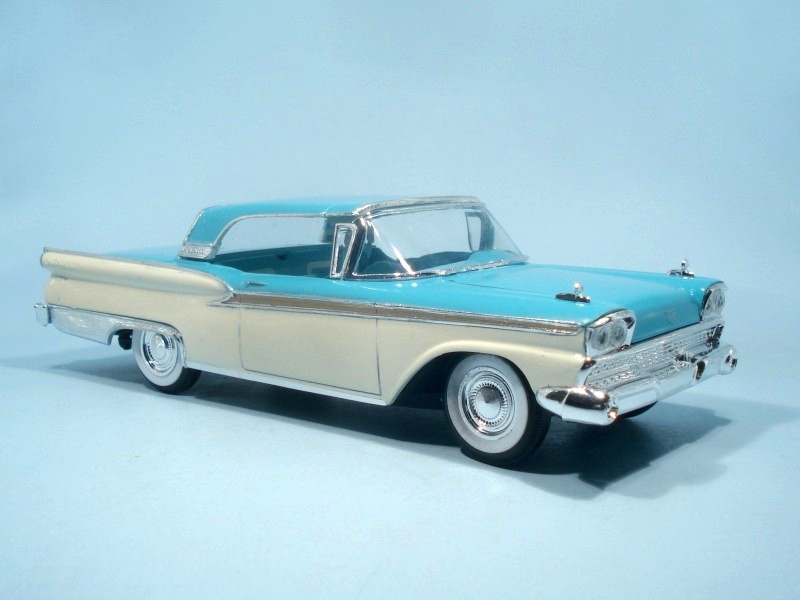
1959 Ford Galaxie Skyliner with Retractable Top
I would like to express my sincere thanks to Revell for providing this kit to IPMS/USA and to them for allowing me to review it.
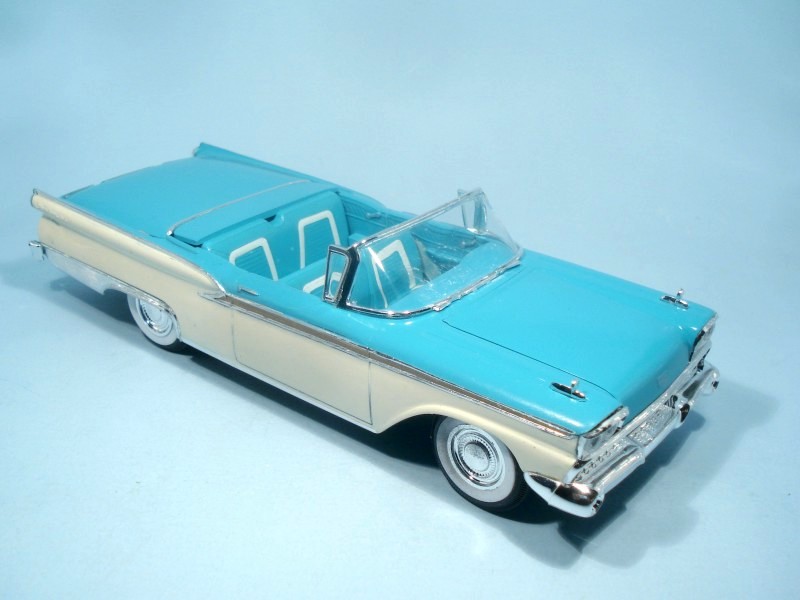
The Ford Skyliner was an innovative full-size car that came with a retractable hardtop and was built for only three years, 1957, 1958 and 1959. It had a very complex mechanism, which folded a section on the front part of the roof and then retracted it under the rear deck lid. It had three roof drive motors driving four lift jacks, four door lock motors, ten solenoids, four locking mechanisms for the roof, and a total of 610-ft. of wiring. It was the first retractable hardtop to be mass-produced. The standard engine was a 332 cu. in. or an optional 352 cu. in. was available. Transmissions available on the Skyliner were two manual transmissions, a three-speed and a three speed with overdrive as well as the 3-speed Ford-O-Matic automatic transmission.
The Kit
Revell originally released this kit in 1959. That date is still embossed on the chassis. The kit comes in a cellophane wrapped box, 9-1/4”X6-1/2”X3-3/4”, exhibiting the original box art. As indicated on the box top this is an SSP, Selected Subjects Program kit. That means a limited production, one-time offering. The box contains plastic parts molded in white, clear and chrome plated. The tires are of soft black material. Also included are two metal axles. There are approximately 99 parts and all are used. The moldings have adequate detail, but most every part has some flashing to remove. The surfaces of the parts are blemish free. The parts fit together like a 1959 kit.
Revell has included a sheet of decals containing interior and exterior trim, license plates and some artwork to “dress” up the sides. The decals were very easy to handle and released from their backing in seconds. Once applied, they laid down with little problem. The decals were in perfect register.
The instructions are in an eight page 8-1/2”X11” pamphlet. There is no narrative, but the exploded view drawings are clear and the assembly of the parts is very well illustrated. Construction is broken down into twelve steps. The parts are called out by name and number. Color callouts are provided for the small parts and assemblies through out the instructions. Only generic names are used for color callouts.
The Build
Since I owned one of these cars in the early 1960s I was excited and enthusiastic about building this kit. However, during the build I lost some of my passion for the model. Building a workable retractable hardtop was somewhat of a challenge and the painting became a chore. If I were to build another of these kits, I would put a great deal of emphasis on building a perfectly square body.
The build starts with the body. Unlike most car kits that have a one-piece shell for the body, this kit’s body is built from four parts – the rear panel, front fenders/engine compartment and two sides. The instructions simply show these parts fitting together and they do reasonably well. The trick is to get these parts perfectly square. Failure to do so will cause frustration and subsequent poor fit of other body parts.
I suggest the modeler not glue these pieces together at this point, but rather tape them in place. Once they are reasonably secure, the modeler should dry fit the hood, assembled top, and assembled deck lid in place. Adjust the four-piece box so the hood, roof and deck fit as well as possible. With this done, the modeler should then glue up the front, back and sides.
The engine, interior, and chassis are built up next. The detail of each is adequate and the parts fit together with no problems. The wheels, whitewalls, and tires are assembled and mounted on the metal axles. These are installed into the chassis. I guess 50 years ago it was acceptable to run the front axle through the oil pan because that’s what we have here.
At this point it becomes obvious why having a perfectly square body is so important. The body is mated to the chassis and parts are added to the body. These include the windshield and wing windows, the grill/bumper, and the rear bumper and trim.
Next the hinges are added to the two-piece articulating roof, as are the hinges to the two-piece articulating deck lid. It’s very important to get the hinges mounted perfectly square or the folding panels will not fold back square. A word of caution here - the instructions for assembling the roof fail to note that the hinges should not be glued. The roof retraction links and brackets are built up and added to the roof. Be careful not to get glue in any hinge point.
Finally the roof and deck lid are installed. If, unlike what I did, you have built a perfectly square body, you should have no problem fitting, raising and lowering the roof with a reasonably good fit all the way around.
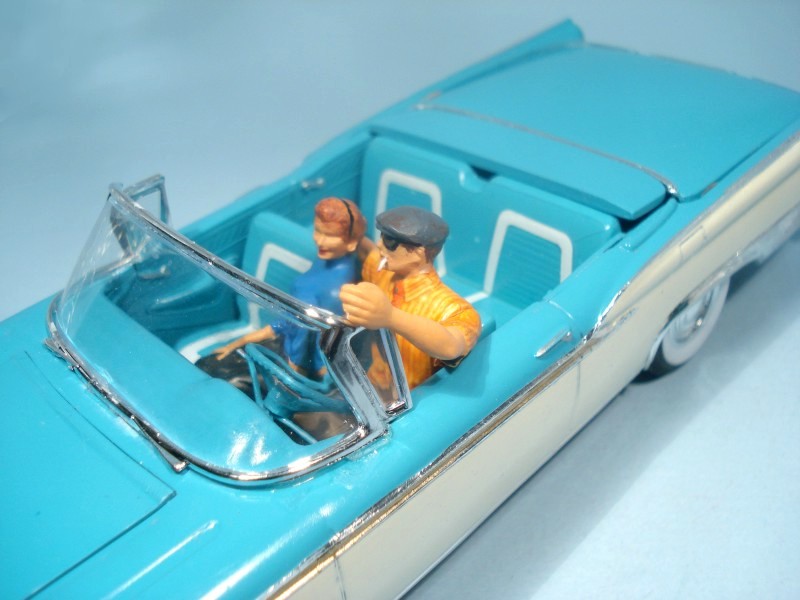
There is one final step to complete the build. Assemble and paint the two figures. There are no color callouts here. You are on your own. The cigarette in the fellow’s mouth does not come in the kit. It’s something I added to go with the times.
Finishing
There are no recommended colors for the exterior finish. The box art shows a green and white color scheme. I painted my model the same colors (or close to it) as the car I owned. I also tried to use BareMetal Foil for all the exterior chrome trim with marginal success.
Assessment
The quality of this kit is good, but it is stuck in 1959. In researching the history of this kit I did read that the hubcaps have been updated to resemble ones actually used on this car. The only problems I encountered seemed to be caused by not getting the body perfectly square. The kit is recommended for skill level 3 or 12 years and older. I don’t think it’s that simple considering the alignment issue and all the moving parts. This kit is best suited for the modeler with some experience.
I recommend this kit to modelers of average skill level and above. The retractable roof makes it somewhat of a novelty and it represents a great piece of automobile history.
Thanks again to Revell for making this kit available for review.


Comments
Add new comment
This site is protected by reCAPTCHA and the Google Privacy Policy and Terms of Service apply.
Similar Reviews