Michael Scott
Reviews By Author
|
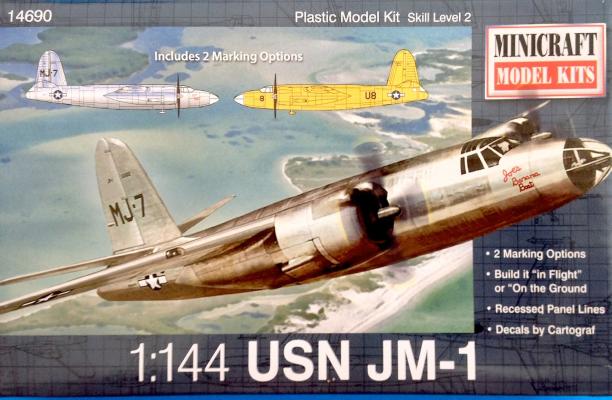
USN JM-1Published:
This is a small scale kit of the USA JM-1 in two schemes: Joe’s Banana boat and US Marine Corps MJ-1. It is a basic 1:144 kit with limited interior, no painting masks and a small, but nice set of decals. I opted for the JM-1 Banana Boat scheme. As you can see from the kit instruction sheet - one large fold out - there are minimal parts. There was little flash, but some of the detail was very soft on some parts. The kit provides the option to build the model on the ground, or in flight. I chose the latter. The issue with this decision was with the poorly fitting nose gear doors. The main gear doors were a much better fit. The molds must be for a different type since you are instructed to fill and sand smooth a circular area on the top aft of the fuselage, which I believe… more |
|
F-104C Starfighter Ejection SeatPublished:
Quickboost is known for producing finely cast resin details. This seat is no exception. The details are very good but some are fragile, such as the ejection rings, which quickly broke off and disappeared. This isn’t so much a function of the piece, but of careless handling on my part. They are easy to break, so be prepared to make up your own if you snap them off. Removing the seat from the resin casting plug was easy enough with a razor saw. However, I eventually had to cut more, about 1/8”, from the seat bottom to get a decent fit in the Hasegawa 1:72 F-104C kit. I don’t know if this is a function of the kit or the seat. Once painted, and with a subtle wash, the seat details pop out. After modifying the seat bottom as above it was a drop fit into the cockpit. … more |
|
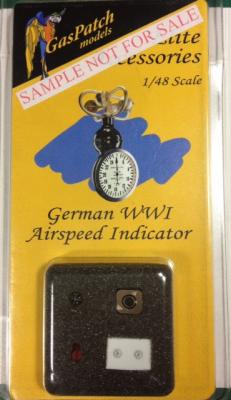
German WWI Airspeed IndicatorPublished:
This is a very small item when assembled, as the photographs will show. The model is composed of four parts: the body of the indicator, cast in a slick, red plastic; a bezel made from thin steel similar to a photo etch part; the wind vane assembly which appears to me to be of plastic or resin; and two identical instrument dials printed in black on a thin plastic sheet coated with what appears to be white paint. The instructions are on the reverse of the packaging sheet and show all of the parts painted, prepared and ready to go. The resulting photographs show an extremely detailed and precise completed wind powered indicator. However, reality does not meet up with advertising in this instance. A close inspection of the actual parts in the package reveals some… more |
|
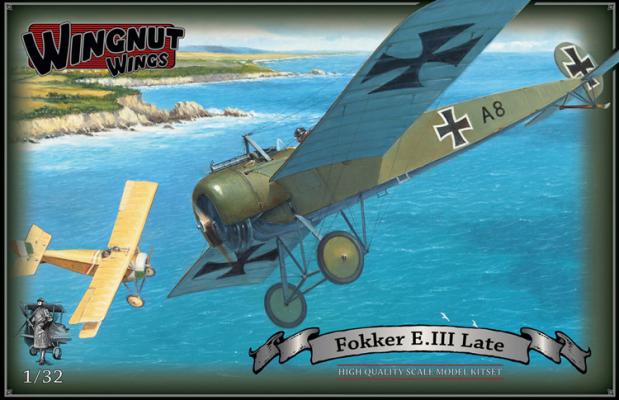
Fokker Eindecker III Late – Part 2Published:
Resuming after a holiday break, I finished the model on January 2. Once the fuselage was closed and the wings and undercarriage were glued, the major work involved rigging the undercarriage, wings and control wires. Castor Oil, Grim, Mud, Dirt and GooReference photos show that once an Eindecker went into front-line service, it rapidly became stained, oily, and dirty. The two main factors were the dirt and grass airfields, which soon became muddy during most months of the year (except when they became snow-packed ice fields), and the engines which threw off their lubricating fluid as they operated. My understanding is that this was primarily castor oil, or some similar substance that was ubiquitous to all rotary engines. Consequently, I had no choice but to dirty up the… more |
|
Professional Sprue CutterPublished:
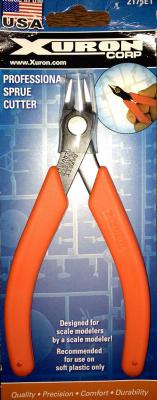
Xuron Corporation makes a number of hand tools useful for modelers. One, the Professional Sprue Cutter, is the subject of this review. Often, sprue cutters (diagonal cutting pliers) are hard on plastic parts, especially small ones, when removing them from their sprues. The compression forces they impart can damage small parts, especially when cutting the first of two or more sprue connections. These Professional Sprue Cutters are designed to shear, rather than compress (or pinch) the plastic, reducing the compression force. Xuron calls this a Micro-Shear®. To quote Xuron, “Shear cutting reduces cutting effort (as compared to traditional compression cutting) and extends blade life because the sharp edges are not meeting edge-to-edge. Shear cutting also produces clean,… more |
|
Eindecker Compendium, Vols 1 and 2Published:
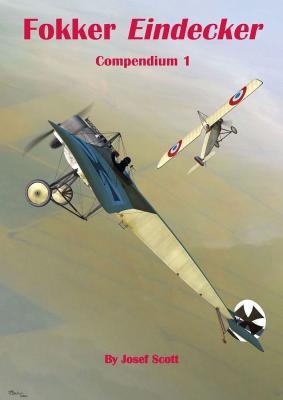
Many decades ago when I became initially fascinated with early aviation and the adventure of WWI fliers in particular, the aircraft that symbolized that era and fascination was, and still is for me, the Fokker Eindecker. Like most modelers interested in WWI aviation, I considered the Eindecker a favorite kit. Unfortunately, until Eduard began producing quality plastic injection kits, a good, accurate, and relatively easy to build Eindecker was hard to find – and one in the larger scales, almost impossible. Accurate information was equally difficult to come by. Most information in depth was to be found on a few enthusiast WWI aviation sites, and even then, contention was rife and misinformation common. This led to the occasional and mainly entertaining flame wars which would flare up,… more |
|
Fokker Eindecker III Late – Part 1Published:
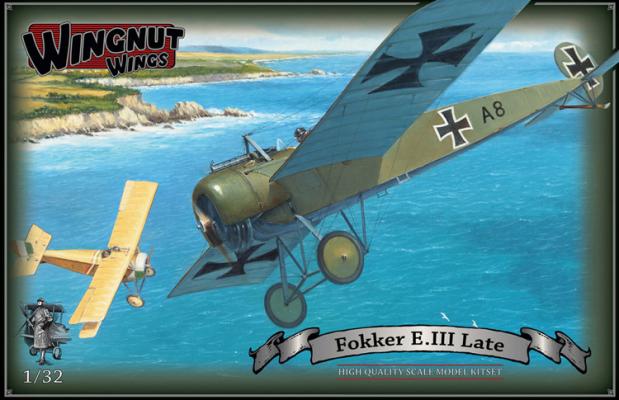
Part 1 – HistoryThe Fokker Eindecker is the classic prototype of the single-seat, purpose-built fighter aircraft. Probably everyone knows the basic story, which is simplified and almost mythical in content. The French aviator Roland Garros had deflector plates bolted to the back side of the prop on his Morane-Saulnier monoplane and began shooting up German observation craft in 1915. This drove the German High Command nuts and they were at a loss about how to deal with this. Or so the story goes. It appears that the bullets striking the deflector plates on Garros’ prop knocked it loose enough to kill the engine somehow and he had to put down behind German lines. The Germans asked Anthony Fokker to come up with an answer and he quickly whipped out a synchronizing mechanism,… more |
|
FE.2b early Part 5Published:
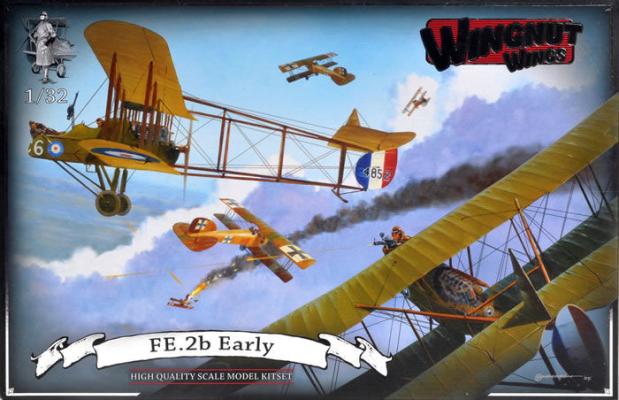
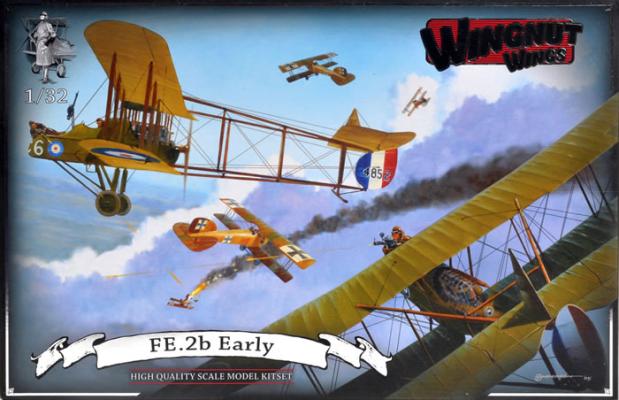
The “beast” is finished. I used two sizes of EZ Line for the structural and the control rigging. I did use monofilament, 0.007”, for the rigging on the tail booms. The booms support a lot of weight when the FE is up on its landing gear, so it needs actual rigging support. Monofilament is called for here. However, the EZ Line wasn’t so…EZ... I felt the FE is large enough to support using the larger EZ Line for the inter-wing rigging, so I used that. The formula was, in keeping with a process illustrated on the Wingnut Wings site, drill out all of the rigging mounting holes so they are a little deeper, but not all the way through. With CA, glue one end of the rigging line into an anchor hole, then stretch it a bit to the other and dab some CA on the end and glue it into the other… more |
|
FE.2b early Part 4Published:
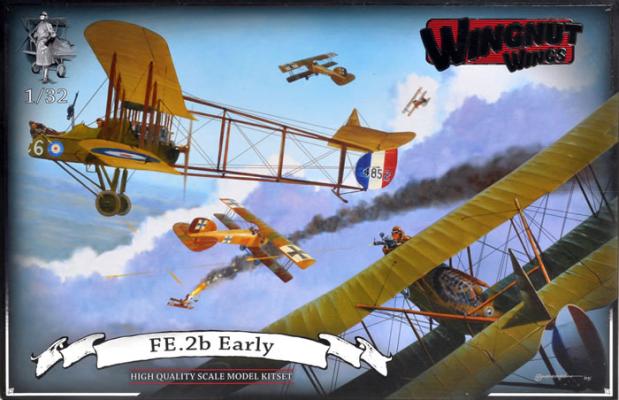
Attaching the wings. The lower wings were first and to ensure everything was in alignment, I cleaned the mating surfaces of paint, did a test fit, and applied the Gunze liquid cement. Getting everything properly lined up, I taped the wings down to the work surface to dry. Don’t do this. Having painted all of the wing and cabane struts with Tamiya tan acrylic, and after that was dry using the basic Wingnut Wings technique for replicating wood that is found on their website, I applied burnt sienna oil paint with a sponge, then removed a great deal of that with a stiff bristled chisel brush to get in some wood grain effects. These have to dry for at least a couple of days, if not more, depending on your locale’s environmental conditions. I suspect there is a liquid agent that would… more |
|
FE.2b early Part 3Published:
The nacelle went together with no issues. First, the inside was masked and painted a combination of aluminum, wood, and CDL (Clear Doped Linen, for which I used Tamiya Buff acrylic). Don’t forget to drill the appropriate holes in the nacelle sides for the version you are building. The bottom seam wass covered by the armor plate floor and the remaining seams were easily dealt with. The assembly was masked – engine and cockpit – and sprayed with Tamiya rattlecan OD, which dried quickly and hard. I decided to leave the landing gear assembly and the nacelle MG mounts off until after the wings were mounted and rigged. Otherwise, I would surely break something off. I prepped all of the wing parts – sections, middle, and ailerons – and painted them OD and CDL as above. Then I masked… more |
