A-10C Thunderbolt II
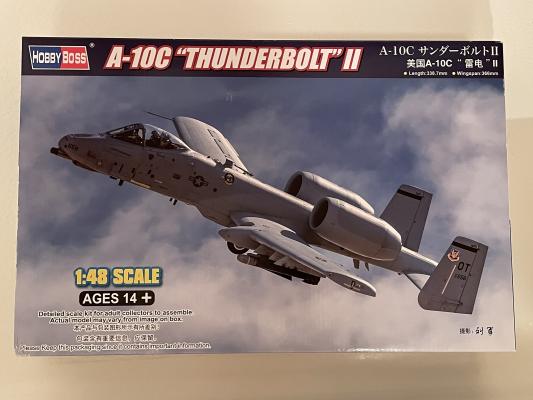
The 1/48 scale Hobby Boss A-10 was a very welcoming kit when it was first released in 2007. The A-10C represents the third release, after the A-10A and N/AW A-10 two-seater, of this kit and outdoes the older Monogram and Tamiya kits in every way!
The Hobby Boss Thunderbolt II arrived packed beautifully and well protected as is standard for this Chinese model company. No more than two sprues were contained within their own plastic bags, with some delicate parts being wrapped in a cellophane material. The box art showed a great photo of the first painting option.
One of the highlights were the three decal sheets provided and the painting options offered. The instruction manual was Hobby Boss’s standard black and white booklet, with clear steps proceeding through the build. The painting and decaling instruction sheets were large, colorful and glossy. A great addition was that the color charts included six different paint manufacturers color recommendations – Nice!!!
Looking through the parts as well as during construction, I found there was quite a lot of flash on nearly every part and some molding flaws, indicating that the molds were getting a little tired. Careful fitting, inspection and removal was not difficult, but made for much clean up before the parts fit together well.
Construction naturally started with the cockpit. The A-10C instrument panel was provided along with their previous offering. The instrument panel and side consoles were furnished with decals, but I found them to be out of register. The ejection seat was made up from three pieces, with a separate part for the drogue shoot that mounted on the top and the rear rail assembly. I found the seat to be very nicely detailed with shoulder harnesses, but no lap belts.
While the cockpit decals would have been perfectly adequate in this scale, I ended up using the Quinta Studios 3D decal set for the cockpit and seat. The complete cockpit slots into a three part “Titanium” shell that protects the pilot from enemy fire. This was a thoughtful addition but was hidden within the completed airframe.
The A-10 was designed and essentially built around its GAU-8 Avenger Gatling gun/cannon!! I have seen a shell from the gun, and I certainly would not want to be on the receiving end of it. Not much would be heard after – “BBRRRTT!!!!
The gun assembly could be built and displayed outside the aircraft, although there was no mention or provision in the box to do so. I built it up and made a small stand for it. Hobby Boss kindly provided two separate barrel ends that could be seen protruding from underneath the nose. I would say the intention or option to display the gun separately was there, but no mention was made in the instructions.
The wings were glued together and fit nicely, as did the main wheel sponsons. I sprayed the inside the wheel wells gloss white, along with the undercarriage legs, nose wheel/gun well and wheels. While I was dealing with the main wheels, I drilled out the lightning holes around the outside rims.
All control surfaces were assembled, and the fit was very nice after flash was removed. While there was inner wing detail where the spoilerons attach there was no easy way to show them deployed open. I glued the spoilerons and flaps to each wing in the up/neutral position. The tail planes and fins were also in two parts and fit well together.
With the wings finished, I test fit them into the fuselage slots and found they were extremely tight. This, along with some mold imperfections along the wing root that butted up to the fuselage, impeded a flush fit. I scraped away as much of the mold imperfections as I could and thinned the tab thickness which went a long way to helping achieve a better fit. I attached each wing to its fuselage half before gluing the fuselage together to get the best result. Super Glue was used to fill remaining gaps.
Several holes needed to be drilled in the two fuselage parts specific to the A-10C, and a couple of blade antennas removed. The cockpit tub fit perfectly inside the fuselage using substantial locating tabs. I trimmed excess mold plastic that formed a wavey ridge away from around the cockpit sills so that the canopy would sit flush in the closed position. The canopy frame and articulated assembly showed it could be displayed opened or closed at the modeler’s/pilot’s digression. After removing some flash from each fuselage half, I glued them together with no problems. One fuselage half was warped but presented no issues. Be careful to get a nice clean glue seam, especially along the rear belly, as there were lots of panel and hatch details that could be lost to seam sanding. I used Tamiya Extra Thin Cement which reacted well with the plastic and resulted in minimal damage.
The instrument panel coaming was a part of each fuselage half, as was a raised panel between the pilot’s HUD framing and reflector “circle” that would be glass in the real aircraft. After gluing the fuselage together and trying to clean the seam running through the reflector, I drilled it out and used Crystal Clear to make the lens.
The nose wheel well was a two-part assembly that slots into part of the belly under the nose. As I was leaving the Gatling gun out of the aircraft, there was plenty of room to install the 25 grams of weight recommended. The fit of the belly/nose wheel well to the fuselage was good, however, the rear joint left a small step.
I turned my attention to the engines and nacelles. These were the worst fitting parts in the entire kit. There were huge ejector pin marks inside the nacelles and could be seen, even with the engines installed. I spent some time removing them before gluing the two main nacelle halves together. The fit was ok after some flash was scraped away. The plastic at the exhaust end of the nacelles were commendably thin, however where the two parts joined, the edges were slightly short shot. I had a mix of plastic sprue melted in left over Tamiya cement that I used to fill these in to get a nice flush look. The engine pods were assembled and the seams removed around the visible exhaust pipes.
There was some basic detail on the engine pods, and as the hatches could be displayed open, they would be a great canvas for the super detailer to add piping and wiring. The front of the engine included the intake and compressor fan. The fan was supposed to have gaps between each blade, but most were flashed over. I did not remove this flash as it was thicker in places and I would have made these look worse than better. The engines and intake can be assembled and installed after the nacelles were built and cleaned up. I found I had to scrape plastic away from where the intakes mated to the engine nacelle body to get a flusher fit. The fit of the engine access hatches left some gaps along the edges that I filled with super glue and re-scribed. The completed engine assembly did slot into the fuselage perfectly.
The tailplane also slotted into the rear fuselage belly very nicely. After cleaning mold seams the two tails attached in their slots with a good result.
This Hobby Boss kit was furnished with an impressive armament loadout. A chart was also supplied in the instructions showing which pylon each weapon could be mounted to. On top of that, each painting/decaling option showed its own typical weapons load. I loaded my Thunderbolt with 6 x AGM-65 rockets, 12 x MK-82 bombs, 1 x AAQ-14 Lantirn and an AAQ-33 Sniper and a centerline fuel tank.
The canopy and windscreen were beautifully clear, but I treated them to a Future/Pledge Floor Wax bath to protect them further.
While I was careful to assemble the model as neatly as possible, I still had lots of re-scribing to do on all the great panel line, hatch and rivet detail I had sanded away from seam repair and clean up.
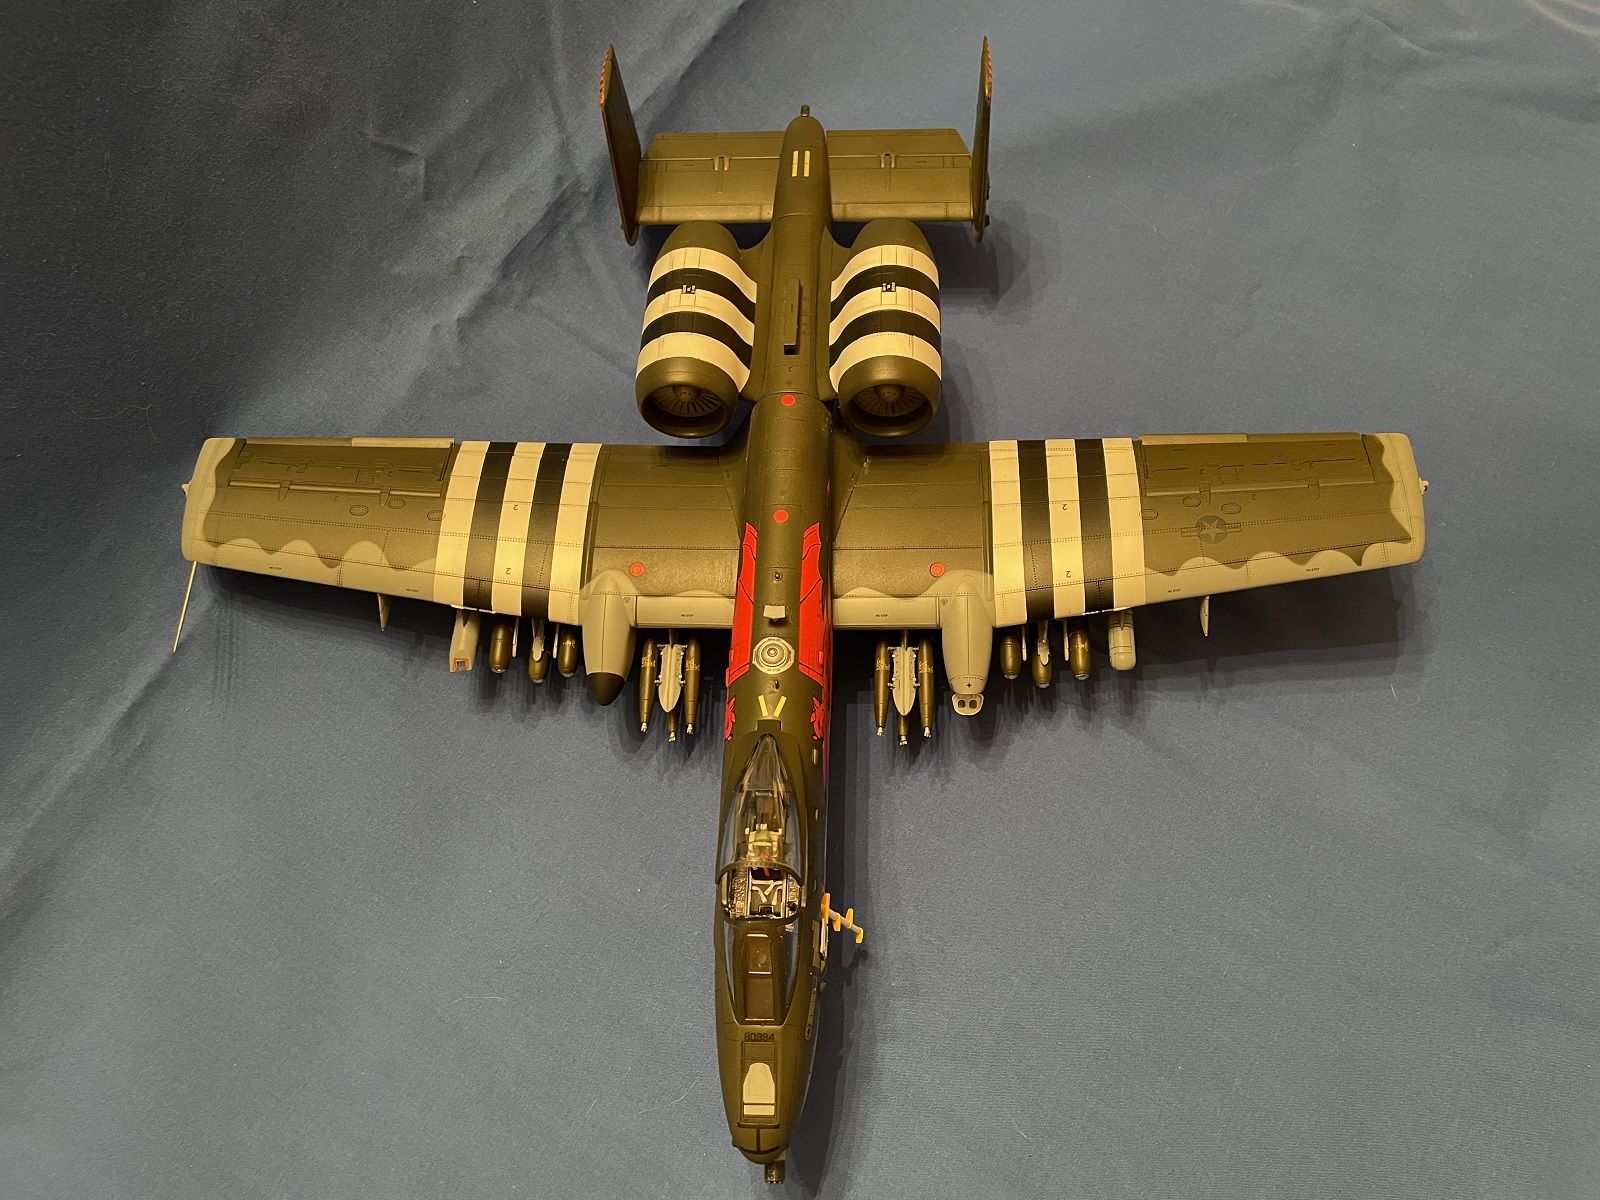
At this point I pondered which paint scheme I ultimately wanted. I was very temped to do the second option with the D Day striped “100 Year anniversary of the Red Devils”. The kit decals furnished the D Day stripes, which was a thoughtful inclusion.
If I were to build another Hobby Boss A-10, I would be tempted to leave the engine pod assembly separate from the aircraft to facilitate easier painting in tight spots, especially as it fit so well.
With painting completed and a gloss coat applied I started on decal application. This is where I ran into problems! I intended to use the D Day stripe decals, something that I rarely even contemplate. The first black and white striped decal was to be applied to the top of one wing. While still submerged in warm water the decals folded over on itself. Lesson one - don’t leave Hobby Boss decals in water any longer than a few seconds. I could not unfold the stripes and in my attempts, tore it and destroyed the decal.
I emailed Bill O’Malley and Phil Peterson about my predicament to see if there was any chance for MRC to provide me with another set of decals, but the decision was made to paint them so this review would not be delayed too much longer. Thank you, gentlemen for your help. I spent several days masking and painting all the stripes and telling myself that, even though the stripes decals looked great on the decal sheet, this is what I should have done in the first place – Lesson two!
The next decal drama I ran into was applying the large Red Devil on either side of the fuselage. I knew I had one chance to get the Devil right, or I faced a complete repaint and a different decal scheme! Learning from the stripe’s debacle, I very, very carefully slid him onto the left fuselage side. Lesson three – cut off his tail and fork and apply those after his body is situated. These folded over, but luckily, I was able to fix them and get them in the correct position. I lined up his front leg in its position, but found the rear leg appeared too long to nestle against the leading edge of the wing. After making sure I had the decal in its correct position I laid his rear leg over the wing and carefully cut around the leading edge with a new blade. The right-hand side Devil was applied much quicker after the previous experiences were taken into consideration. Numerous applications of Micro Sol and careful slicing with the new blade helped the decals conform around raised vents.
Despite the problems I had with the D Day stripes and the Red Devil, the Hobby Boss decals really performed beautifully and bedded down into panel lines and recessed rivets once positioned on the aircraft. While they are quite thin and demand care handling them, the color density, including the white part of the stripes covered the underlaying paint quite well. The edges of the decals disappeared after applications of decal solution, that was also used to remove any silvering. I sealed the decals with a gloss coat followed by several flat paint coats.
The nose and main landing gear were installed in their wheel wells, along with their retraction struts and gear doors. Everything fit quite well and was strong enough to support the weight of the A-10. Antenna’s, lights and other small items were attached with no problems.
The windscreen was glued in its place, but I found the way the canopy mechanism works I could not raise or lower the canopy. I left it open.
The MK 82 bombs and AGM-65’s were glued to their racks and the assemblies mounted on their respective pylons. The Sniper and Lantirn followed including the centerline tank.
I painted the separate cannon muzzle gun metal and installed it in the nose to complete this very striking Thunderbolt II, built around a very big gun!
The only think remaining were the three sets of chocks Hobby Boss included, along with string to join them together. The string frayed easily, and I ran the ends through super glue to keep them together. I fed the string through the holes and tied a knot. I now have chocks to stop my A-10 from rolling away – Nice!
I enjoyed building this kit, but it was a bit of a mixed bag. There was plenty of work cleaning mold seams and flash off nearly every part. This did get tedious and sometimes frustrating for a kit of this caliber. Once cleaned off, however, the fit of the parts was mostly very good to exceptional. The level of detail in this kit, plus the decals and armament options provided was simply outstanding.
With the finesse needed to handle the decal’s, especially the ambitious Red Devil scheme, I would recommend this kit to more experienced modelers, however, most modelers should not have a problem with actually building the kit. I would guess most modelers would choose the standard grey paint and markings, but the Red Devils really looked great


Comments
Add new comment
This site is protected by reCAPTCHA and the Google Privacy Policy and Terms of Service apply.